
News
Underwater Photography Essentials: Part 3
Tips, ideas and advice for budding underwater photographers
by Nick Robertson-Brown FRPS
Part 3: Getting to grips with your camera settings – ISO
Read Part 1 of Underwater Photography Essentials here.
Read Part 2 here.
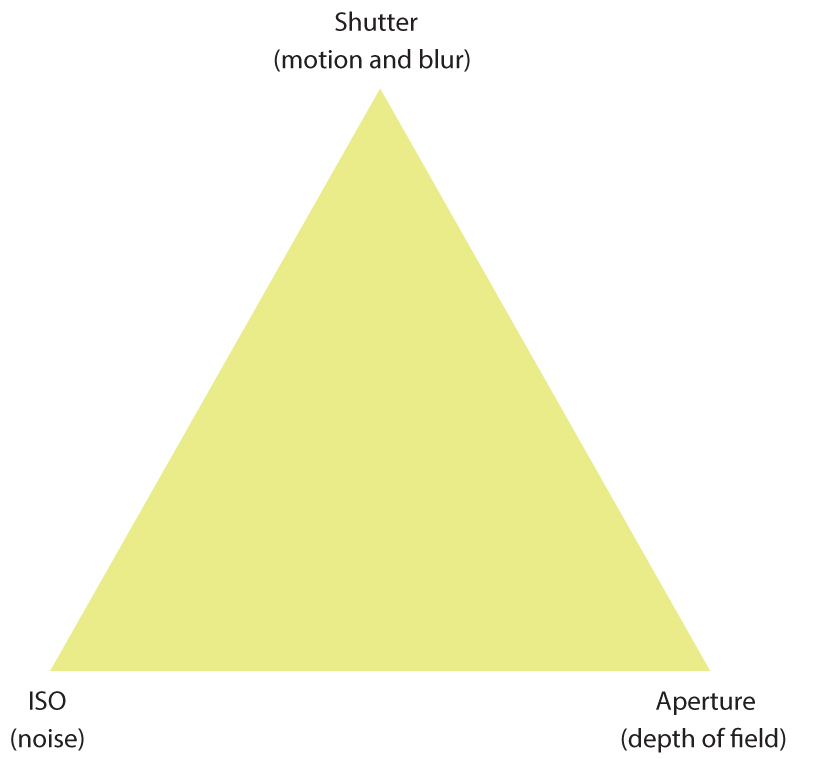
The third element in controlling the exposure value is the ISO. The term ISO is an acronym for the International Standards Organisation which prescribed a common standard for the sensitivity of a film many years ago. The higher the ISO number, the greater the sensitivity to light; but it came at a price. As the sensitivity to light improves and the ISO number on the film gets higher, the lower the quality of the image becomes. With a high ISO film, the image looks grainy and hence the resolution is reduced. The same standard has been maintained in digital imagery, whereby the exposure value of a digital image will be the same as it is on a film camera, as long as all the settings are the same. There are, however, still penalties as you increase the ISO value. In much the same way as it did on film cameras, the image becomes grainy, but we refer to this as noise – and a noisy image has very restricted uses.
On the face of it, it would appear that increasing the ISO is a great way to increase the exposure value of your image with no major side-effects. Only a few years ago, using the ISO as part of the exposure triangle was restricted to changes between ISO 100 and ISO 800 (at best). Modern technology has come a long way in the last 4 to 5 years and on some cameras, mostly expensive ones, ISO values of 2500 can produce images with very little noise.
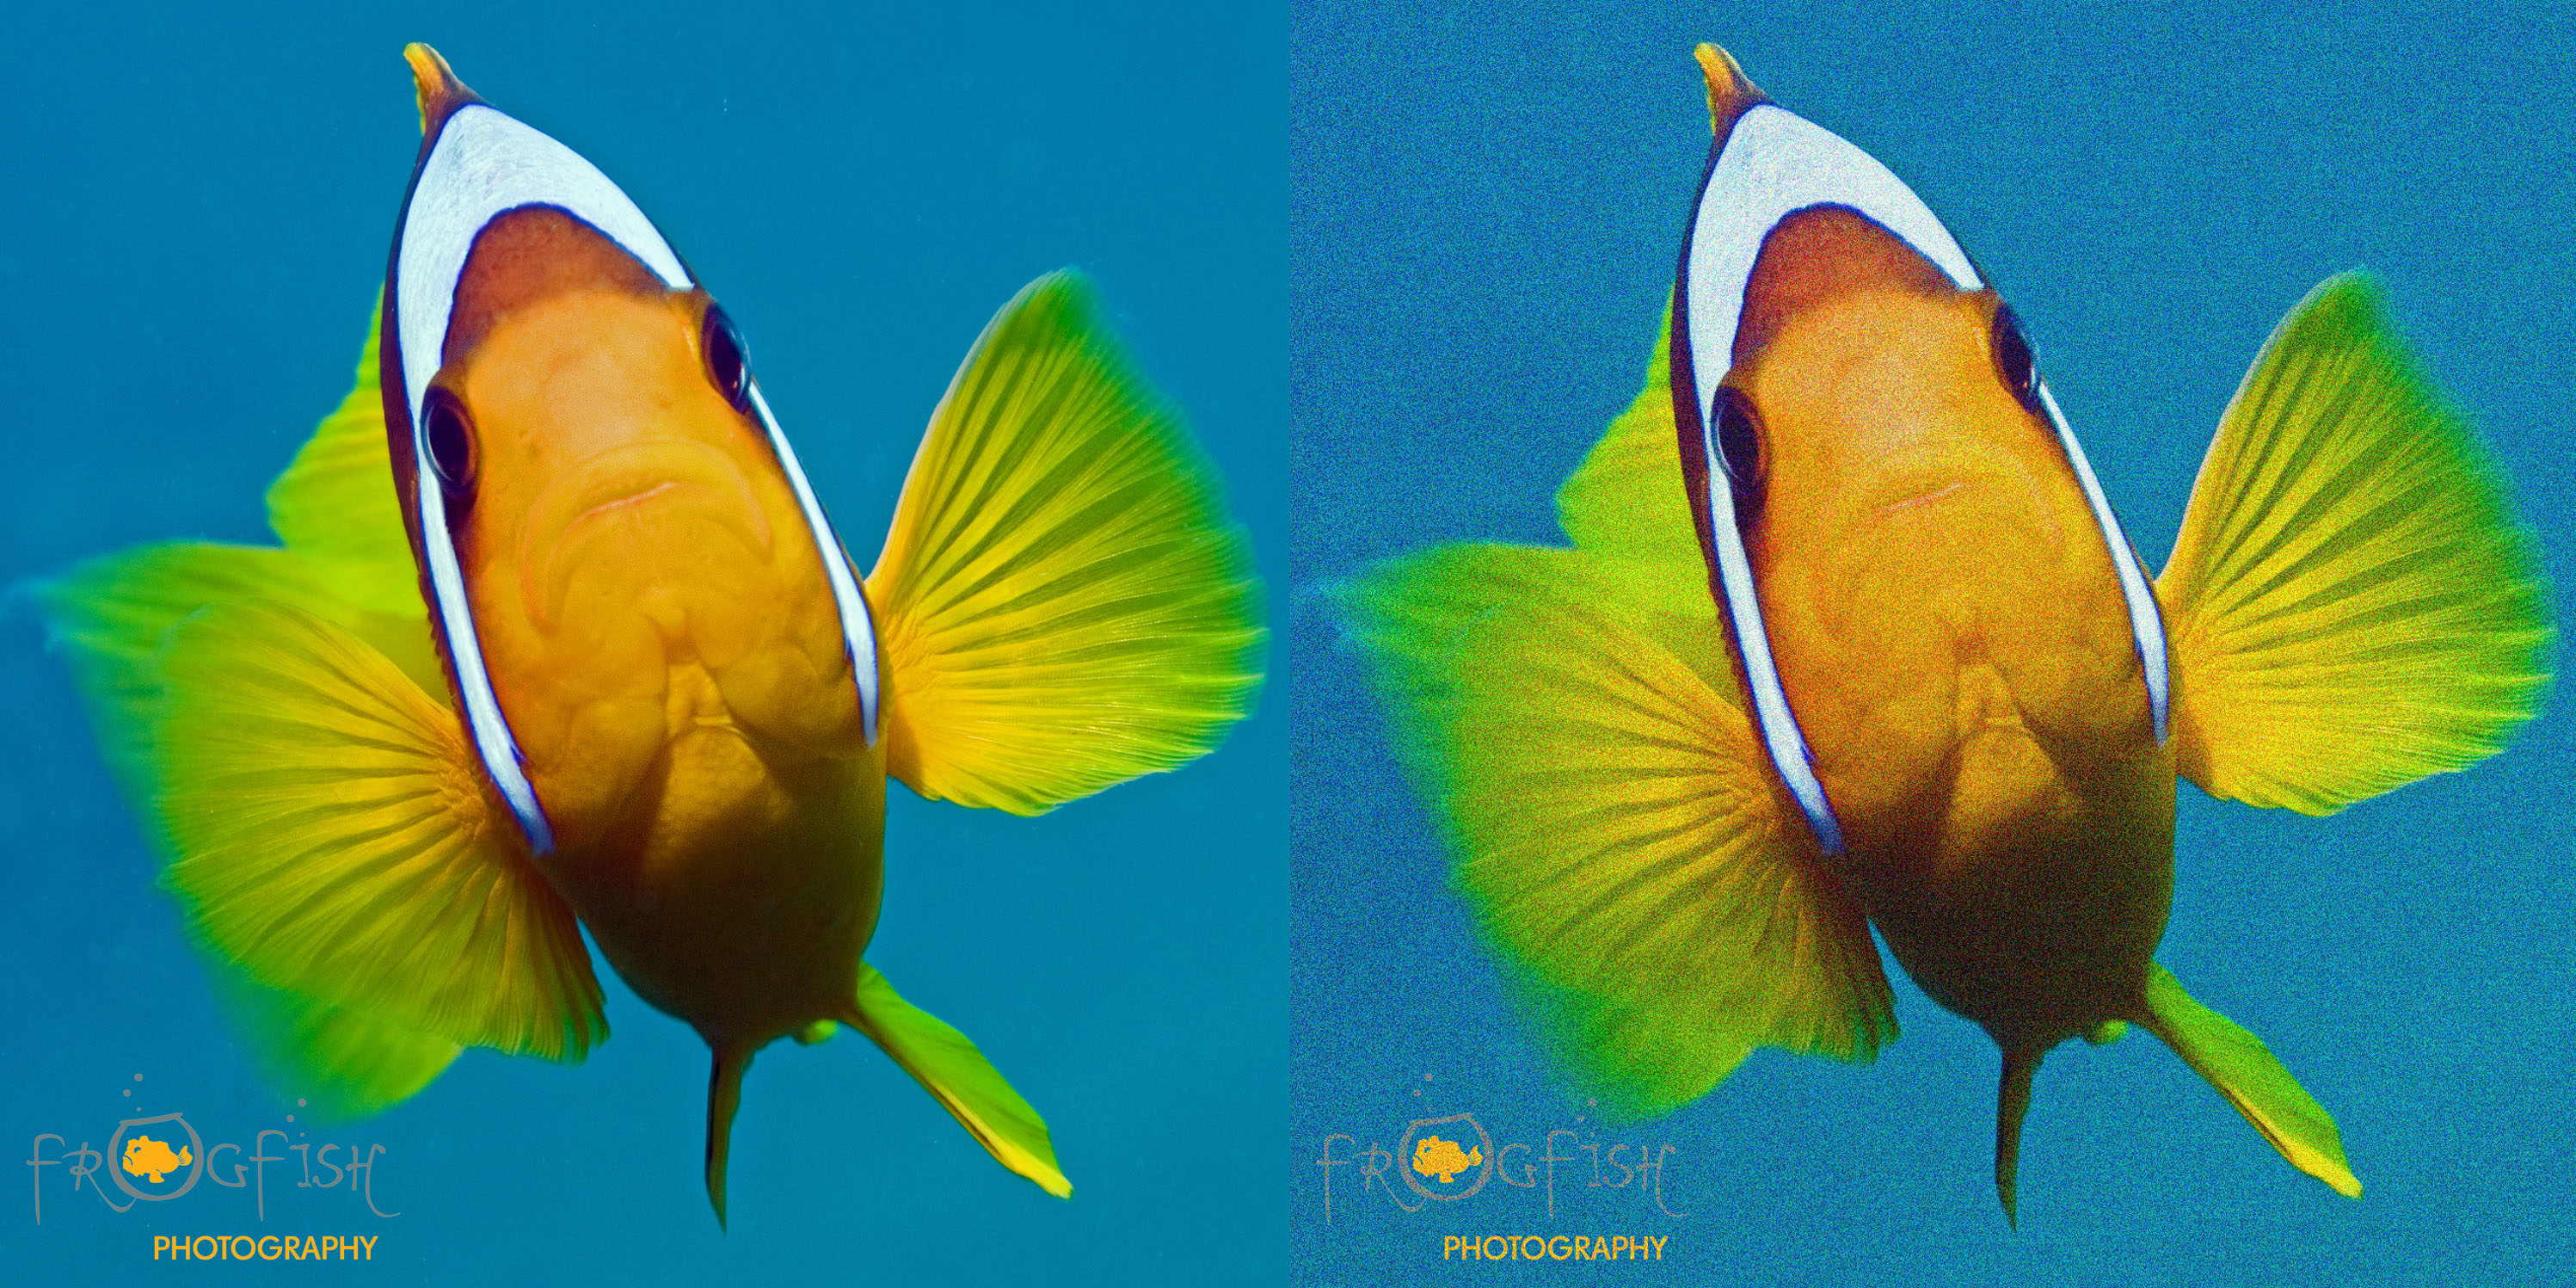
With the introduction of modern technology, the ISO setting is now a serious tool to be exploited underwater, as high ISOs are ideal for working in low light conditions. The ability of an individual camera at different ISOs will vary between manufacturers and camera models and it is important that you understand the limitations of your own camera so you know how far you can push the limits of the ISO setting. You can test this limit by taking a sequence of images into shadow and increasing the ISO on each shot. The low ISO image should look clean and black, whereas the high ISO image will look really noisy with hundreds of tiny red or blue dots which become clearly apparent when you zoom in. By taking a sequence of images, you can look at the effect as you increase the ISO, and you can decide how high an ISO value you are happy with. There is a certain amount of subjectivity in this, but it is what you think that is important.
Having the ISO set to the right value is still important, despite the advances in technology. Ideally, the default setting should be at your lowest ISO setting, which is usually 100 and this means your images will give the best resolution of your camera can produce. Whilst an image which you have taken at ISO 400 for example, may look as good as the one you took at 100, when you zoom in, and look really closely at it, you will appreciate the higher resolution of ISO 100.
One point I should make about using the ISO at high values, is that on certain images, the noise can actually work, possibly even enhancing the result. However, this is unusual, and increasing the ISO level should really only be used if reducing the shutter speed would induce motion blur or shake, and opening the f-stop would reduce your depth of field beyond the level you are comfortable with.
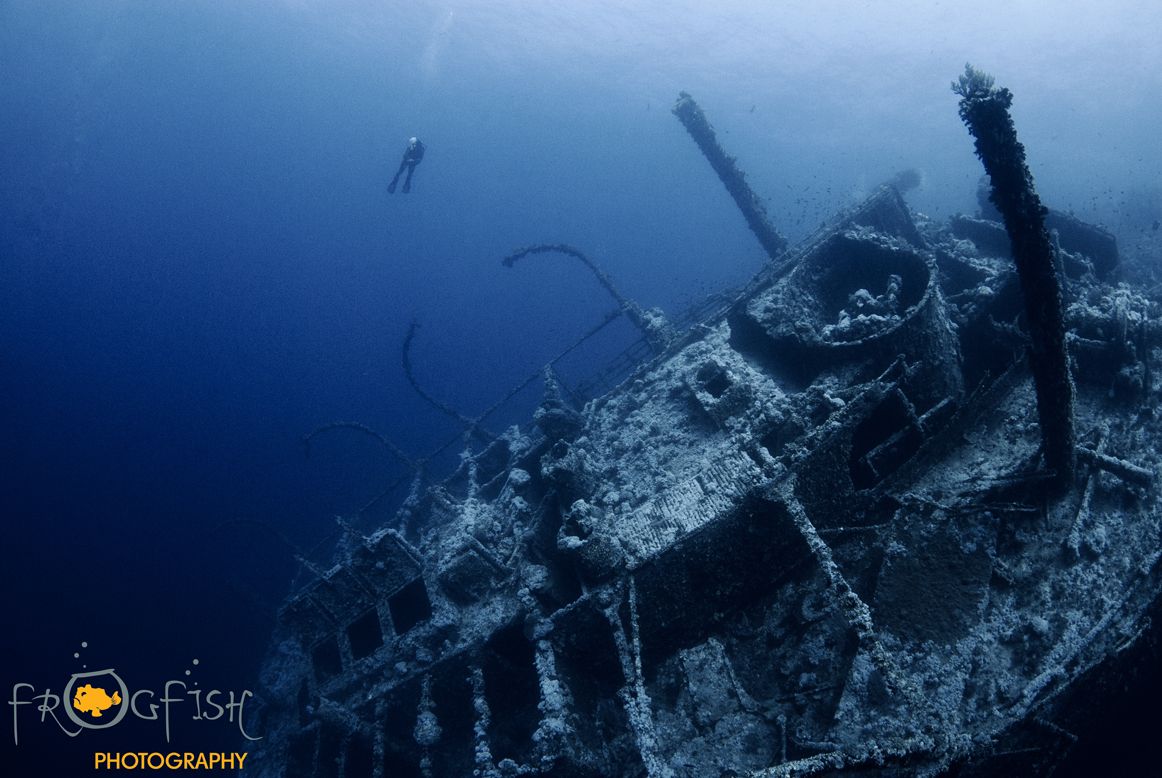
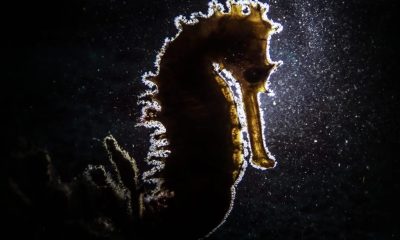
This image of the wreck of the Giannis D is shot with a high ISO (1250) on a Nikon D800, so whilst there is some noise, it suits a wreck shot.
Now that we have discussed all three factors that affect exposure control, pick up your camera, put it into manual, and start to experiment.
Whilst we are dedicated Nikon camera users, we found this useful tool on the Canon website and thought it was worth posting. You do not even need to get your camera out to see how ISO, Aperture and Shutter Speed interact – as you can give it a go on this handy web tool whilst sat at your computer:
www.canonoutsideofauto.ca/play
————————————————————————————————————————————————————
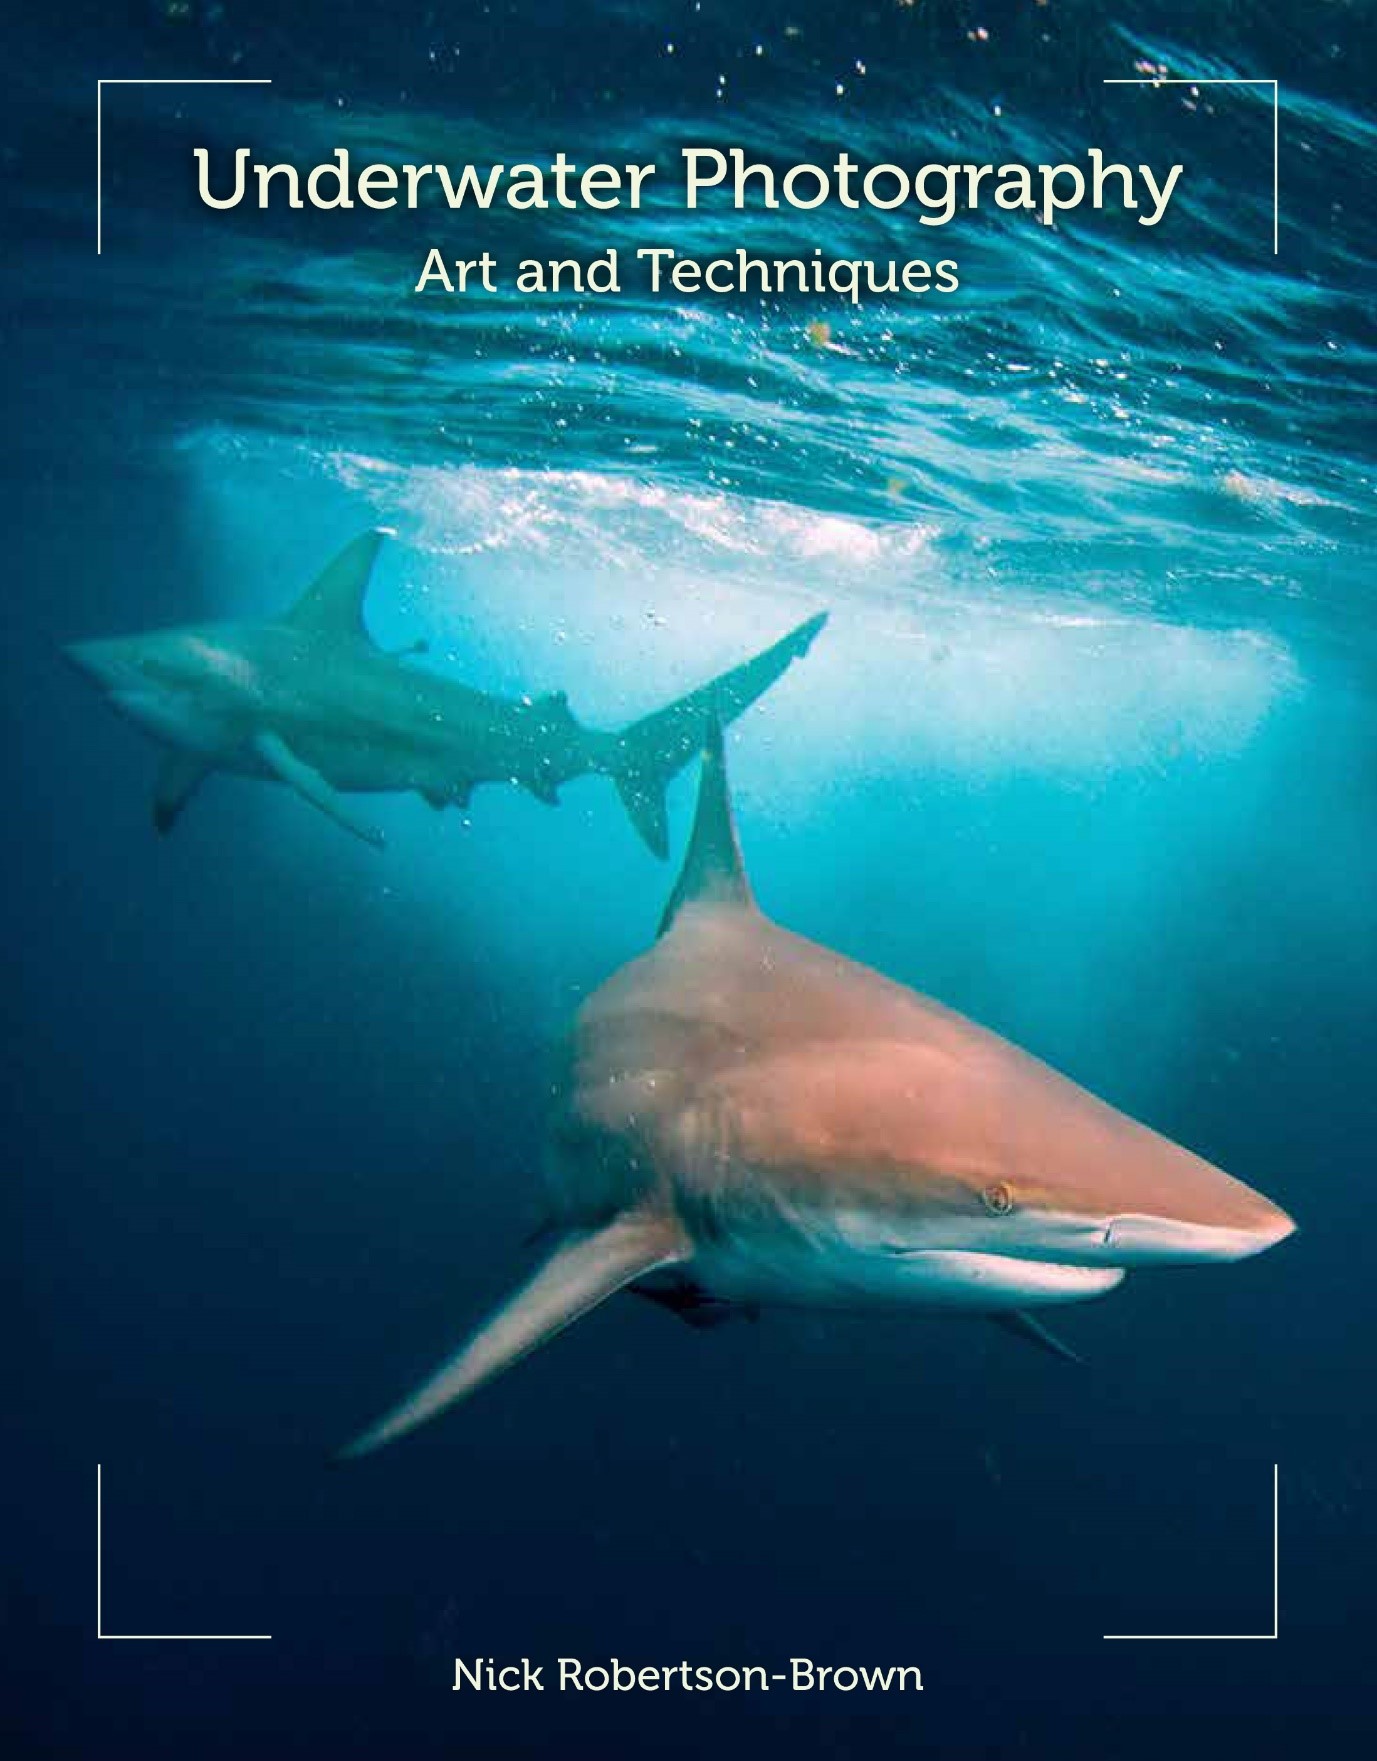 Do you want to learn more? You can pick up a copy of Nick’s book “Underwater Photography Art & Techniques” by clicking here. For a signed copy, click here.
Underwater Photography Courses
Contact Nick for information on the Frogfish Photography Complete Underwater Photography Award, designed for 1:1 and small group sessions to improve your underwater photography at your pace.![]()
www.frogfishphotography.com | frogfishphotos@gmail.com | ![]() +44 (0)161 9177101
+44 (0)161 9177101


Stahlsac dive bags and travel luggage are built for our community of divers, surfers, kayakers and outdoor explorers who need bags that are constructed with durability, toughness, and 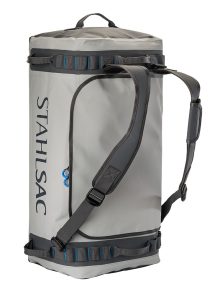 the highest quality the industry has ever seen. We were founded by one man determined to build better watersports and dive bags, and today, that mission is carried on by many. Adventure doesn’t just present itself; it requires discovery. When we design dive bags, we make sure they are tough enough for you to explore in all conditions—warm and cold, wet and dry—to the nearest and farthest reaches of the earth. And for those times you want to push the boundaries of adventure, Stahlsac dive bags make sure you can truly GO ANYWHERE.
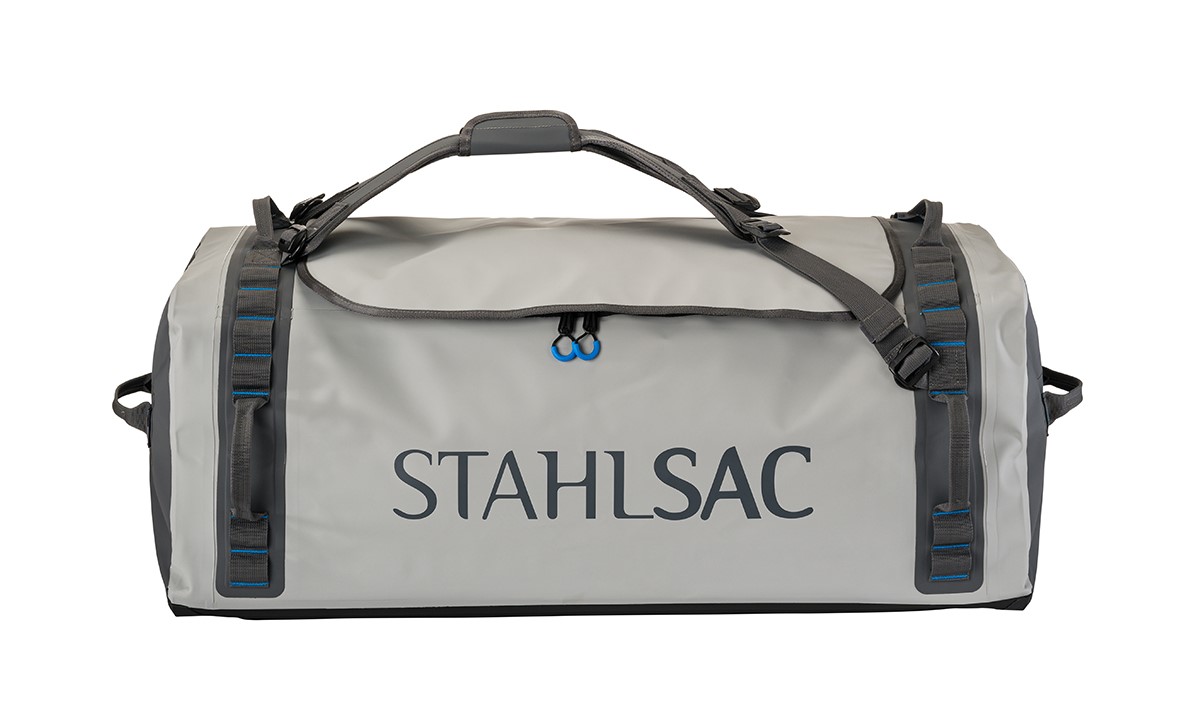
Abyss Duffels
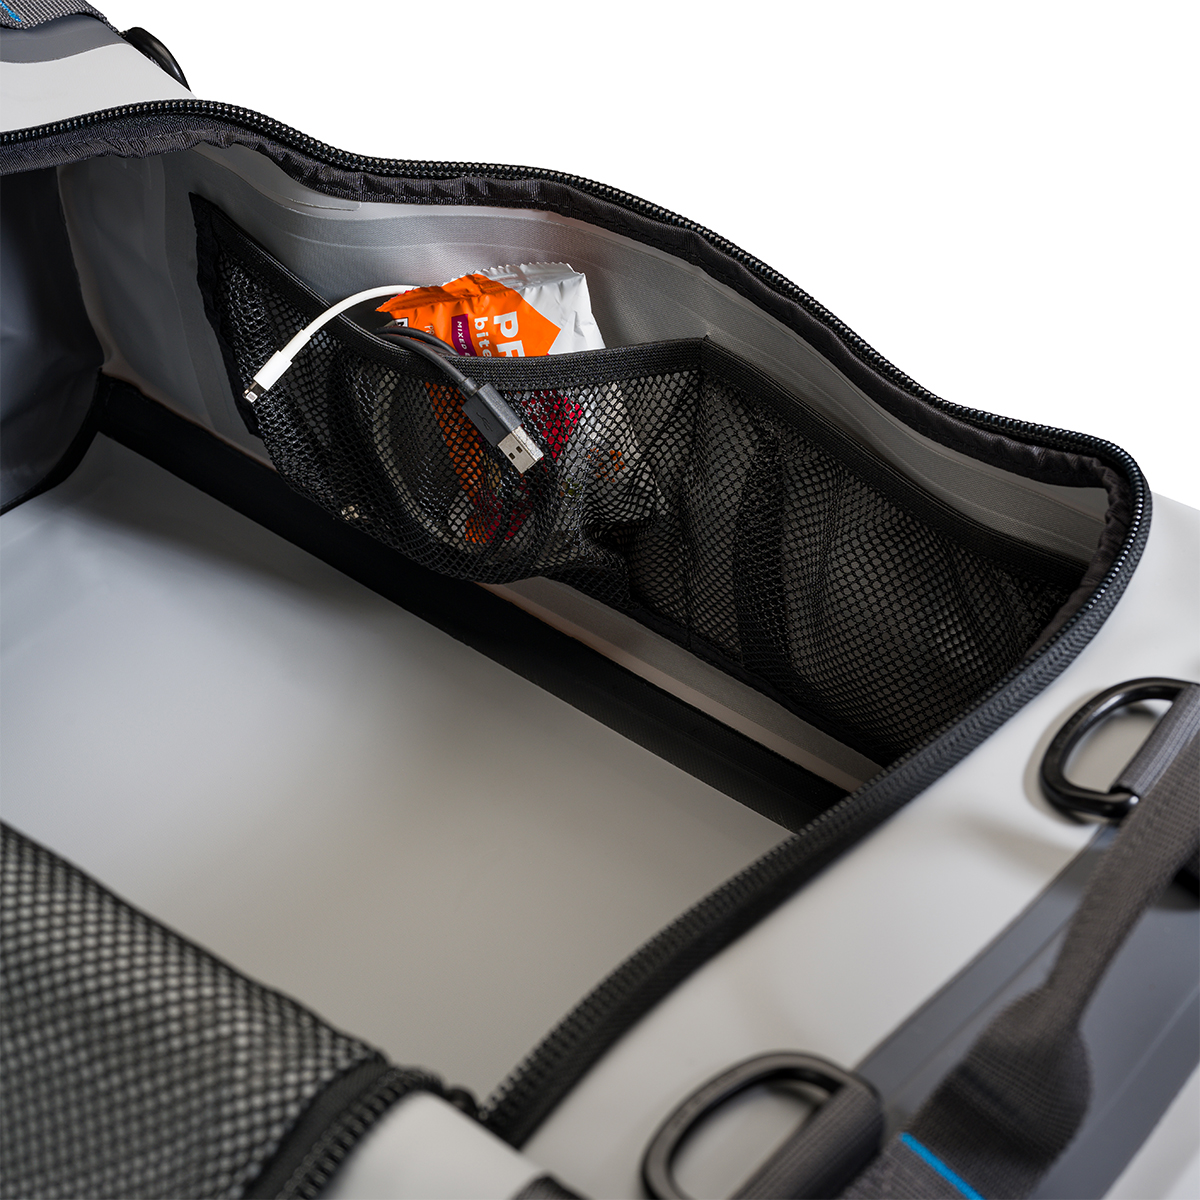
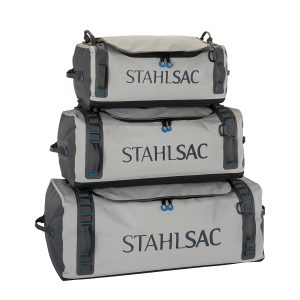 Made to be your partner-in-crime on every adventure, Stahlsac’s Abyss Duffels protects your gear from Mother Nature’s worst. Tough and 100% waterproof with double-TPU nylon material that shrugs off daily wear-and-tear, and RF-welded seams further boost the bag’s potential for lifelong exploring. Get Wet. Get Lost. Go Anywhere with Abyss.
- A weatherproof duffel for trips, travel, and adventure
- Ultra-durable double-TPU nylon protects your gear
- Material repels water and keeps your equipment dry
- RF-welded seams are flush, tough, and waterproof
- Removable straps transform duffel into backpack
- Zippered internal stow compartments carry essentials
- External zippered flap is easy to open and close
- Welded external handles make transporting a breeze
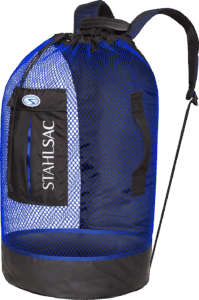
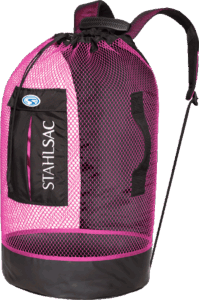
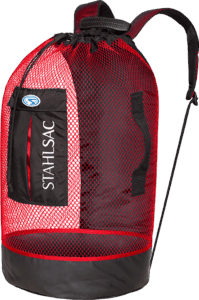
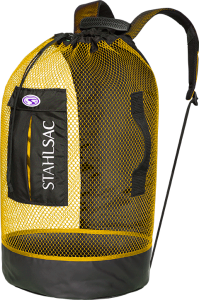
Panama Mesh Backpack
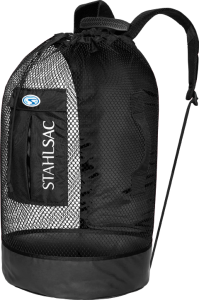 The most copied design in scuba diving, the Stahlsac Panama Mesh Backpack is the “original” design and features two high-density foam padded shoulder straps, extra durable polyester mesh, duffel bag handles and our unique zippered dry pocket inside that combines with a wet pocket outside. The bottom’s built from reinforced 18-gauge PVC nylon to combat the wear and tear of your active coastal lifestyle, and, as a bonus in every bag, we supply a 12″ x 12″ mesh drawstring satchel for extra stowing utility. Pack up your beach kit and go.
- Density foam padded shoulder straps
- Outside wet/dry pockets
- 2 Carry handles
- Tough, snag-resistant polyester mesh
- Reinforced PVC bottom
For more information about Stahlsac bags, visit www.stahlsac.com/dive-bags.
Sea & Sea is the home of Stahlsac and other leading diving brands in the UK.
Blogs
EXCLUSIVE: Jeff Goodman interviews Mark Spiers, CEO of New Scuba Diving Training Agency NovoScuba

In a video recorded exclusively for Scubaverse.com, Jeff Goodman interviews Mark Spiers, CEO of new scuba diving training agency NovoScuba.
Find out more about NovoScuba at www.novoscuba.com.


-
 News3 months ago
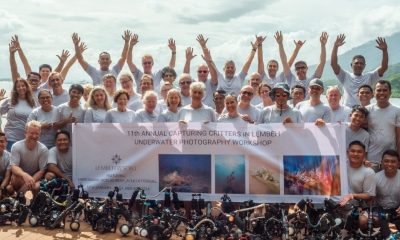
Capturing Critters in Lembeh Underwater Photography Workshop 2024: Event Roundup
-
 Marine Life & Conservation Blogs3 months ago
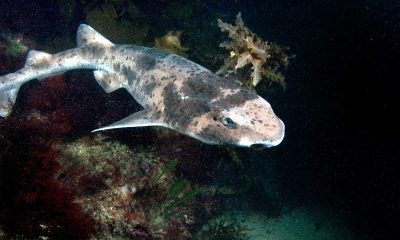
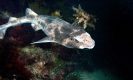
Creature Feature: Swell Sharks
-

 Blogs2 months ago
Murex Resorts: Passport to Paradise!
-

 Blogs2 months ago
Diver Discovering Whale Skeletons Beneath Ice Judged World’s Best Underwater Photograph
-
 Gear Reviews3 weeks ago
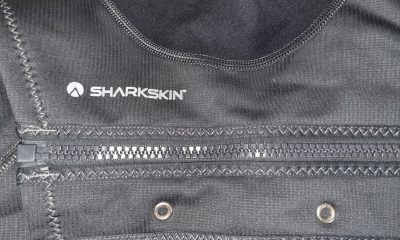
GEAR REVIEW – Revolutionising Diving Comfort: The Sharkskin T2 Chillproof Suit
-
 Gear Reviews3 months ago
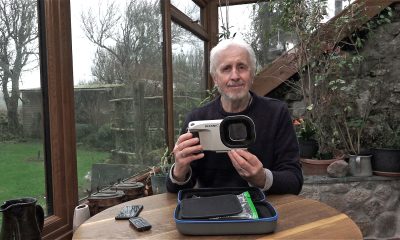
Gear Review: Oceanic+ Dive Housing for iPhone
-

 News2 months ago
PADI Teams Up with Wellness Brand Neuro to Drive Ocean Change and Create a Blue State of Mind
-
 Marine Life & Conservation2 months ago
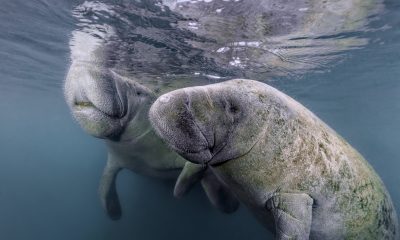
Save the Manatee Club launches brand new webcams at Silver Springs State Park, Florida