
News
A Guide to Underwater Wildlife Video & Editing: Part 5
Read Part 4 here.
A part serialisation of a book by Jeff Goodman
PART 5: Focus
Most cameras will have an auto focus mode with the option of switching to manual if desired. Unfortunately not all underwater housings will have the controls to let you access this. Some give you a choice of being able to manually change either focus or exposure. If this is the case then I would highly recommend leaving focus on auto and having full manual control over exposure.
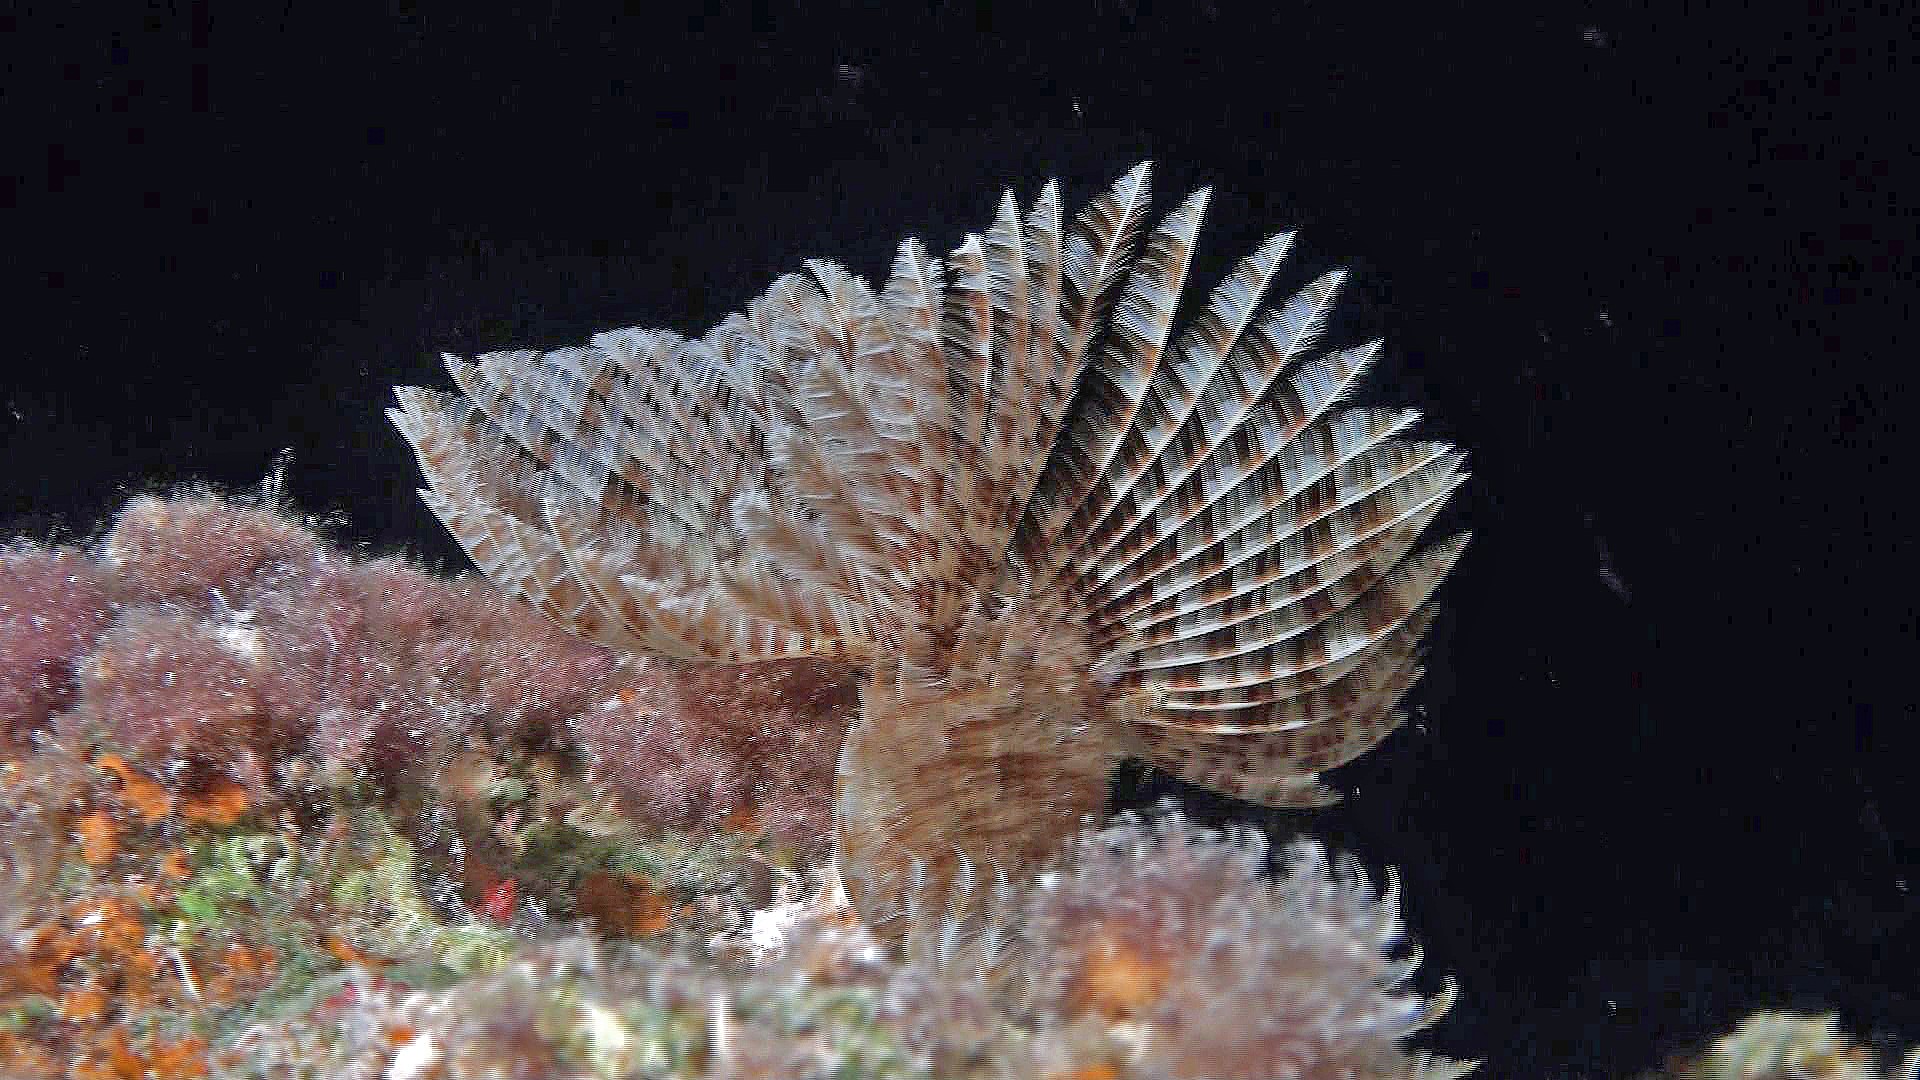
Focus is critical to get right.
Sharp – in focus

Soft – out of focus
A picture can be a little too dark or a little too light, or even a little oddly framed, and still be acceptable to most audiences. But a picture that is even slightly out of focus is very hard to accept.
Auto focus
Professional cameras don’t have this option but most others do. Auto focus is a wonderful piece of technology, but no matter how wonderful, it still doesn’t know what you, as a camera person, actually want to focus on. It will take its ‘best guess’ as to what’s right and that generally is what is biggest and most central to your picture frame.
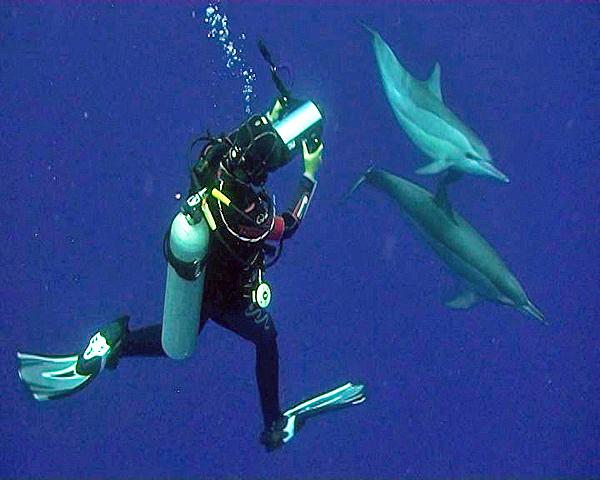
Let’s look at an example of when auto focus can really mess up your videoing.
You are in open water with a dolphin or two. There are no well defined images in the water except the dolphins themselves. Unless the dolphin is large in the frame the auto focus will have a terrible time trying to find an image to resolve itself on. Without the dolphin as a reference in your monitor you may notice that the auto focus is ‘hunting’ in and out trying to find a subject. Often it will settle on focusing on the small bits of dirt or bubbles on your lens port. (Note – always keep your port clean and check it constantly.)
Then a dolphin comes into frame. Will it be sharp? Who knows, it’s pot luck. If you then stay framed on the dolphin long enough, maybe just a few seconds, the auto focus will recognize the image and be happy. Sadly in those first few seconds of video, which may be the most important, the dolphin may not be sharp. Then as soon as the dolphin leaves frame the auto focus will become worried again and may start looking for a new focal point.
This may seem only a minor problem at the time, but believe me, when you get back into the edit room and look at the video, the first few seconds of out-of focus images will drive you crazy. Hence the advantage here of manual focus which you can set yourself.
For this type of shot with the dolphins it usually works out that wide angle framing is best and thus will have a good depth of field. Preset the focus to around 1 to 2 metres. This will generally give sharp images from the lens port to infinity. A point of reference for the pre-focal point could be one of your fins. Simply point the camera down to you feet and focus on the tip of your fin. A brightly coloured one would be most effective. Perhaps use your dive buddy’s bright tank. This pre focus trick can also work quite well for the auto focus especially if you do it moments before the dolphin enters frame.
With manual focus, although you do have greater control over what is sharp, the difficulty arises when you want to zoom in and alter the frame size. Now the 1-2 meter focal point won’t have enough depth of field and so you will have to adjust your focus to compensate. On zooming in the focus becomes much more critical and will have to reflect the true distance of the subject as the depth of field will now be quite small. We look at depth of field later.
With auto focus, zooming in, as long as you remain on the subject, can be very good, but if you are not already framed up on the subject the auto focus will have a devil of a time trying to resolve the image.
Ideally your image should be crisp and sharp. Even if the visibility or light values are bad.

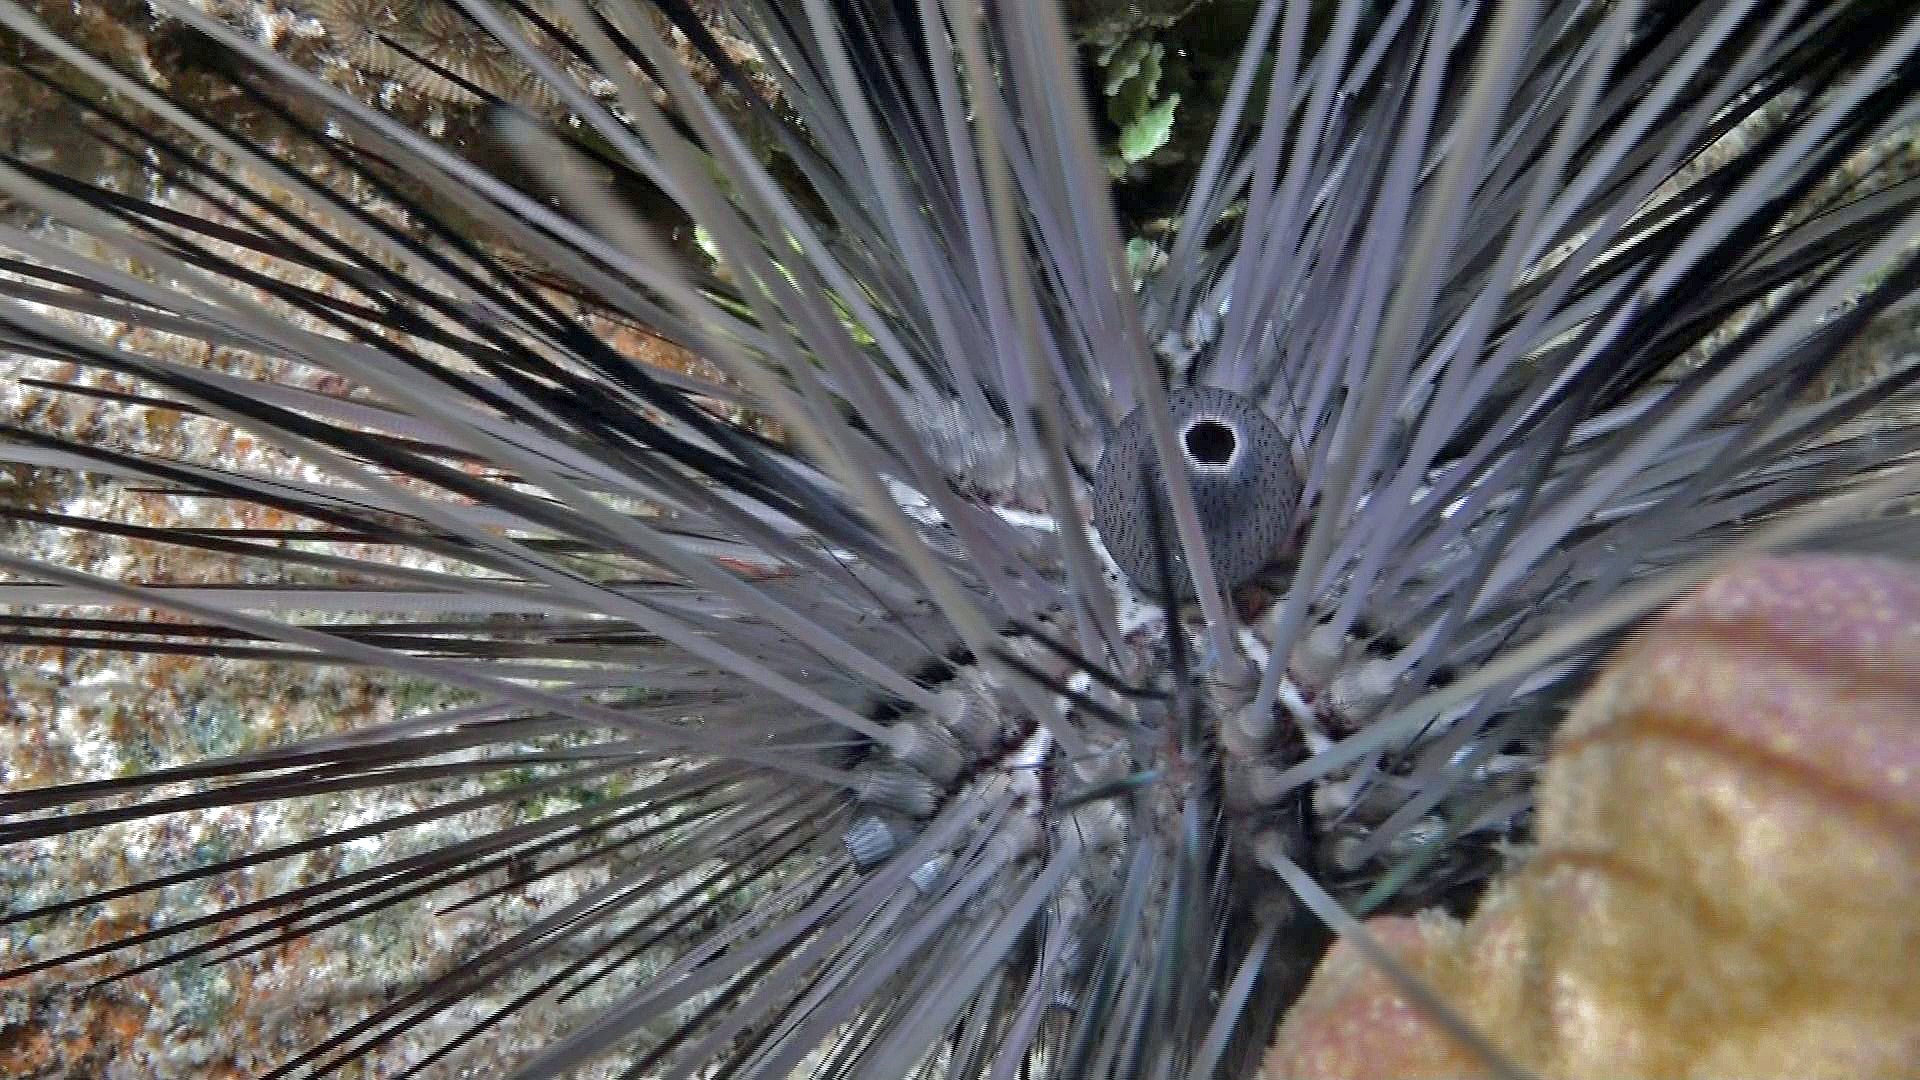
A ‘hunting’ auto focus may give you a ‘soft’ unusable image while all the action is going on regardless.
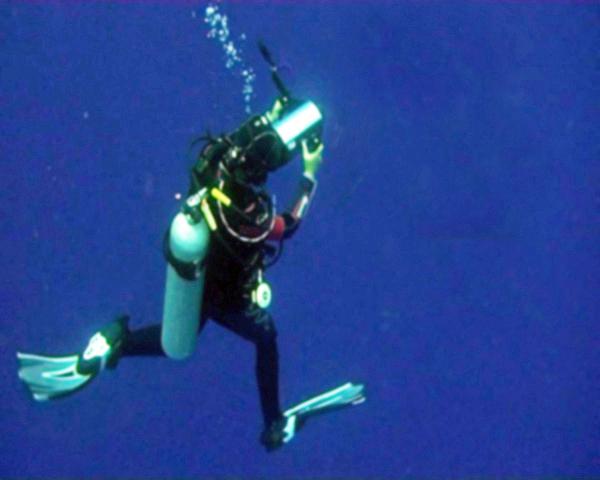
Here, the auto focus has almost resolved the image for you but not quite in time.
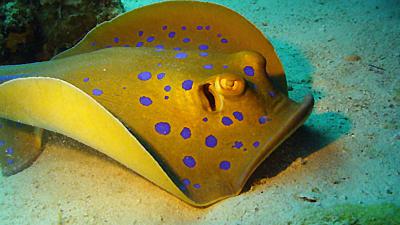
A clown fish in an anemone
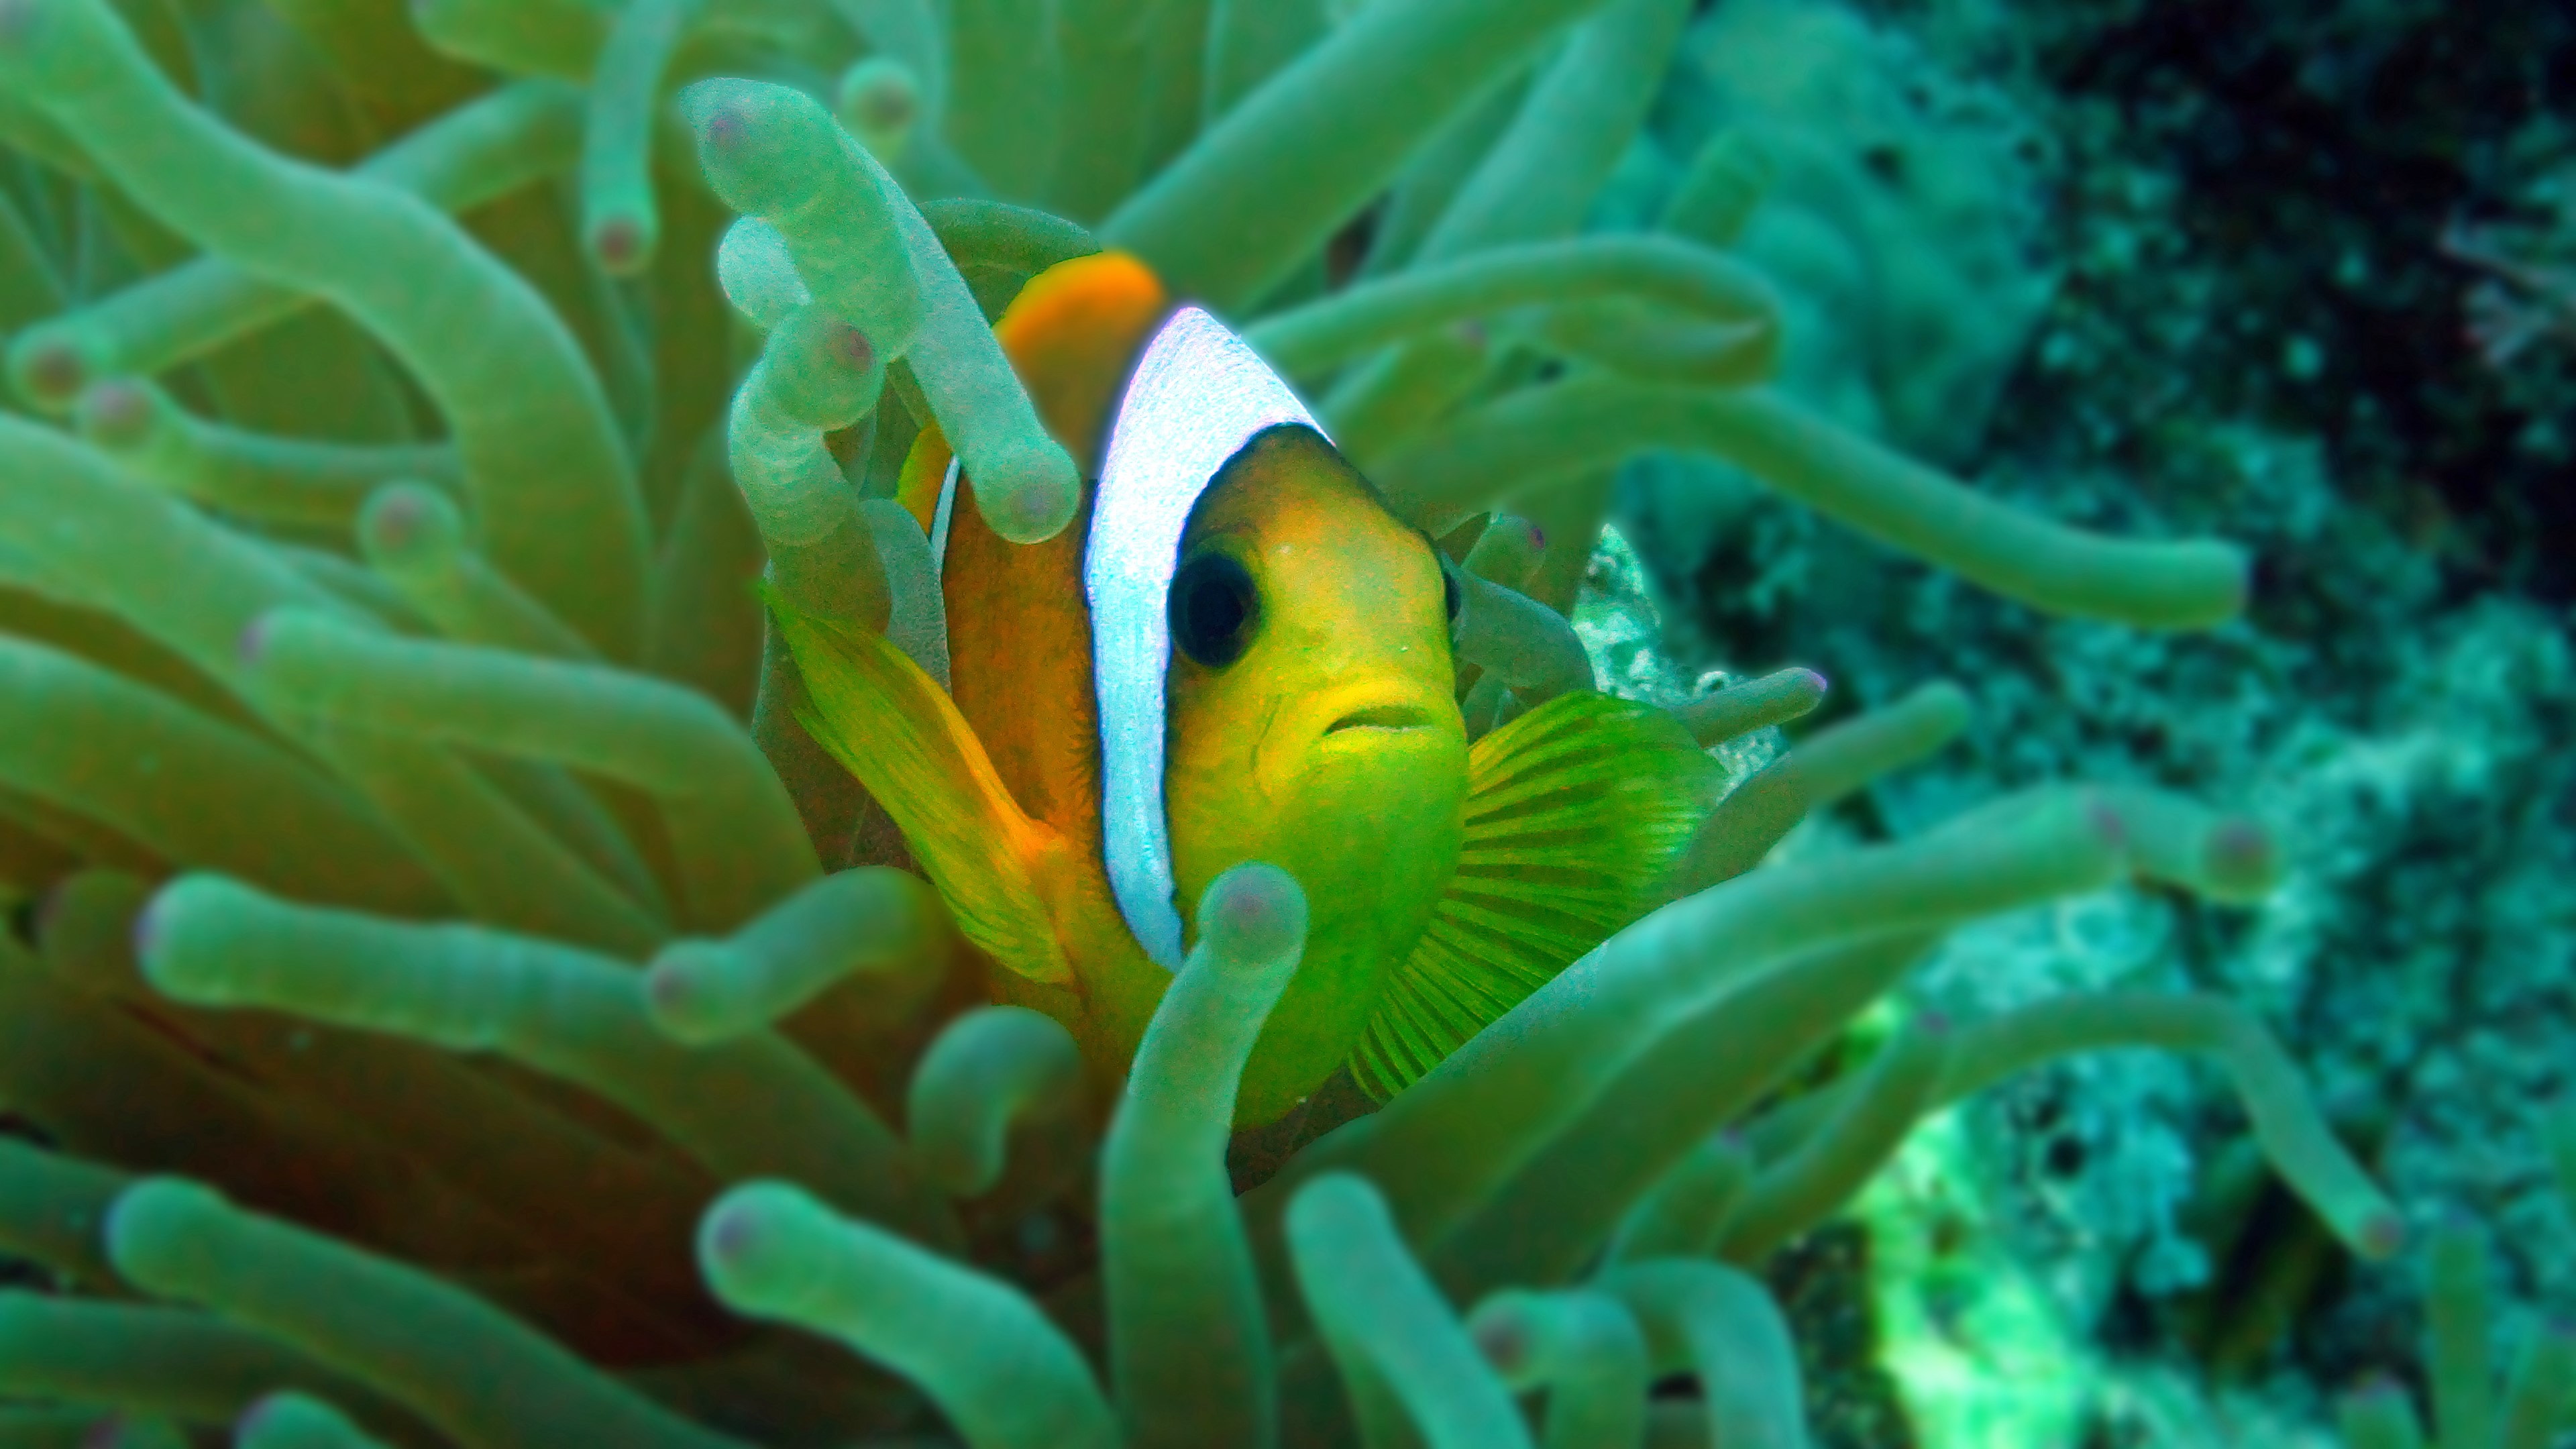
Here again, as with the dolphin, the auto focus would work very well in a wide angle shot, but as soon as you zoom in to get some close-ups and the depth of field becomes very small, then the clever auto focus is not going to know which part of the frame needs to be kept sharp. The constantly moving fish and also the tentacles of the anemone could keep the auto focus ‘hunting’ throughout your entire shot. Here certainly, the best option is manual focus. If you do not have the option of easily adjusting focus through the housing controls, then keep to the manual option and move the camera in and out slightly as the fish moves, thus keeping it at the correct focal distance. i.e. sharp. There will be many occasions when the auto focus will work just fine and do a brilliant job, but, you are giving over control to an electronic chip. Know it’s limitations.
Not all housings allow you to have full manual control of focus and many don’t allow you to have any control at all. If you only have the auto focus option it’s no problem as long as you are aware of what is going on. With a good clear monitor you can see when a shot is losing focus or not and if it is, then re-think what you are doing and perhaps something as simple as adjusting your shot size will cure the problem.
As we will see later when we discuss editing, it is often desirable to let your subject leave or enter your frame, in this case the clown fish. The downside to this with auto focus is, that as soon as the fish does leave frame, the focus will start hunting for the next best thing to be sharp on. This ‘searching’ even be it for a few moments can look awful and is very different from deliberately changing focus.
So all in all, auto focus is generally very good but can occasionally cause problems which may be acceptable in an amateur video but certainly not in a professional production.
For the lucky ones, some cameras and housings will allow you to change from auto to manual and back again with the flick of a switch or press of a button. Here you have the best of both worlds. Let’s suppose we are filming a turtle on a reef. The first shot you may want to do could be a wide angle and then, adjust shot size, for a close up or two. If there is time, try to zoom right into the turtle and let the auto focus do it’s thing, then flick over to manual focus. The focal distance of the lens will then be locked in place. Now zoom out to the shot size you want and you can be confident that the picture is as sharp as it can possibly be. As the turtle moves you can occasionally, momentarily, flick the auto focus option just to ensure that all is well. How many times you do this is entirely down to your discretion, and lots of practice.
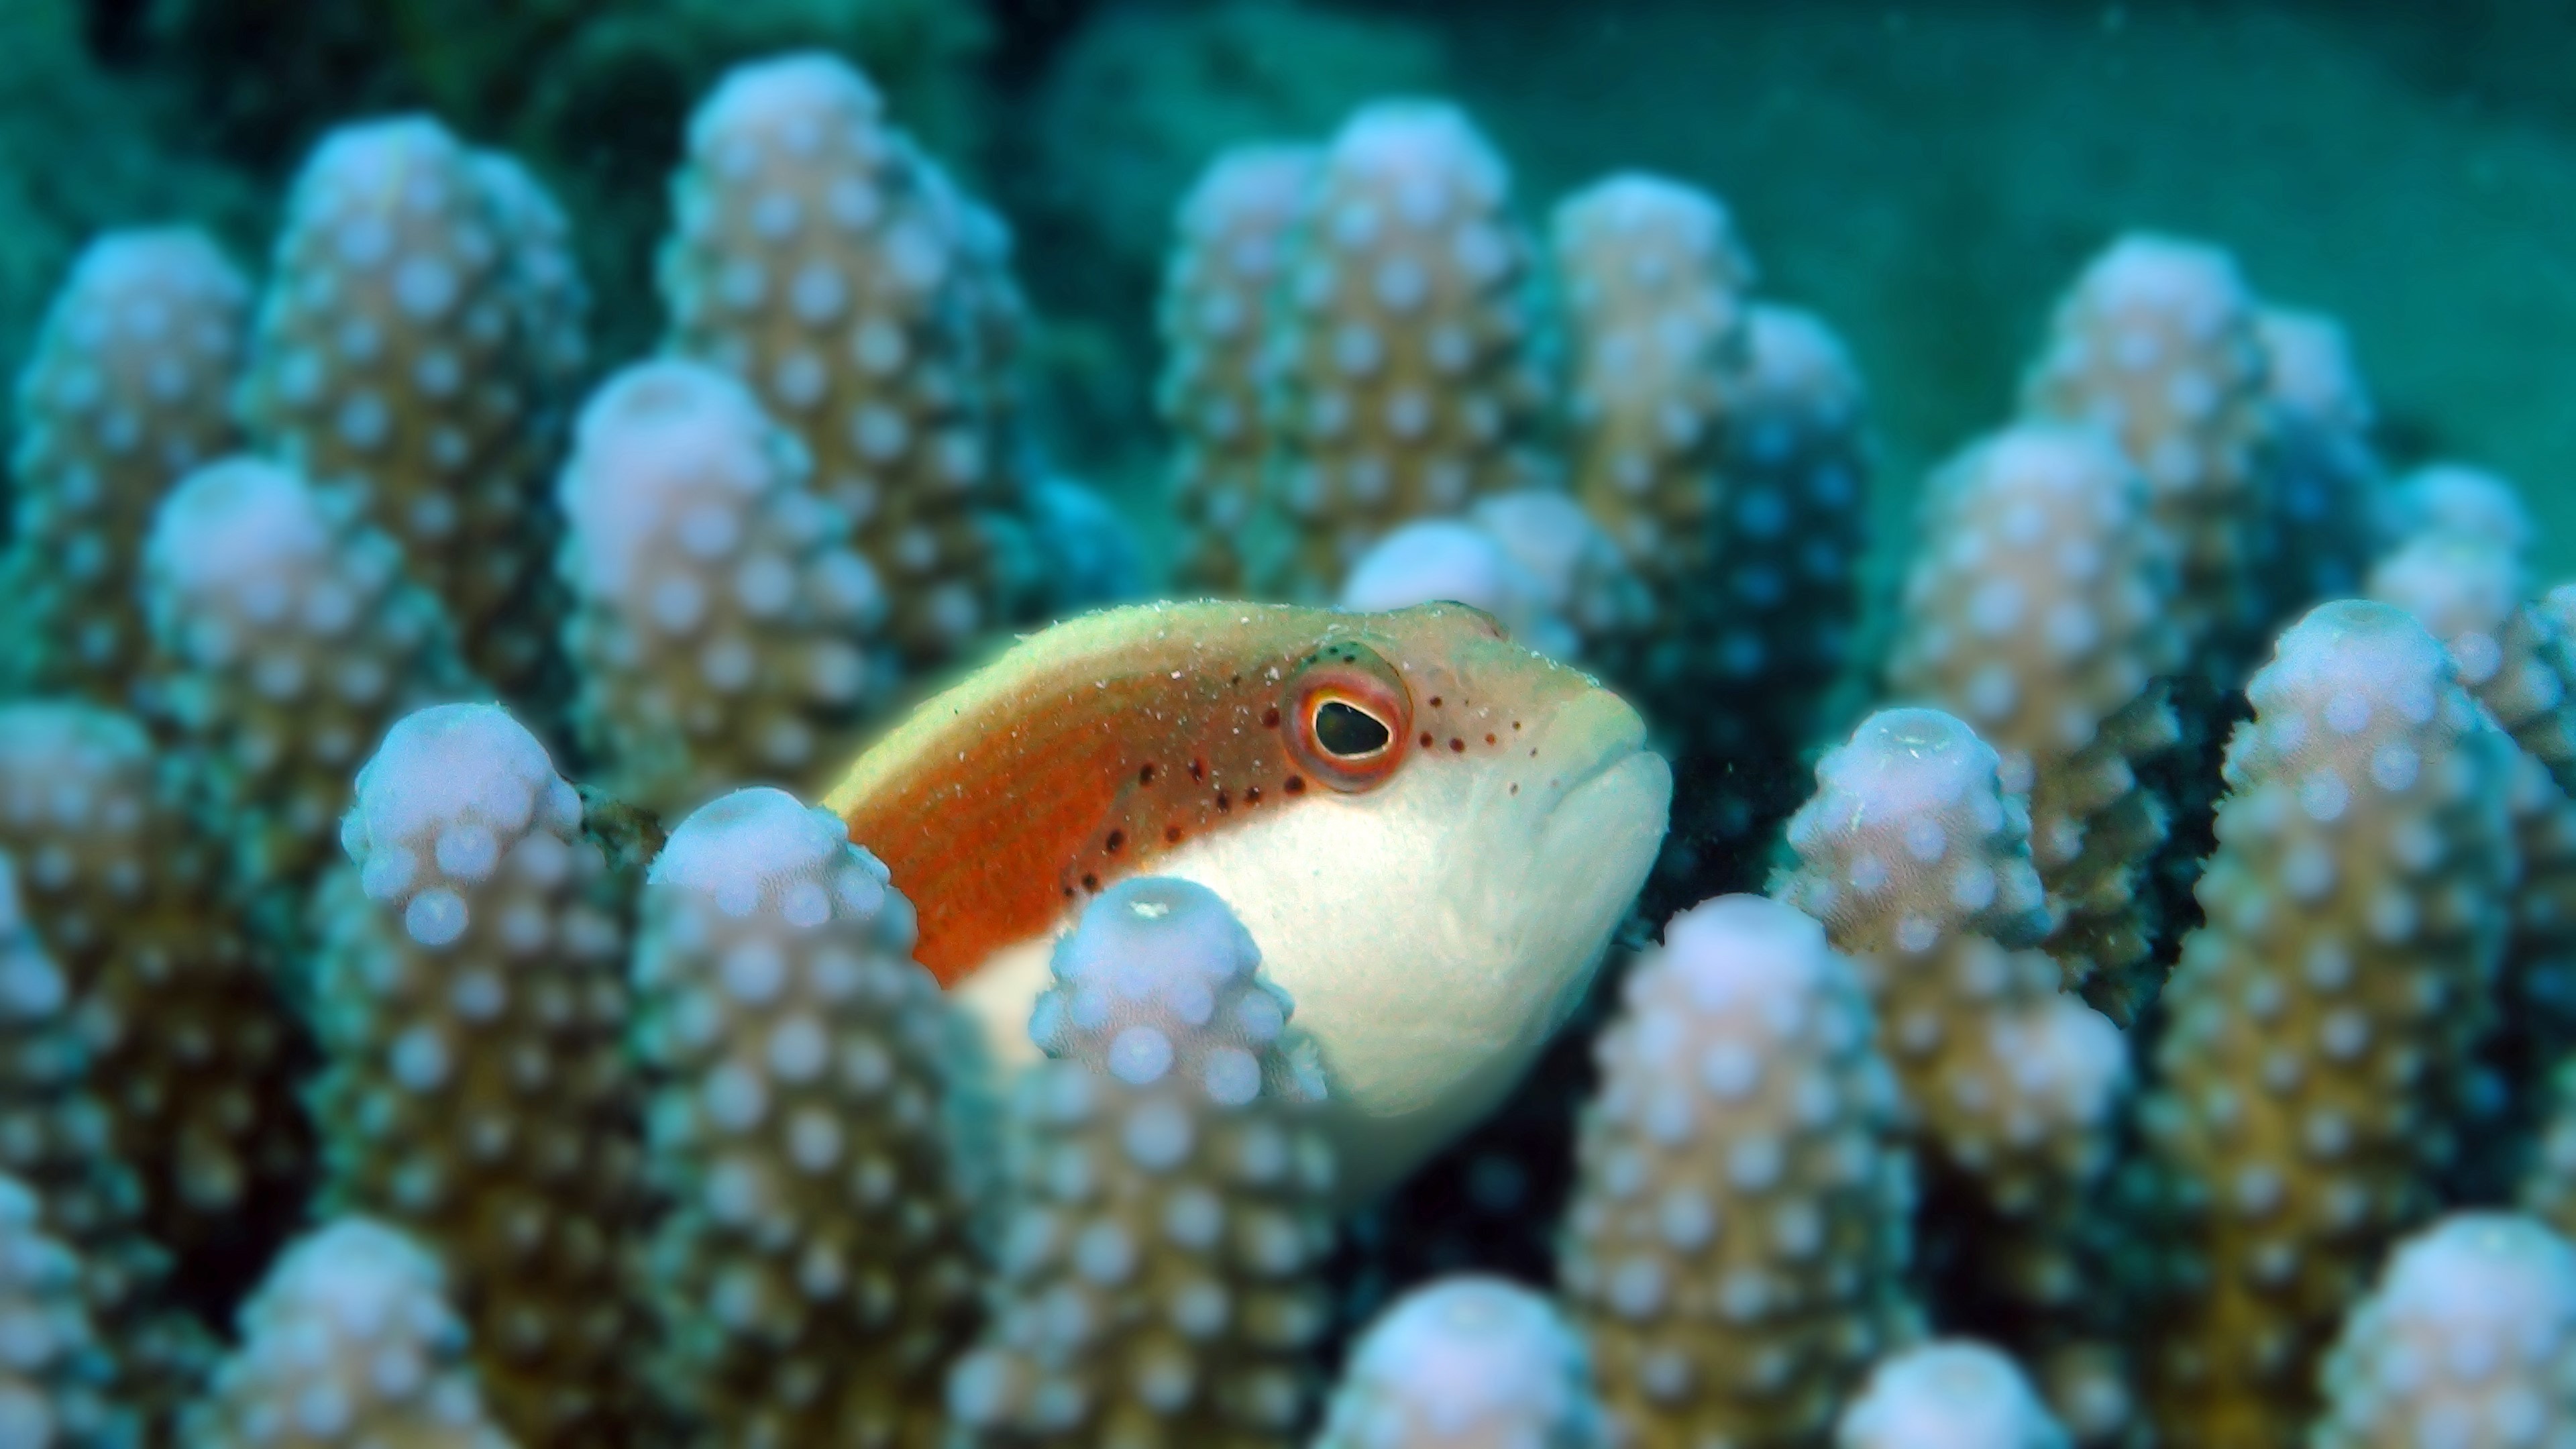
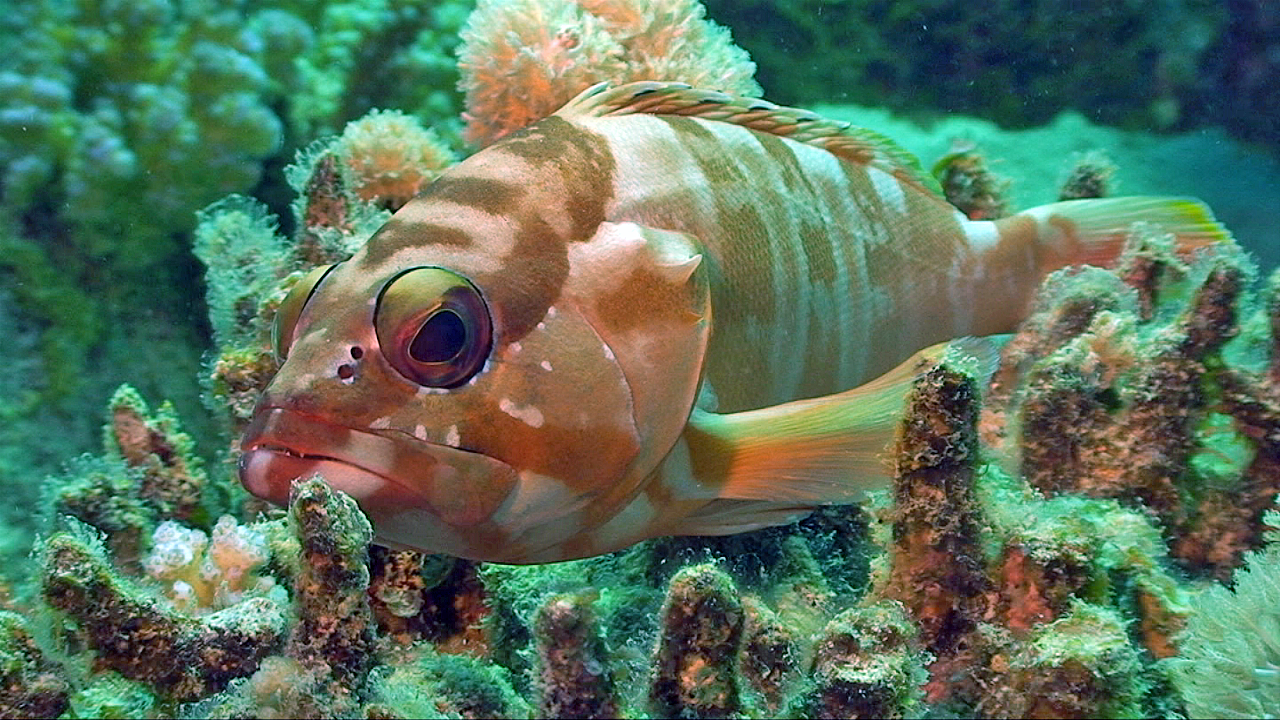
With a very small depth of field, the focus is critical
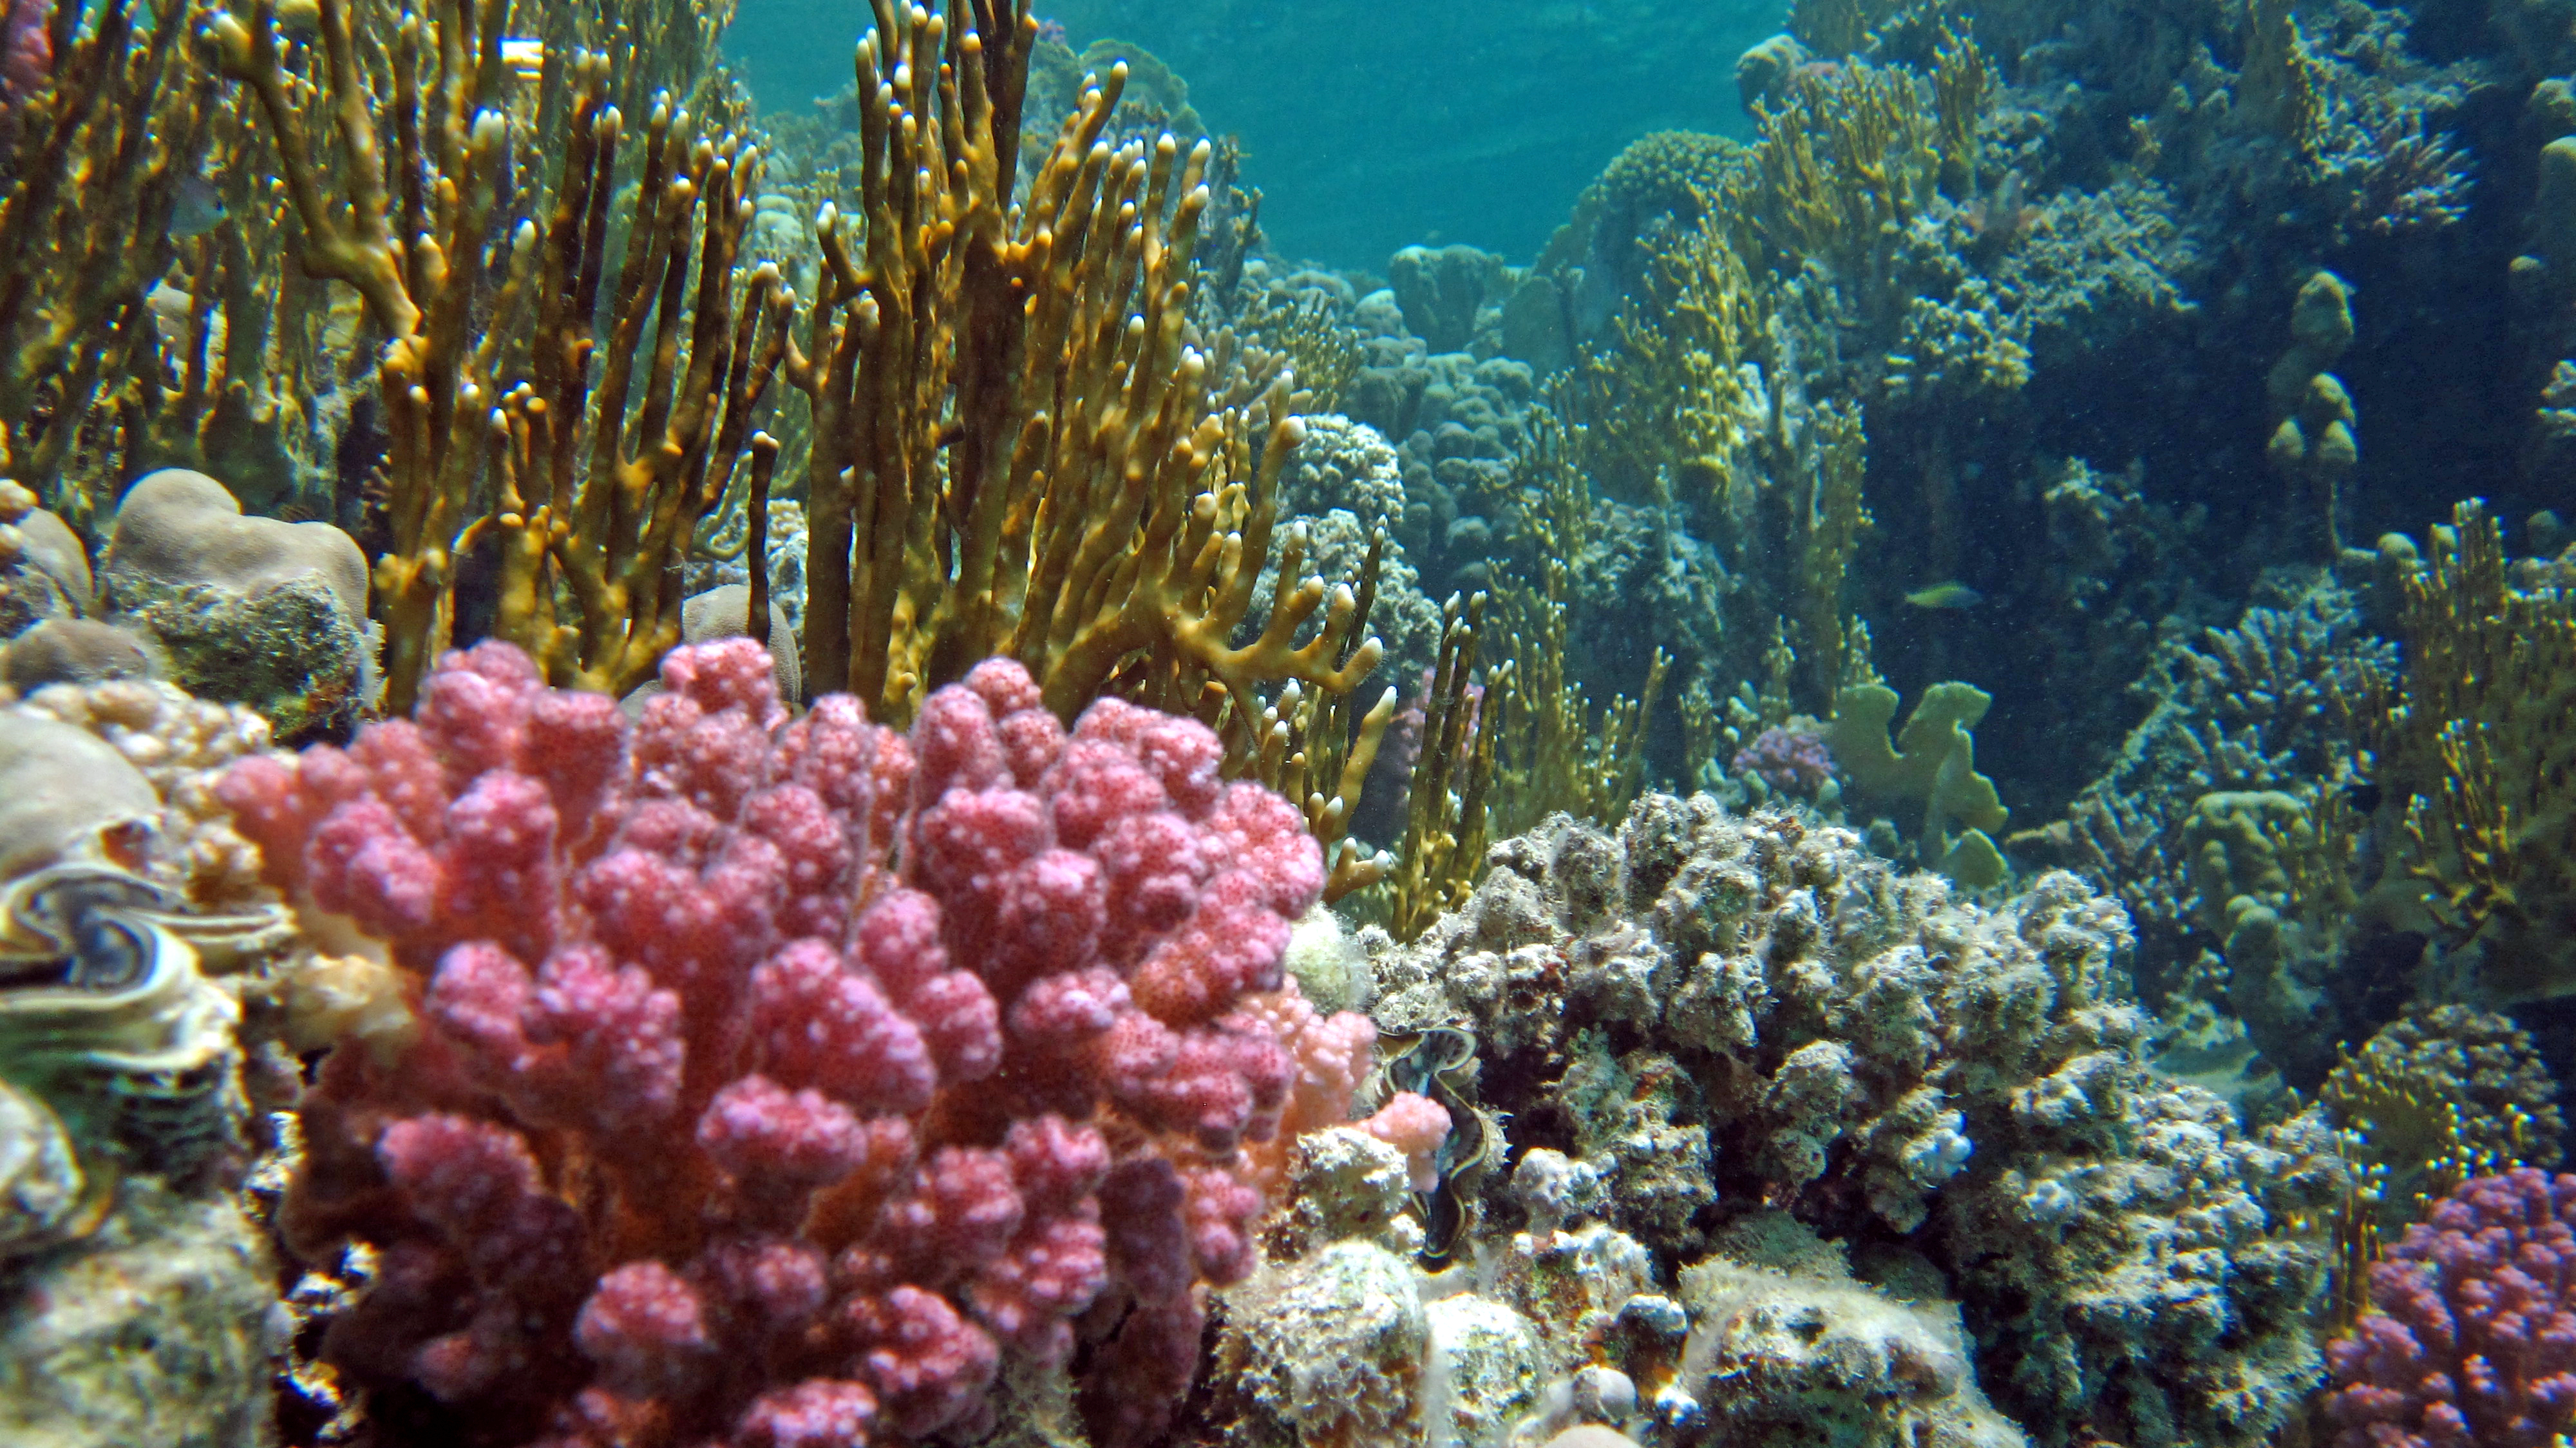
This wide angle image of a reef is spoilt because the auto focus concentrated on the background reef. The red foreground coral is out of focus, even though it is in the key part of the frame.
In the previous example of the coral wide angle, it isn’t of course the fault of the auto focus that the foreground coral is not sharp. You are in charge. Look carefully at what the auto focus is doing. If you don’t like it then turn to manual, re-frame, or don’t do the shot. In this instance it would have been better to have had the red foreground coral sharp, at the expense of the background
Pulling Focus
Pulling focus from one subject to another can be very dramatic, but is mostly effective on long lens shots or at the longer end of your zoom. As we are underwater and most of our videoing is done with a wide angle, pulling focus is not something that is used much at all. However, it can be effective when shooting in close up or macro mode. Here auto focus is next to useless as the shot size and framing will remain constant throughout and the auto focus has no idea that you want to alter the focal point from one part of the frame to another. We definitely want the manual focus option, which needs to be very smooth in its operation, otherwise it will look amateurish.
With small subjects the point of focus is critical for a good image.
Next month we look at Lenses, Depth of Field and Angle of Coverage.


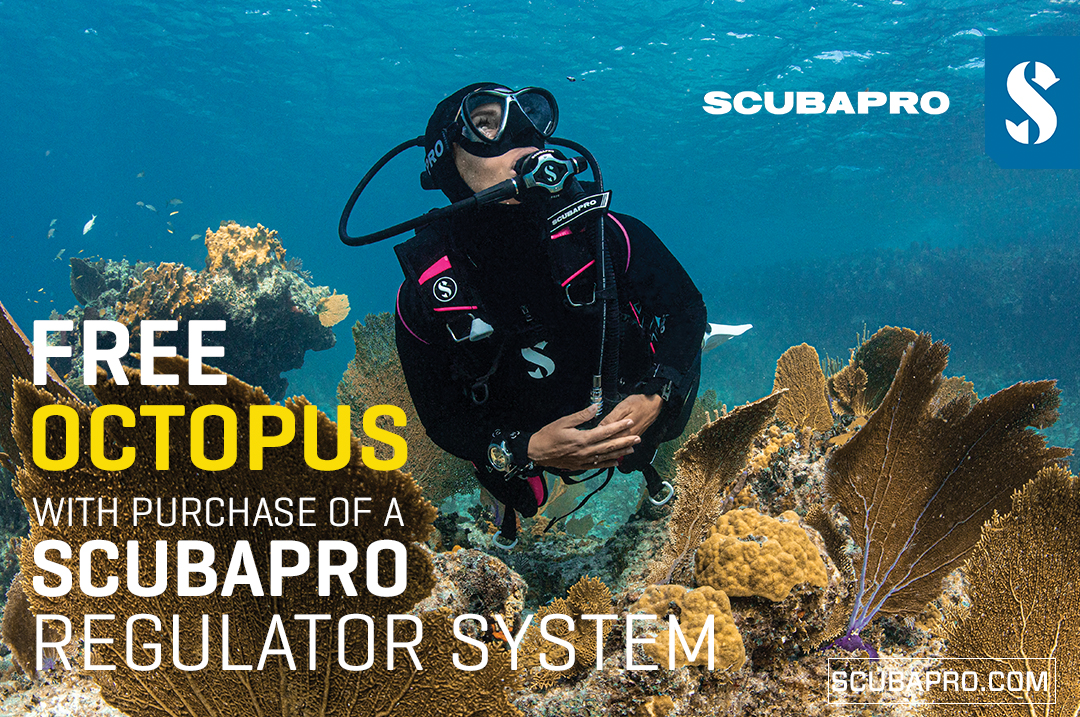
Free Octopus with every purchase of a SCUBAPRO regulator system
Just in time for the spring season, divers can save money with the FREE OCTOPUS SPRING PROMOTION! Until July 31st SCUBAPRO offers an Octopus for free
with every purchase of a regulator system!
Get a free S270 OCTOPUS with purchase of these combinations:
MK25 EVO or MK19 EVO with A700
MK25 EVO or MK19 EVO with S620Ti
MK25 EVO or MK19 EVO with D420
MK25 EVO Din mit S620Ti-X
Get a free R105 OCTOPUS with purchase of the following combinations:
MK25 EVO or MK19 EVO with G260
MK25 EVO or MK17 EVO with S600
SCUBAPRO offers a 30-year first owner warranty on all regulators, with a revision period of two years or 100 dives. All SCUBAPRO regulators are of course certified according to the new European test standard EN250-2014.
Available at participating SCUBAPRO dealers. Promotion may not be available in all regions. Find an authorized SCUBAPRO Dealer at scubapro.com.
More information available on www.scubapro.com.
Jake Davies boards Ghazala Explorer for an unforgettable Red Sea diving experience…
Overnight, the wind picked up, making the planned morning dive a bit bumpy on the Zodiacs to the drop point on Thomas Reef. There, we would dive along the reef before descending through the canyon and then passing under the arch before ascending the wall with a gentle drift. The site provided great encounters with more pelagic species, including shoals of large barracuda, tuna, and bigeye trevally.
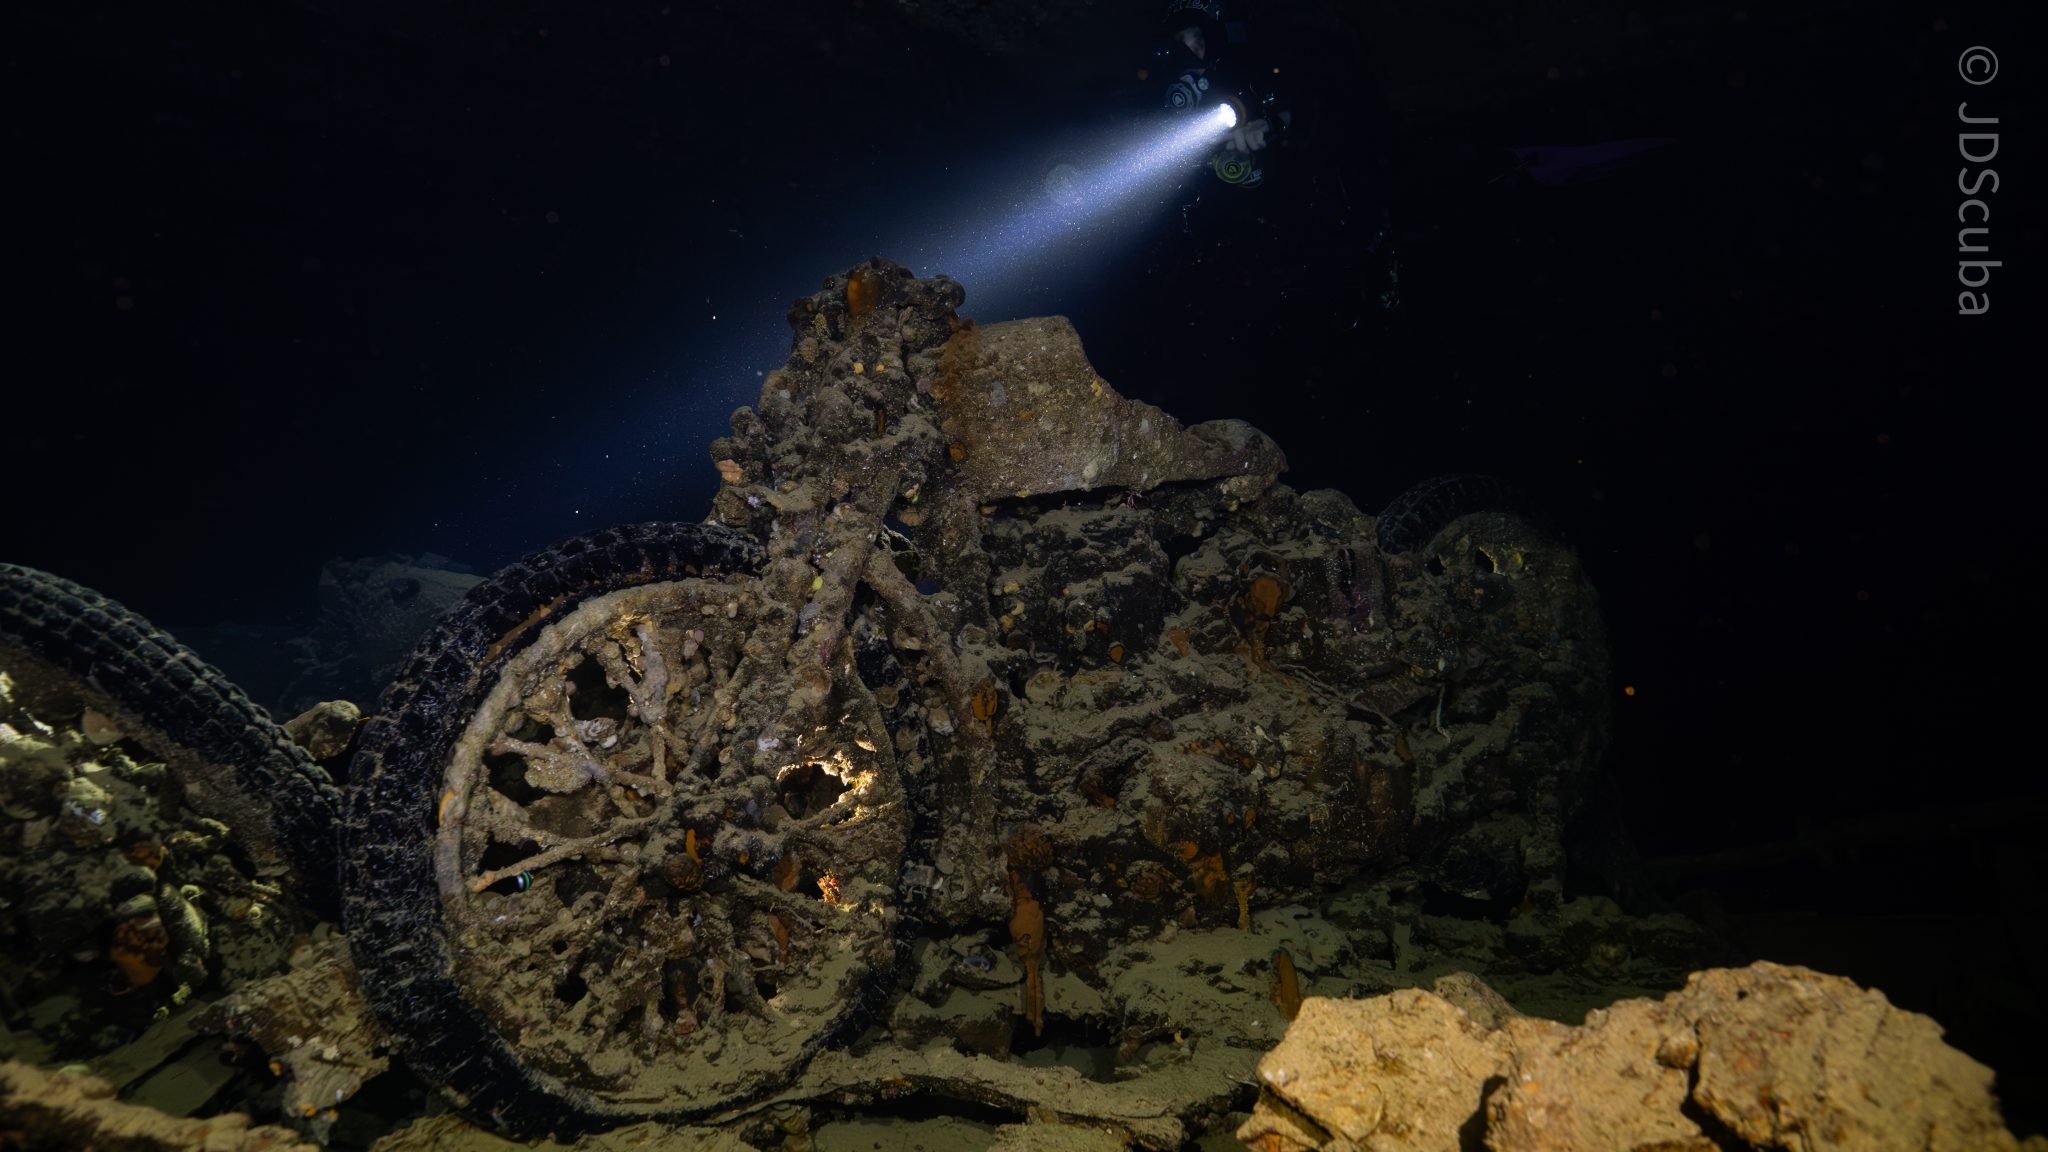
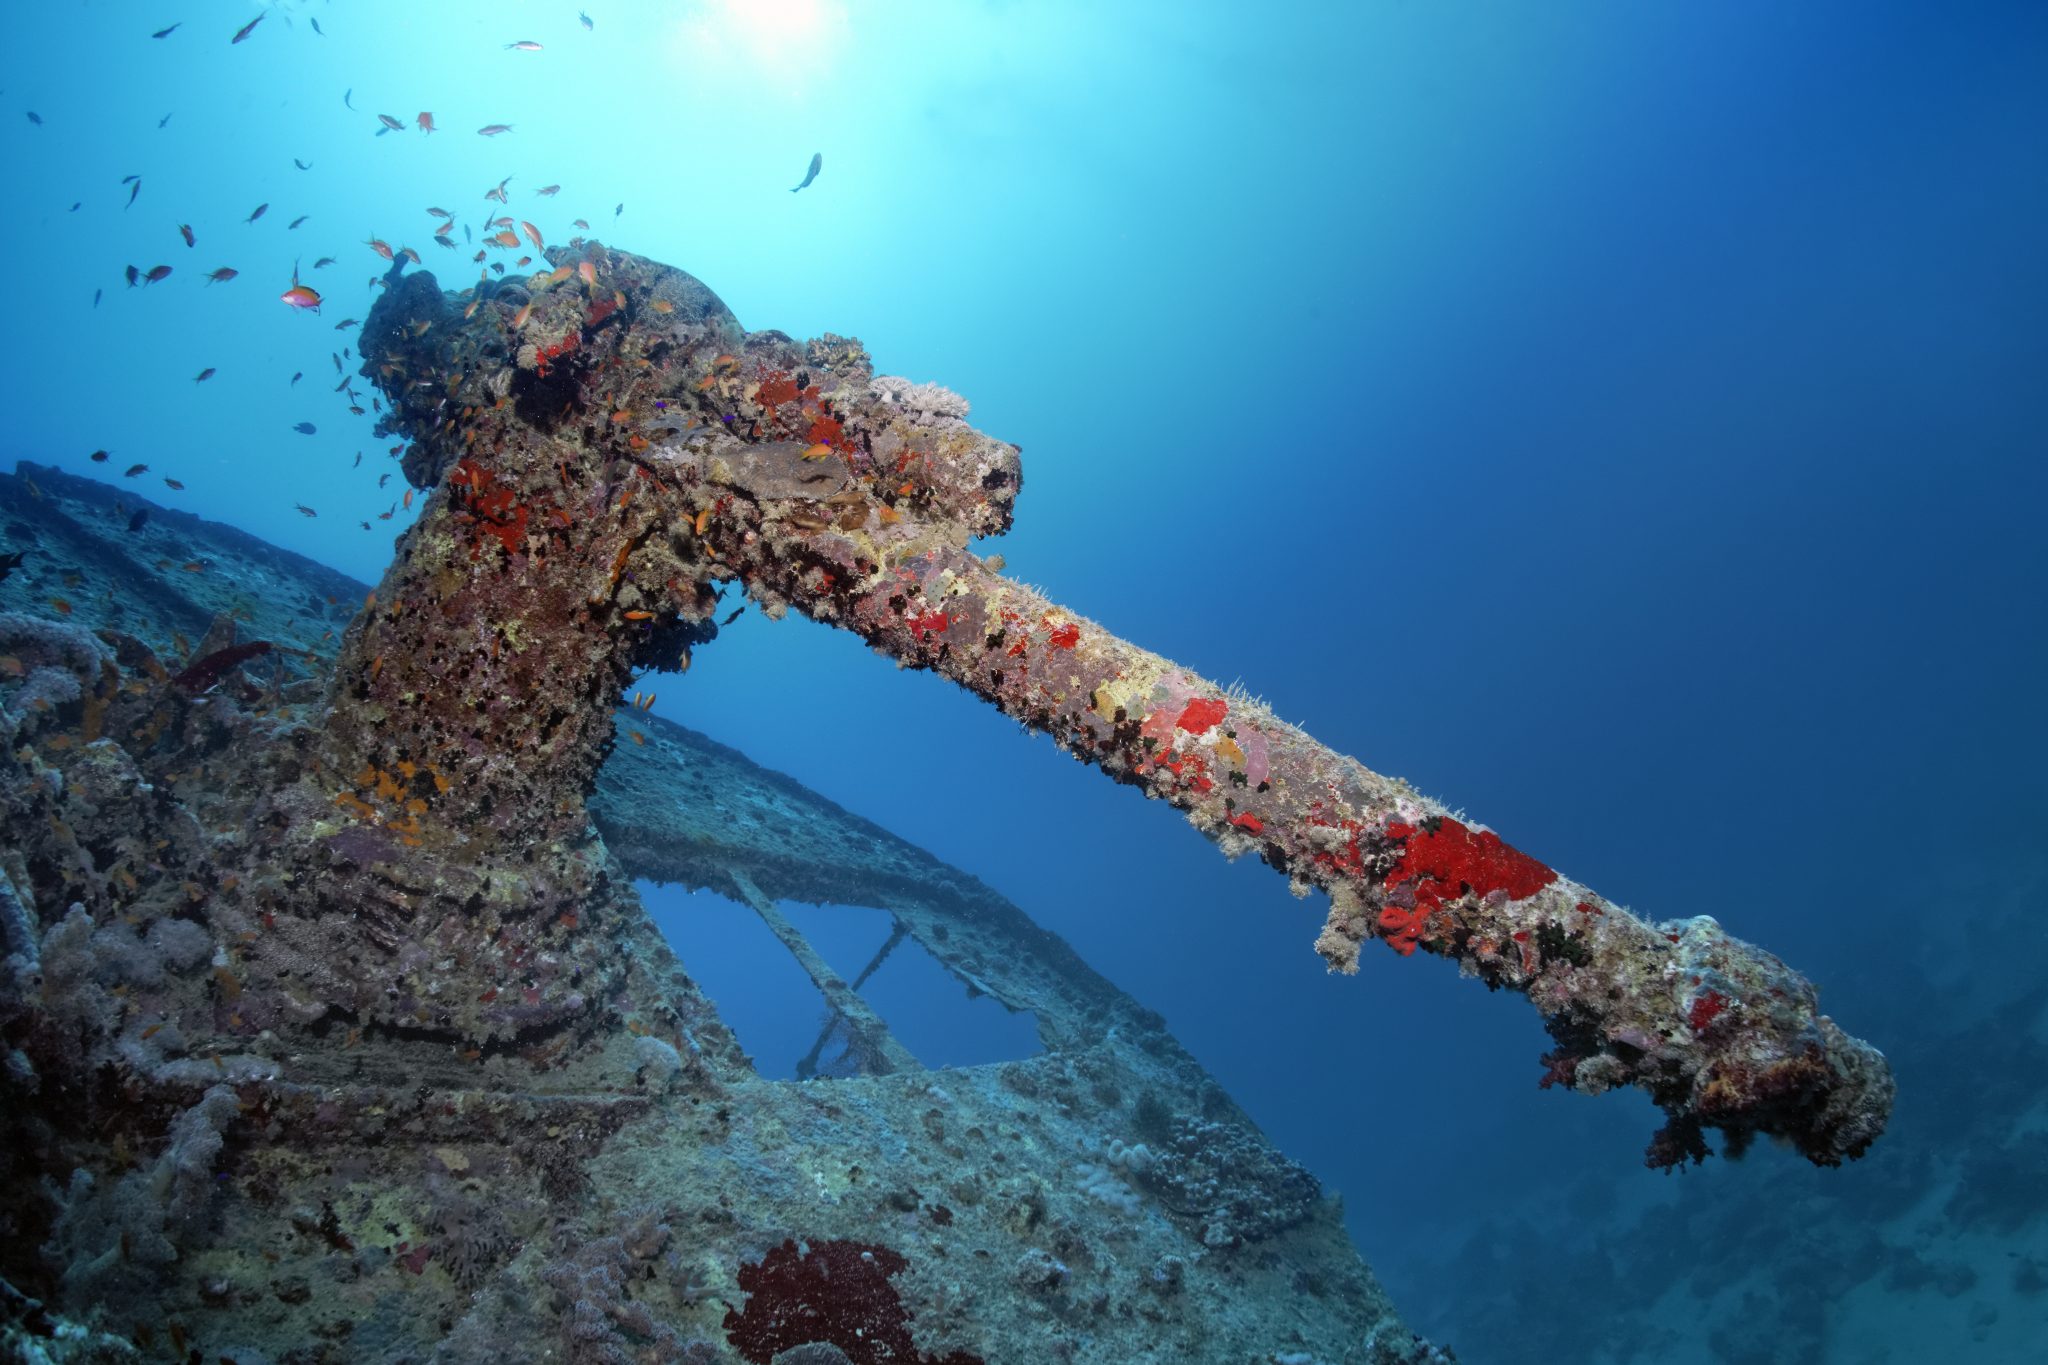
Once back on the boat, it was time to get everything tied down again as we would head back south. This time, with the wind behind us, heading to Ras Mohammed to dive Jackfish Alley for another great gentle drift wall dive before then heading up the coast towards the Gulf of Suez to moor up at the wreck of the Thistlegorm. This being the highlight wreck dive of the trip and for many onboard, including myself, it was the first time diving this iconic wreck. I had heard so much about the wreck from friends, and globally, this is a must on any diver’s list. Fortunately for us, there was only one other boat at the site, which was a rarity. A great briefing was delivered by Ahmed, who provided a detailed background about the wreck’s history along with all the required safety information as the currents and visibility at the site can be variable.
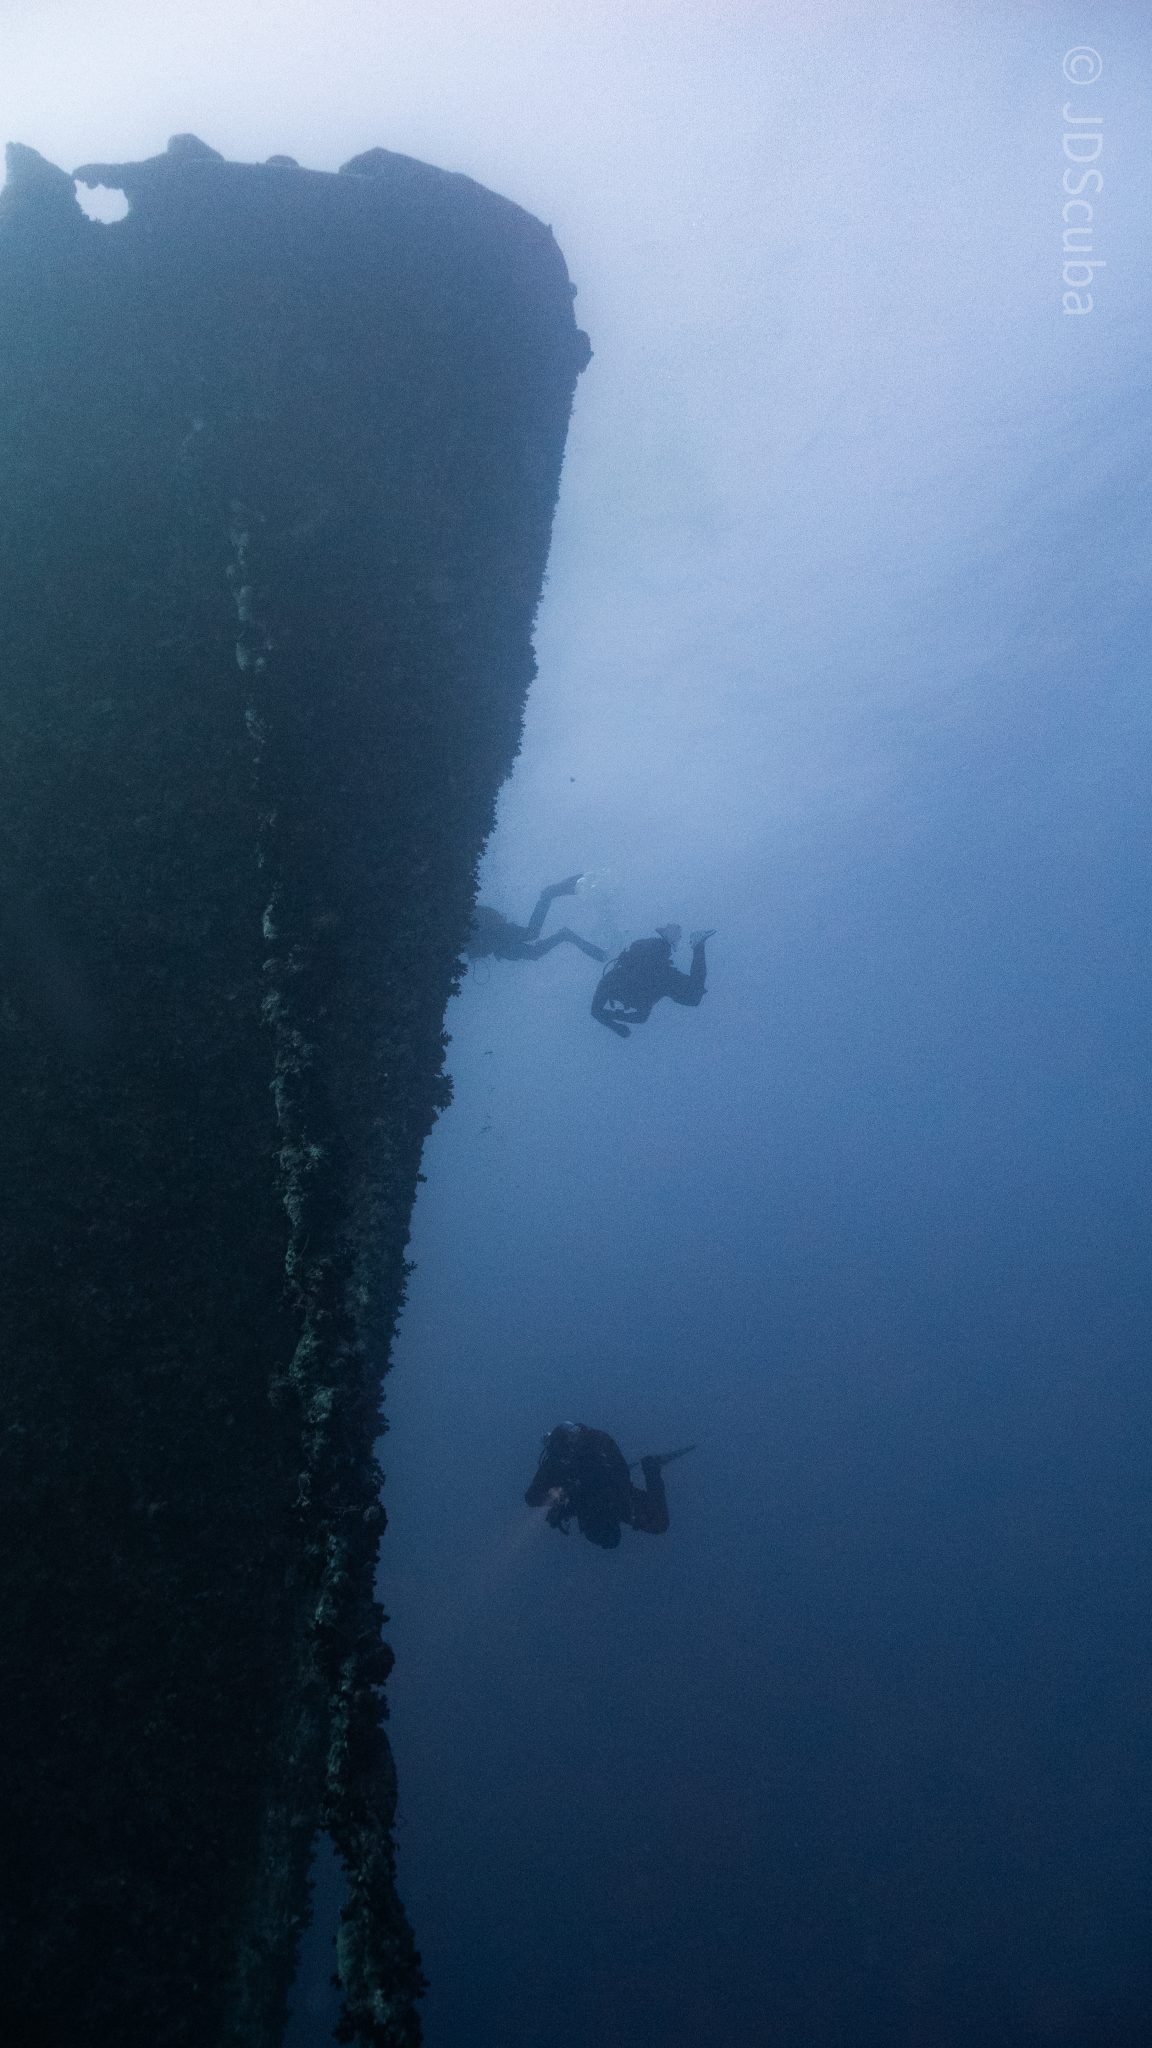
Kitting up, there was a lot of excitement on deck before entering the water and heading down the shoreline. Descending to the wreck, there was a light northerly current which reduced the visibility, making it feel more like the conditions that can be found off the Welsh coast. At 10m from the bottom, the outline of the wreck appeared as we reached the area of the wreck which had been bombed, as our mooring line was attached to part of the propeller shaft. Arriving on deck, instantly everywhere you looked there were many of the supplies which the ship was carrying, including Bren Carrier tanks and projectiles that instantly stood out.
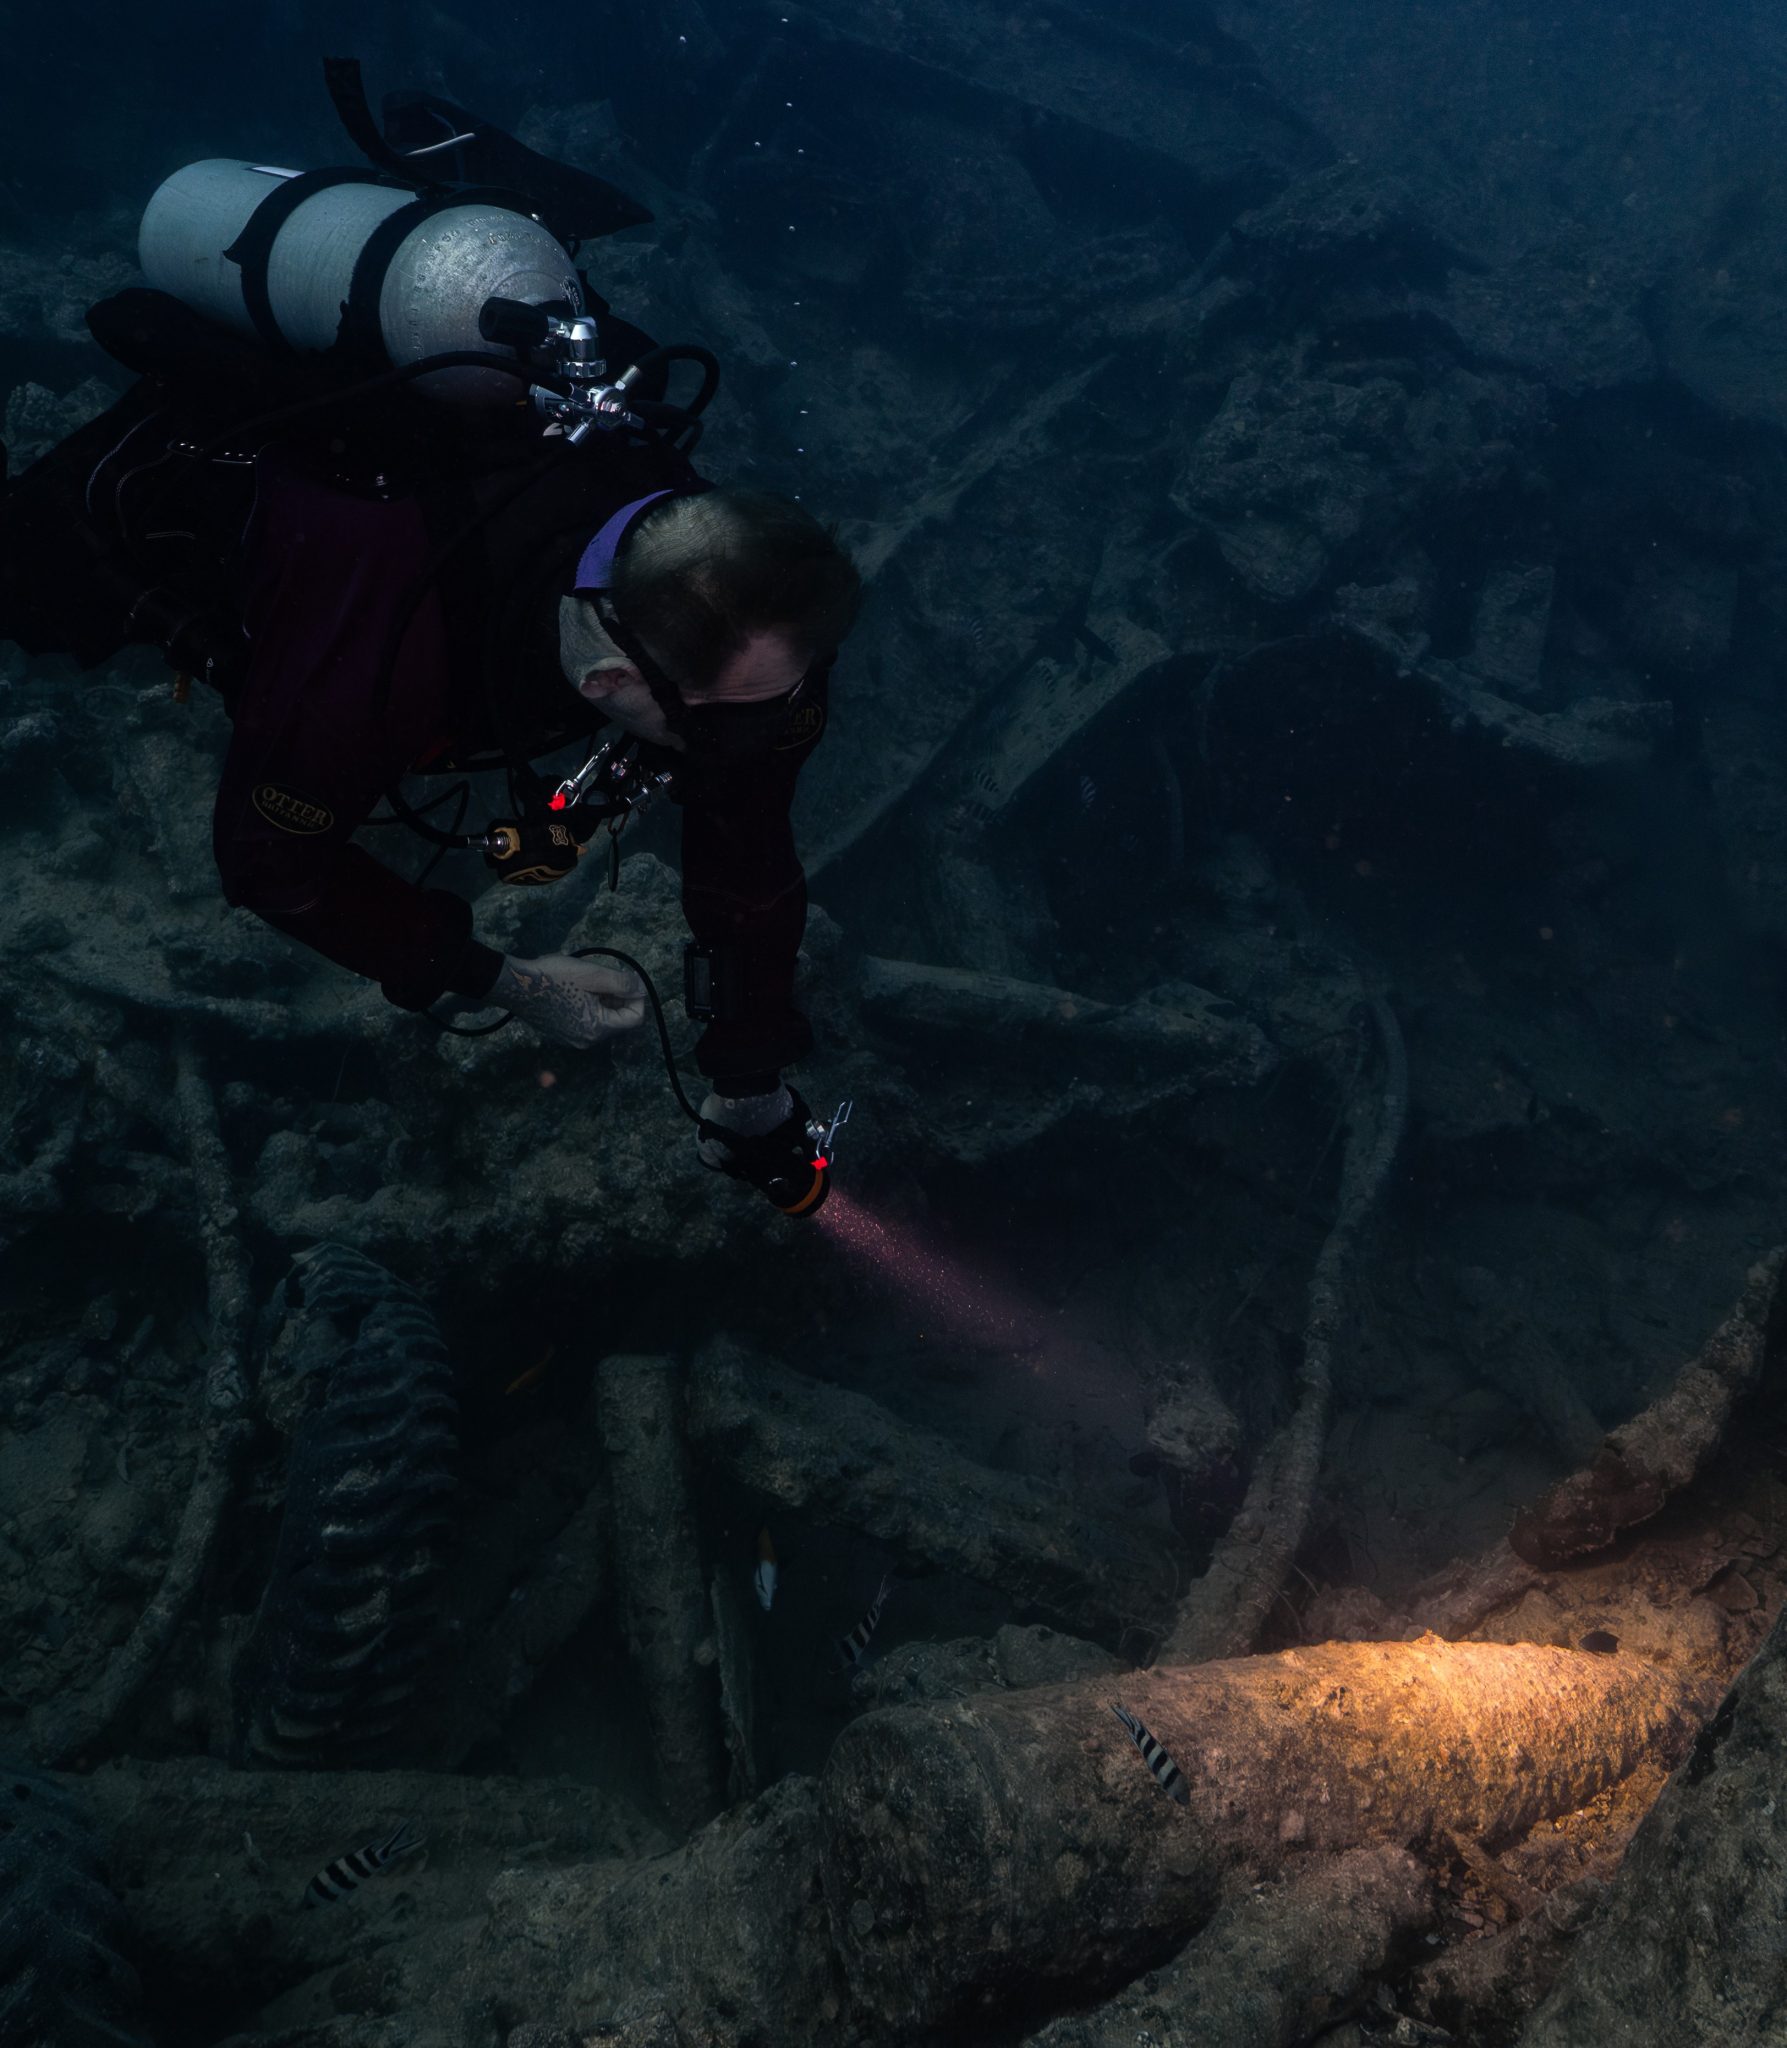
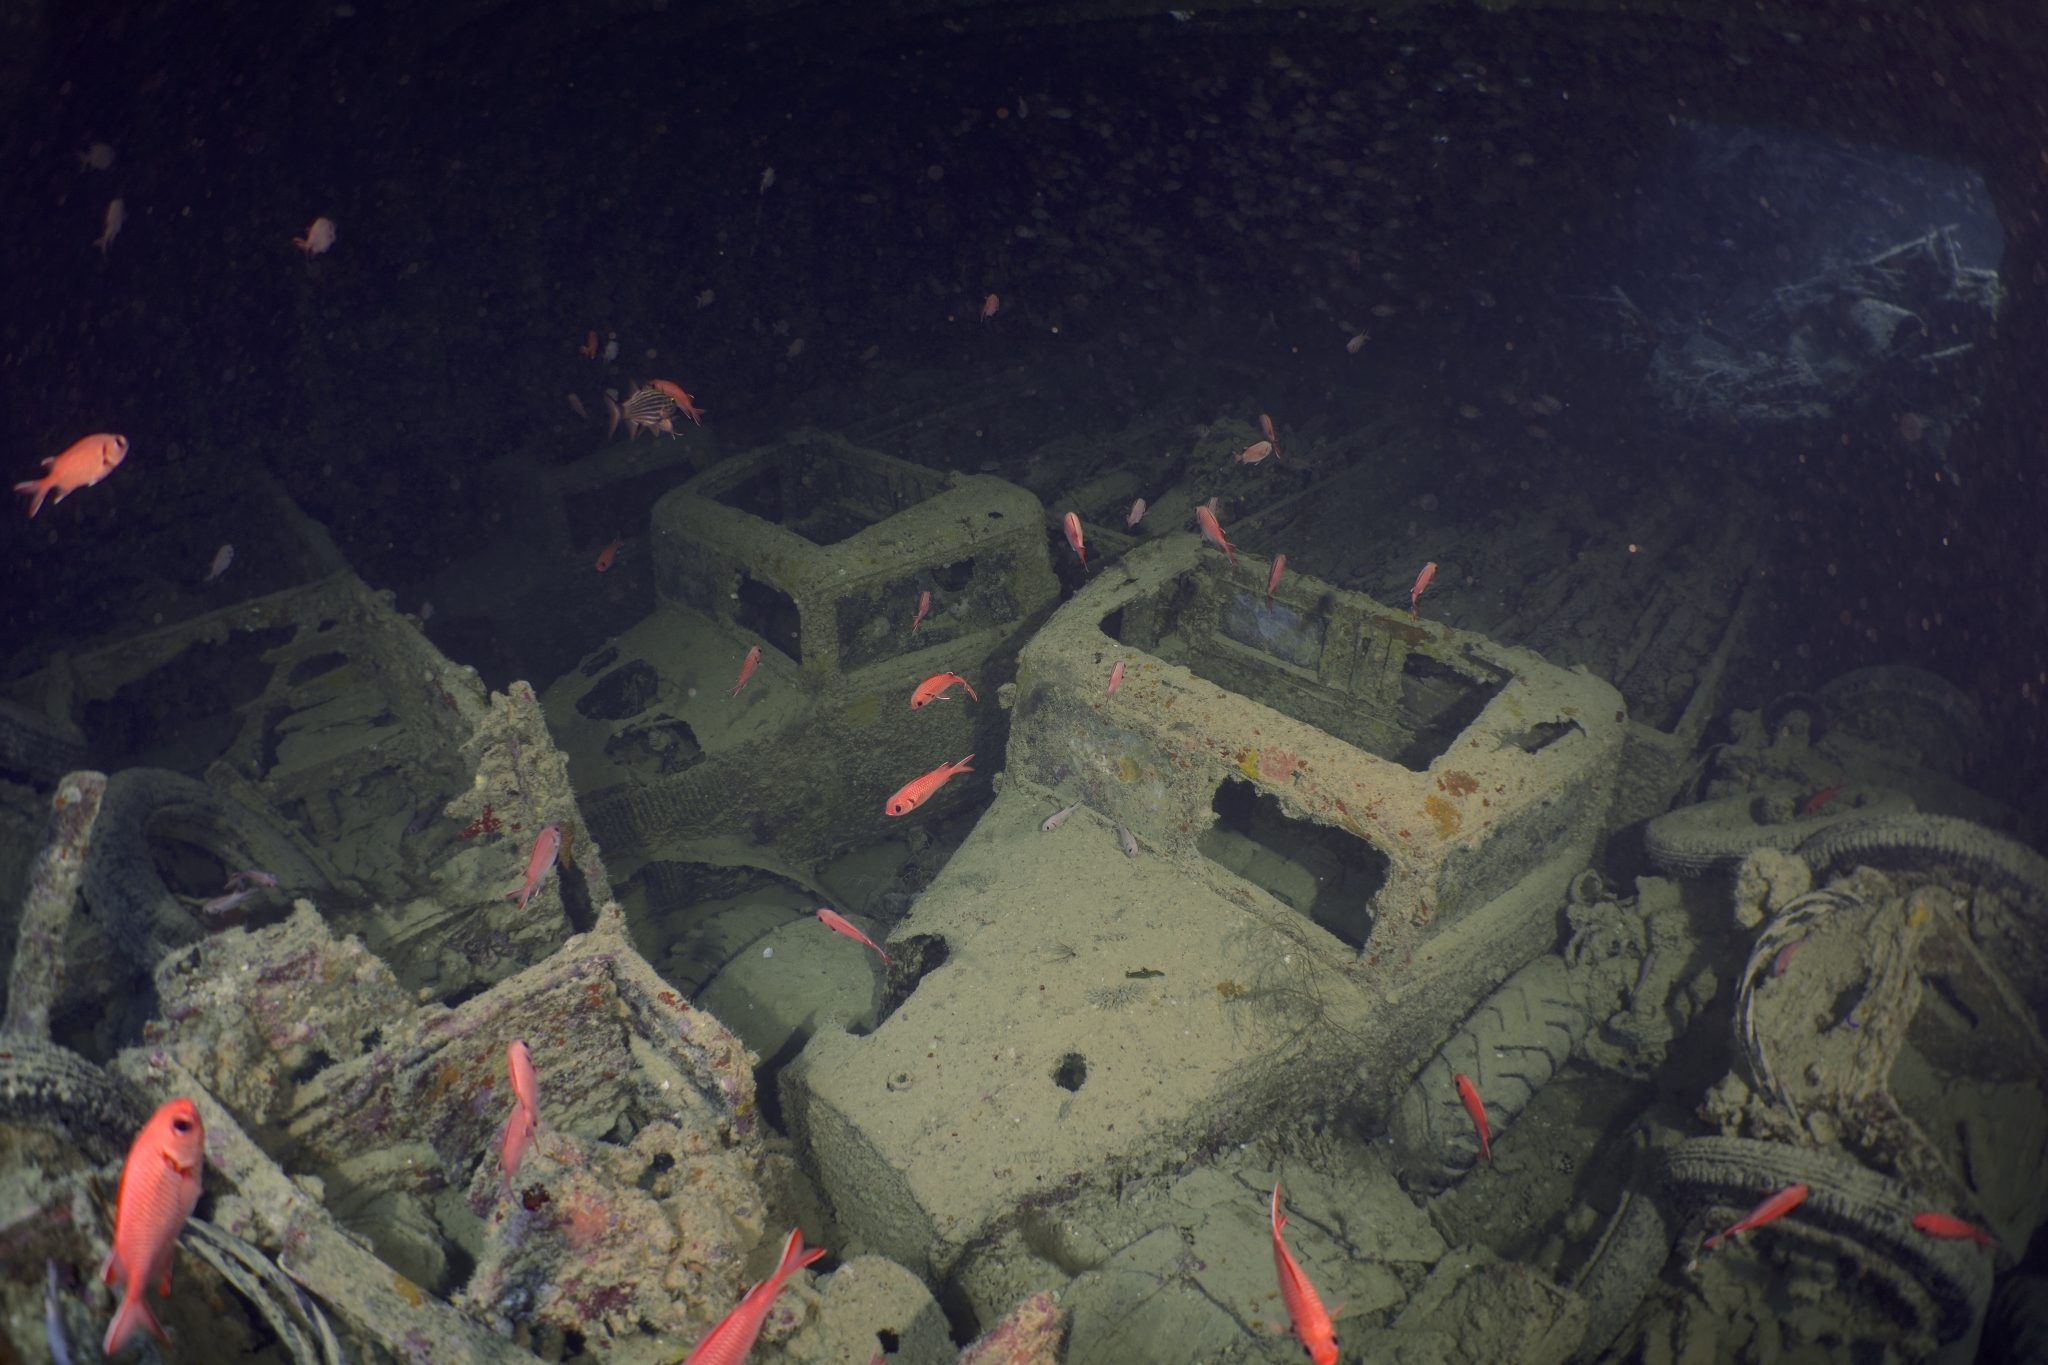
We headed around the exterior, taking a look at the large propeller and guns mounted on deck before entering the wreck on the port side to take a look in the holds. It was incredible to see all the trucks, Norton 16H, and BSA motorcycles still perfectly stacked within, providing a real snapshot in time.

Overall, we had four dives on the Thistlegorm, where for all of the dives we were the only group in the water, and at times, there were just three of us on the whole wreck, which made it even more special, especially knowing that most days the wreck has hundreds of divers. Along with the history of the wreck, there was plenty of marine life on the wreck and around, from big green turtles to batfish, along with shoals of mackerel being hunted by trevally. Some unforgettable dives.
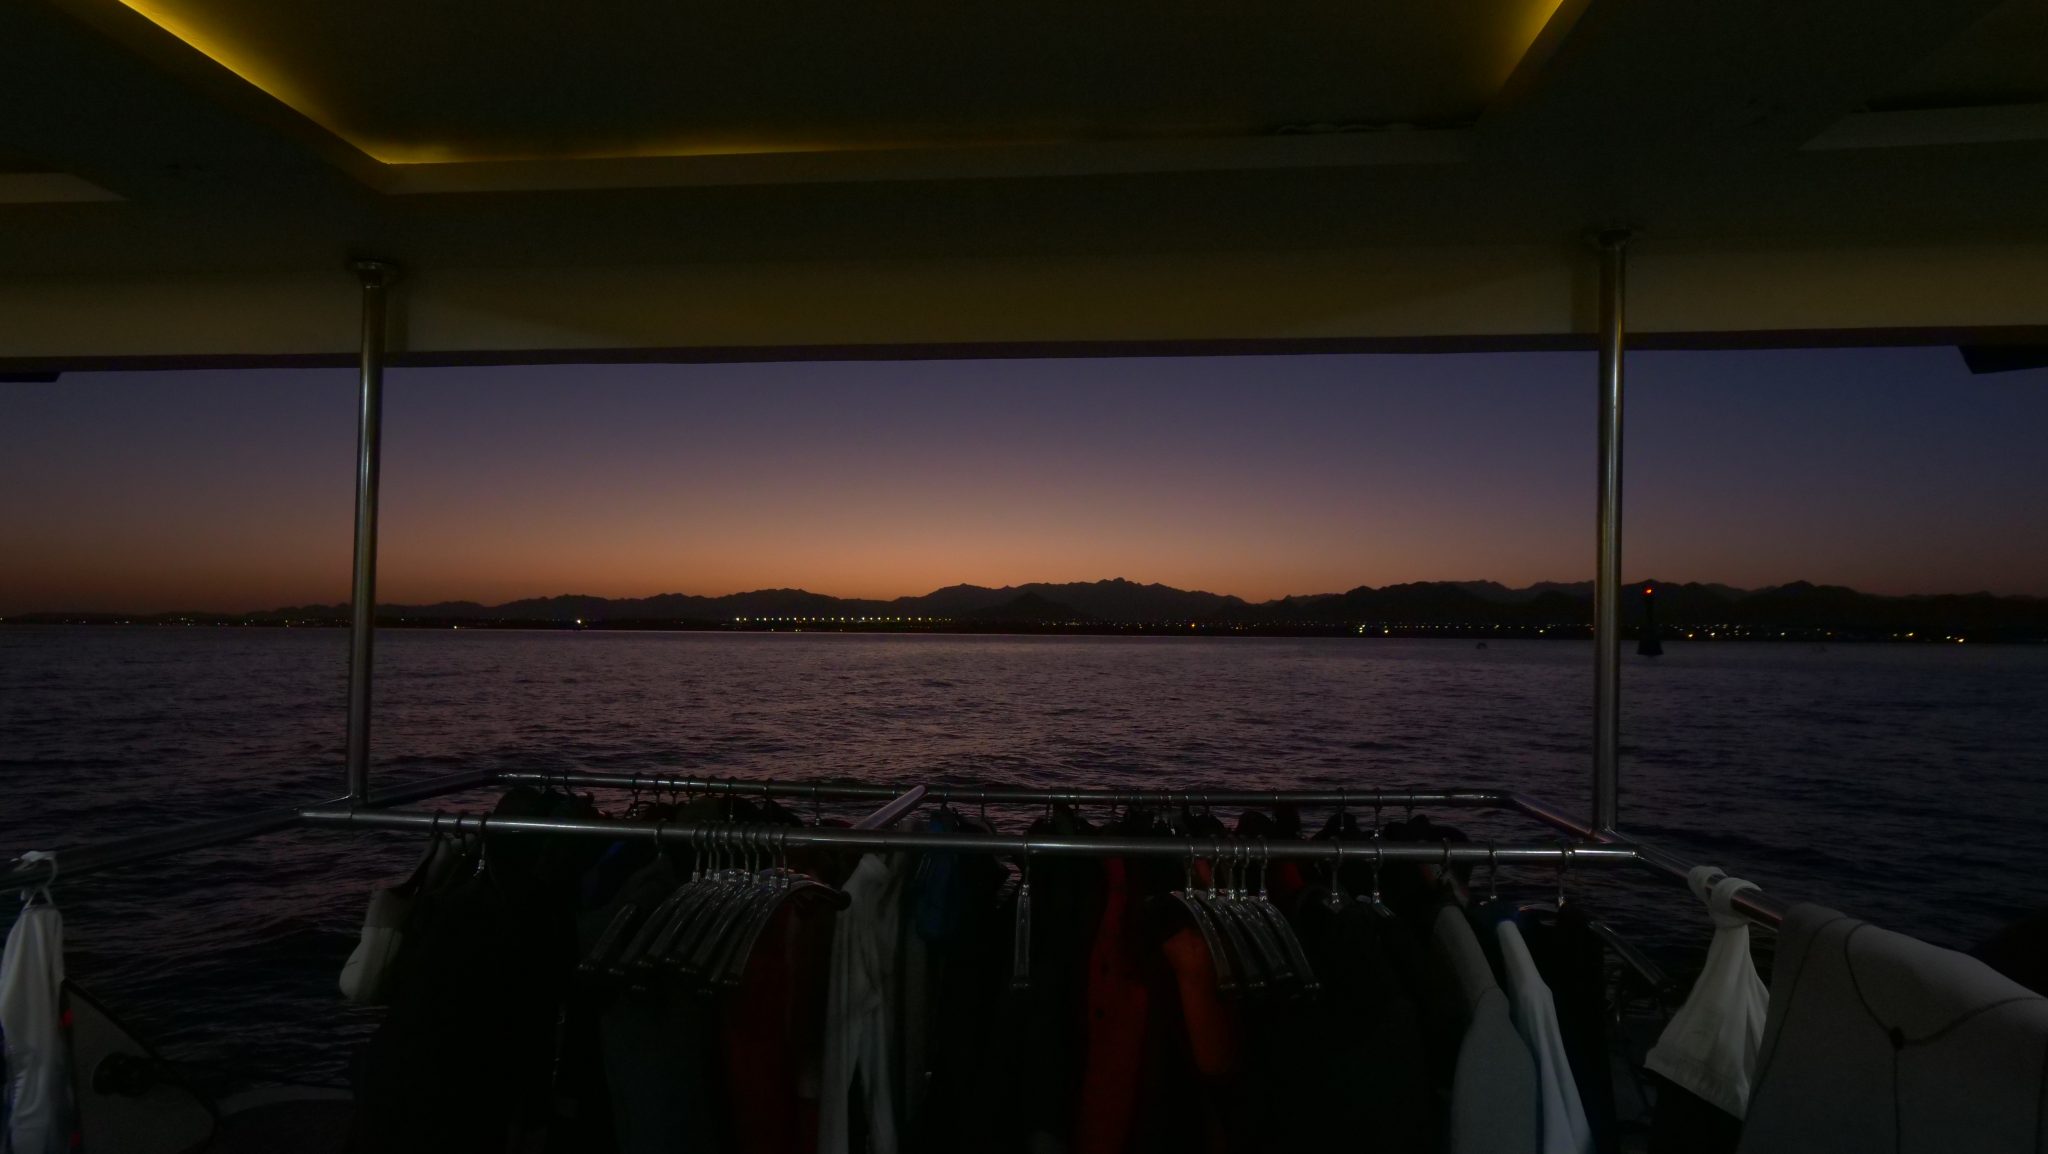
The final leg of the trip saw us cross back over the Suez Canal to the Gobal Islands where we planned to stay the night and do three dives at the Dolphin House for the potential of sharing the dive with dolphins. The site, which included a channel that was teeming with reef fish, especially large numbers of goatfish that swam in large shoals along the edge of the reef. These were nice relaxing dives to end the week. Unfortunately, the dolphins didn’t show up, which was okay as like all marine life they are difficult to predict and you can’t guarantee what’s going to be seen. With the last dive complete, we headed back to port for the final night where it was time to clean all the kit and pack before the departure flight the next day.
The whole week from start to finish on Ghazala Explorer was amazing; the boat had all the facilities you need for a comfortable week aboard. The crew were always there to help throughout the day and the chefs providing top quality food which was required after every dive. The itinerary providing some of the best diving with a nice mixture of wreck and reef dives. I would recommend the trip to anyone, whether it’s your first Red Sea liveaboard in the Red Sea or you’re revisiting. Hopefully, it’s not too long before I head back to explore more of the Red Sea onboard Ghazala Explorer.
To find out more about the Northern Red Sea reef and wrecks itineraries aboard Ghazala Explorer, or to book, contact Scuba Travel now:
Email: dive@scubatravel.com
Tel: +44 (0)1483 411590
Photos: Jake Davies / Avalon.Red


-
 News3 months ago
Hone your underwater photography skills with Alphamarine Photography at Red Sea Diving Safari in March
-
 News3 months ago
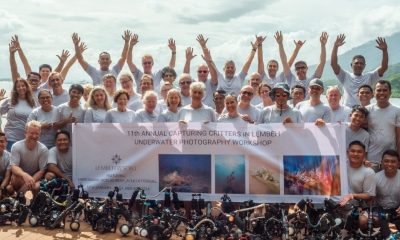
Capturing Critters in Lembeh Underwater Photography Workshop 2024: Event Roundup
-
 Marine Life & Conservation Blogs2 months ago
Creature Feature: Swell Sharks
-

 Blogs2 months ago
Murex Resorts: Passport to Paradise!
-

 Blogs2 months ago
Diver Discovering Whale Skeletons Beneath Ice Judged World’s Best Underwater Photograph
-
 Marine Life & Conservation2 months ago
Save the Manatee Club launches brand new webcams at Silver Springs State Park, Florida
-
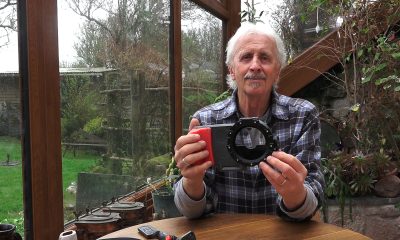
 Gear Reviews3 months ago
Gear Review: Oceanic+ Dive Housing for iPhone
-
 Gear Reviews2 weeks ago
GEAR REVIEW – Revolutionising Diving Comfort: The Sharkskin T2 Chillproof Suit