
News
River Diving
If you like diving and underwater photography as much as I do and you live 3. 5 hours inland from a good dive site, you might find yourself looking to a new venue to enjoy. I will openly admit I had a mission as I wanted pictures of freshwater fish, especially salmon. Thus began my river diving adventures this summer.
I am inspired by the work of Martin Edge and Eiko Jones and what they do with light underwater (the “God Beams” as the topside photographers say) and was thinking about some ways to do some new things I had in mind with long exposure and ambient light. As a lot of river diving here in Oregon can be relatively shallow in the rivers (relatively shallow being less than 25 feet). I was really wanting to work with ambient lighting in clear waters and be on eye level with the royalty of the fish world – salmon and steelhead trout.
The next logical thing to do was put together an investigatory dive. Equipment was my first consideration starting with photographic gear. I packed my Olympus OMD-E1 in a Nauticam housing with a Panasonic Lumix 8mm fisheye lens and a 4.33 dome port and then started to think about dive gear. I was diving the McKenzie River in Oregon which has gin clear visibility; however, it is also a frigid 49 degrees F, so I packed my Bare crushed neoprene drysuit and whites fusion thermals. I packed my warm water fins as they are shorter and lighter than my Apollo biofins, and I selected two aluminum 80 tanks with 3000 psi a piece as my steel 100 tanks weigh 40 pounds and I didn’t know what access would be like or how long I would be walking with gear on. My lightweight warmwater backplate and regulator was added to the gear pile with a 12 pound weight belt plus 4 extra pounds – surely that would be plenty. It was not, which I discovered later.
River diving entails a few different things that you may or may not be used to. Number one is current, and in some cases, a LOT of current. You may be wearing 20-25 pounds in a wetsuit/drysuit in 5 feet of water so you can stay down. Freshwater is deceiving as you do need less weight than salt, but you have to overweight to account for current. I also have had to anchor myself along the bottom in interesting ways with a robust stainless steel reef stick that I own and by shooting with one hand and hanging on to logs, rocks, etc. with my other hand.
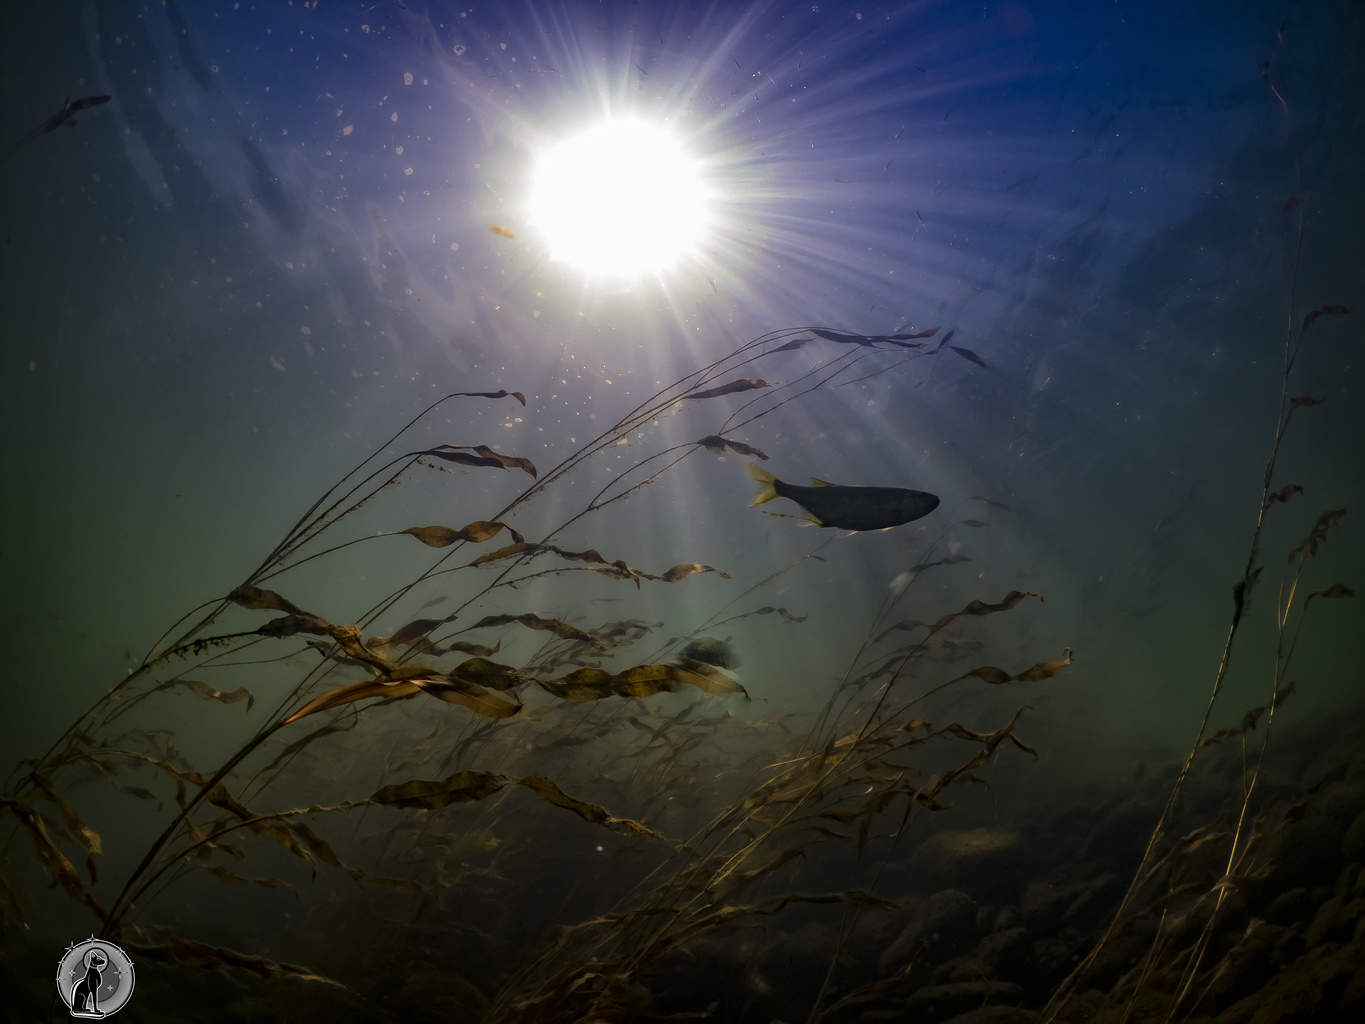
Riffle, Middle Fork Willamette River, Oregon.
Fish are often found under tree roots so this can be very good shooting. I also did some shooting where I lay in the middle of a big riffle (stretch of fast moving water) and just shot water flowing over me while I anchored in with my stainless steel reef stick.My first dive I did not think about extra weight and I was soon sailing along like a balloon underwater getting blown through culverts and into large woody debris piles until I started to anchor myself by grabbing onto stuff and by putting rocks in my pockets for extra weight. Not getting my camera knocked out of my hands or rubbing the dome port glass on rocks was also a challenge. I also used my feet to push against logs so I could face into the current and shoot.
Number two is temperature. Some rivers you can go with little or no exposure suit, however I wouldn’t recommend that due to rocks, logs, etc scraping you up. My home rivers in the summer range from 65 to 48 degrees F. I found that for me I like the freedom of a wetsuit and for temperatures down to 55 degrees I was good in a 5mm wetsuit. Below 55 I could last about 20 minutes and then my teeth were chattering. At that point I was using my crushed neoprene drysuit with thermals.
I can go gloveless to 50 degrees but below that I would wear 5mm gloves. I usually always wear a hood to keep my hair out of my way. I’m toasty with this set up but temperature is a personal thing.
I recently hiked into a mountain waterfall and skin dove with my 5mm wetsuit to try and get some good over and under shots. The water was 47 degrees F which was pretty chilly but 20 minutes of being chilly was worth it for the shots I got there.

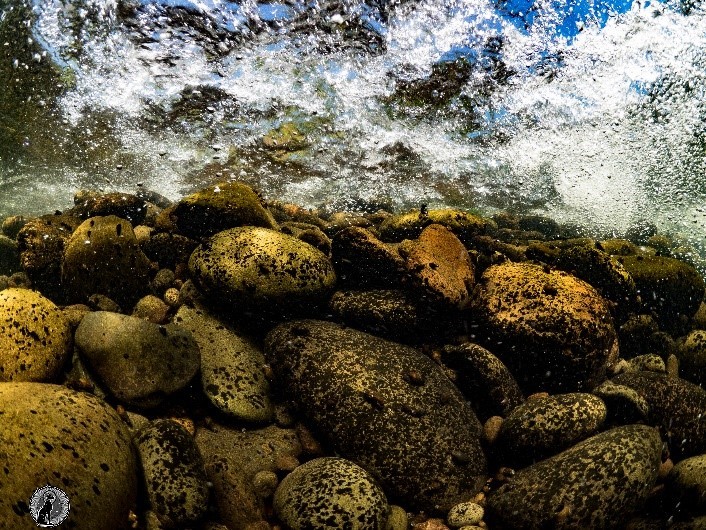
What lies beneath. Butte Falls, Oregon.
Number three is access and the diving style. Access to some rivers is back up to the side and jump in while with others you have to walk along the riverbank to get to a place you can safely access. Some rivers you have to climb down the sides and these sides can be steep and/or rocky and doing this with gear on can be a strenuous experience. Not falling down the side of a river on top of your camera gear and rolling into blackberry bushes on the way down is really the goal. Being somewhat nimble and strong is a plus for these rivers. River diving is not about calmly swimming along with perfect buoyancy most of the time. Many times you are crawling in between pools if water is low and sometimes you have to get out and walk to the next pool. Sometimes you can get into deep pools and these are really nice places to shoot when fish are holding there. These you can swim around, although I like to employ stealth technique and sit or lie calmly on the bottom until the fish are done being freaked out. I then let them get back to their regular business so I can take shots.
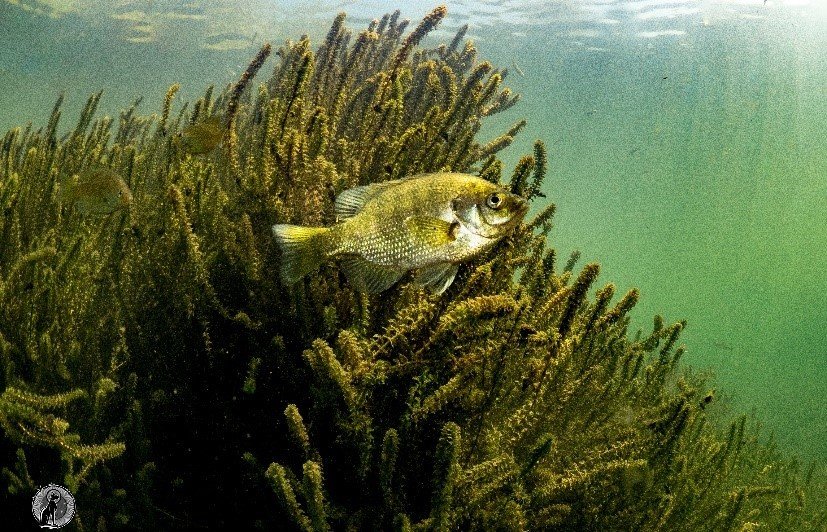
A curious bluegill in the Middle Fork Willamette River, Oregon.
Some observations on fish behavior… I found that juvenile fish are much more curious than adults. Some adult fish can be very skittish, and some can be very bold and rush right up to you.
Freshwater sculpin are very fun to photograph and they are full of attitude as their marine cousins and they will fearlessly swim right up to you and sit right in front of your dome port. They are ferocious predators and will attack anything they think could fit in their mouth. Warmwater fish such as bass or bluegill are the most curious of the fish. They will literally photobomb every picture you take and they will nibble on your hands, mask, face, etc.
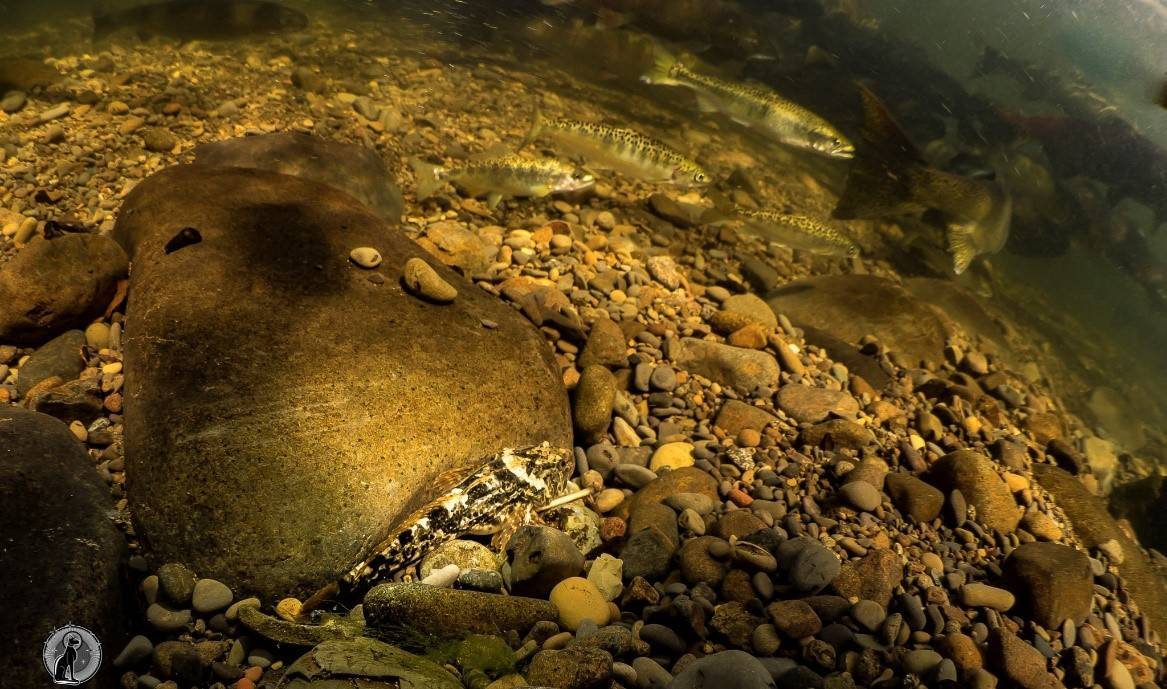
Sculpin watching trout. Cedar Creek, Oregon.
Male smallmouth bass are quite beautiful when they are mating or guarding their nests and can make striking pictures. Similar behavior is exhibited by native minnows such as dace, shiners, chub, and suckers.
I am currently working on a series of shoots with fall Chinook salmon that have returned from the ocean after 4-5 years of being away from their natal streams. How these fish find their way back to the very place they emerged from the gravel is an amazing question to me. Even near death these fish command respect as they have returned to fulfill a mission that started over 5,000 years ago. I wax poetic here as I am a fisheries biologist by trade.
I do NOT dive alone EVER in rivers. There are too many variables to not have a buddy or shore support. Yes, you have a BCD and regulator, however if you get stuck in a large woody debris pile or hung up on the bottom for some reason there could be a very bad outcome. Having another pair of eyes on you is a good thing. If you bring along a creative “dry” photographer they can take good topside pictures. I have not needed to tether up due to high river current to date but having someone watching your tether at all times is a smart thing to plan for. I usually do some scouting in advance for possible sites so I know what to bring.
I might add that I am eternally grateful to my cohorts in the fishery business who have clued me in to good sites and times to go and in some cases even driven me around and put me in on some great fish action. Treat these people well and buy them beer as they can be key to some beautiful pictures.
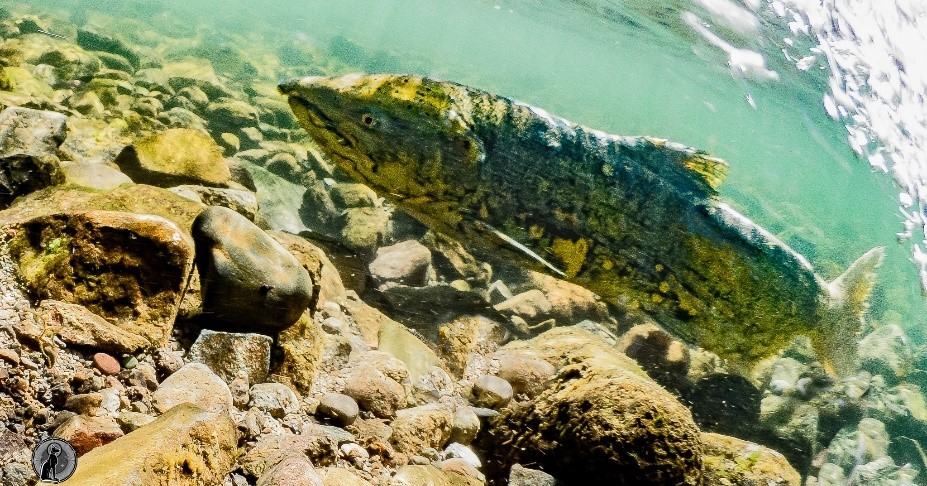
Male spring Chinook salmon, North Santiam River, Oregon.
My last plug is for quiet respect of fish, especially if you are somewhere where they are spawning. This is not a good time to be upsetting fish and driving them away from their spawning beds. Better to wait until after the spawning or before to get pictures. There is a fine line between harassment and annoyance so please understand that line and respect it.
I love diving our beautiful Pacific Northwest seas but I also feel that river diving adds a fun and new slant of the beauty of the underwater world and you definitely get to see things you do not see in the ocean environment… plus you don’t have to soak your gear so much after you dive freshwater!
You can see more of Laura’s underwater photography here.


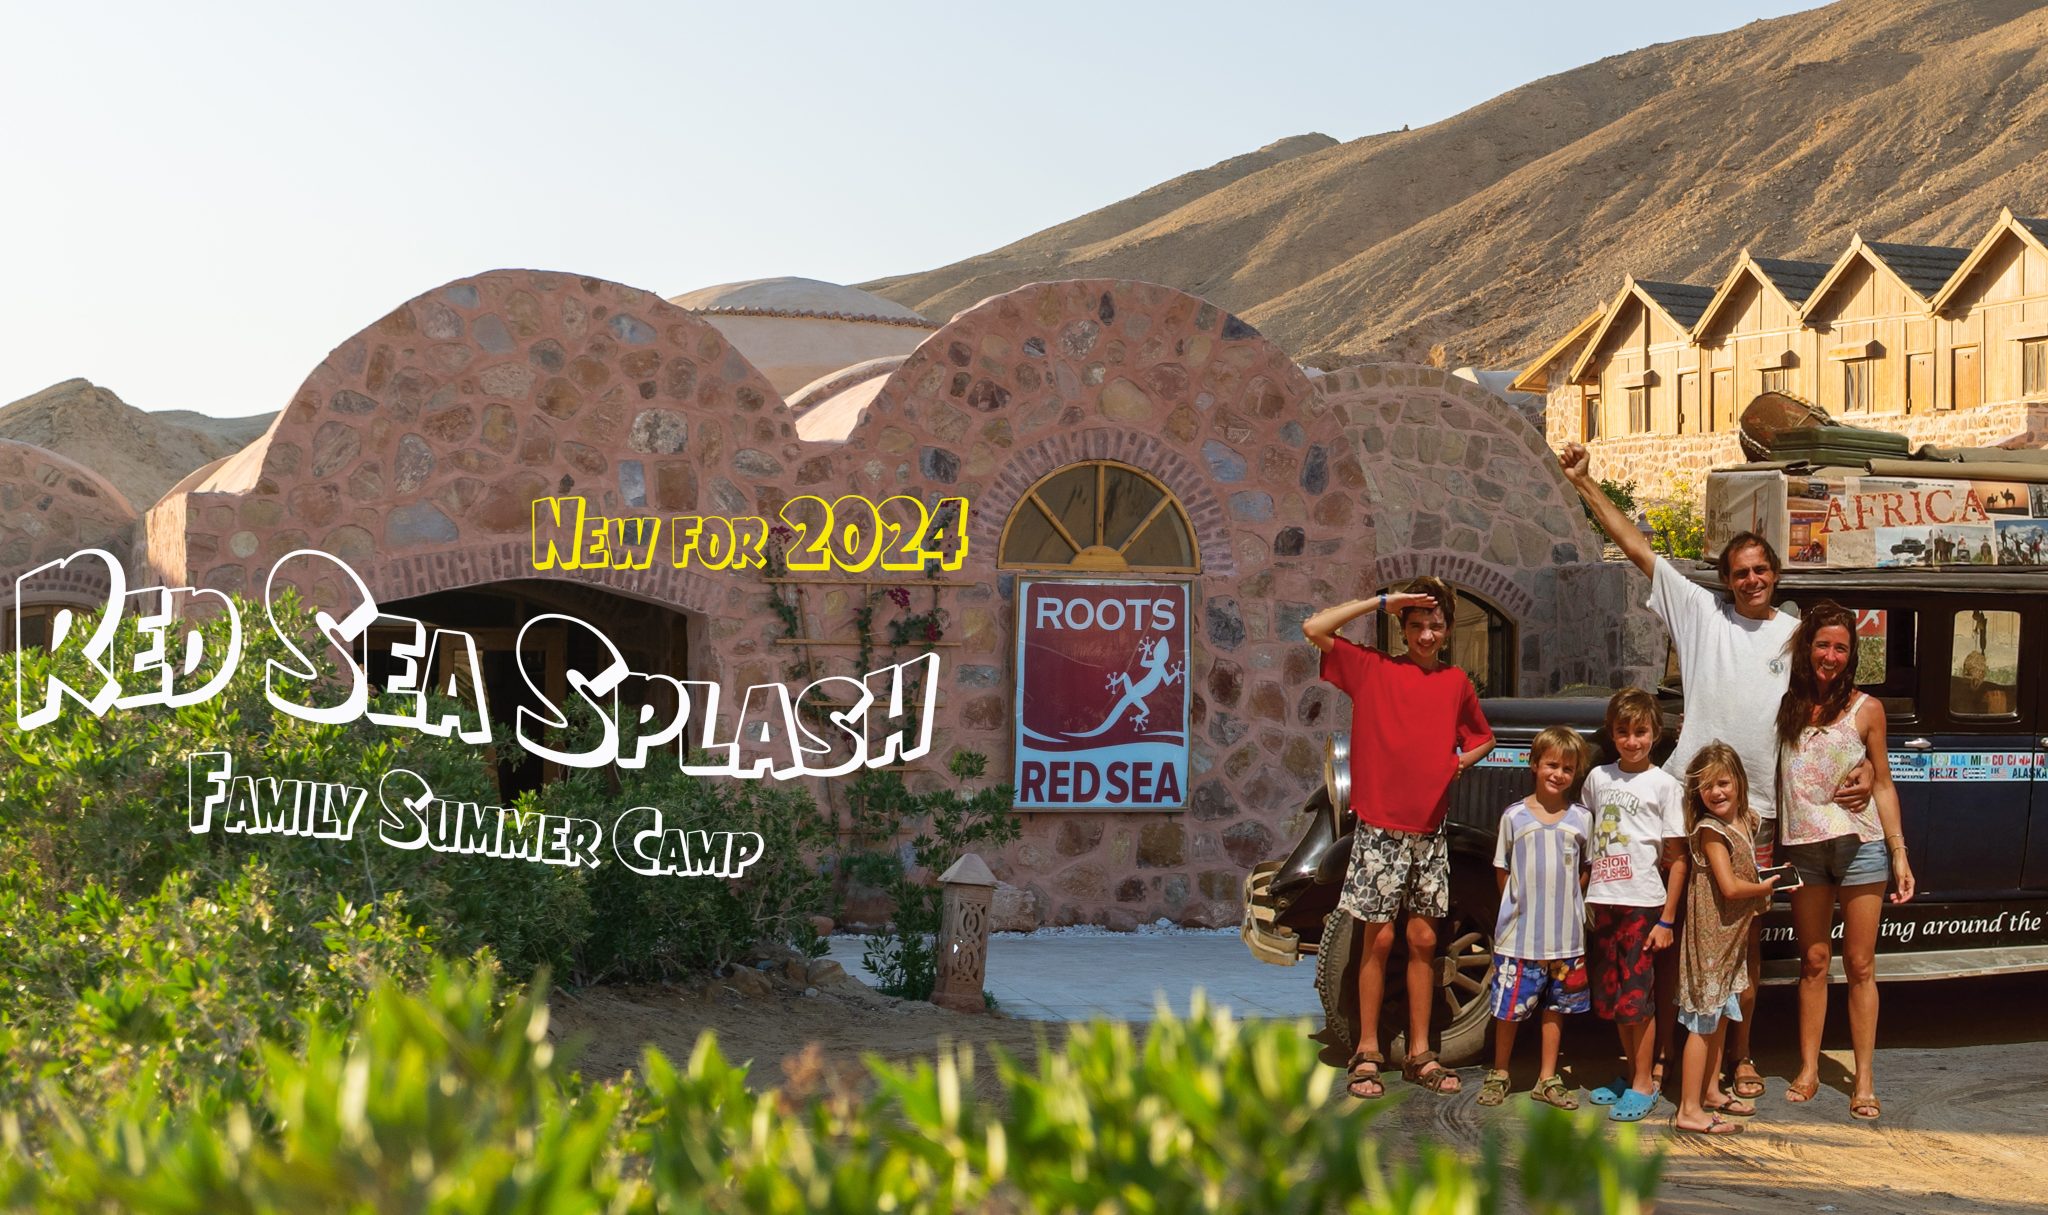
3rd AUGUST 2024 – 1 or 2 WEEK PROGRAMMES
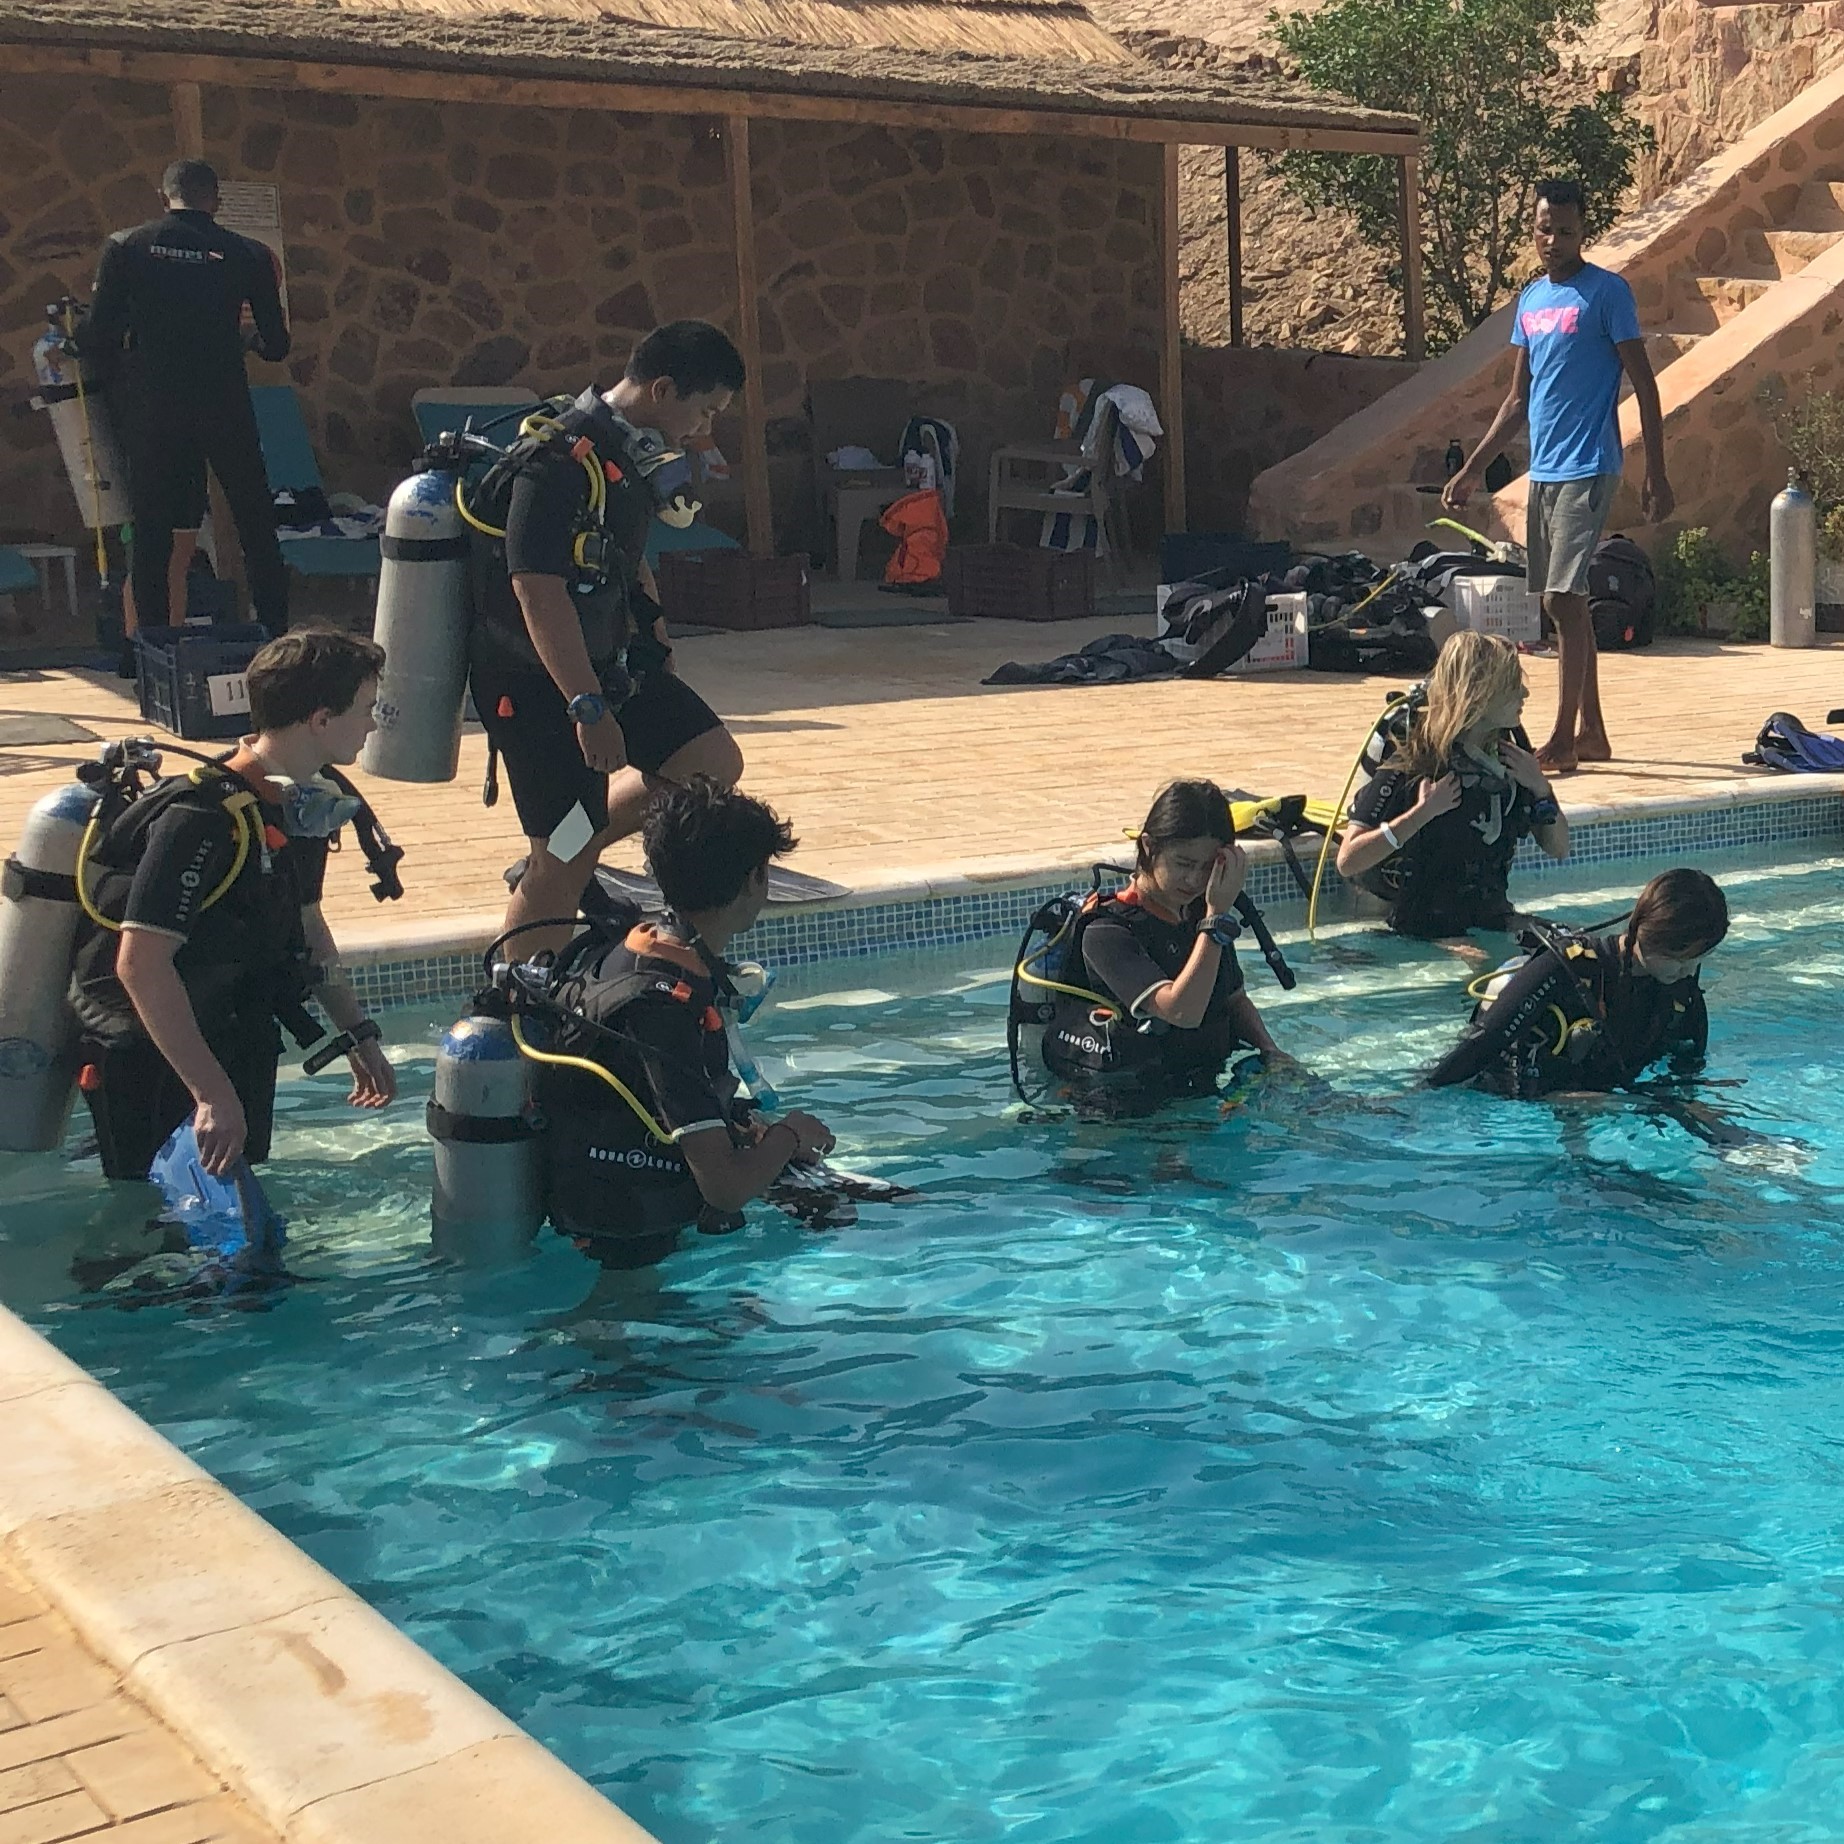
Daily water programme with Snorkelling & Scuba Diving.
Beginners or qualified, something for all.
Leave the kids with the Splash Team for days of Excitement, Fun & Adventure!
BOOK NOW: INFO@PHARAOHDIVECLUB.COM / TEL: +44 7598 329059 or +20 100 6822000
There are various options for accommodation with options for 2, 3, 4 or 5 guests.
Eco Huts provide accommodation for families of up to 4. The best option to enhance the adventure and closest to camping with basic facilities. For August we will provide central air cooling for all the Eco Huts.
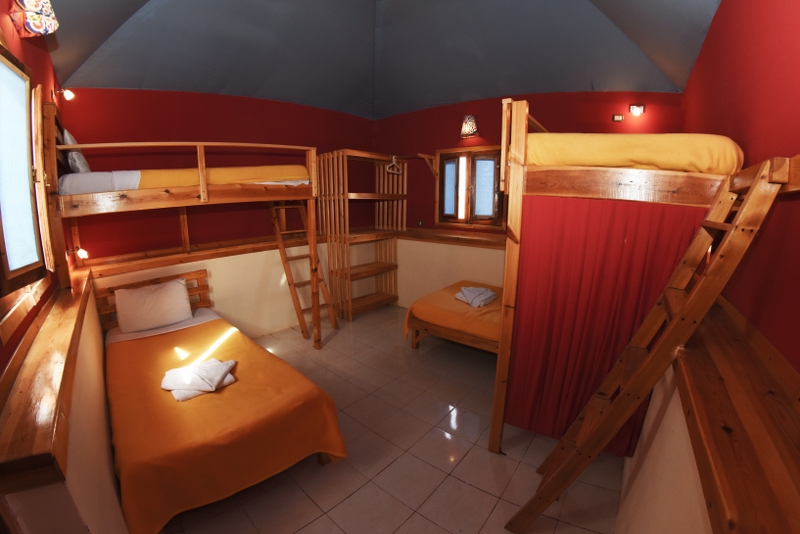
Deluxe Chalets are only suitable for 2 guests. Fully air conditioned rooms with private bathroom and other facilities.
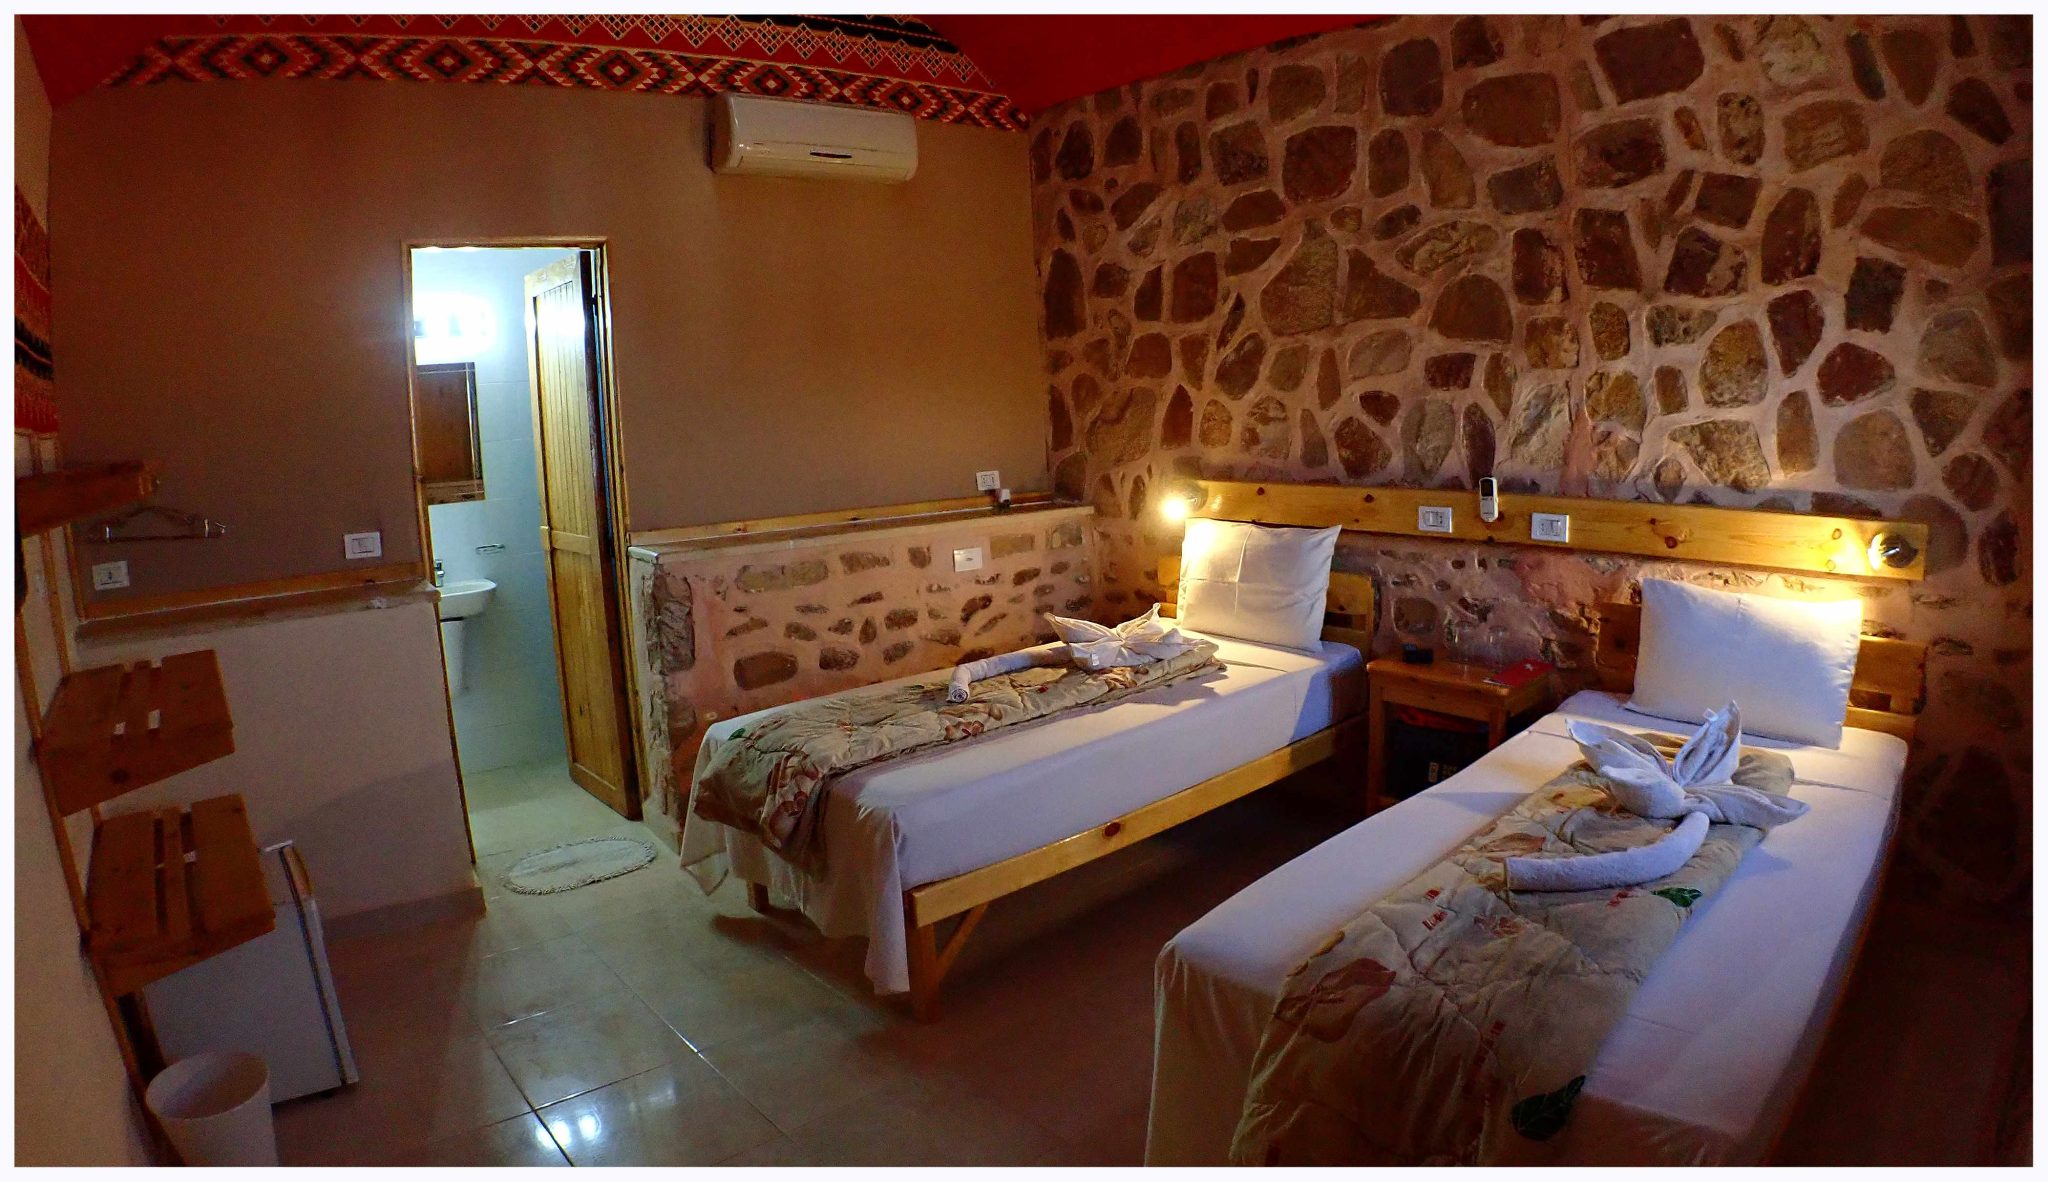
Boutique Rooms are available for families of up to 5.
Individual bespoke rooms fully air conditioned with private bathroom and other facilities.
Eco Huts: £675 per adult / £425 per child / Under 8 FREE of charge
Deluxe Chalet: £830 per adult / £505 per child / Under 8 FREE of charge
Boutique Room: £925 per adult / £550 per child / Under 8 FREE of charge
BOOK NOW: INFO@PHARAOHDIVECLUB.COM / TEL: +44 7598 329059 or +20 100 6822000
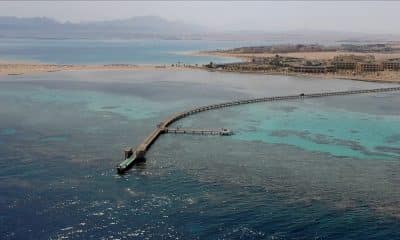
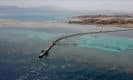
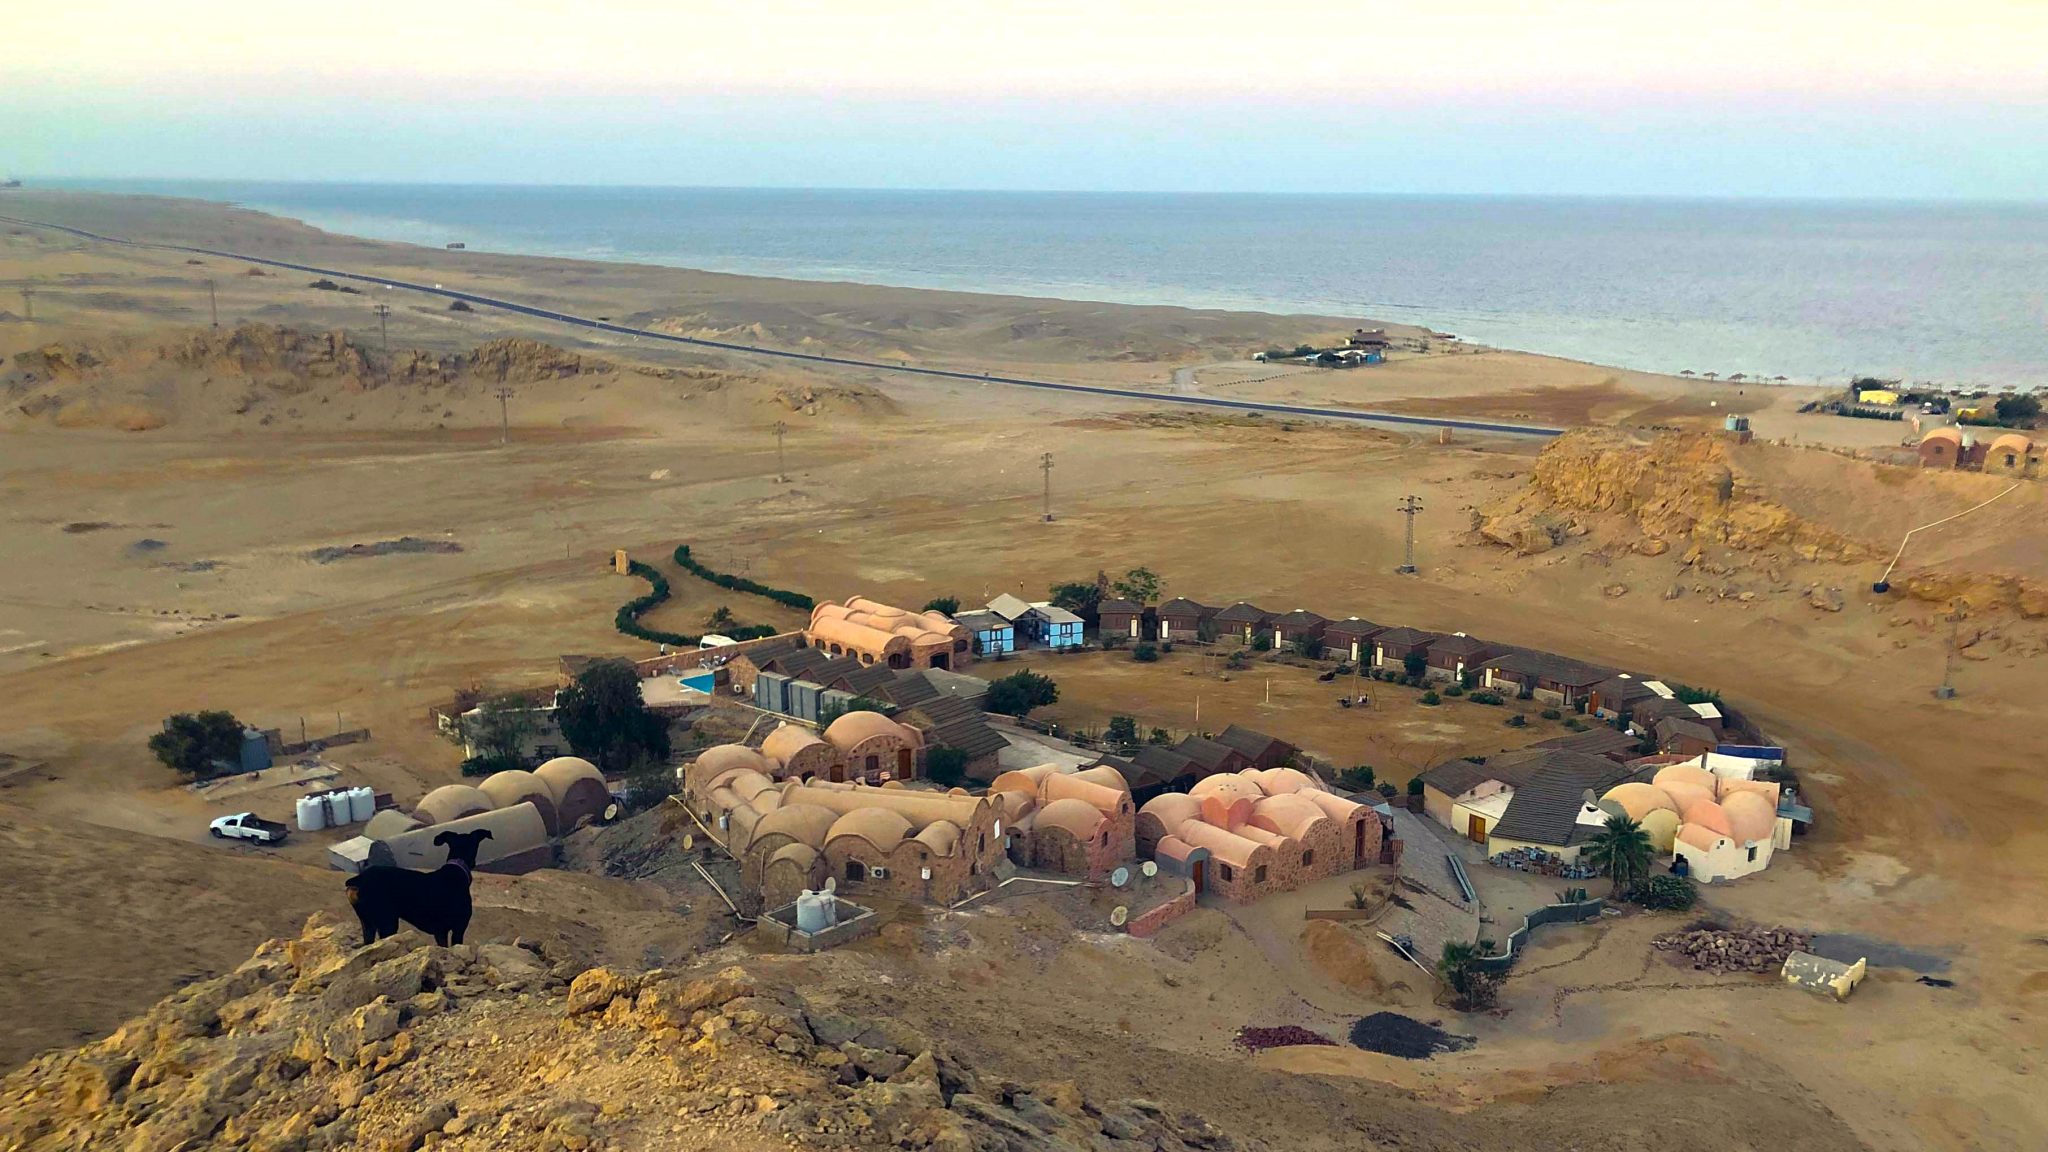
This is a truly unique opportunity to have a Family Desert Adventure totally away from it all! You will be based at the remote Roots Red Sea on the coast of the Egyptian Eastern Desert, 140km south of Hurghada city.
Red Sea Splash main focus is Snorkelling & Scuba Diving but that’s not all, we provide a rounded week of activities in support.
Pool& Field Games – Arts & Crafts
Marine Biology Workshops
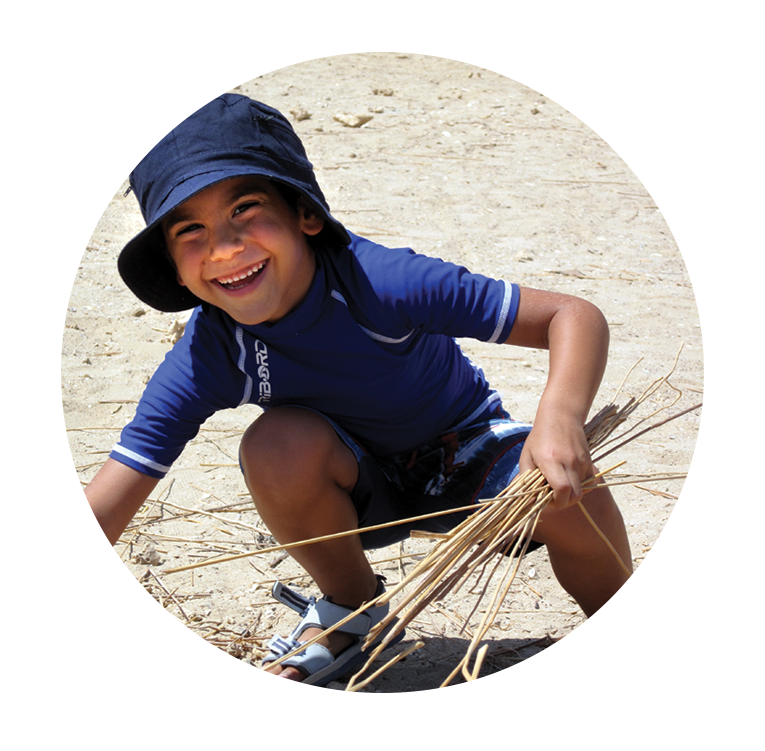
Cultural Activities – Orienteering Adventures
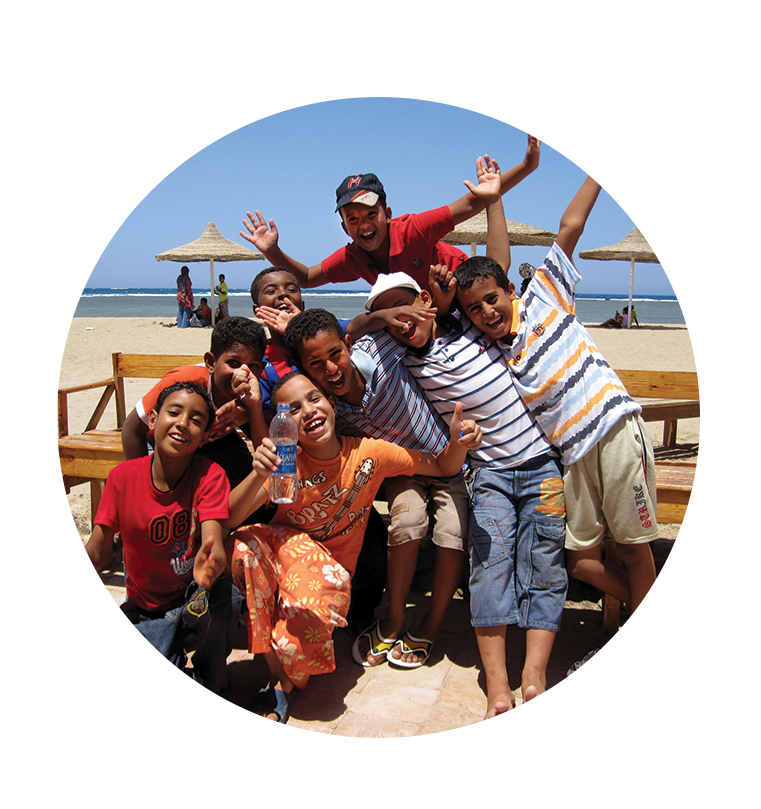
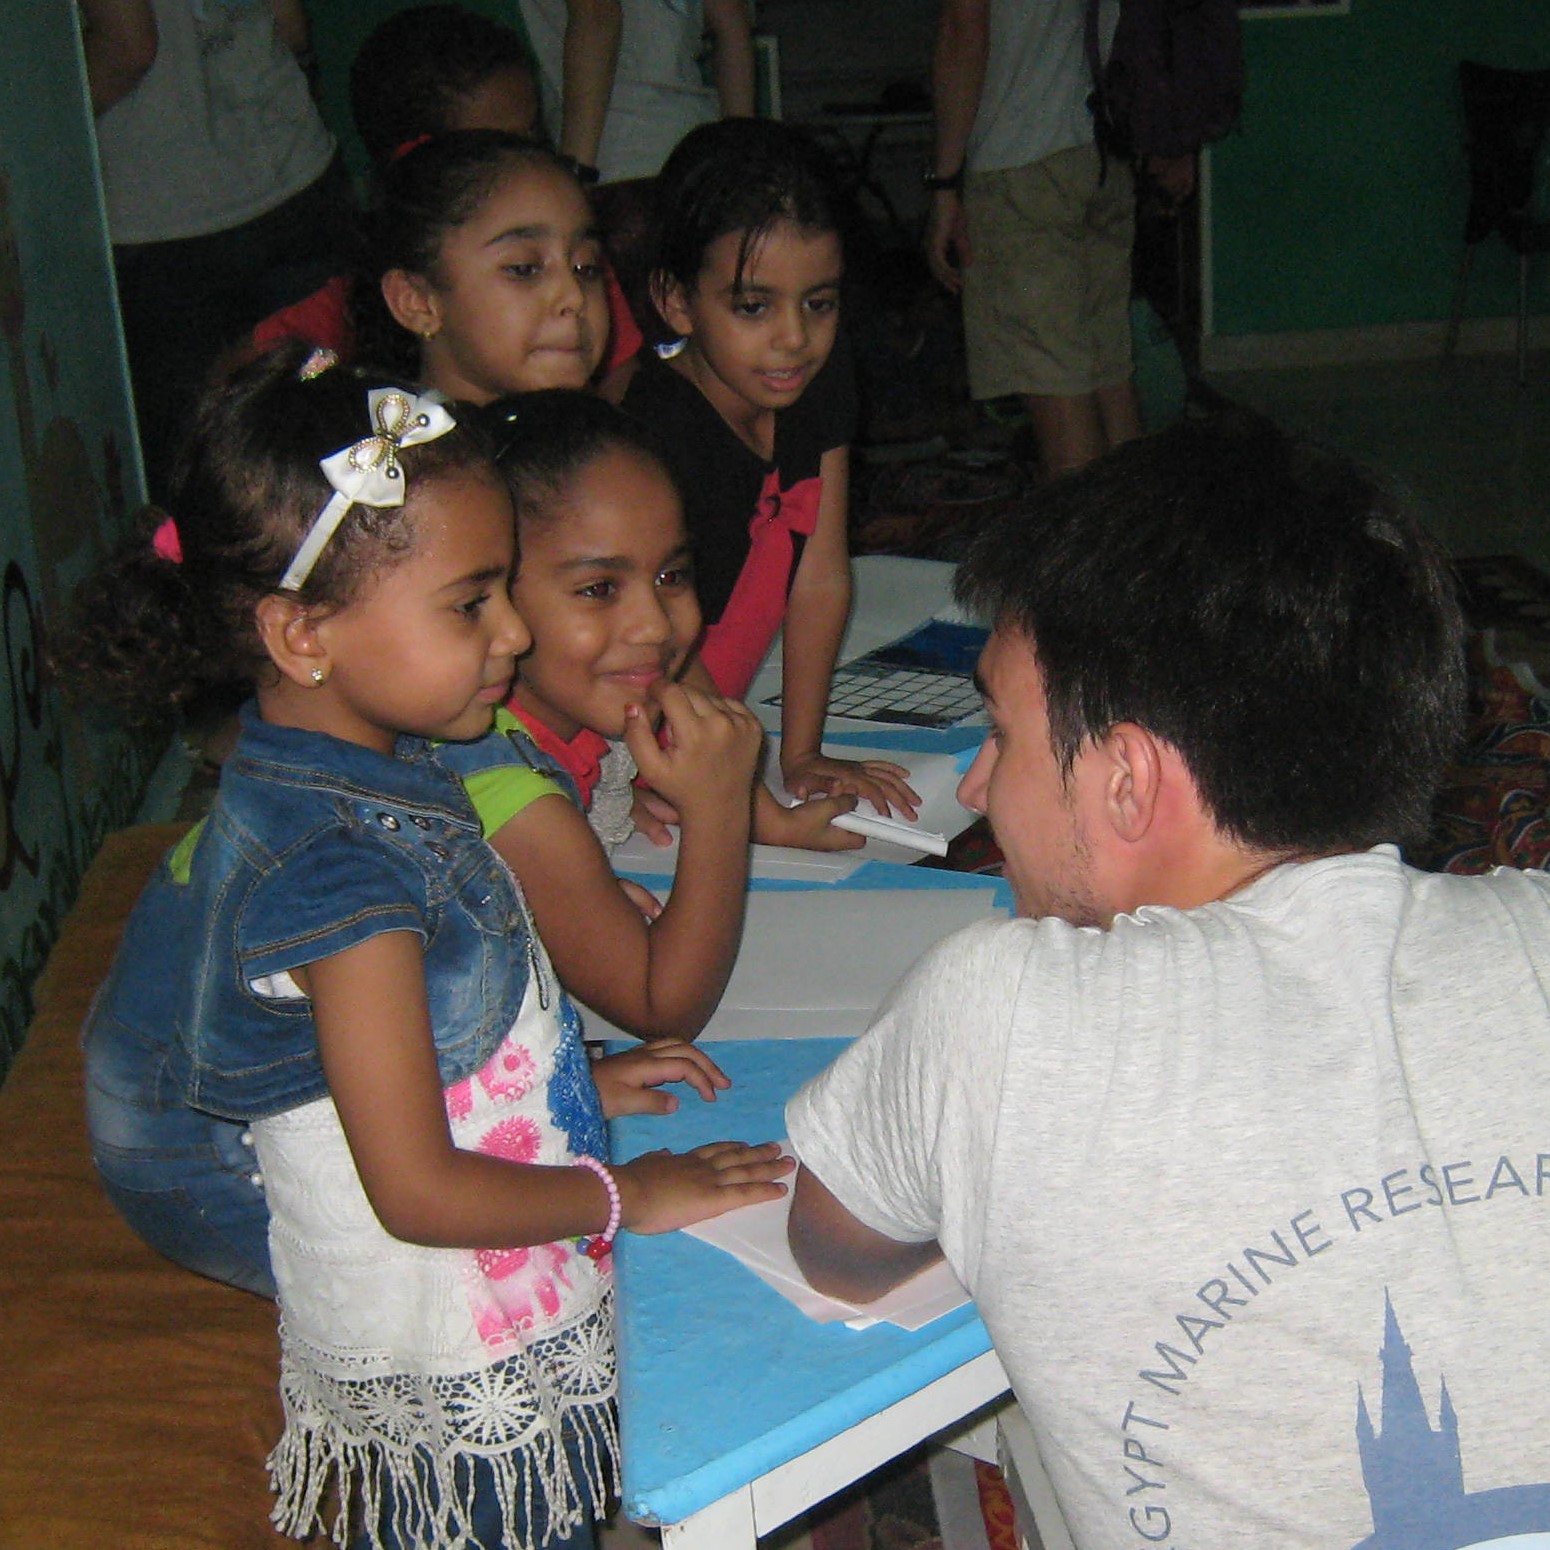
Roots Red Sea have established strong links with the local communities of Hamerwain & El Quseir affording our guests to have a true taste of the local culture, SPLASH CAMP embraces this opportunity and bring in the local children to join in the fun with our adventure seekers.
During the day, families are welcome to take part in all activities together or the kids can be left with the SPLASH CAMP team while the parents enjoy the facilities or go diving themselves!
At the end of the day, its family time while the SPLASH CAMP team take a break. For those with the energy, there are family evening activities planned a few evenings.
Open Air Movie Night – Desert Star Gazing Walk & Talk
El Quseir Evening City Tour
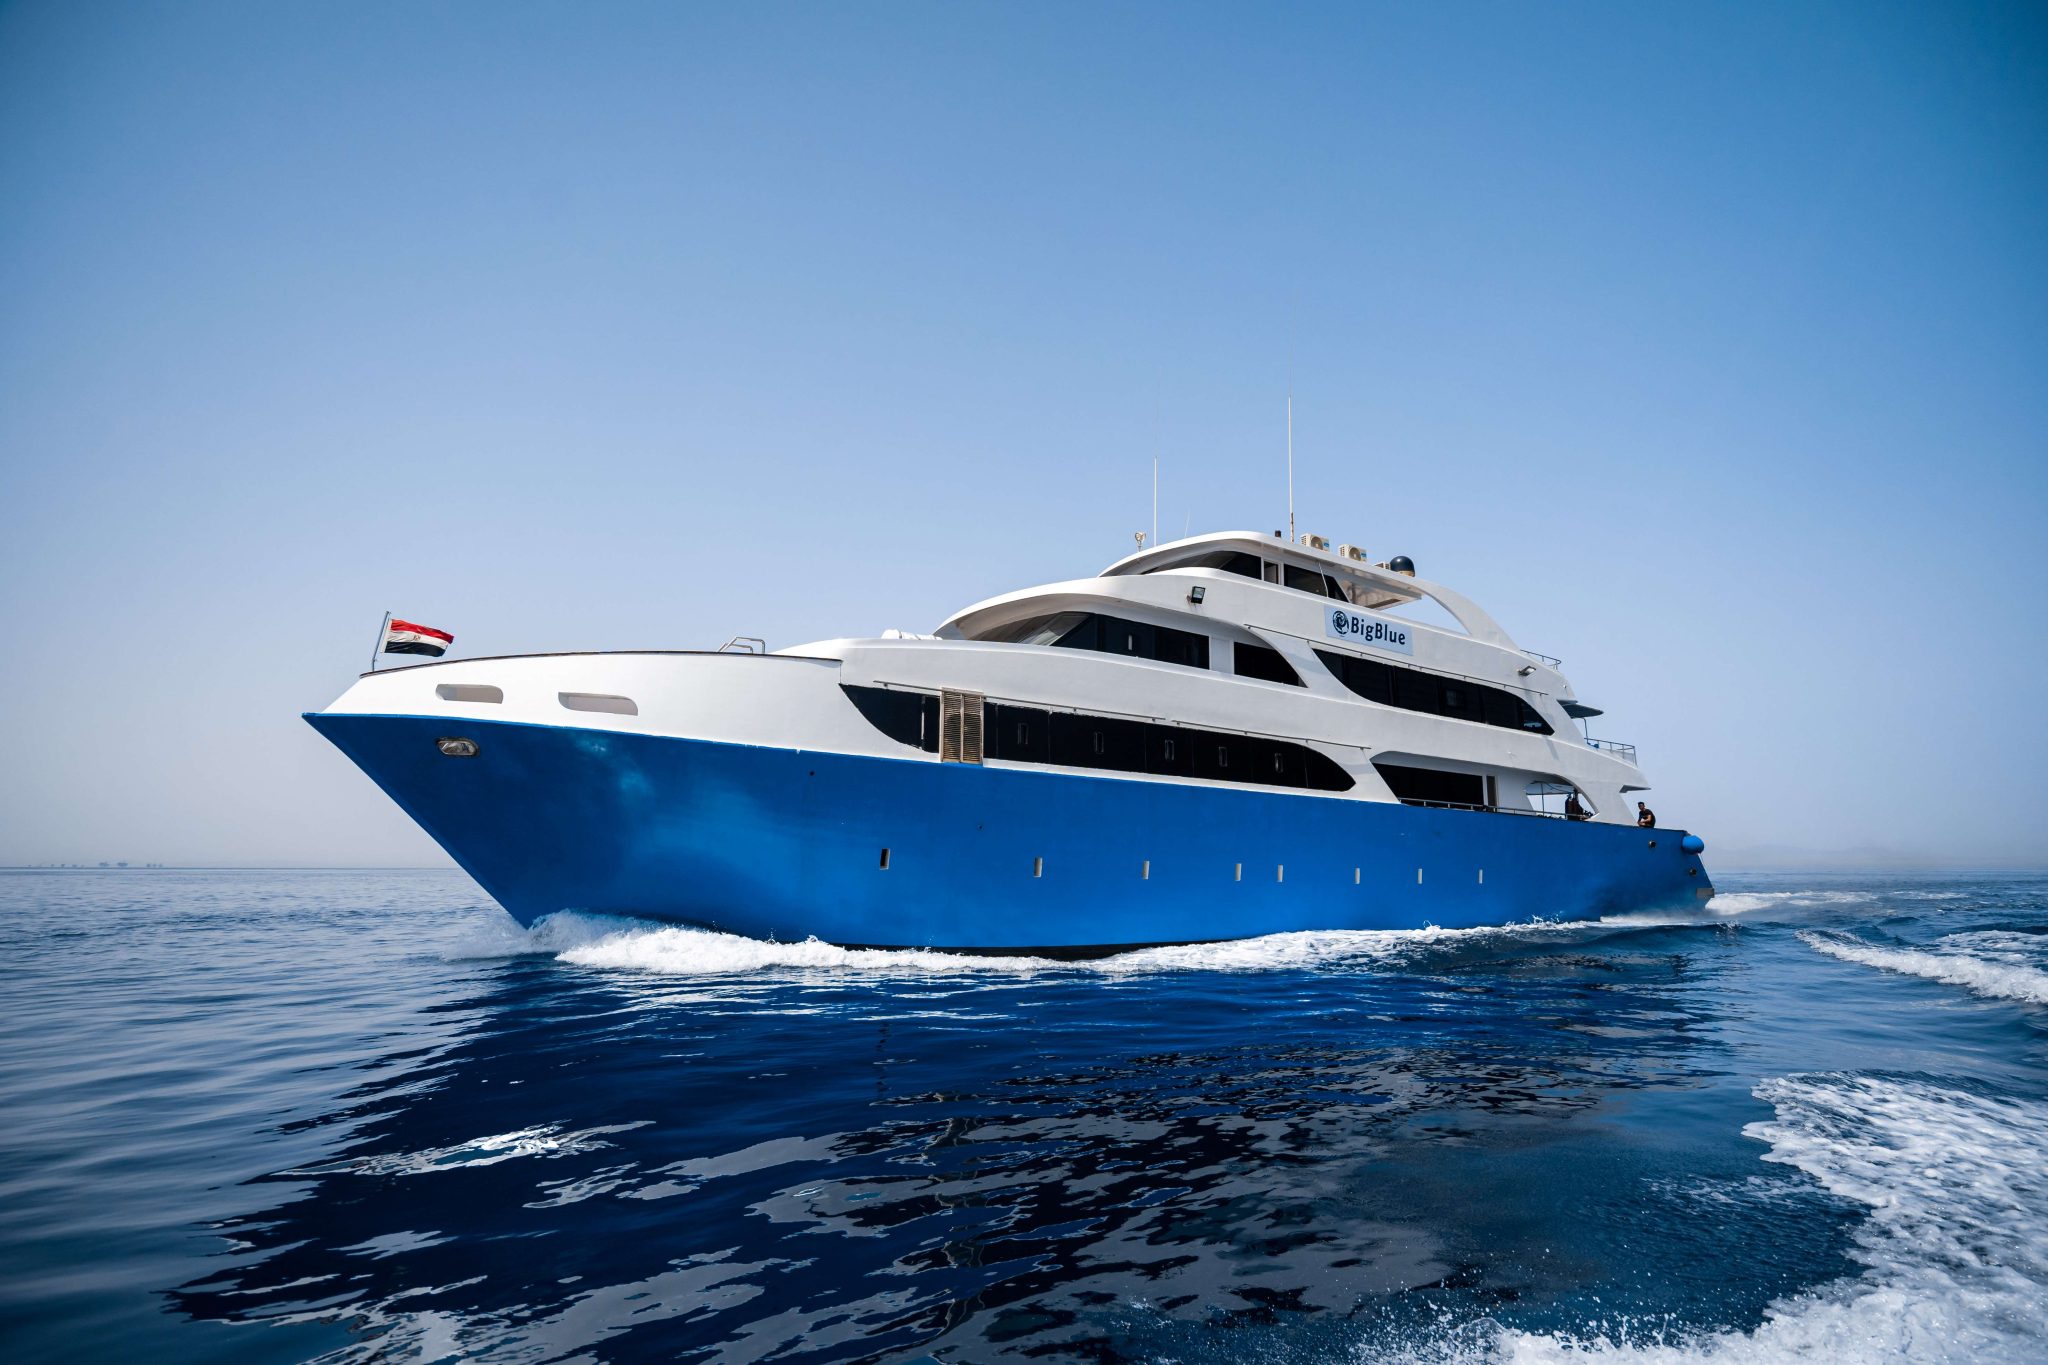
The second week is very special, we head off on the Big Blue for a liveaboard safari around Fury Shoals.
BOOK NOW: INFO@PHARAOHDIVECLUB.COM / TEL: +44 7598 329059 or +20 100 6822000
U-8 Splash Club
Sadly we can’t offer Scuba Diving to the Splash Club but we can have lots of fun Snorkelling & Free Diving!
Splash Club includes:
Certified Snorkel Course – Marine ID Games – Intro to Free Diving
Arts & Craft Sessions – Adventure trails – Cultural Playtime – Pool Games
U-12 Explorer Club
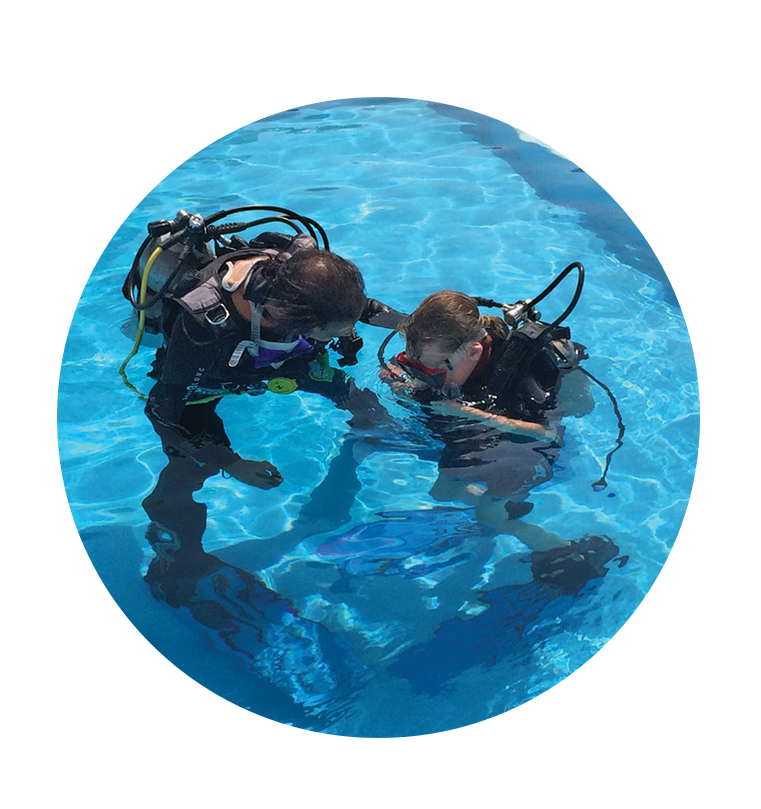
In addition to an exciting snorkelling and Free Diving Programme in the Splash Club we can take you under the water on SCUBA to a whole new world of fun and wonder. If you are under 10 your first breath under water will be as a Bubblemaker and continue with daily Seal Team Missions. From 10 we will complete a Discover Scuba Diving experience in the amazing Red Sea. Alternatively we offer a full junior certification programme to become an international qualified Scuba Diver.
U-16 Adventurer Club
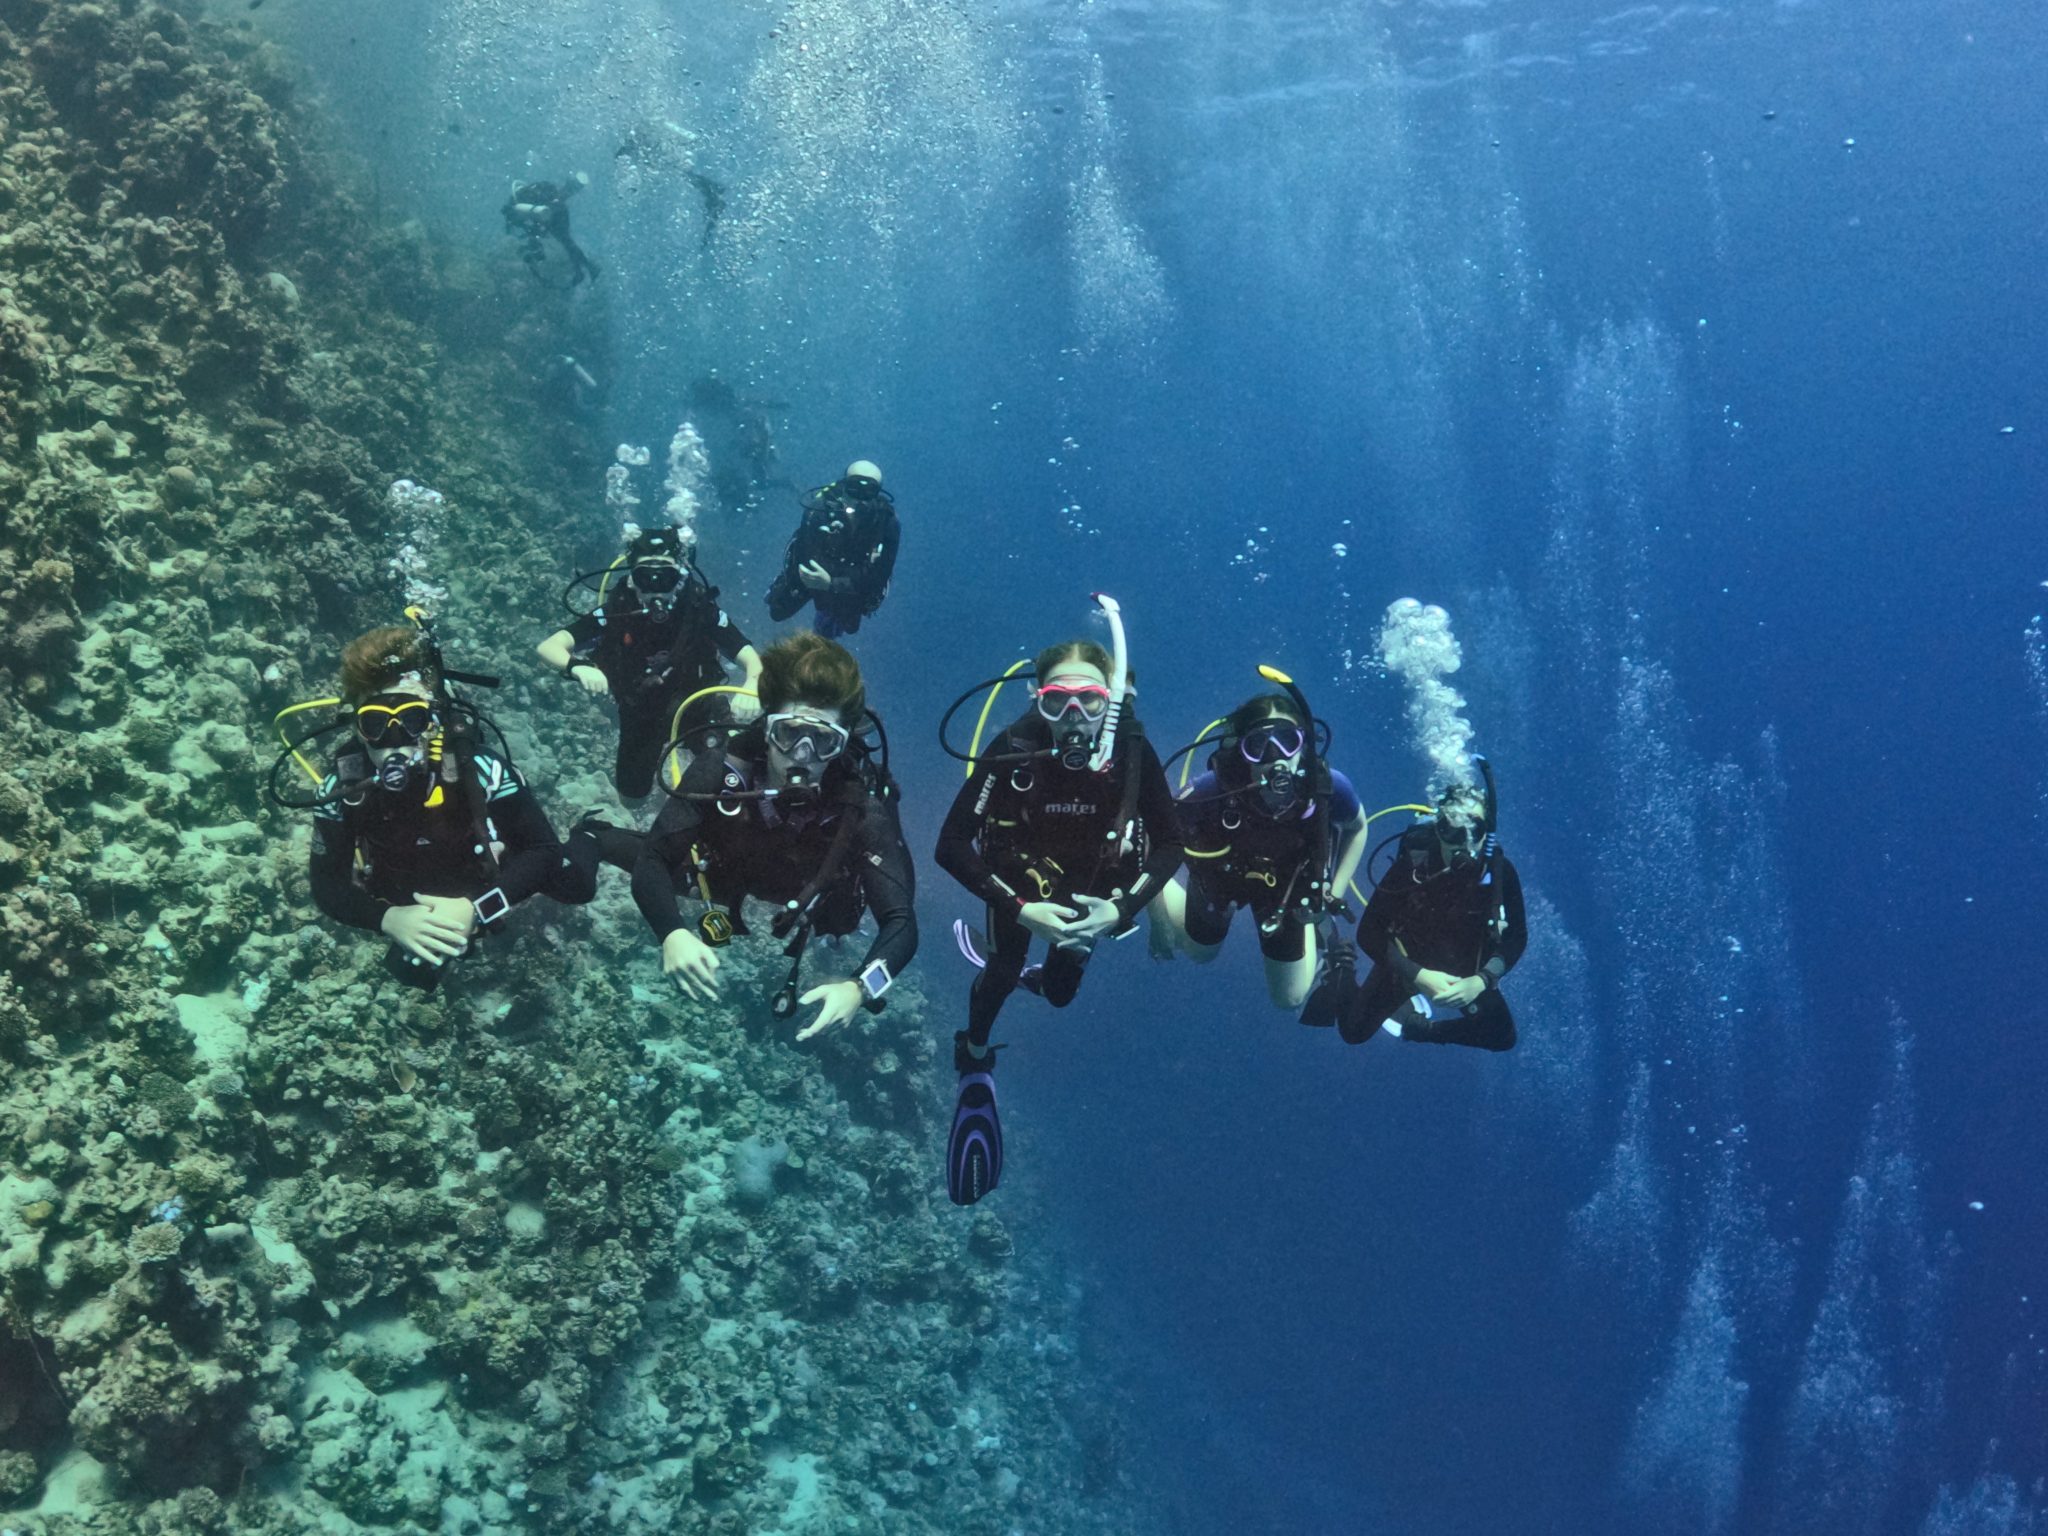
For qualified Scuba Divers regardless of age it’s the Adventurer Club and exploration of the local reefs and marine life. There will be 2 dives every day with the Open Ocean marine field station team who will introduce you to Red Sea marine life and workshops on marine research. Alternatively there are opportunities to continue your scuba diving certifications with our instructional team.
Parents are welcome to join the club activities and join the courses.
BOOK NOW: INFO@PHARAOHDIVECLUB.COM / TEL: +44 7598 329059 or +20 100 6822000
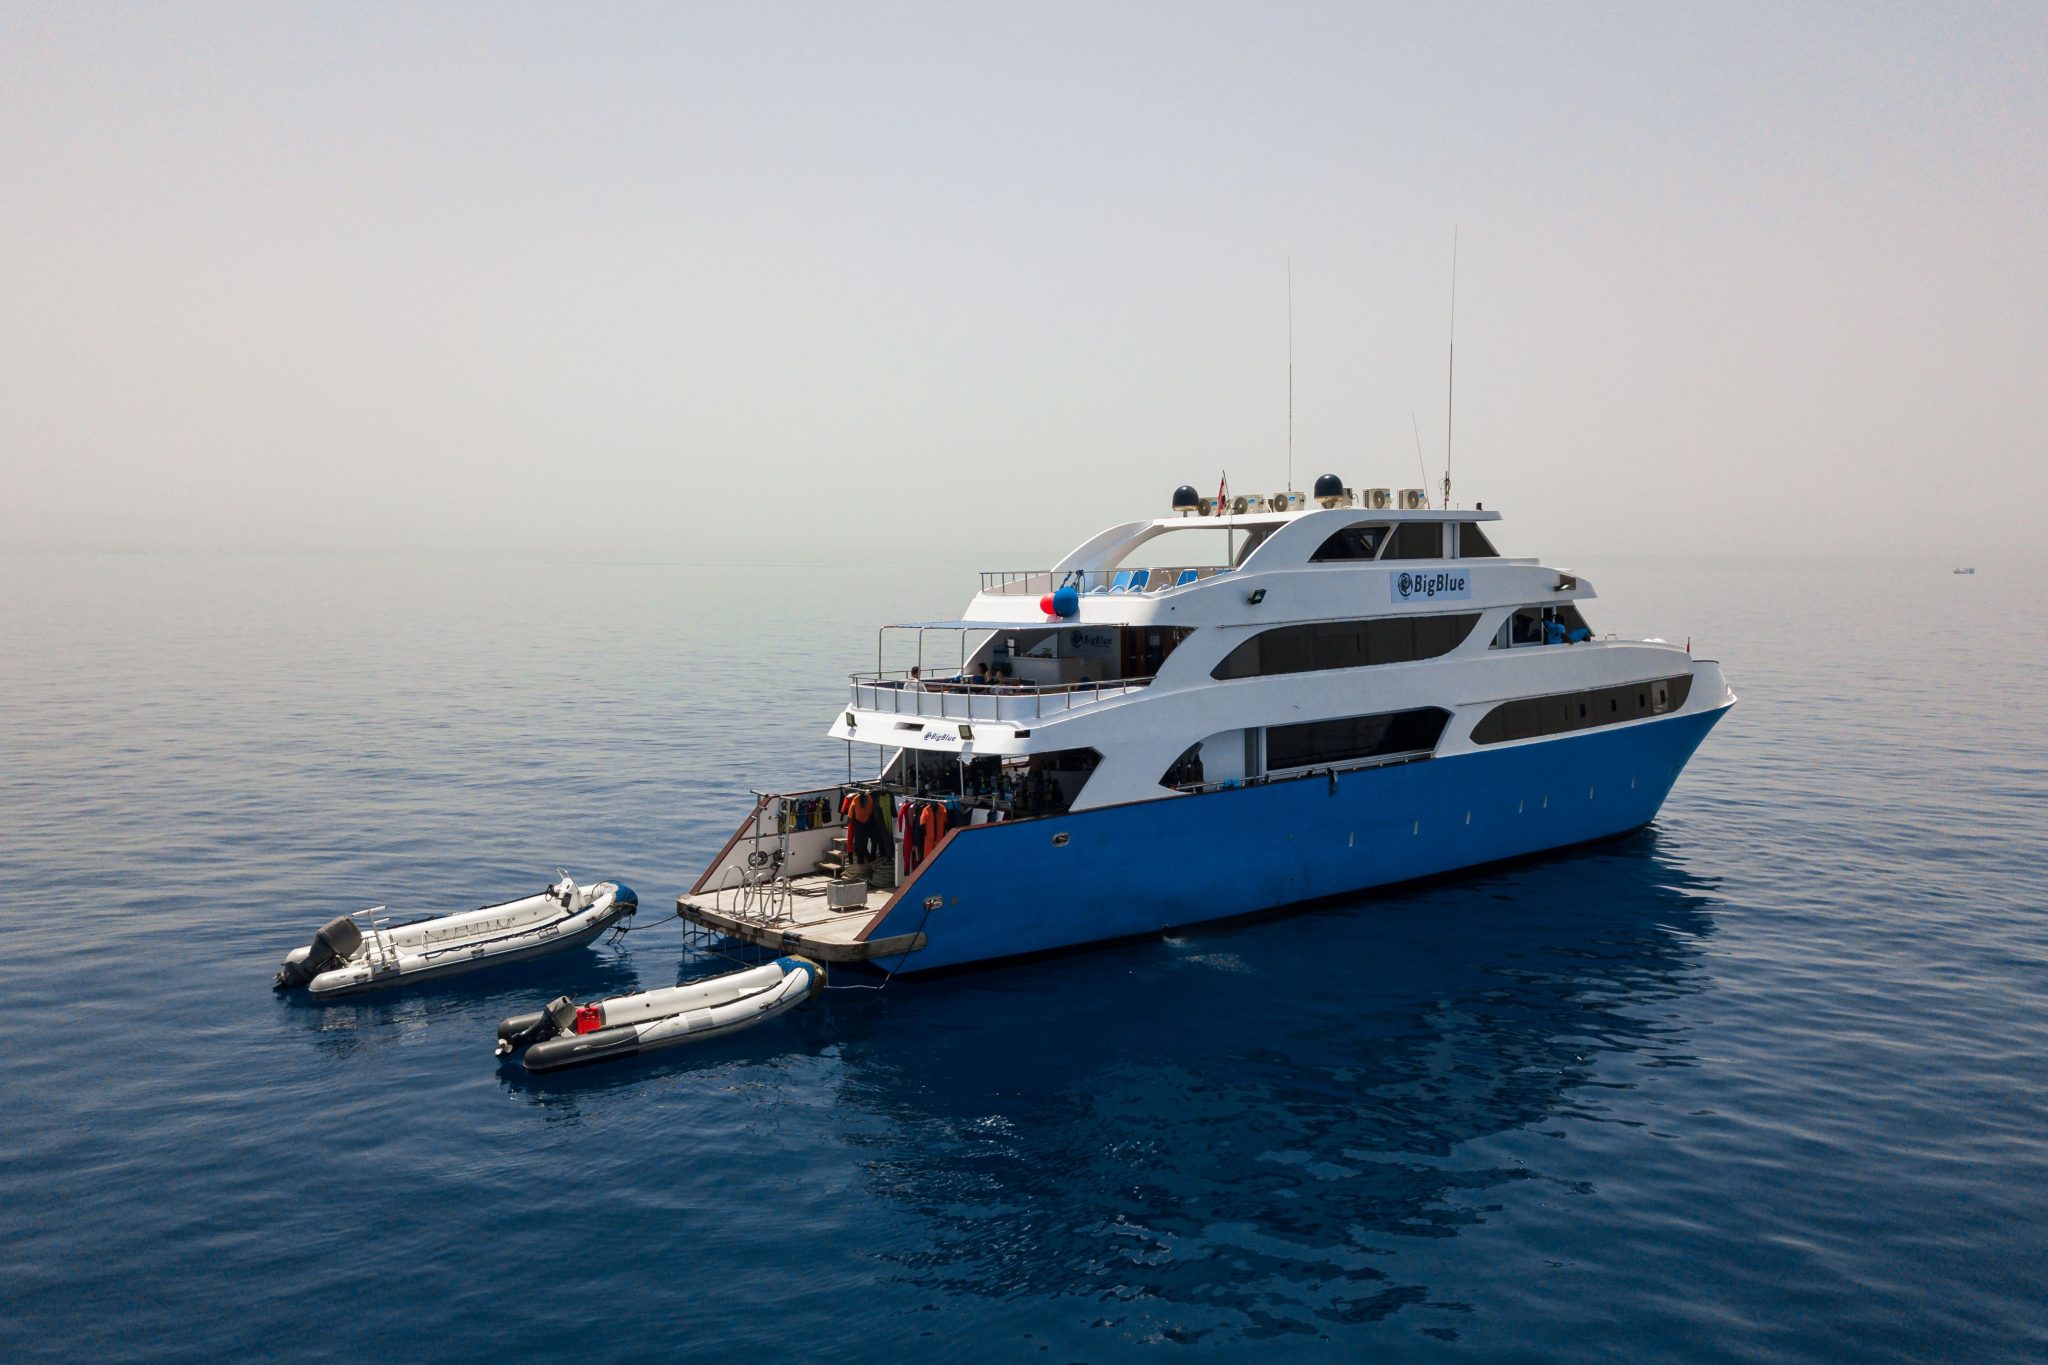
Big Blue might seem like the new kid on the block, but the team behind the highly acclaimed liveaboard is far from that. They have been running Red Sea safaris since the late 1980’s and were in fact part of the early pioneers who ventured out to the unknown on vessels that in today’s world, really shouldn’t have left the harbour! It’s that experience and the years of operating the award-winning Roots Red Sea resort which truly set Big Blue apart from the crowd!

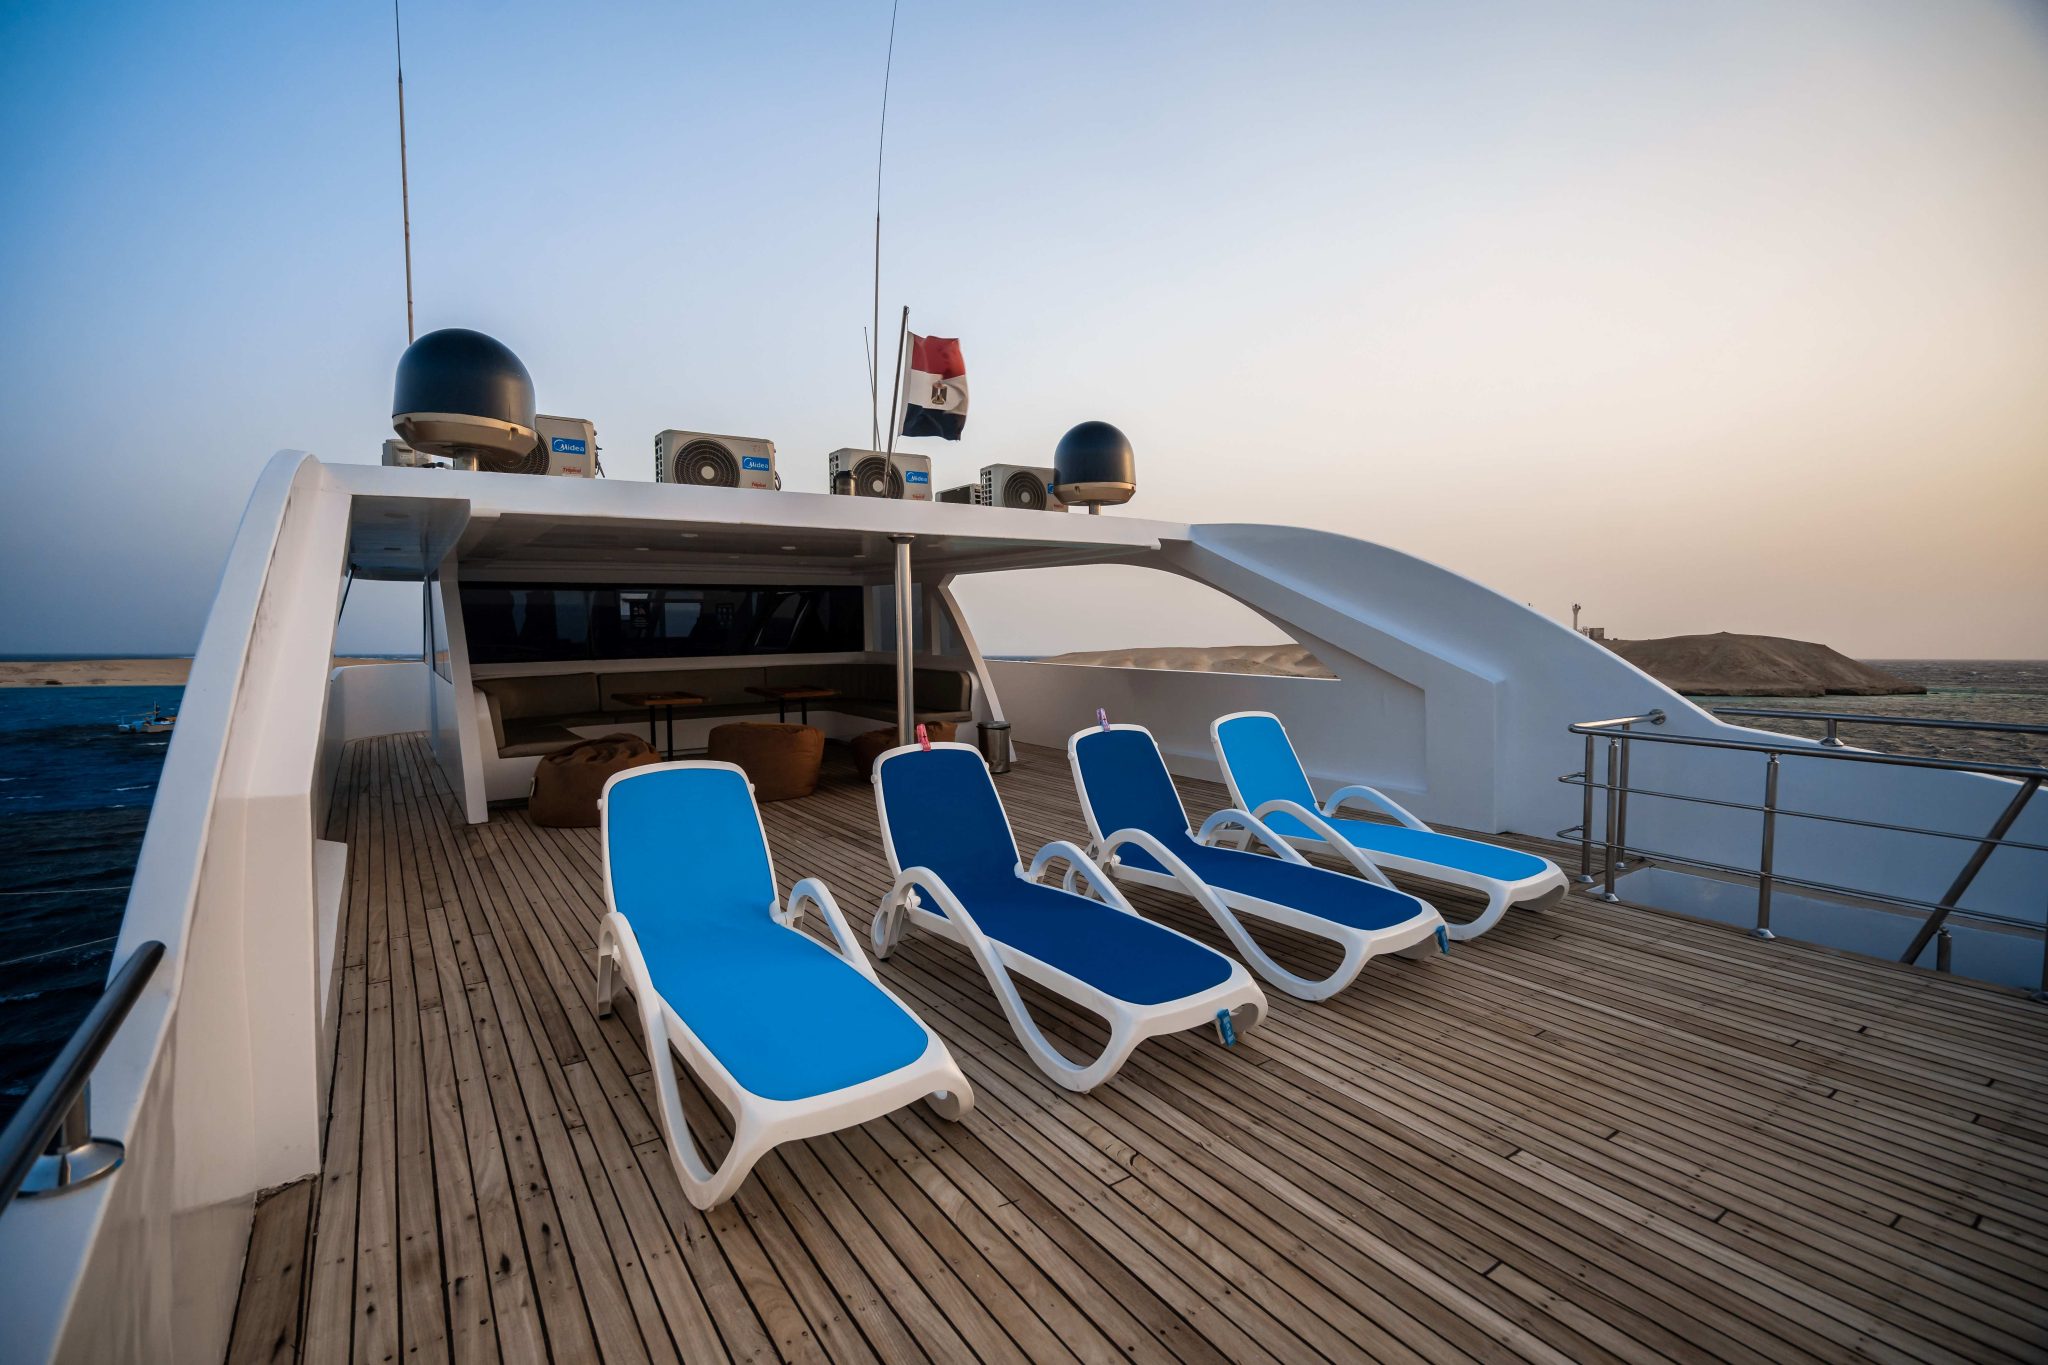
Large lounge area, spacious sun deck and terrace deck.
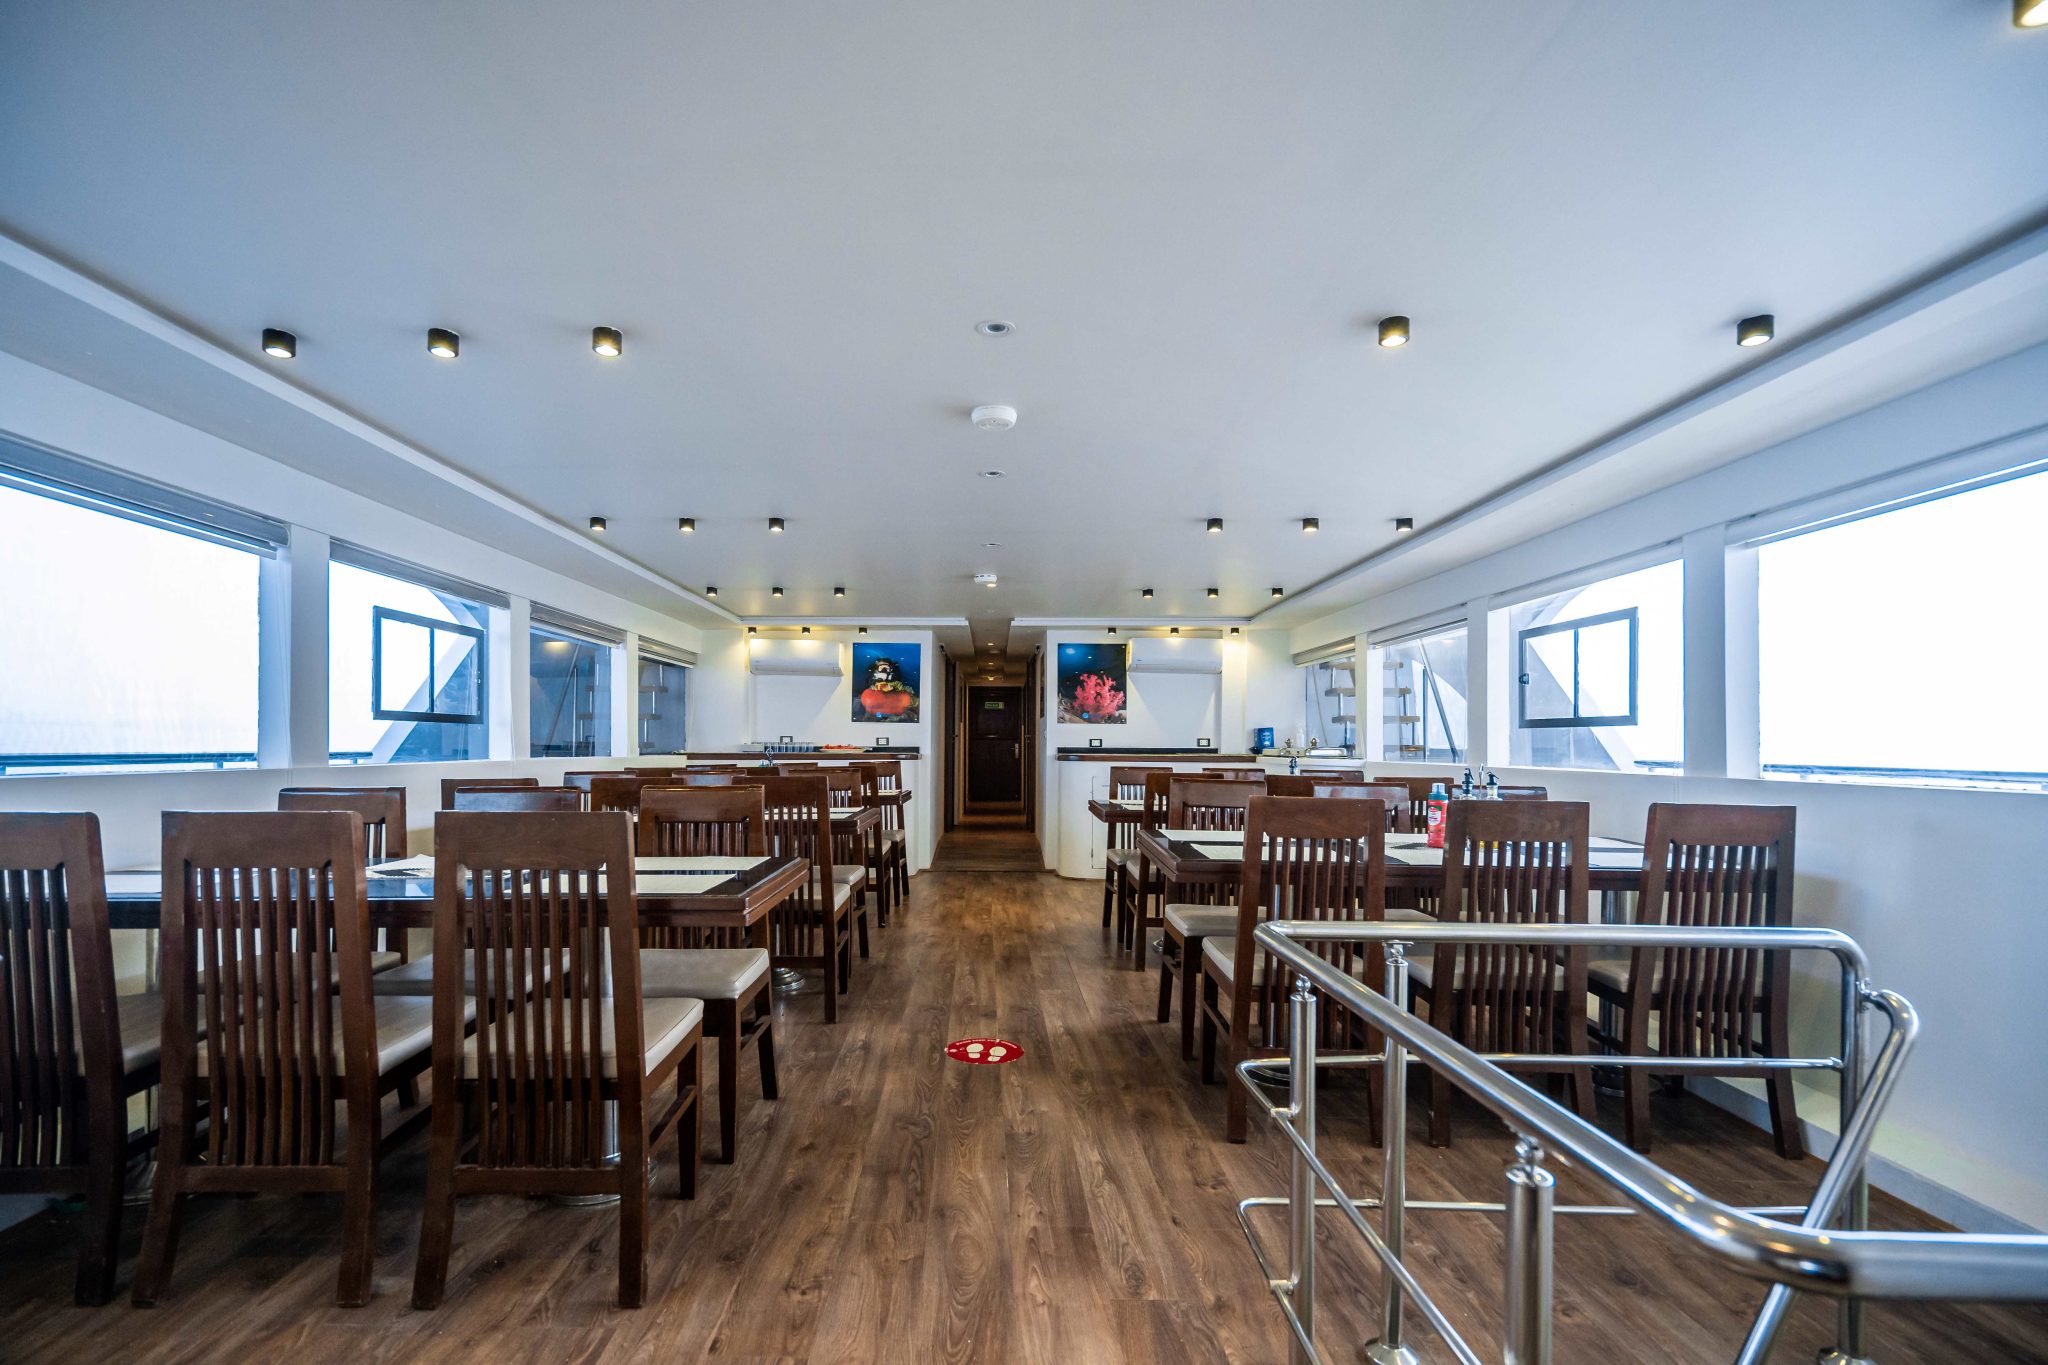
Airy restaurant with five tables with up to six chairs per table, serving a varied and delicious menu with special dietary requirements catered for.
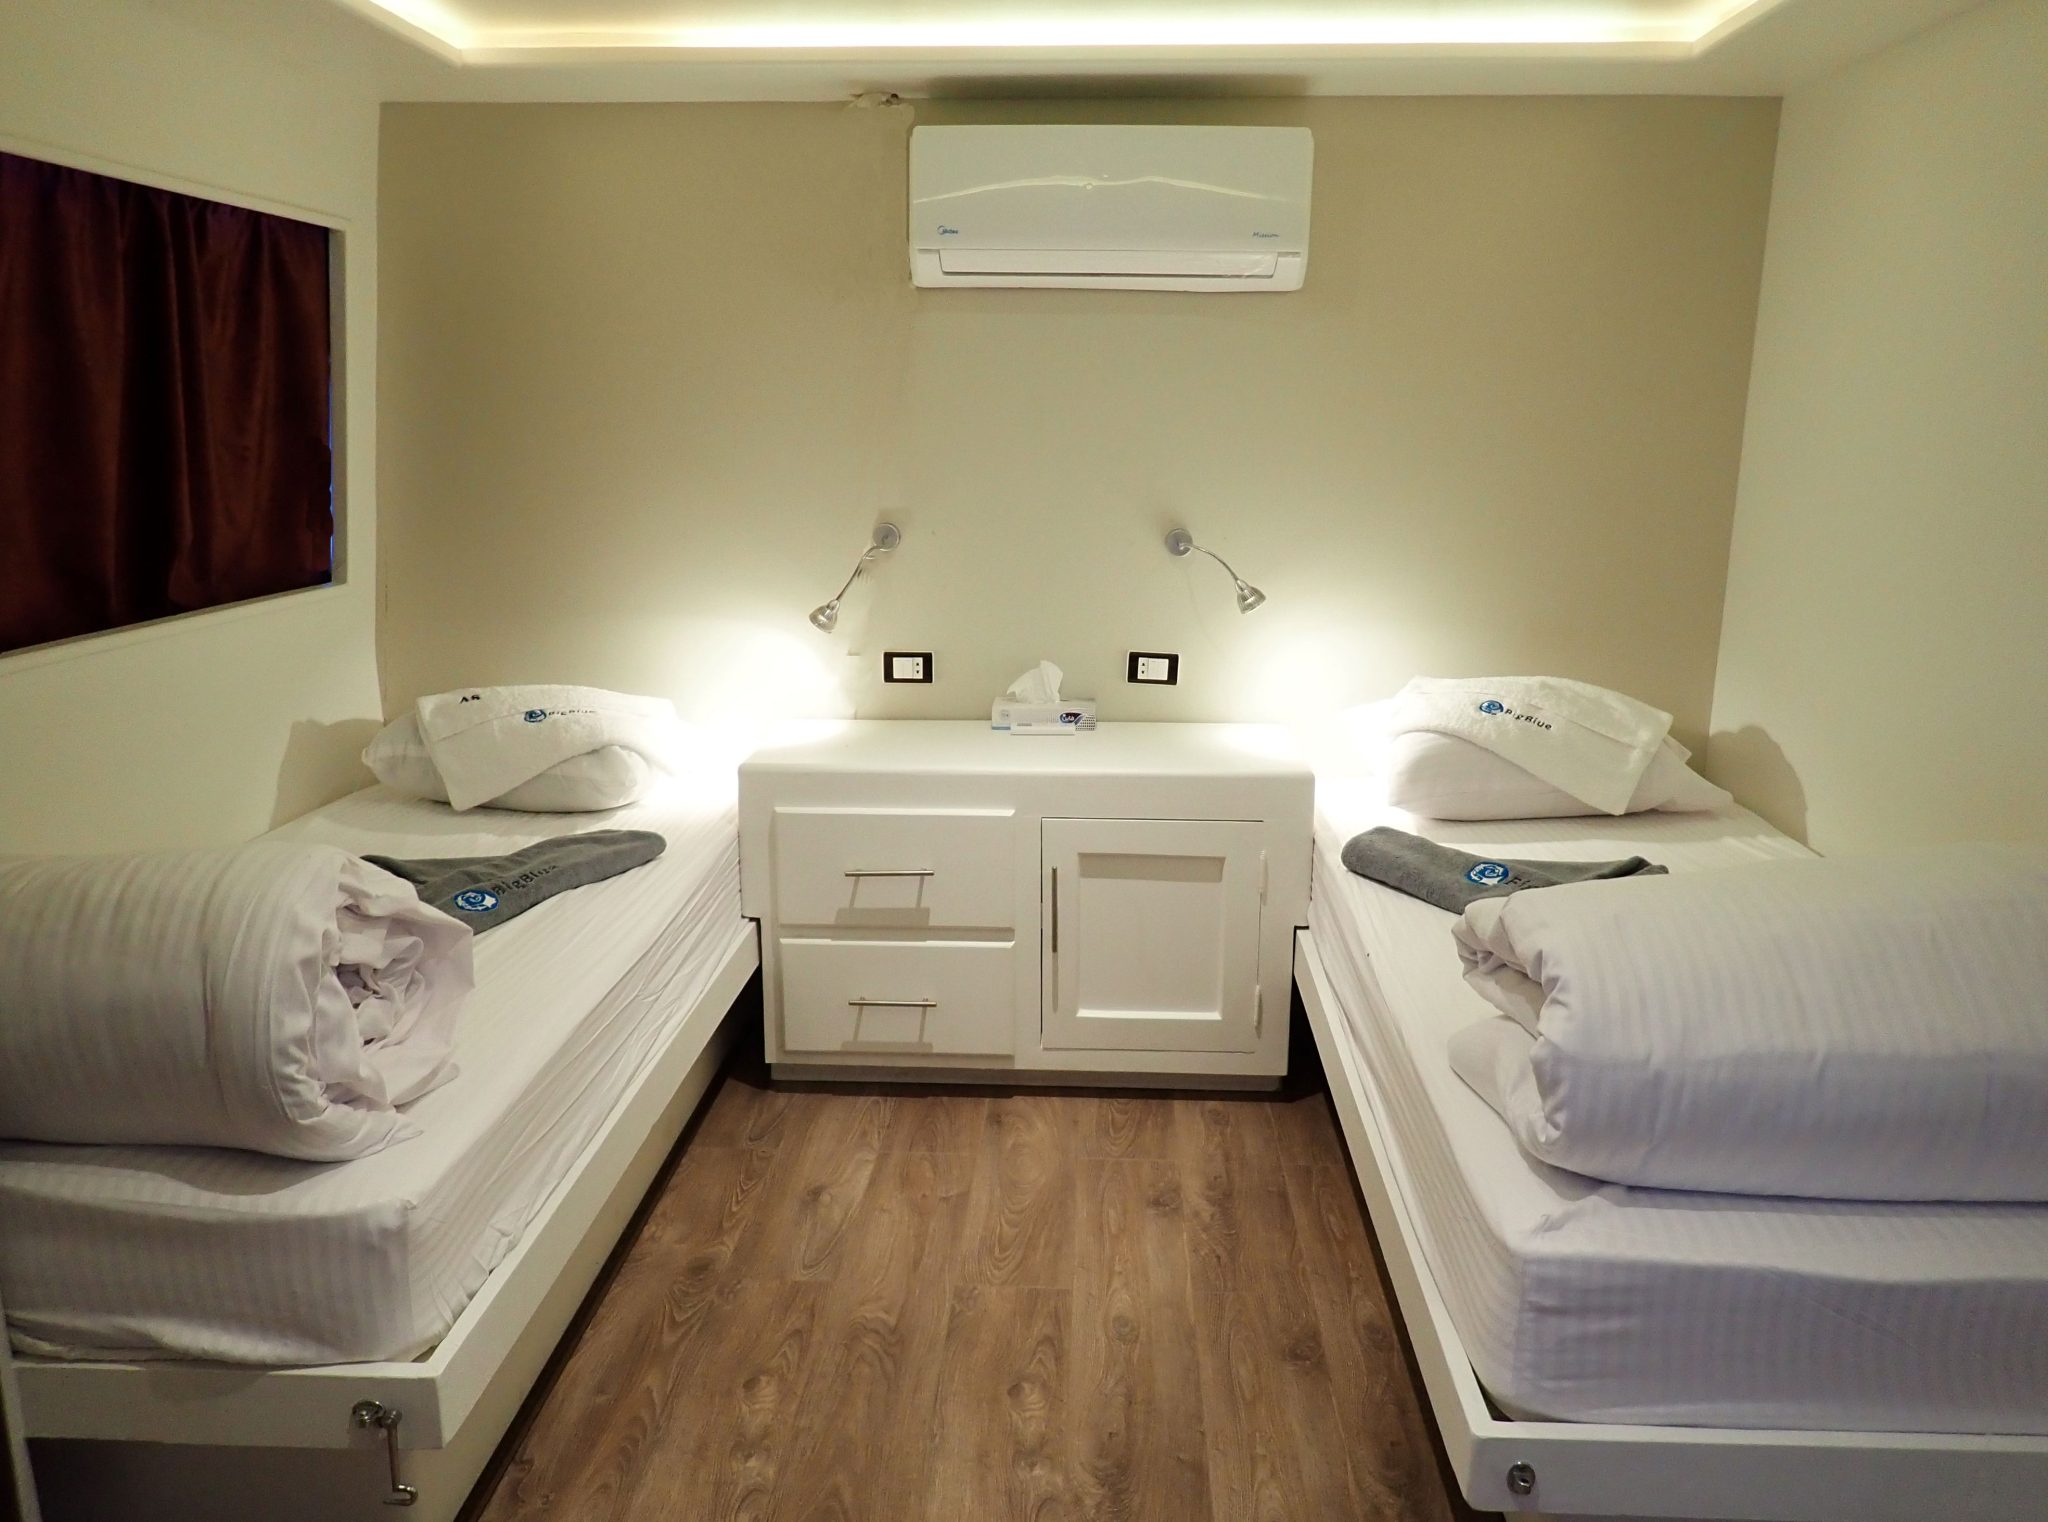
The spacious cabins have side by side beds and a large walk in wet bathroom.
Ample dive deck for divers & snorkelers.
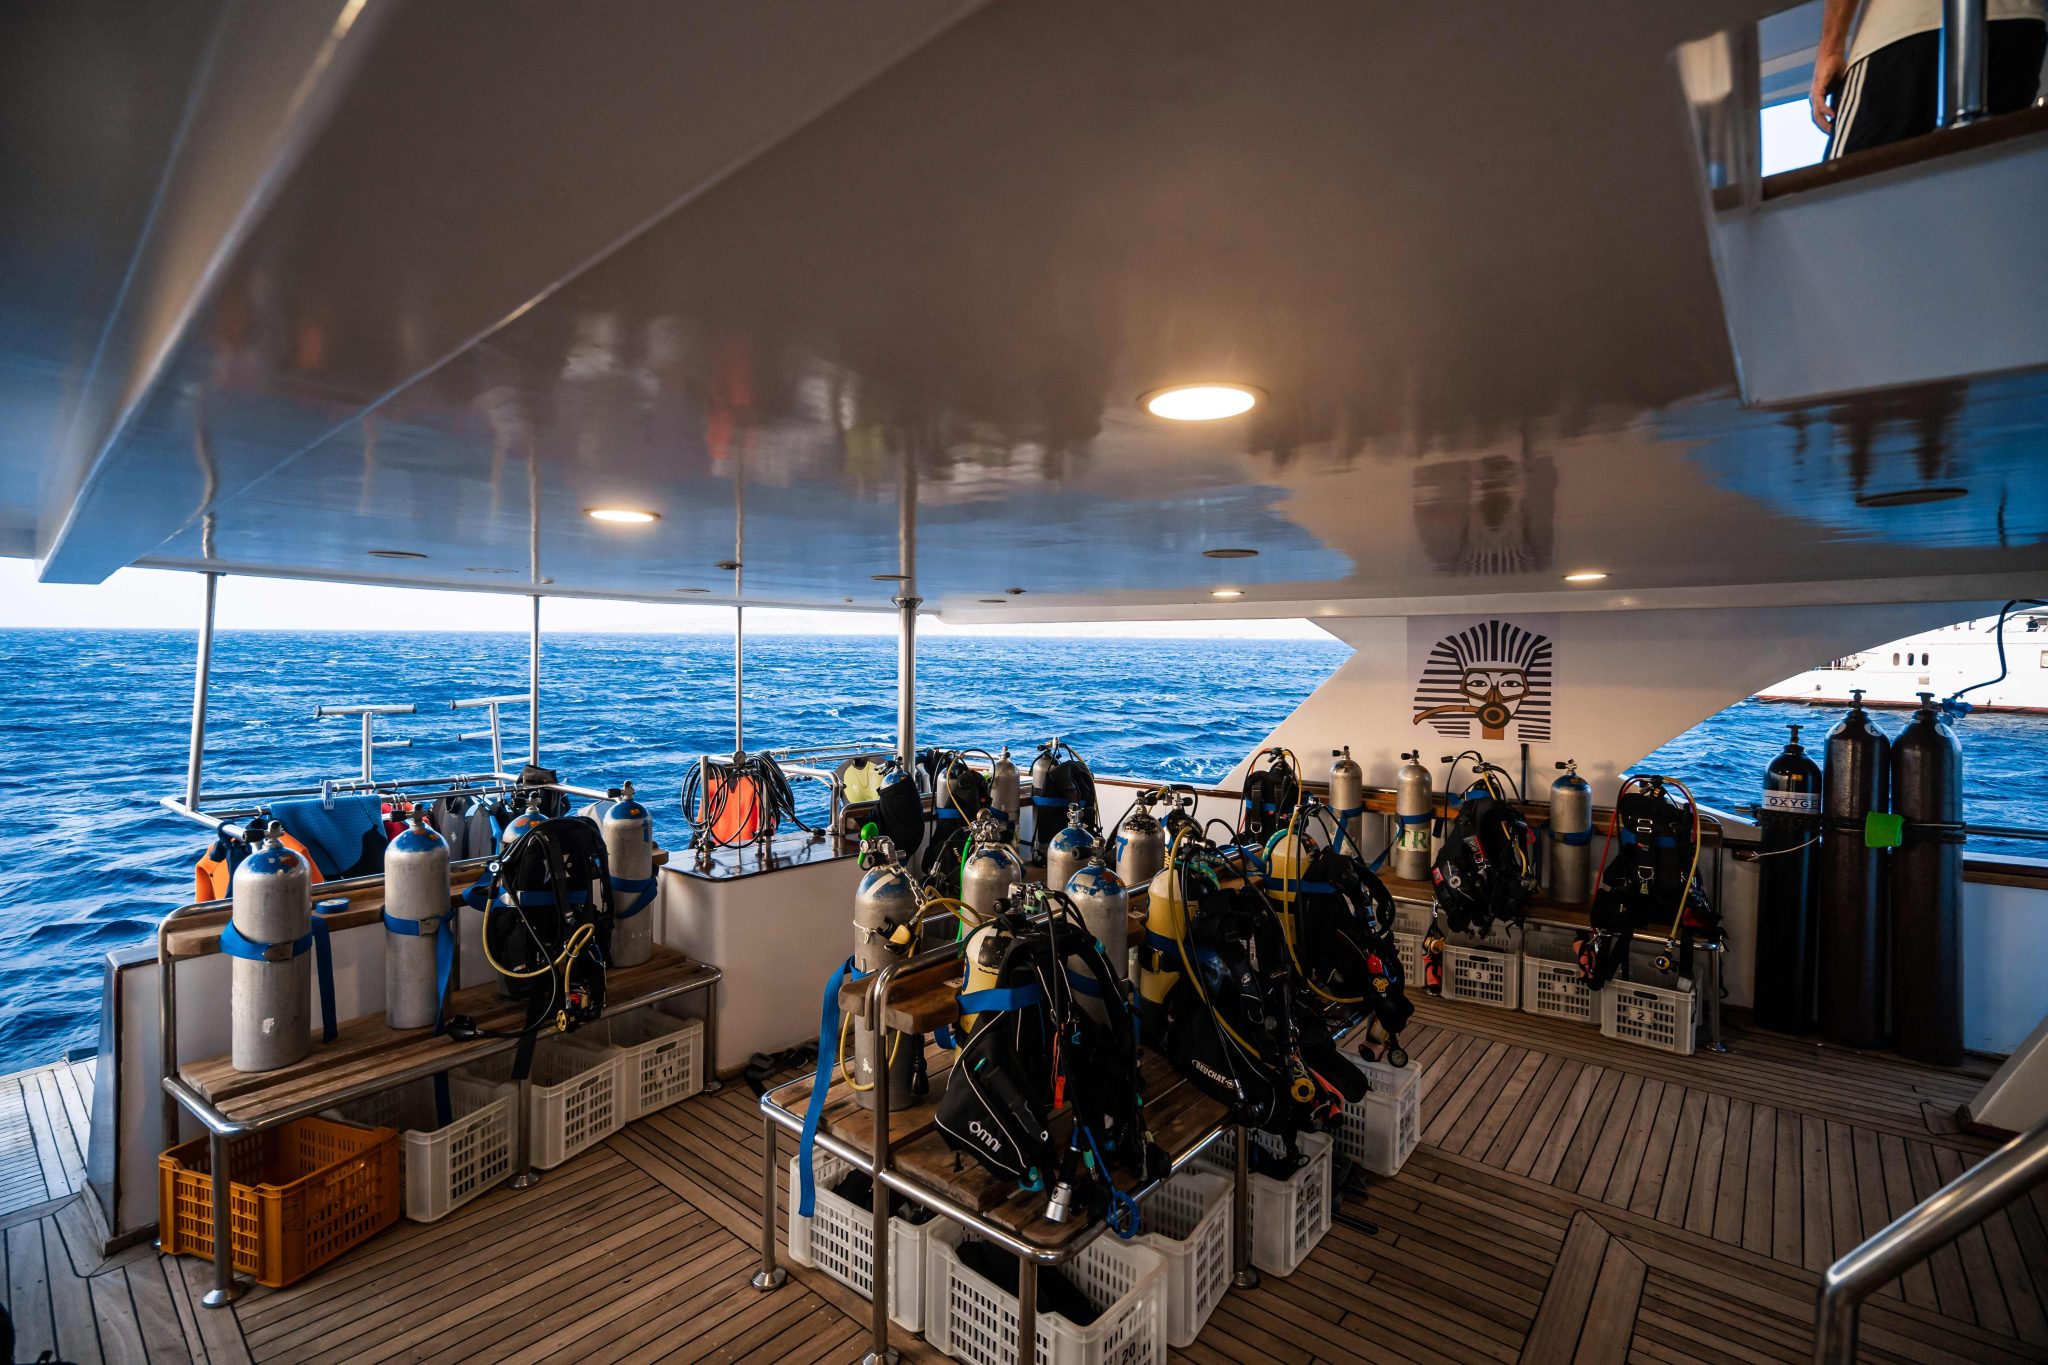
Safety is everyone’s priority, whether you are relaxing on board, swimming, snorkelling or diving.
On board Big Blue is fitted with smoke alarms, emergency lighting and a fire alarm system. The lower corridor has a full-size door fire exit at the bow and open stairs to the stern. There are evacuation plans in each room along with life jackets, glass breaker tool and a fire extinguisher.
BOOK NOW: INFO@PHARAOHDIVECLUB.COM / TEL: +44 7598 329059 or +20 100 6822000
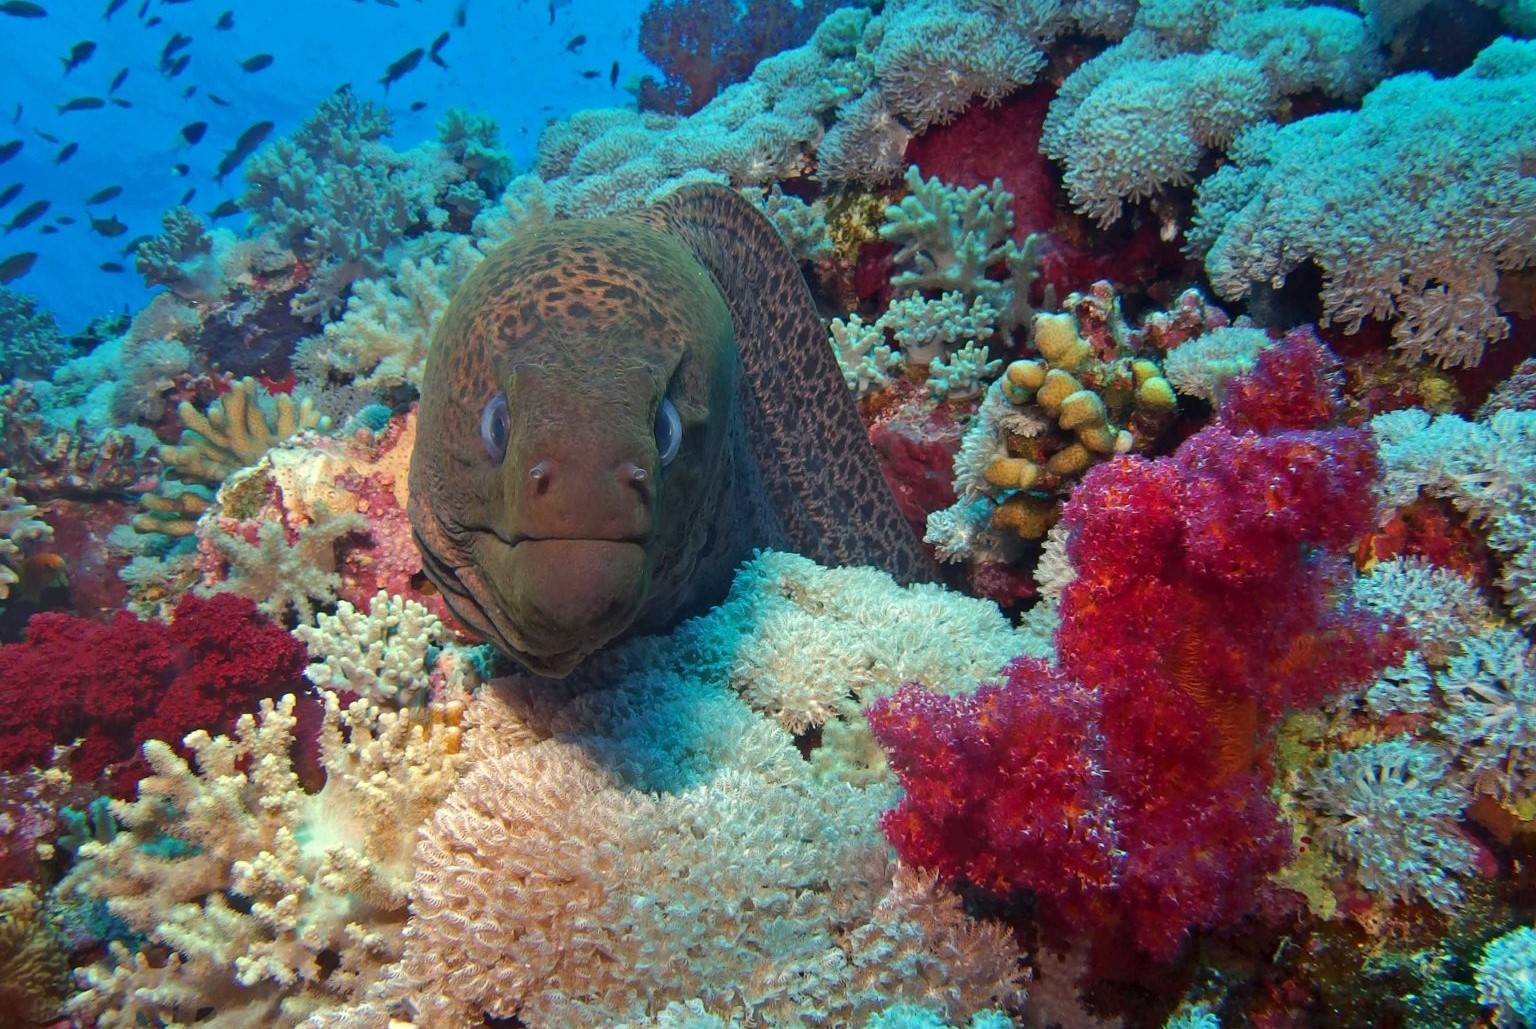
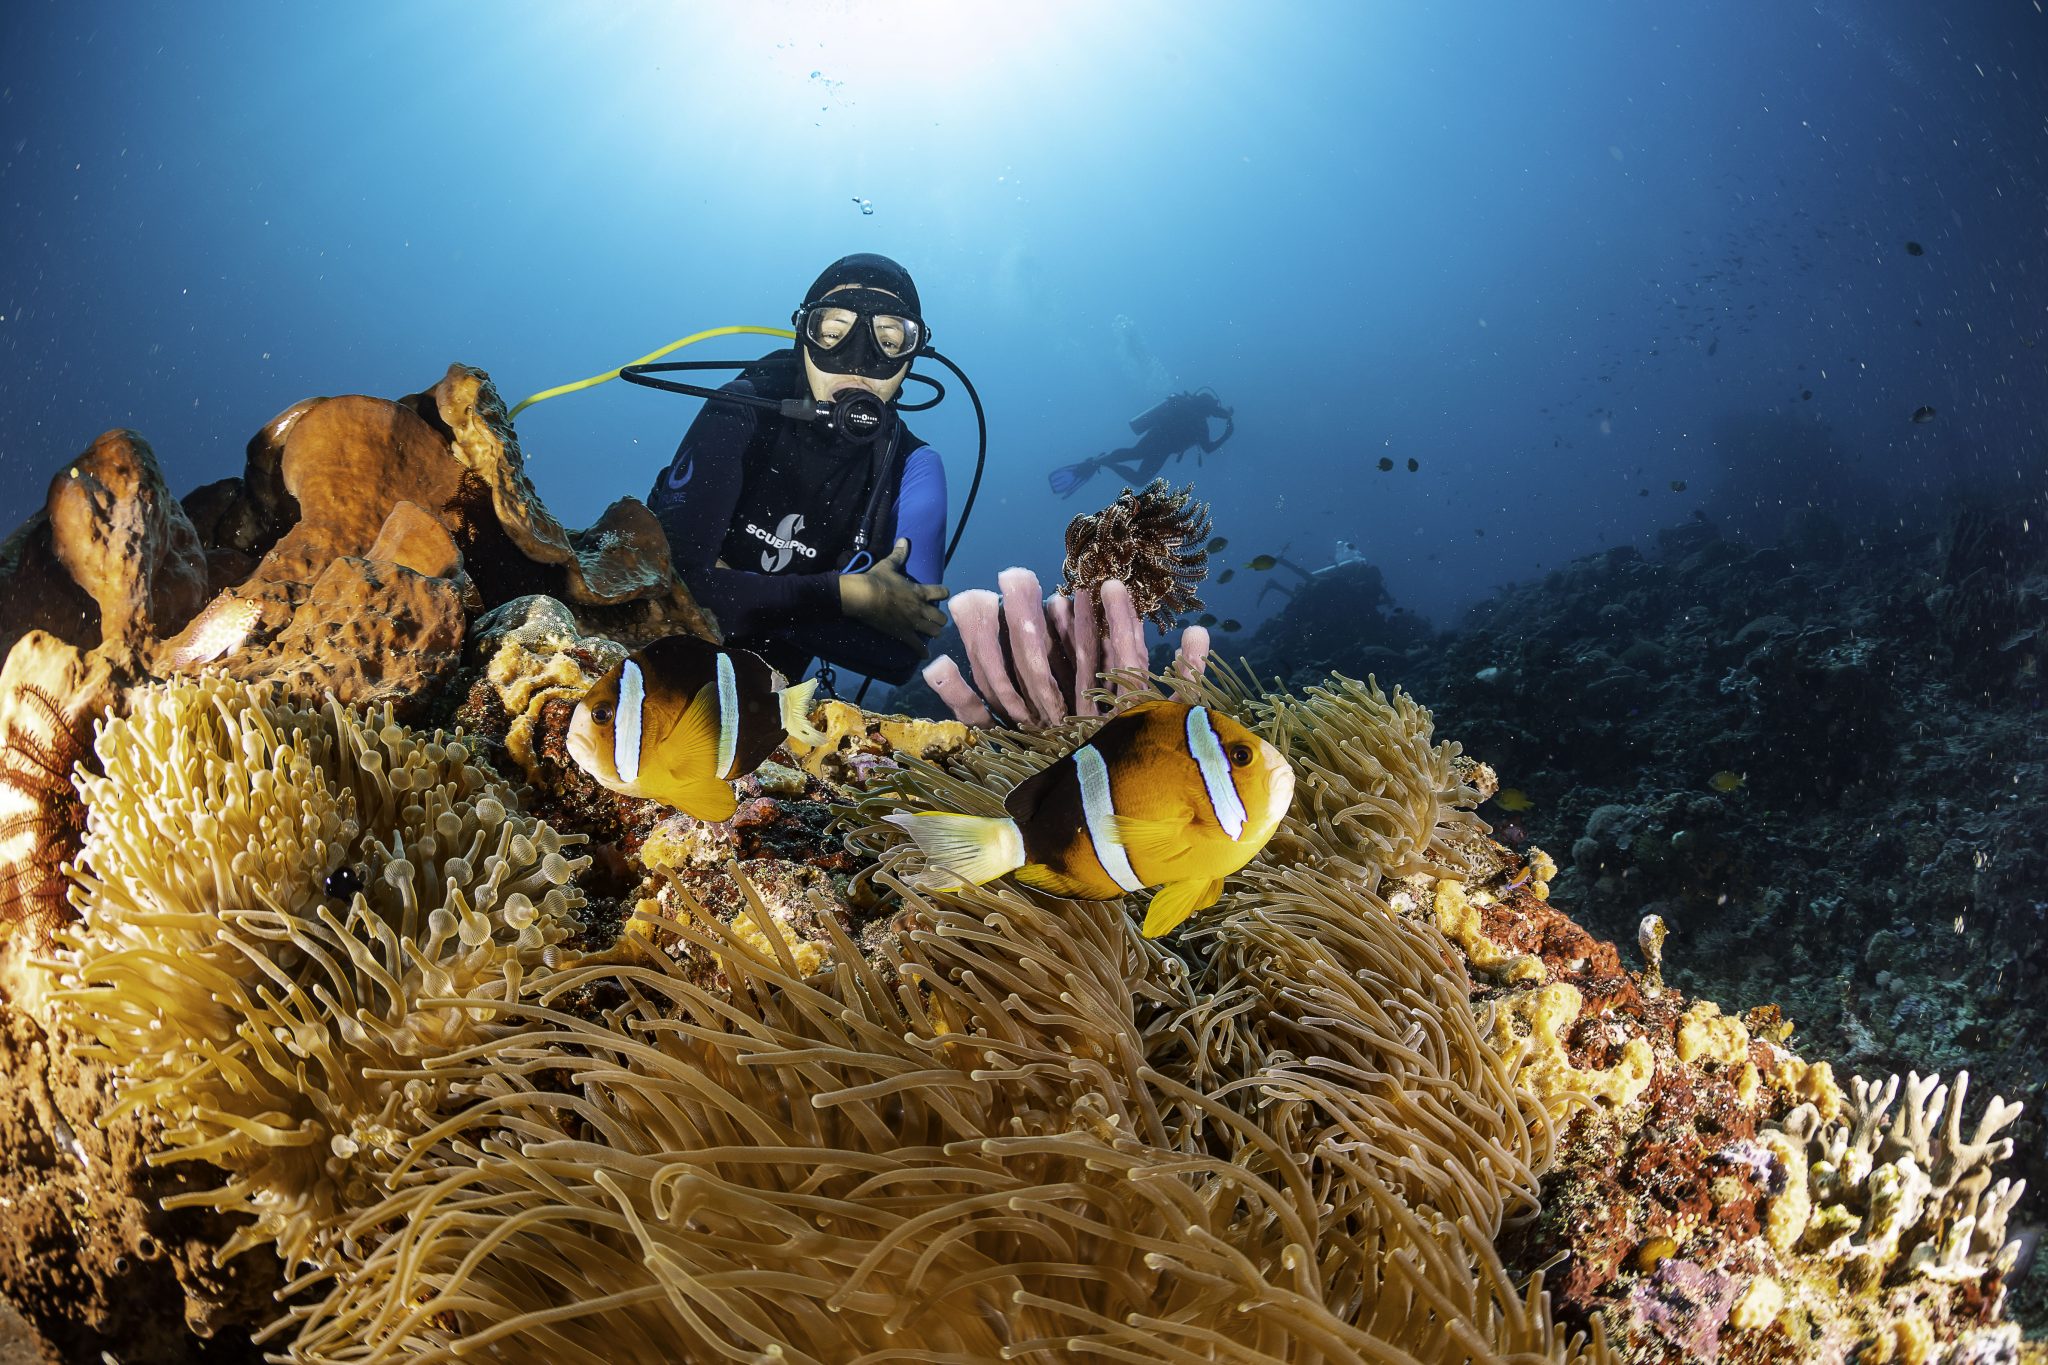
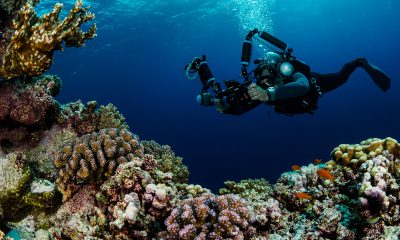
Red Sea Splash at Fury Shoals is a very rare opportunity to get involved with marine biology expedition for children and adults. Open Ocean biologists are on board to provide fascinating and entertaining facts about the marine life you will see. The team will provide workshops on marine life identification and survey methods both of which, should you wish, you will have the chance to put into practice during your safari.
The week is open to snorkelers, scuba divers and non divers too!
Fury shoals is perfect for first time mariners as it offers plenty of protection from the weather.
We board at Port Ghaleb on Saturday evening and prepare to set sail early on Sunday morning.
Heading south, our first day will be diving the reefs of Abu Dabbab before sailing overnight to reach our ultimate destination the Fury Shoals.
Here we will spend four days swimming, snorkelling and scuba diving amazing reefs. This includes guaranteed DOLPHIN encounters at Sataya Reef! After the last dive we haul anchor and head back to Abu Dabbab for our final two dives before disembarking our boat BIG BLUE.

Camp Extension Cost*
Adult £650 per adult
Under 16 £350 per child
BOOK NOW: INFO@PHARAOHDIVECLUB.COM / TEL: +44 7598 329059 or +20 100 6822000
FURTHER INFORMATION – INFO@PHARAOHDIVECLUB.COM
TEL: +44 7598 329059 or +20 100 6822000
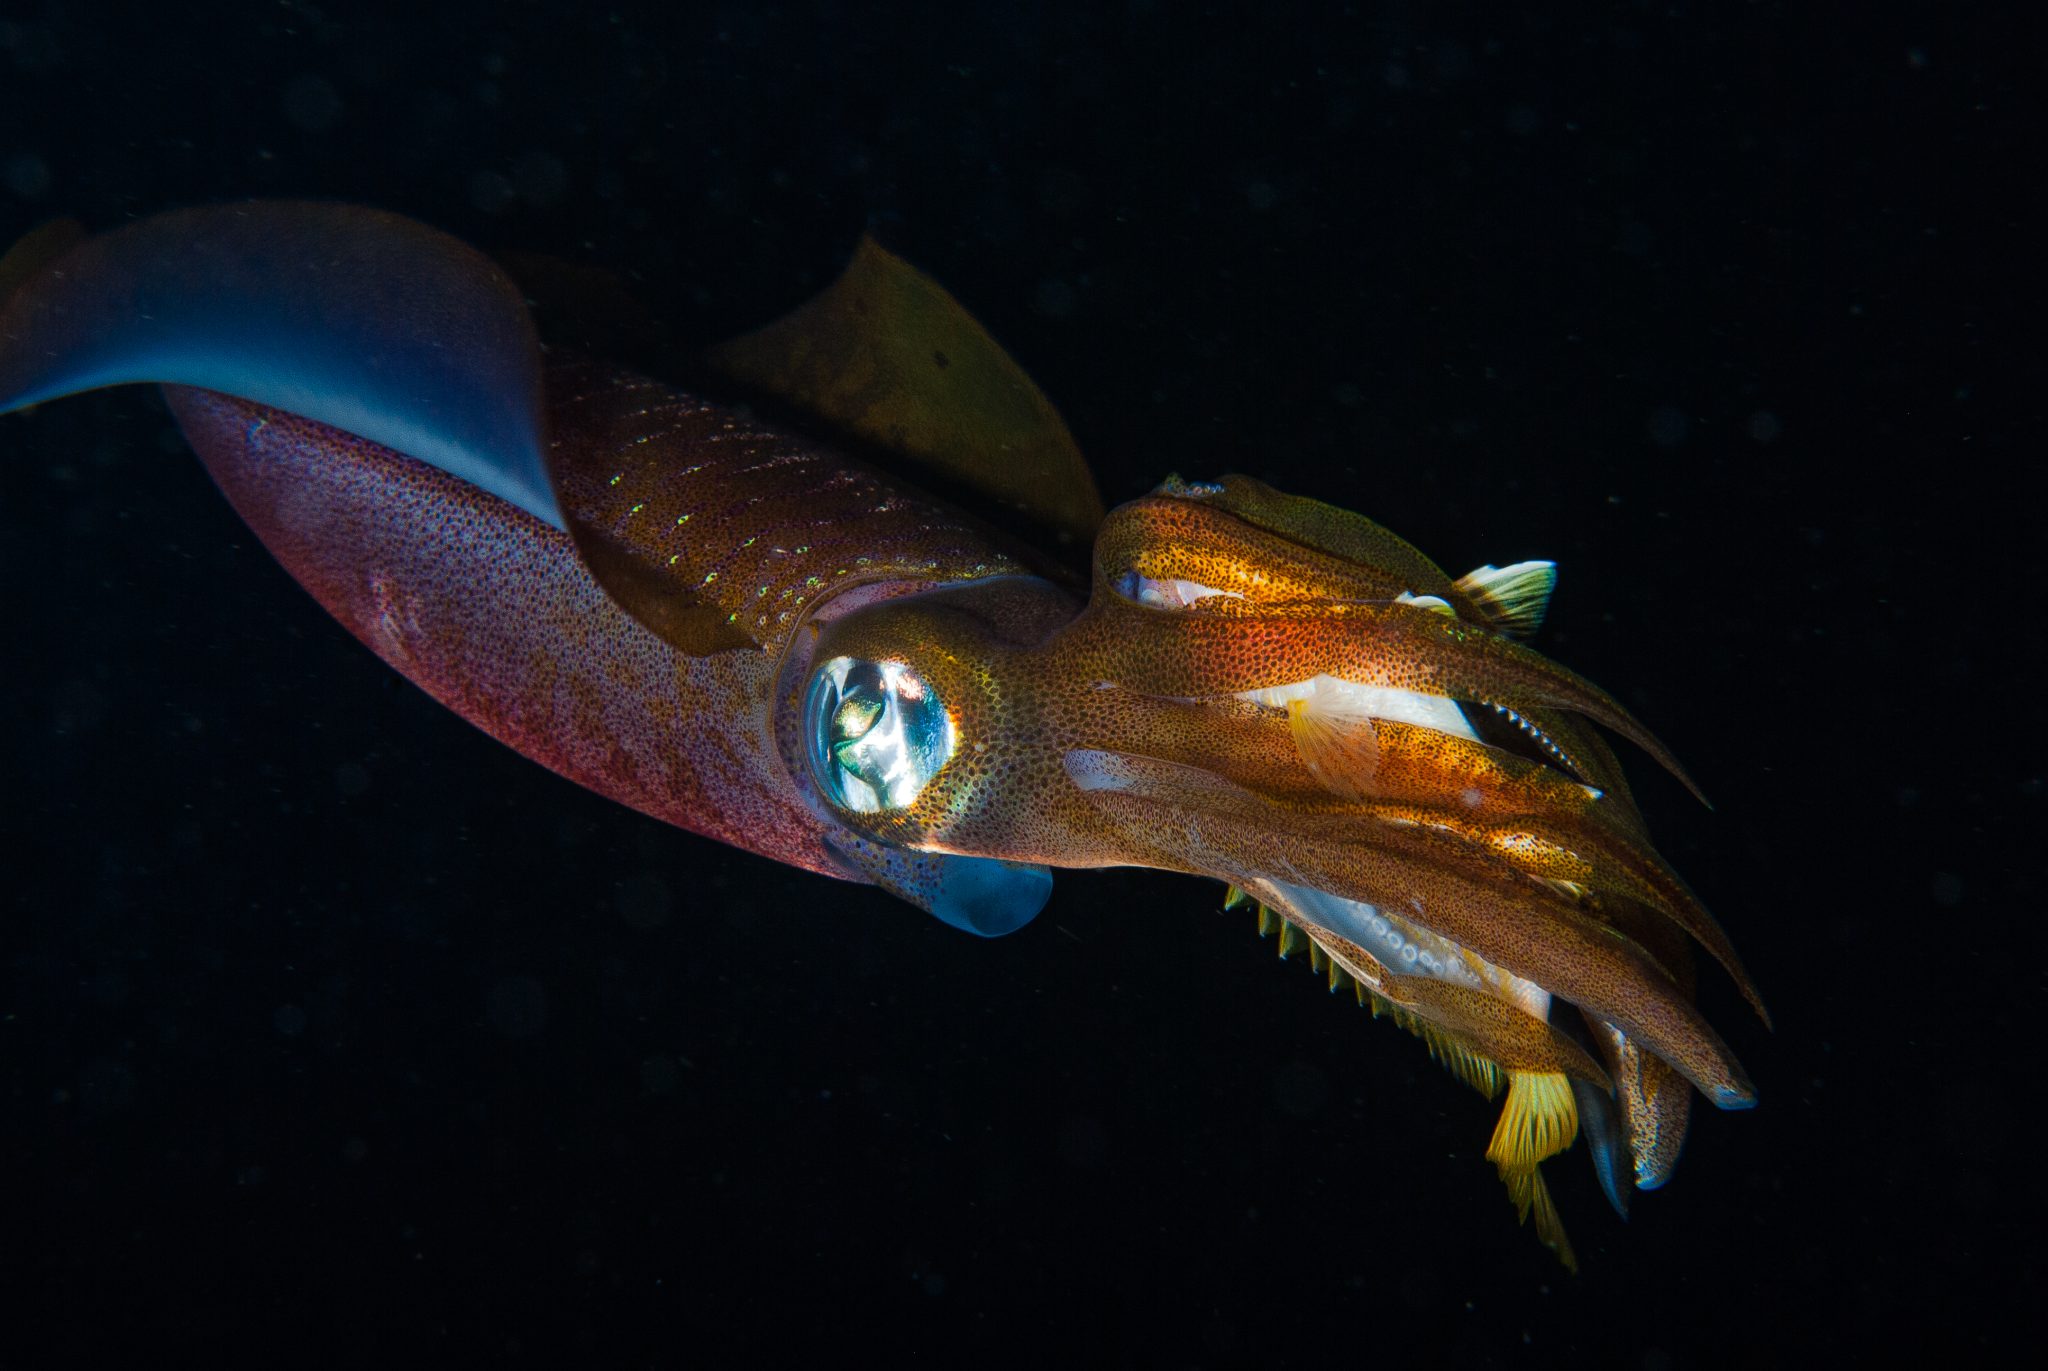
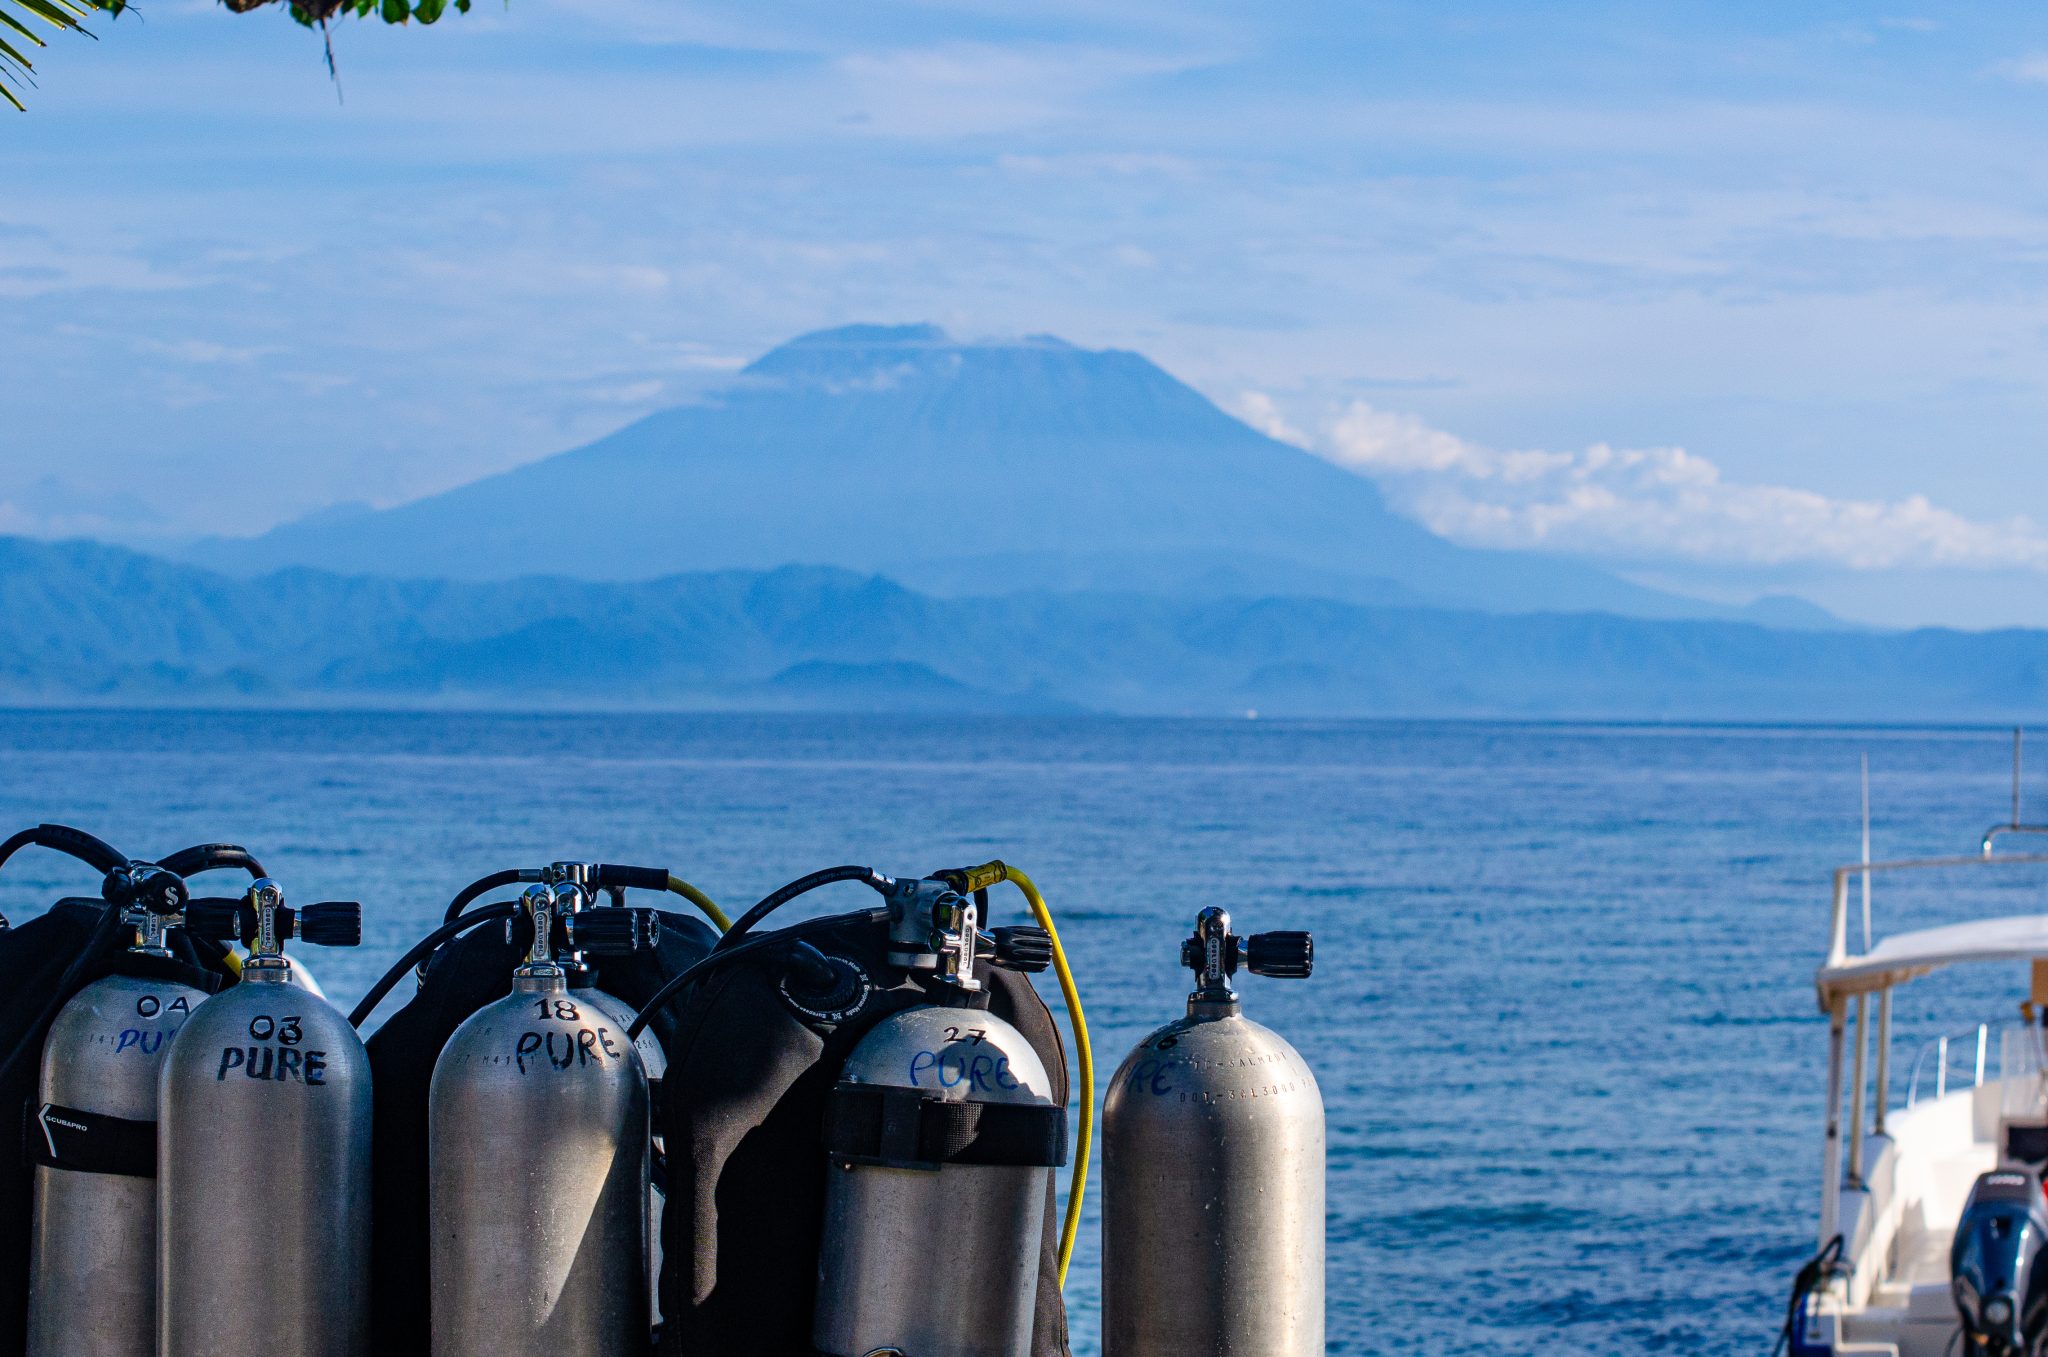
If you’re passionate about the underwater world, listen up! We’ve got an incredible opportunity for you to experience the vibrant reefs and majestic marine life of Nusa Penida, Bali, Indonesia.
info@purediveresort.com / +62 811 3999852 / www.purediveresort.com
Pure Dive Resort isn’t just another dive centre; it’s a team of experts dedicated to providing world-class scuba diving and freediving adventures around Nusa Penida, Lembongan, Ceningan, and even Bali.
info@purediveresort.com / +62 811 3999852 / www.purediveresort.com
Whether you’re a seasoned diver or completely new to the sport, Pure Dive Resort has something for you:
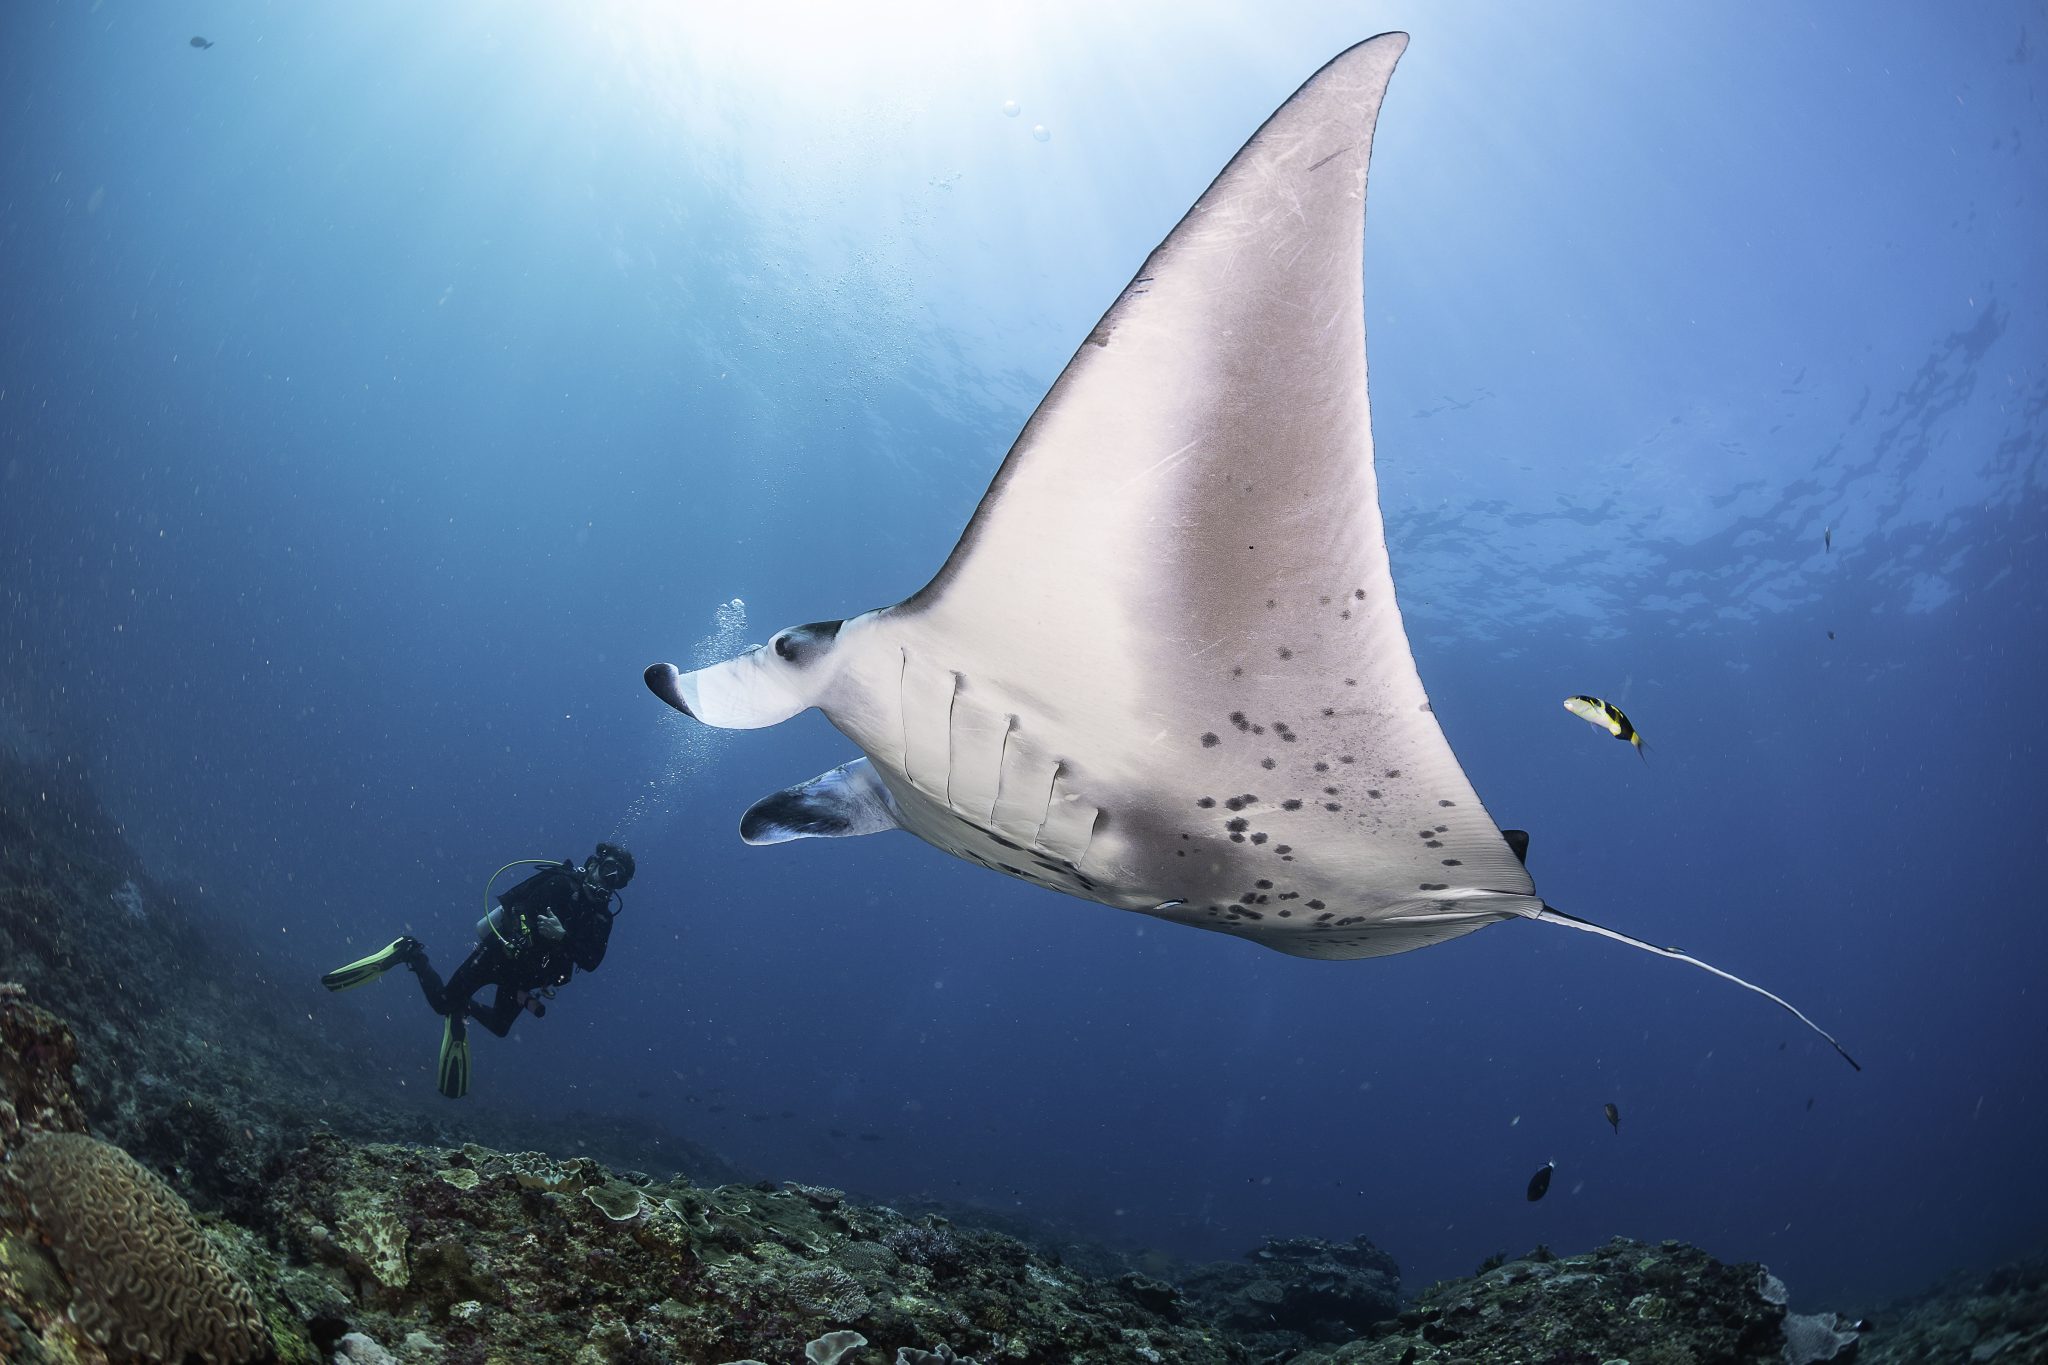
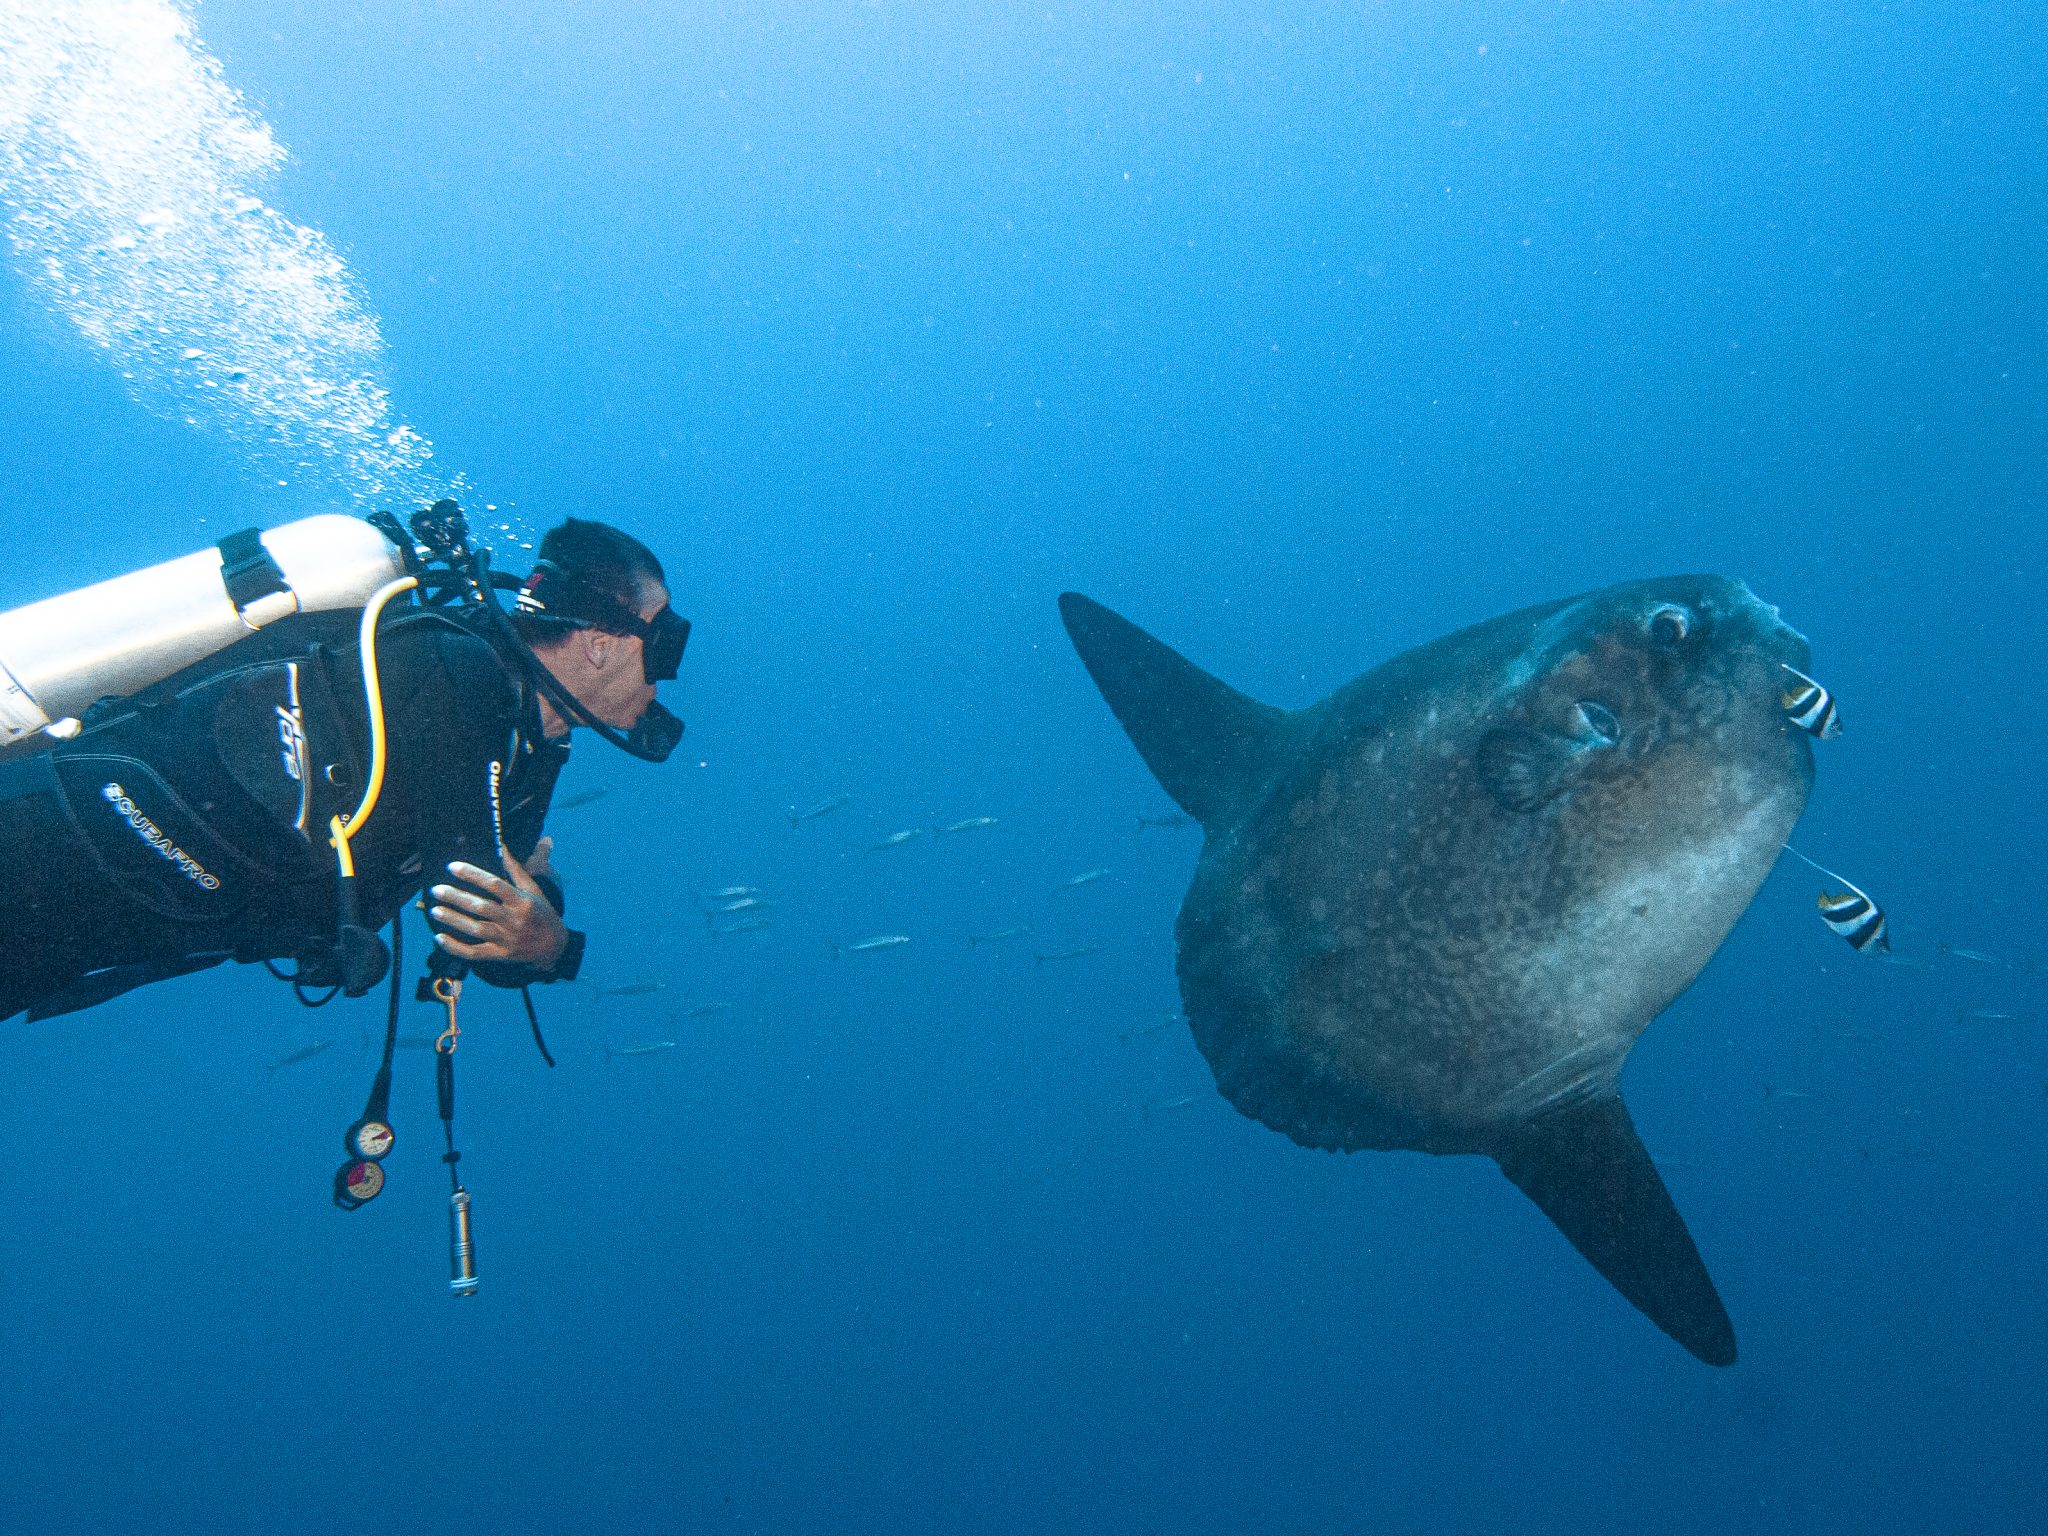
For certified Divers: Discover stunning dive sites, encounter manta rays, seasonal mola-mola (sunfish), and a dazzling array of marine life.
For beginners: Embark on your scuba journey with beginner programs like Try Scuba and Basic Diver, Open Water and Advanced certifications.
Freedivers: Explore the depths on a single breath with guided freediving experiences and courses.
Exclusive Scubaverse Offer: Save on Your Next Adventure
As a valued Scubaverse follower, you get an exclusive 10% discount on any Dive & Stay or Learn & Stay package booked at Pure Dive Resort for 2024. Dive into the crystal-clear waters, explore breath-taking reefs, and create unforgettable memories in this diver’s paradise.
Visit https://www.purediveresort.com/package-offers/ to explore amazing packages and claim your discount with the code: SCUBAVERSE10
info@purediveresort.com / +62 811 3999852 / www.purediveresort.com
Ready to make a splash?
See you in Nusa Penida!

-
 News3 months ago
Hone your underwater photography skills with Alphamarine Photography at Red Sea Diving Safari in March
-
 News2 months ago
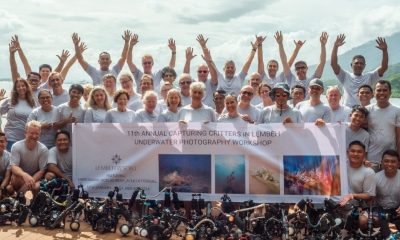
Capturing Critters in Lembeh Underwater Photography Workshop 2024: Event Roundup
-
 Marine Life & Conservation Blogs2 months ago
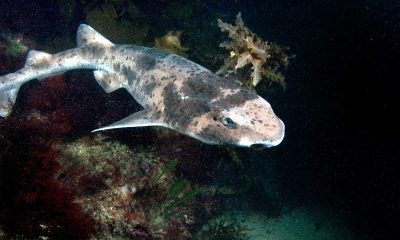
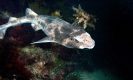
Creature Feature: Swell Sharks
-
 Blogs2 months ago
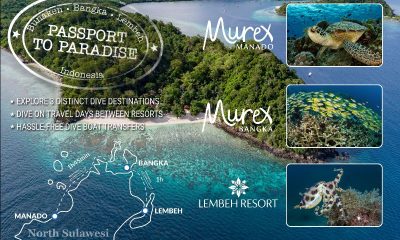
Murex Resorts: Passport to Paradise!
-

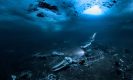 Blogs2 months ago
Diver Discovering Whale Skeletons Beneath Ice Judged World’s Best Underwater Photograph
-
 Gear News3 months ago
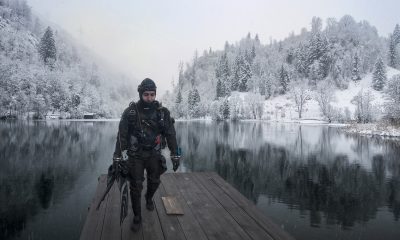
Bare X-Mission Drysuit: Ideal for Both Technical and Recreational Divers
-
 Gear Reviews2 months ago
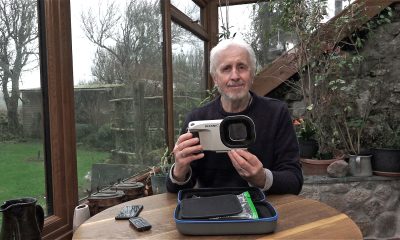
Gear Review: Oceanic+ Dive Housing for iPhone
-
 Marine Life & Conservation2 months ago
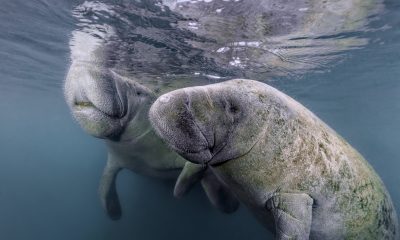
Save the Manatee Club launches brand new webcams at Silver Springs State Park, Florida