
News
Nauticam announce NA-Z7 for Nikon Z7 and Z6 Cameras

 The Z7 and Z6, Nikon’s first full-frame mirrorless cameras offer underwater shooters the same legendary Nikon image quality with the versatility of an electronic viewfinder and the more compact form factor of a mirrorless system. The Nauticam NA-Z7 housing supports both the Z6 and Z7 camera models.
The Nauticam NA-Z7 Housing
The NA-Z7 inherits all of the key innovative features from Nauticam DSLR systems scaled into a smaller form factor built around the Z6 and Z7 cameras. Best of all, it uses the same N120 Port System!
Z and F Mount Support
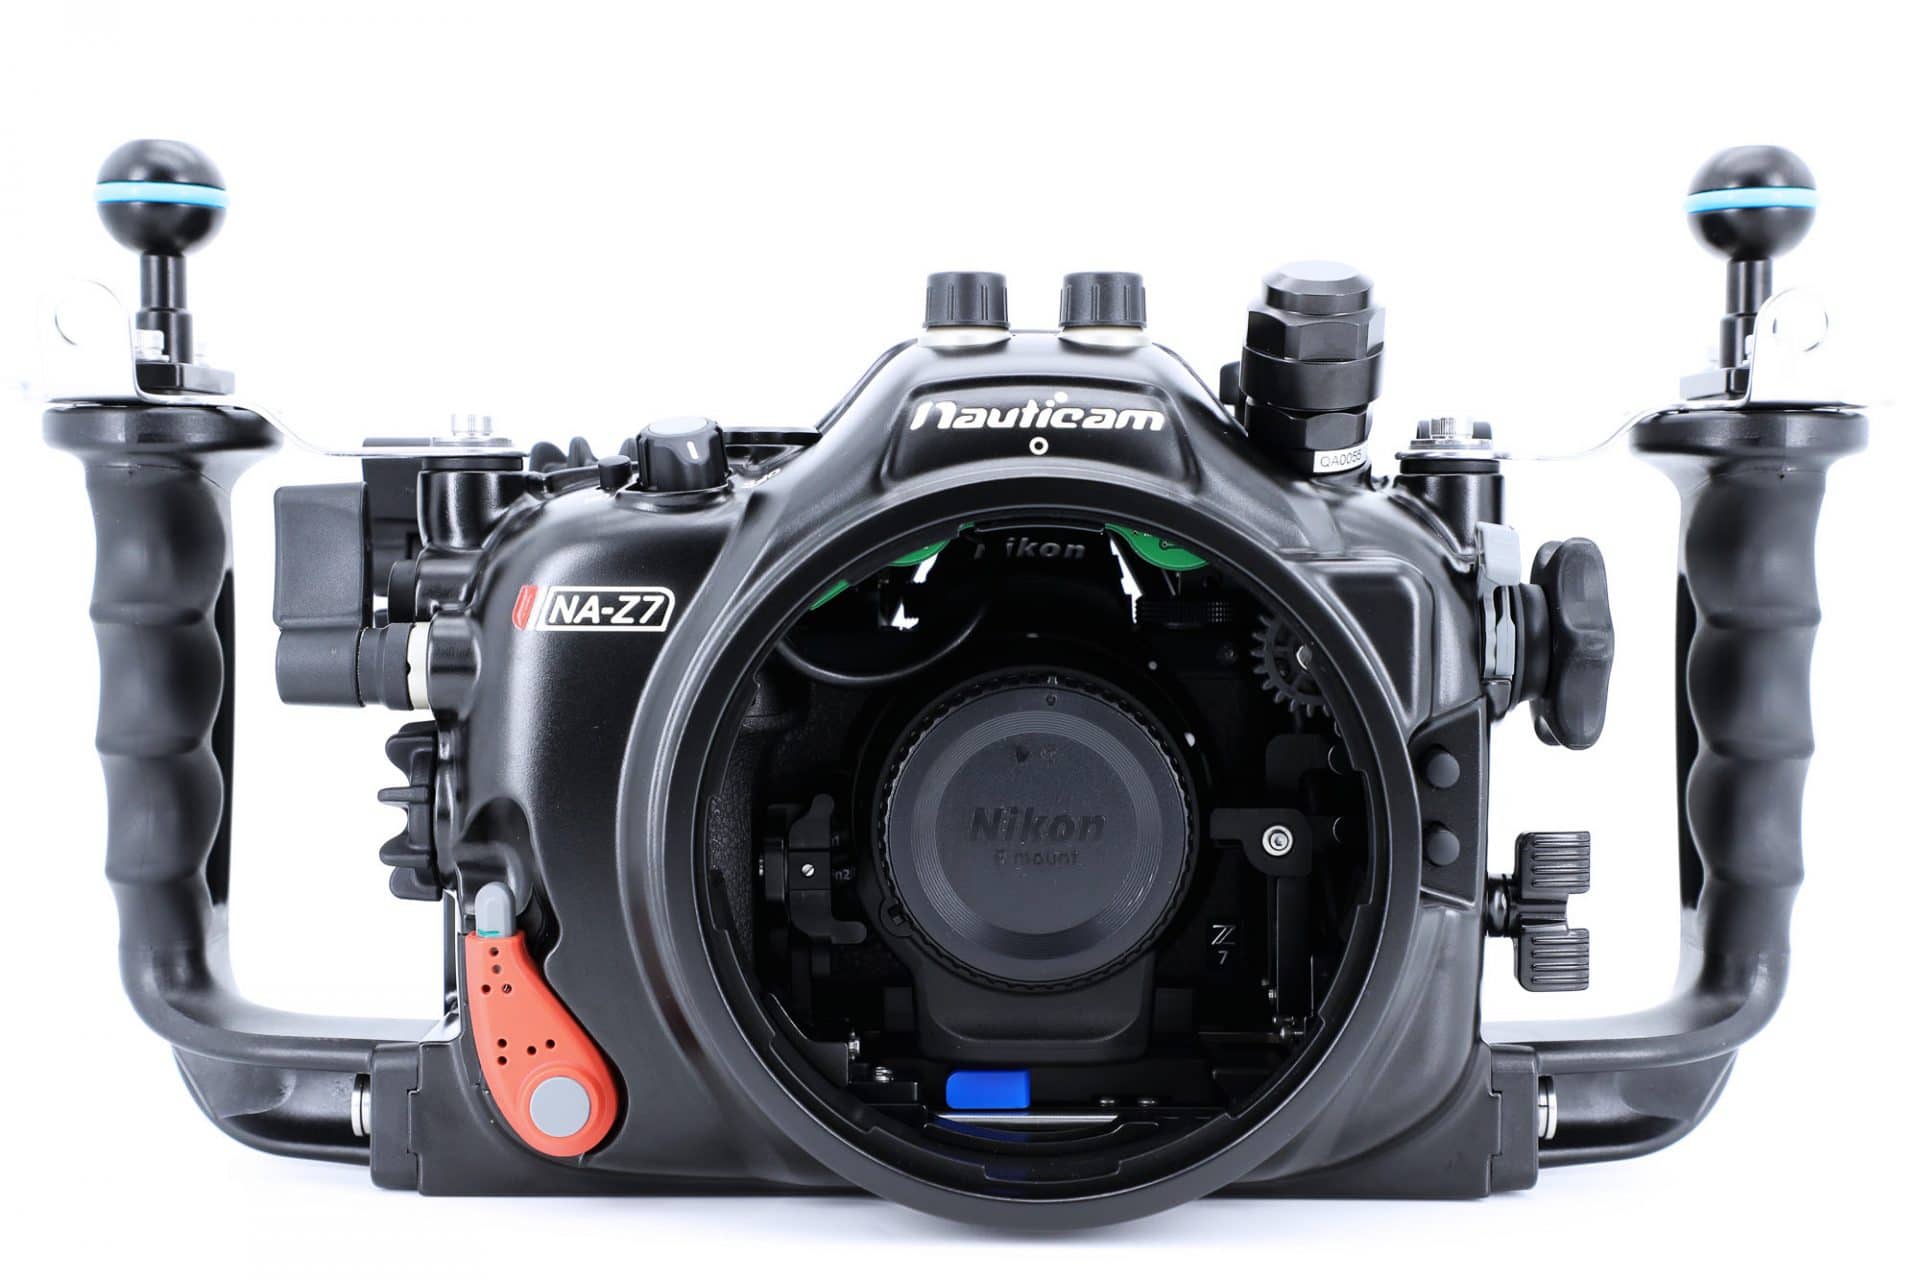
The Nauticam NA-Z7 housing allows not only the use of the new Z mount Nikon glass but also the legendary Nikon F mount lenses with the Nikon FTZ Adapter. The N120 port system allows all compatible Nikon F-mount lenses to be used, providing underwater photographers with a world class lineup of fisheye, ultra wide, mid-range, and macro lenses that can be used with the NA-Z7 housing. Existing Nauticam DSLR housing owners will be glad to know that all of their ports, viewfinders, and Nikon lens gears transition seamlessly to the NA-Z7 housing, and support will be added for the exciting new Z-mount lenses as they are released.
The Nauticam NA-Z7 housing features two lens release buttons that correspond to either F or Z mount lenses, allowing lens swaps without having to remove the camera from the housing. A vacuum system reset switch is located below the tray as well so there is no need to open the rear of the housing during lens or port changes.
Intelligent Control Placement
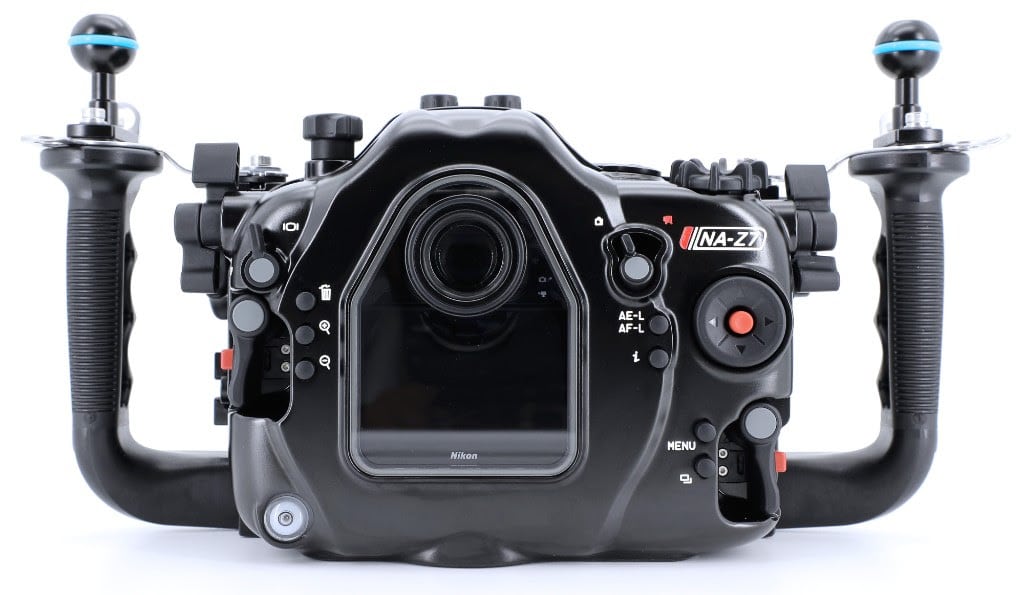
Nauticam engineers are obsessed with functionality and this is evident in the location of essential controls. Regardless of where the control is located on the camera, the Nauticam housing puts them where you need them to be underwater. For those switching between photo and video modes, an easily reachable switch is located on the right rear of the housing. The right side double thumb lever, easily reached from the right handle features access to the AF-on and Record buttons respectively. Between the double thumb lever and the multi-stage shutter release is an ISO lever allowing quick changes to sensitivity.
The left double thumb lever accesses the DISP and Playback controls. The Zoom In and Zoom Out controls, located on the right rear of the camera body is relocated to the left side of the housing to a location more familiar to Nauticam housing users.
The switch that allows for switching between the LCD display and the EVF, a crucial and much used control with mirrorless systems is located close to the left handle within easy reach.
Front and rear control dials are readily accessible by the familiar large knurled dials at the right handle. The ergonomic housing handles are rubberized and feature stainless steel stiffening brackets to ensure a stable platform when using large strobes or video lights attached to the pre-installed 1″ mounting balls.
The Nikon Z7 and Z6 Cameras
For many full-frame Nikon shooters the appeal of a mirrorless camera had been tempered by the though of having to invest in and master a new system by moving to another ecosystem such as Sony. For those awaiting a mirrorless system that utilized Nikon imaging technology and ergonomics, the wait is over. The Z6 and Z7 cameras feature an identical body, differing only in their feature sets, an ideal feature when it comes to housing the camera for underwater use.
Both camera bodies are built around the new Z-mount. With an incredibly wide 55mm mount diameter (17% larger than F-mount) and very short flange distance, the Z-mount is able to offer a maximum aperture of F0.95. While the current range of Z-mount lenses is limited, almost the entire line of F-mount lenses is usable with the optional FTZ Adapter. When using the adapter, even non VR lenses benefit from the camera’s in-body stabilization. VR and Z-Mount lenses receive 5-axis stabilization whereas non-VR F-mount lenses have access to 3-axis stabilization.
There is also a dedicated e-VR (electronic VR) that combines optical and electronic stabilization for video shooting. Both the Z6 and Z7 are able to capture internal UHD 4K at 30fps or 1080 HD at up to 120fps at 144 Mbps. Capture uses the full-width of the sensor and both cameras are capable of outputting 10-bit N-log UHD 4K over HDMI that supports start/stop control.
The OLED electronic viewfinder (EVF) of both the Z6 and Z7 gives 100% frame coverage at Quad-VGA (3.69M dot) resolution. When triggering external flashes, both cameras feature a 1/200 X-sync shutter speed.
Nikon Z7 Camera
The Z7 features a high resolution 45.7MP FX-format sensor that can shoot at up to 9FPS. The Z7 features a wide ISO range of 64-25,600. Autofocus is achieved with 493 on-sensor AF points that cover 90% of the frame and the camera intelligently switched between contrast-detection and phase-detection points to achieve accurate focus regardless of light conditions.
Nikon Z7 Key Camera Specifications
- 45.7MP FX Format Sensor with no OLPF
- 9 FPS continuous shooting
- 64-25,600 ISO Range
- UHD 4K 30p recording with no FOV crop
- 10bit UHD 4K N-log output via HDMI with start/stop support
- 5-axis VR stabilization (with Z lenses)
- 8K time lapse with exposure smoothing
- CF Express ready (currently supports XQD)
Nikon Z6 Camera
The Z6 is equipped with a 24.5MP FX-format sensor capable of up to 12FPS continuous shooting with an ISO range of 100-51,200. Video is recorded internally at up to UHD 4K 30p with no field-of-view crop. 273 on-sensor focus points cover 90% of the fame and the Z 6 intelligently switched between contrast-detection and phase-detection points to assure accurate autofocus.
Nikon Z6 Key Camera Specifications
- 24.5MP FX Format Sensor with OLPF
- 12 FPS continuous shooting
- 100-51,200 ISO Range
- UHD 4K 30p recording with no FOV crop
- 10bit N-log UHD 4K output via HDMI with start/stop support
- 5-axis VR stabilization (with Z-mount lenses)
- 4K time lapse
- CF Express ready (currently XQD only)
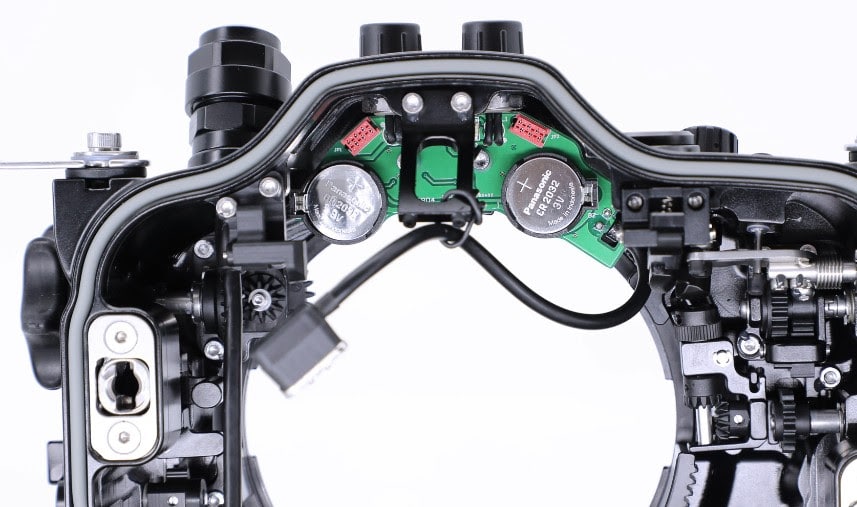
Flash Triggering
The NA-Z7 comes with Nauticam’s self powered manual flash trigger preinstalled. The flash trigger plugs into the hot-shoe of the camera and uses LED lights recessed into each of the two optical bulkheads to trigger supported underwater flashes when used with the correct fiber optic connection. The flash trigger is powered by coin cell batteries that provide thousands of flashes per battery. The flash trigger can be upgraded to support TTL triggering (PN 2638 TTL Converter for Nikon).
Key Features
Patented Port Locking System

Unveiled on the very first Nauticam DSLR housing in 2009, this locking lever has become a signature of the Nauticam brand. No twisting or threading action is required to mount a port, and it locks securely in place with this lever. Nauticam also offers locking port extensions, meaning a dome will never twist, even when used with a long extension ring.

Housing Locking Latches
The industry’s easiest to use housing closure system, requiring very little hand strength to operate, secures the housing back in place. The latches are safely locked to prevent accidental opening, but are easy to open when needed for a quick battery or memory card change

HDMI Output Support
The Z7 camera supports 10 bit HDMI video output at UHD resolution (3840 x 2160) at up to 30p. An external monitor or recorder can be used with the optional standard M16 HDMI bulkhead (PN 25033), HDMI (D-C) cable in 190mm length (PN 25036) which come standard in any Nauticam monitor housing package.
What’s Included
- Nauticam NA-Z7 Housing
- 90122 Housing O-ring, lubricant and removal tool
- 25625 M16 Vacuum Valve II (pre-installed)
- CR2032 Battery (for vacuum system)
- Allen Wrench Set
NA-Z7 Recommended Accessories
- 25625 M16 Vacuum Valve II (Pushbutton Release)
- 32201 Nauticam 180 straight viewfinder
- 32203 Nauticam 45 viewfinder
- 26308 TTL Converter for Nikon
- 85201 0.36x Wide Angle Conversion Port with Aluminum Float Collar (incl. N120 to N100 port adaptor)
- 86201 Macro to Wide Angle Lens 1 (MWL-1) 150 deg. FOV with full frame 60mm macro lens
- Various electrical bulkheads
- 25033 standard HDMI bulkhead with M16 thread
- 25036 HDMI (D-C) cable in 190mm length
- (Both 25033 and 25036 are standard accessories in Nauticam monitor housing)
NA-Z7 Details and Specifications
- Depth Rating: 100m
- Weight: 3.02 kg
- Dimensions: 360mm(W) x 200mm(H) x 160mm(D)
- Battery for Vacuum system: CR2032
For more information visit the Nauticam websites:
UK: Click here
USA: Click here
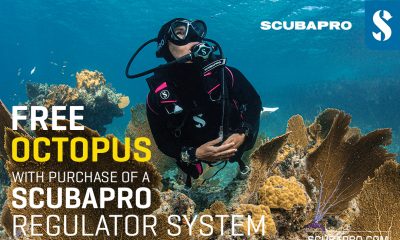
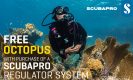


Free Octopus with every purchase of a SCUBAPRO regulator system
Just in time for the spring season, divers can save money with the FREE OCTOPUS SPRING PROMOTION! Until July 31st SCUBAPRO offers an Octopus for free
with every purchase of a regulator system!
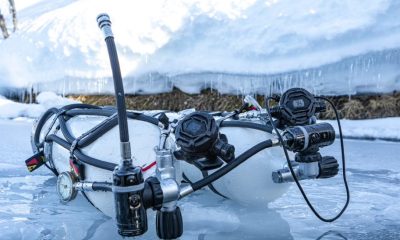
Get a free S270 OCTOPUS with purchase of these combinations:
MK25 EVO or MK19 EVO with A700
MK25 EVO or MK19 EVO with S620Ti
MK25 EVO or MK19 EVO with D420
MK25 EVO Din mit S620Ti-X
Get a free R105 OCTOPUS with purchase of the following combinations:
MK25 EVO or MK19 EVO with G260
MK25 EVO or MK17 EVO with S600
SCUBAPRO offers a 30-year first owner warranty on all regulators, with a revision period of two years or 100 dives. All SCUBAPRO regulators are of course certified according to the new European test standard EN250-2014.
Available at participating SCUBAPRO dealers. Promotion may not be available in all regions. Find an authorized SCUBAPRO Dealer at scubapro.com.
More information available on www.scubapro.com.
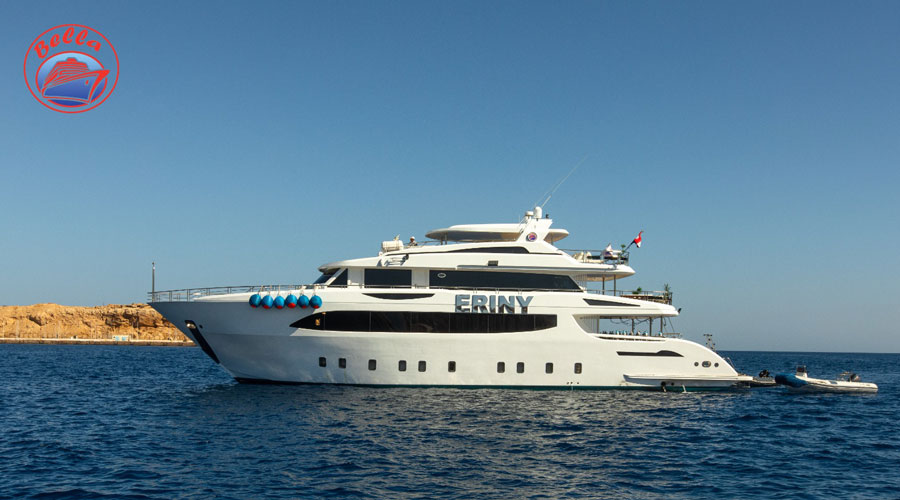
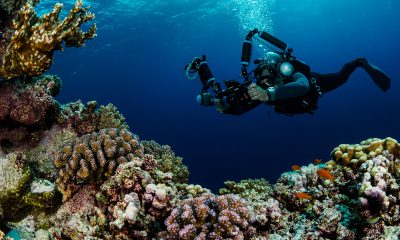
Jake Davies boards Ghazala Explorer for an unforgettable Red Sea diving experience…
Overnight, the wind picked up, making the planned morning dive a bit bumpy on the Zodiacs to the drop point on Thomas Reef. There, we would dive along the reef before descending through the canyon and then passing under the arch before ascending the wall with a gentle drift. The site provided great encounters with more pelagic species, including shoals of large barracuda, tuna, and bigeye trevally.
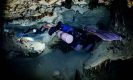
Once back on the boat, it was time to get everything tied down again as we would head back south. This time, with the wind behind us, heading to Ras Mohammed to dive Jackfish Alley for another great gentle drift wall dive before then heading up the coast towards the Gulf of Suez to moor up at the wreck of the Thistlegorm. This being the highlight wreck dive of the trip and for many onboard, including myself, it was the first time diving this iconic wreck. I had heard so much about the wreck from friends, and globally, this is a must on any diver’s list. Fortunately for us, there was only one other boat at the site, which was a rarity. A great briefing was delivered by Ahmed, who provided a detailed background about the wreck’s history along with all the required safety information as the currents and visibility at the site can be variable.
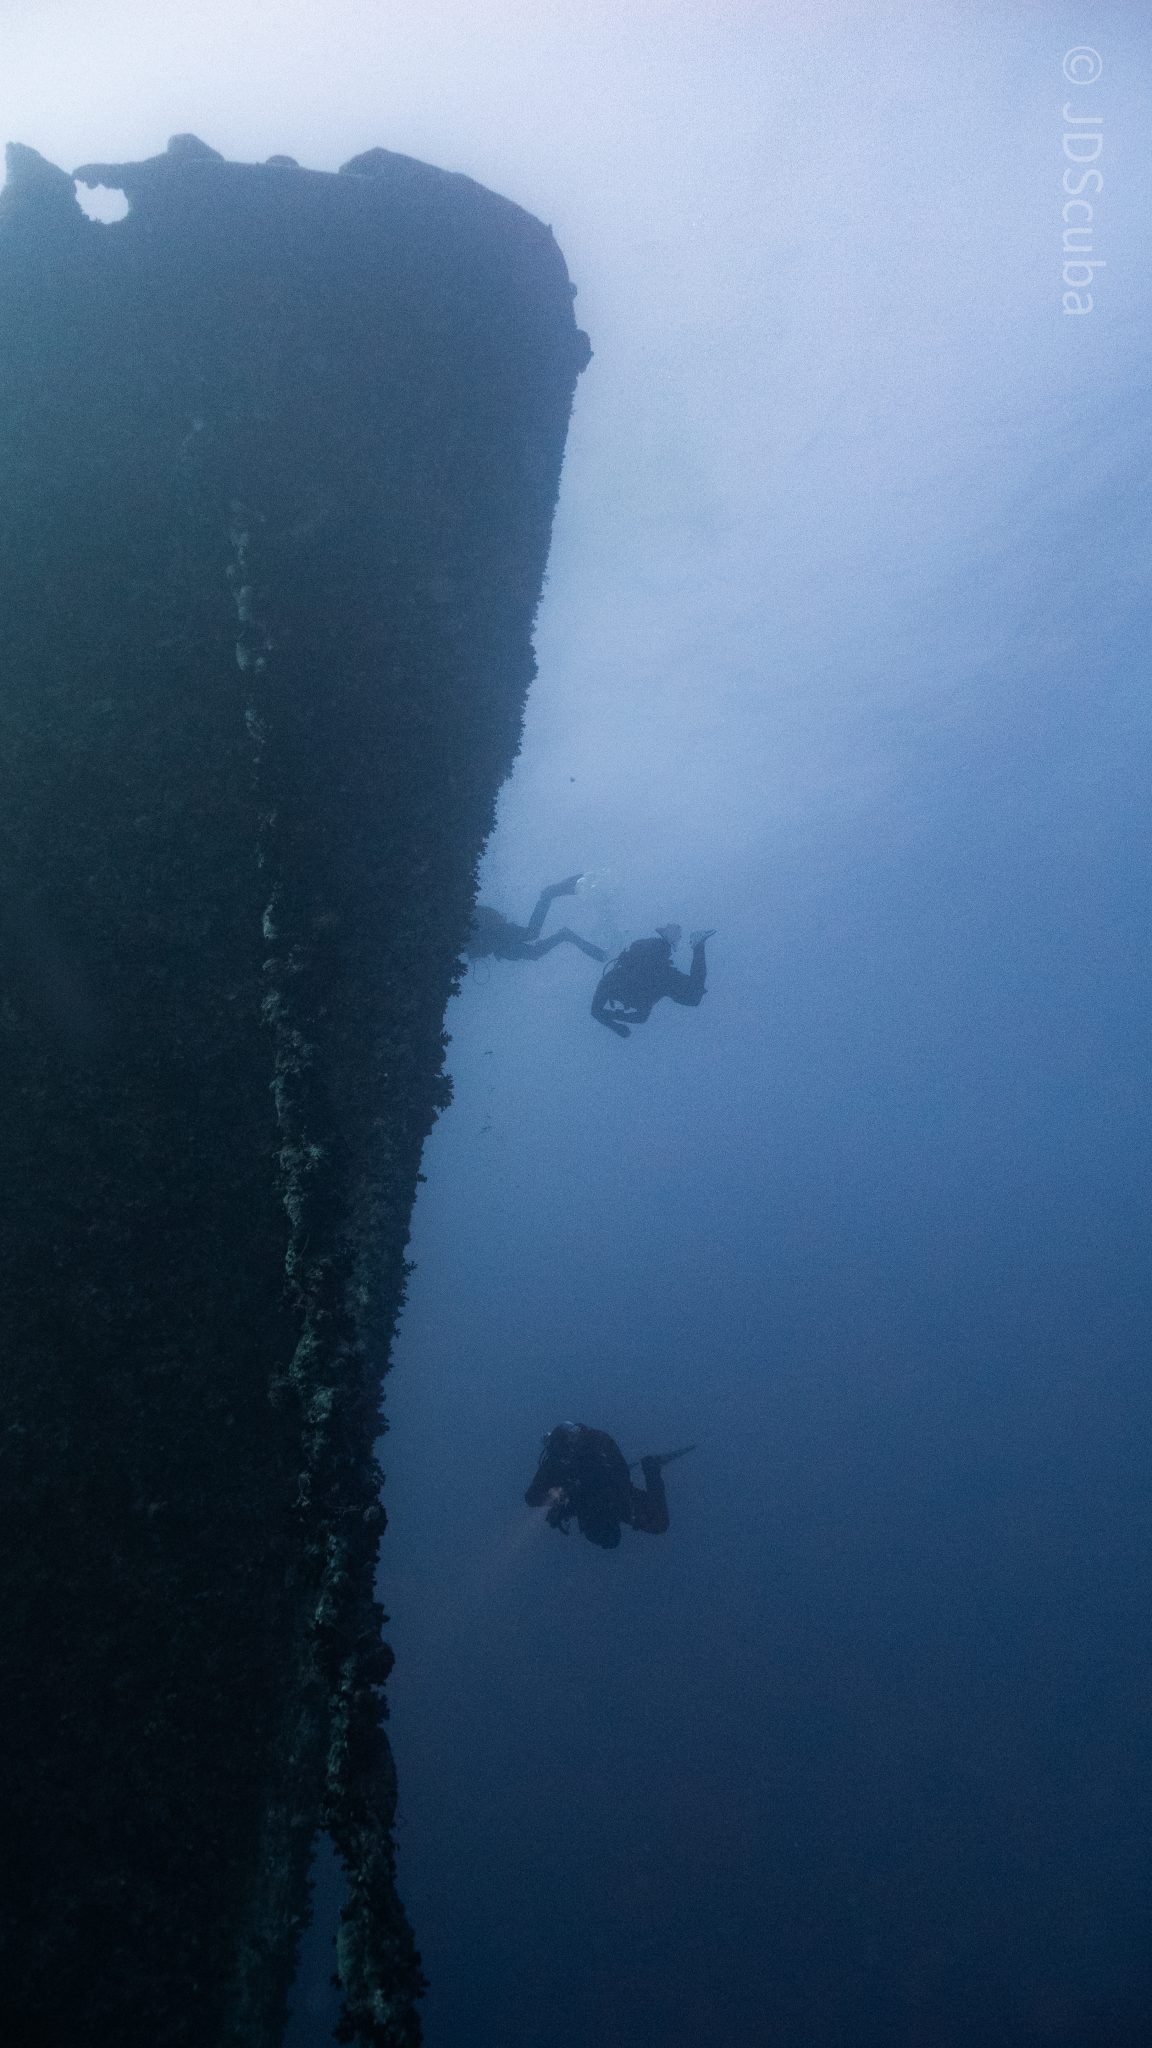
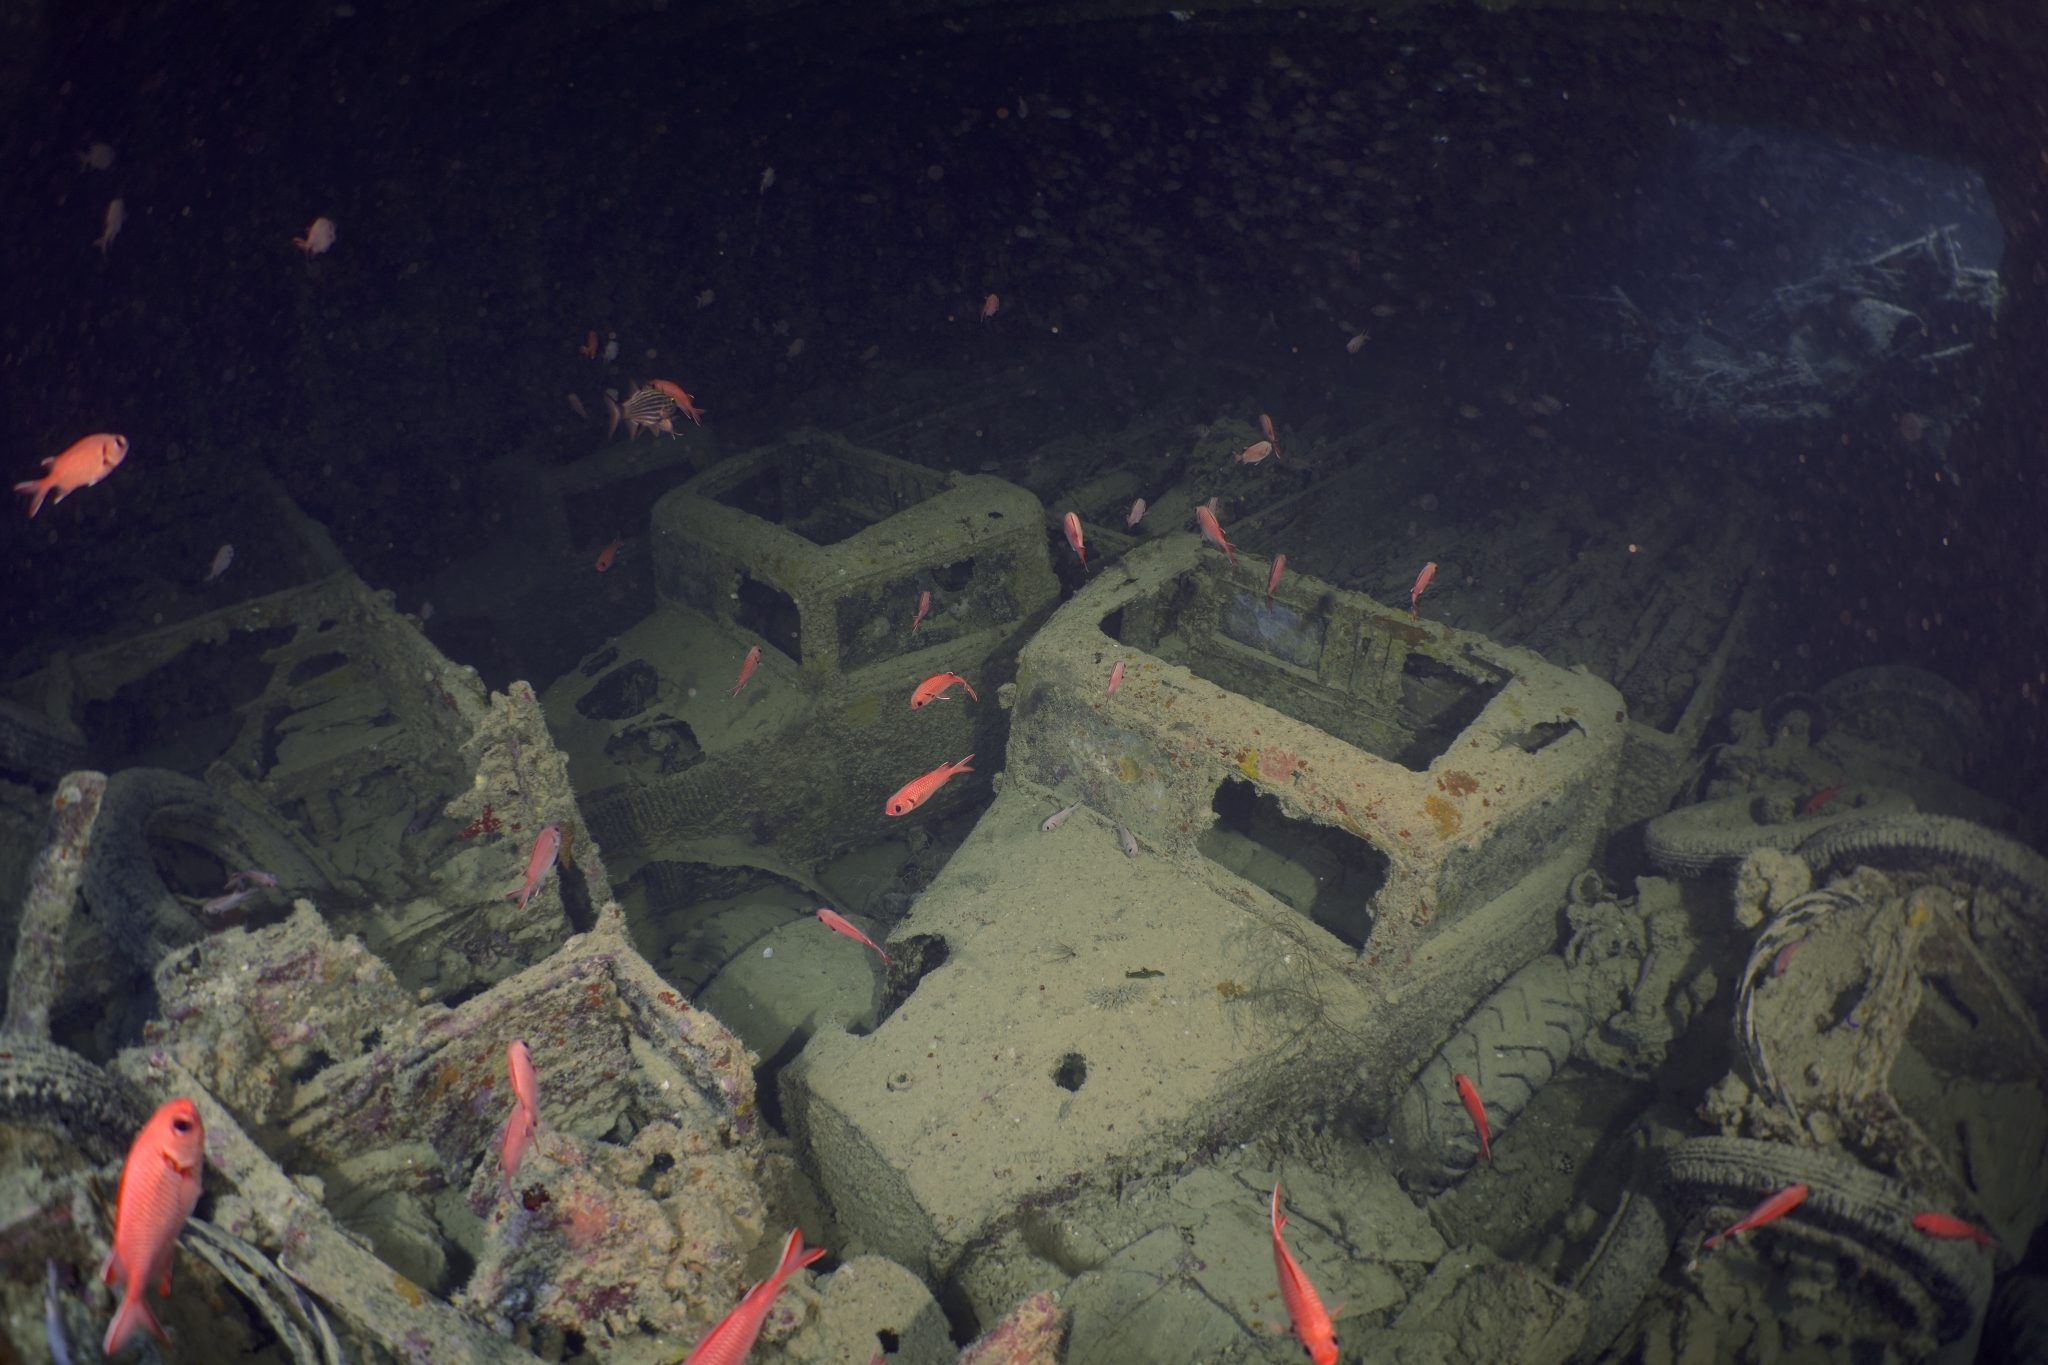
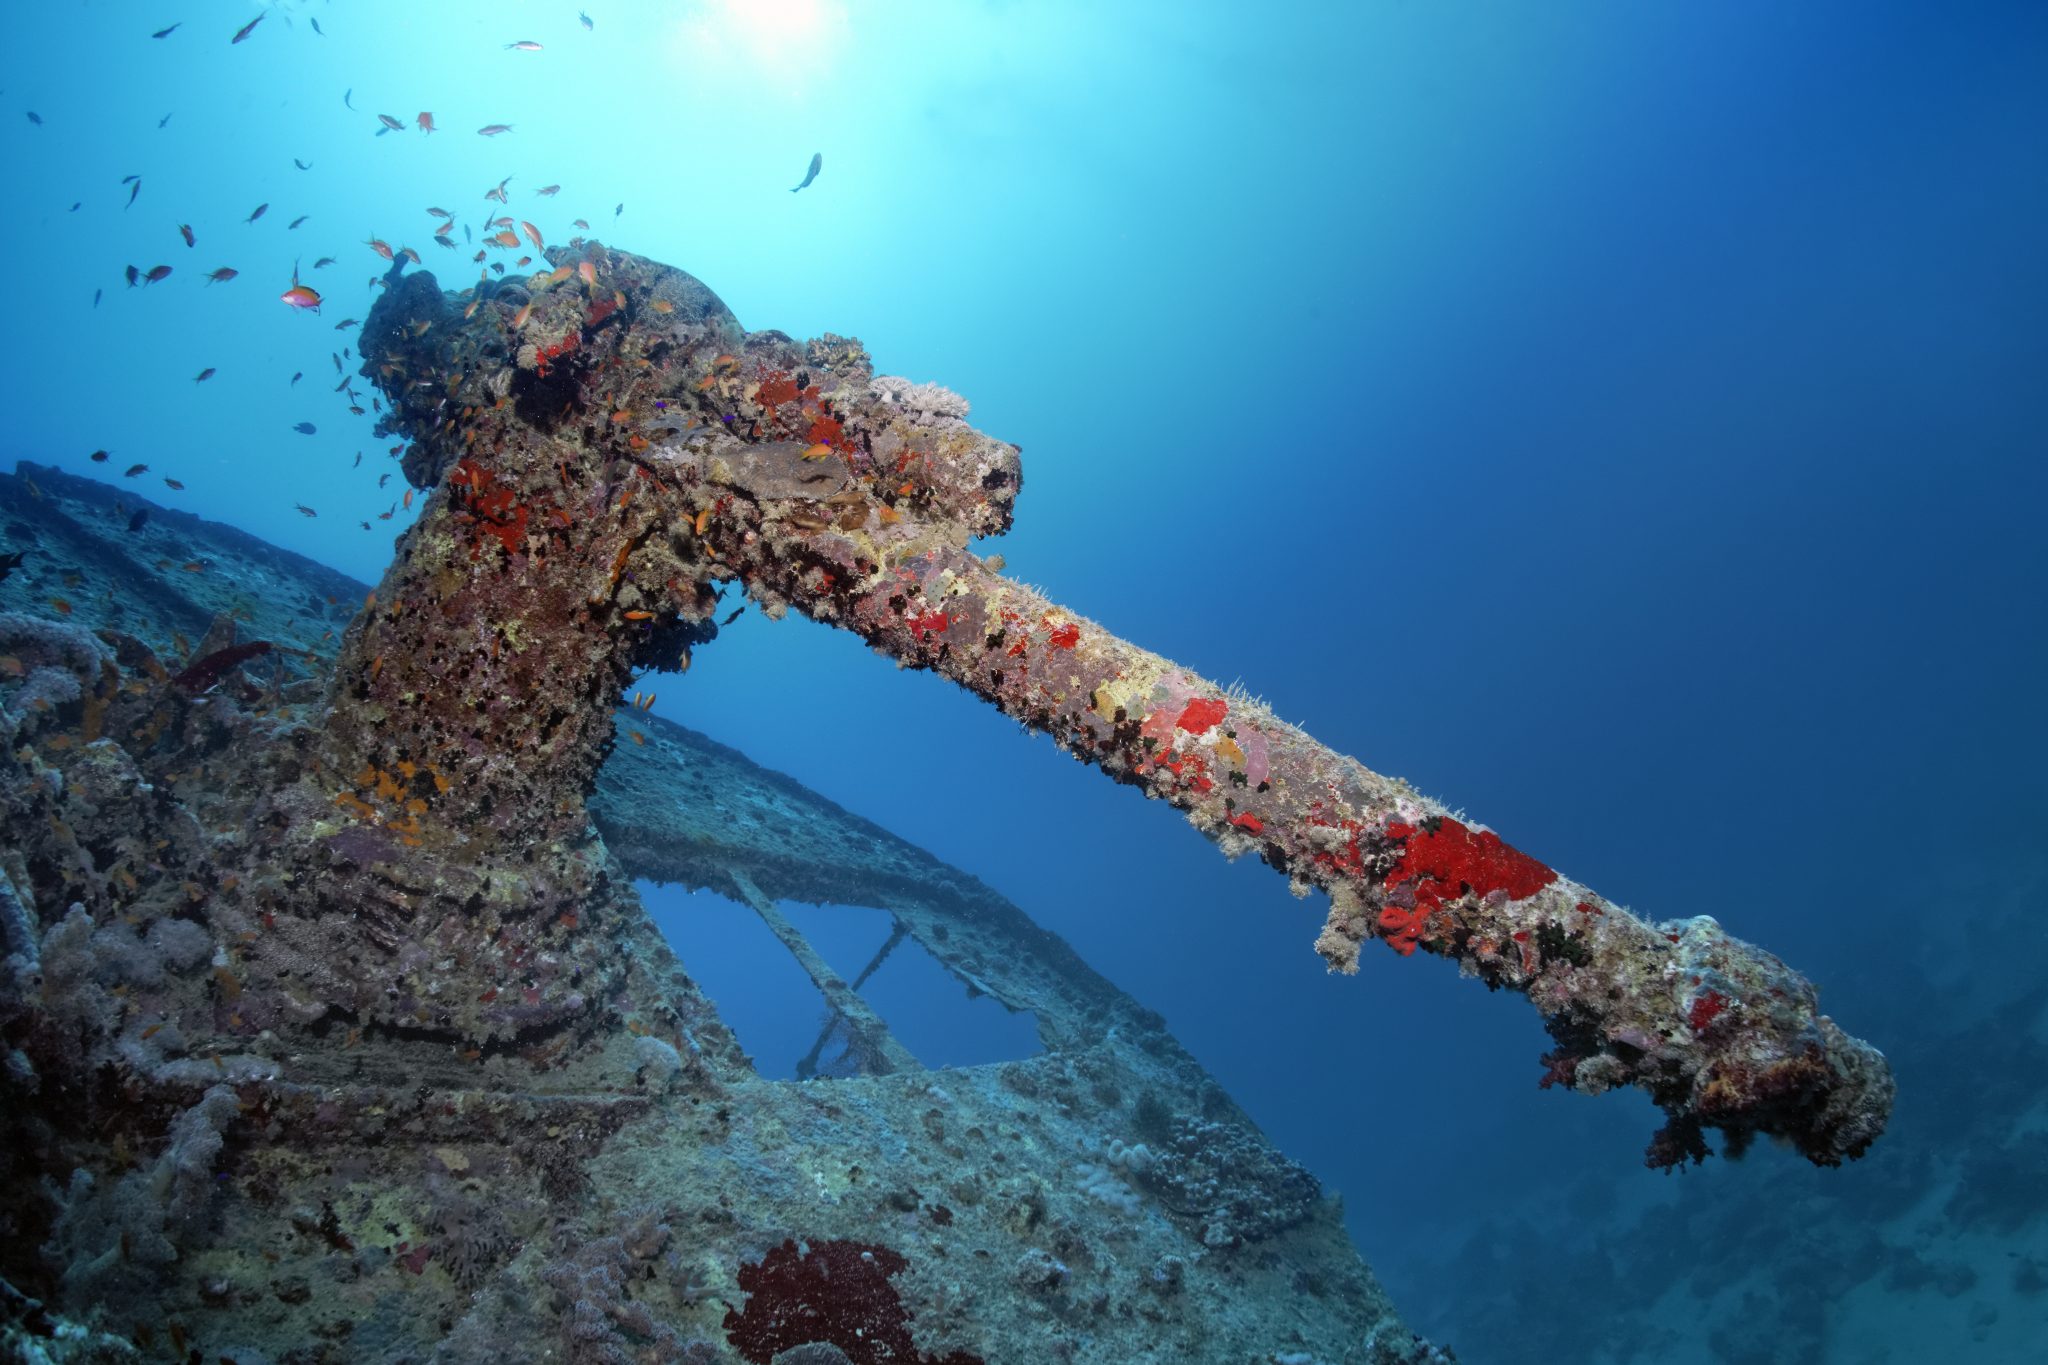
Kitting up, there was a lot of excitement on deck before entering the water and heading down the shoreline. Descending to the wreck, there was a light northerly current which reduced the visibility, making it feel more like the conditions that can be found off the Welsh coast. At 10m from the bottom, the outline of the wreck appeared as we reached the area of the wreck which had been bombed, as our mooring line was attached to part of the propeller shaft. Arriving on deck, instantly everywhere you looked there were many of the supplies which the ship was carrying, including Bren Carrier tanks and projectiles that instantly stood out.
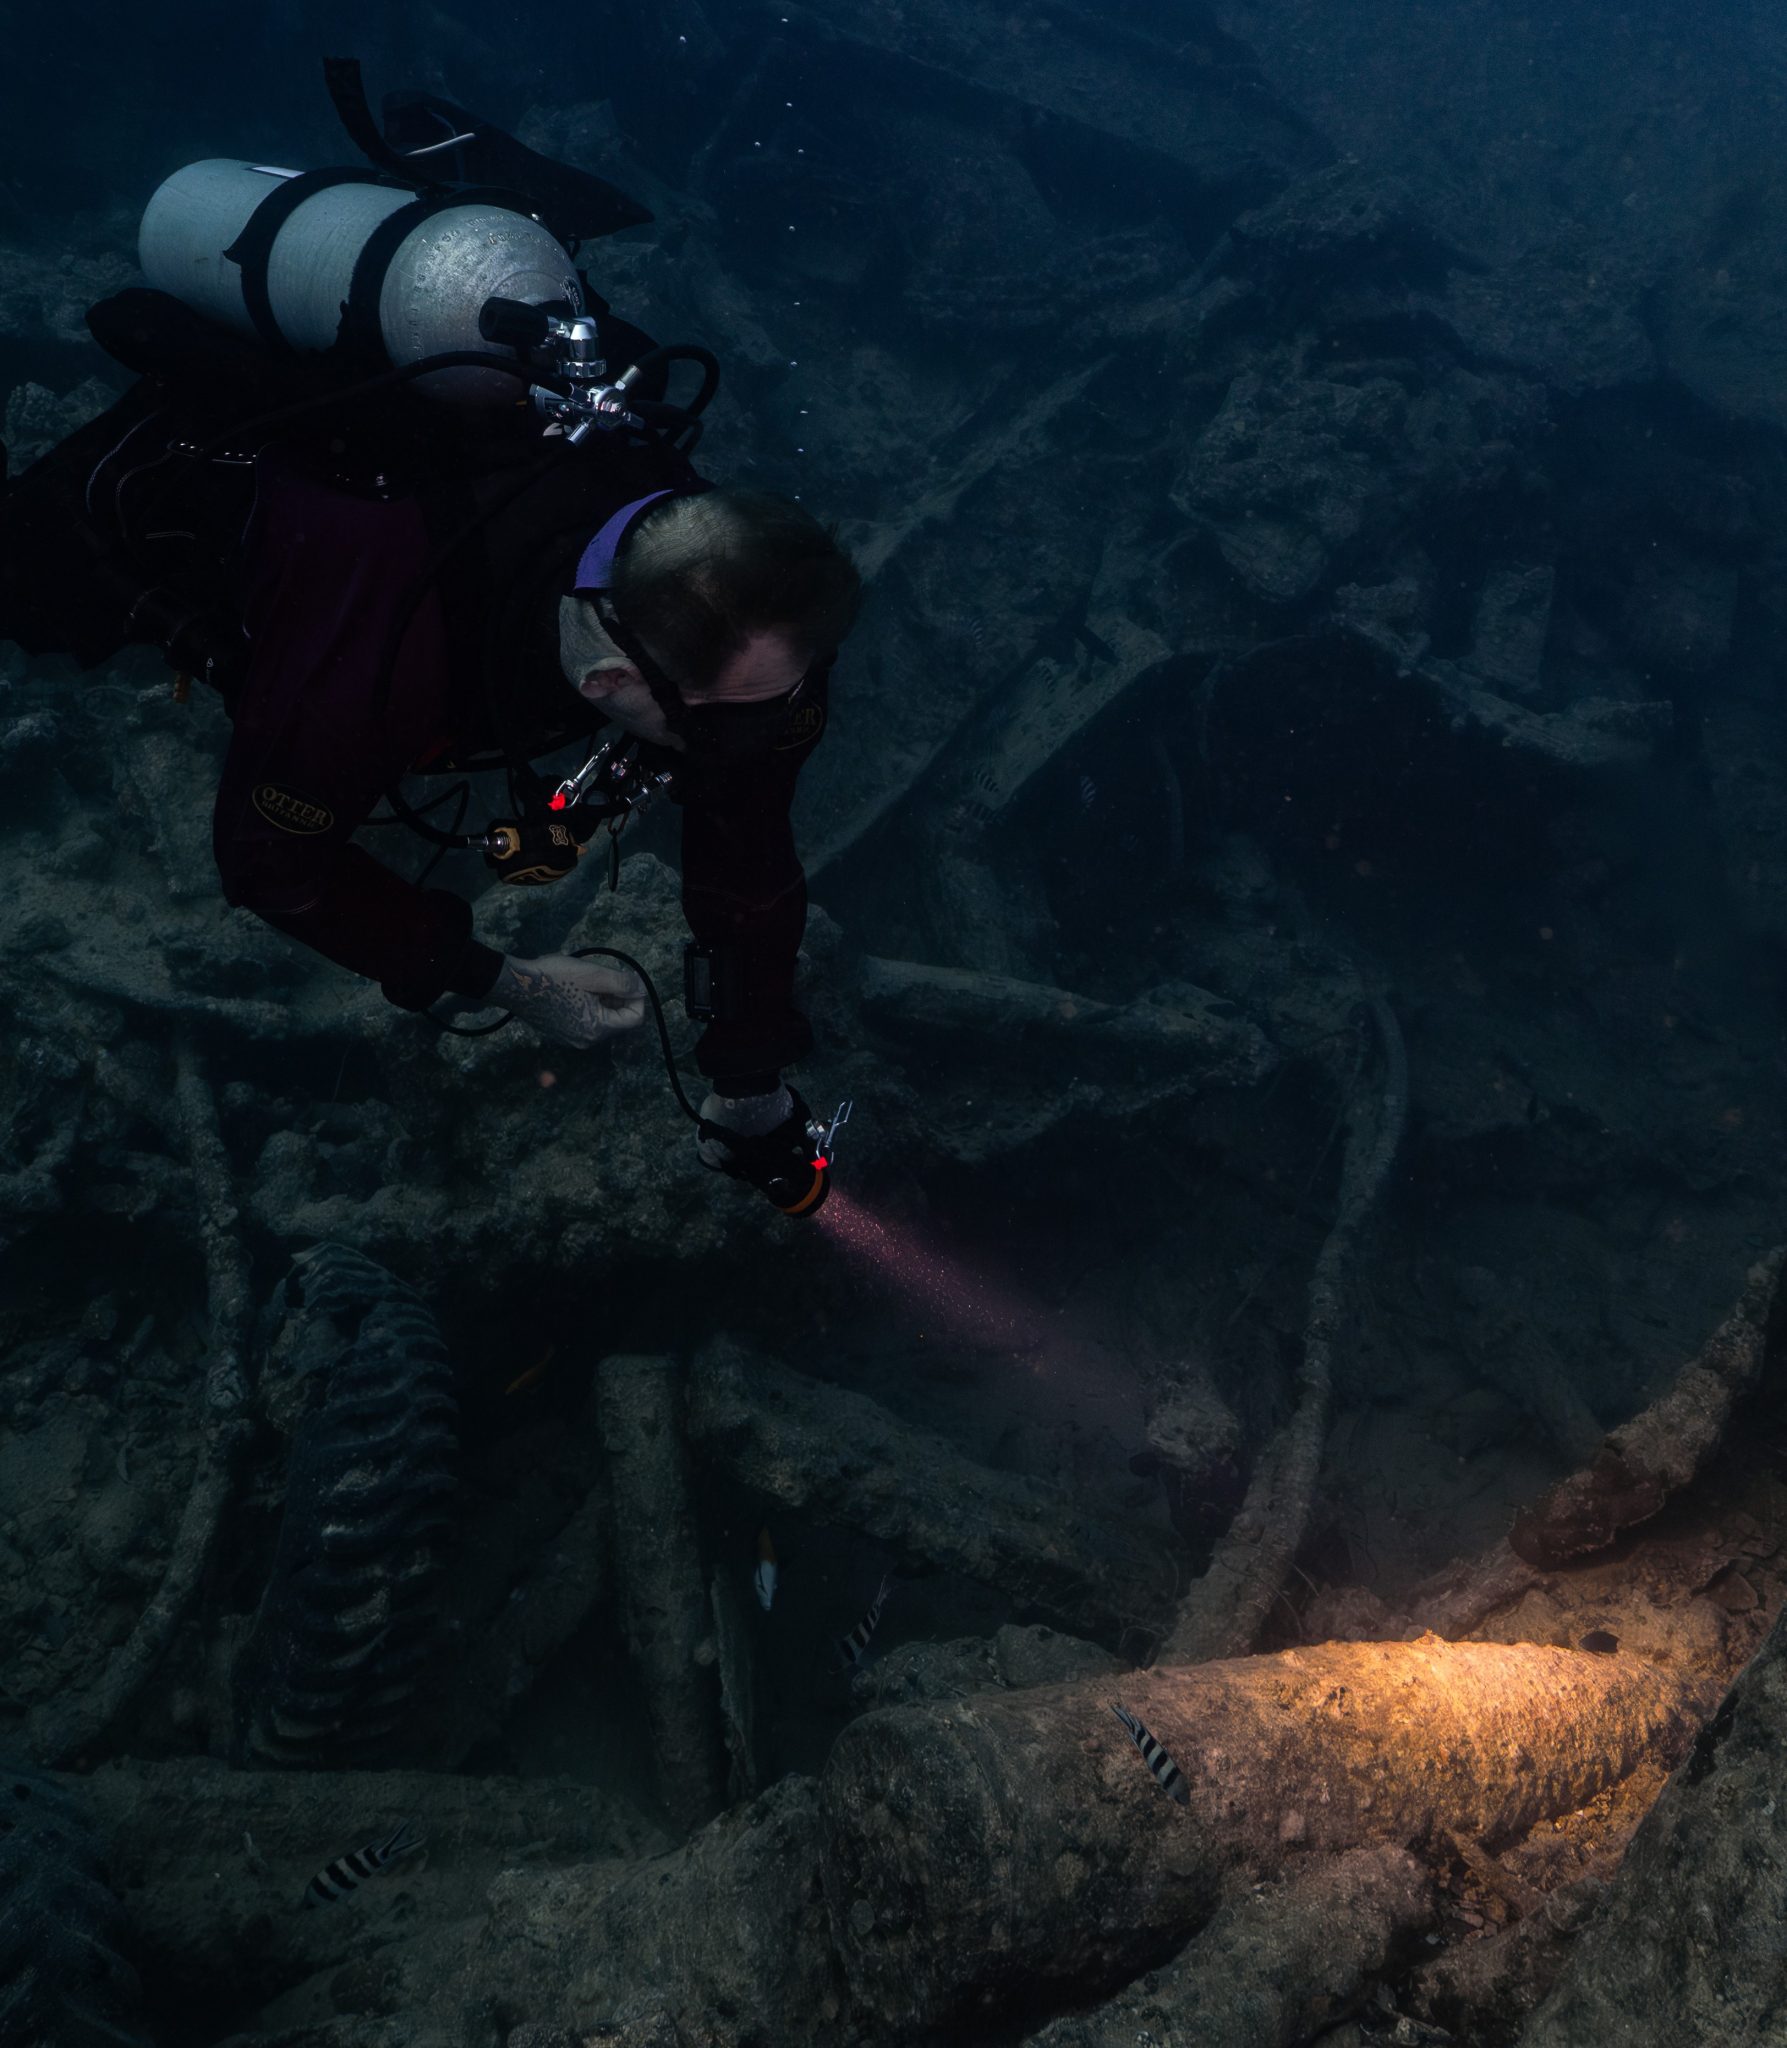
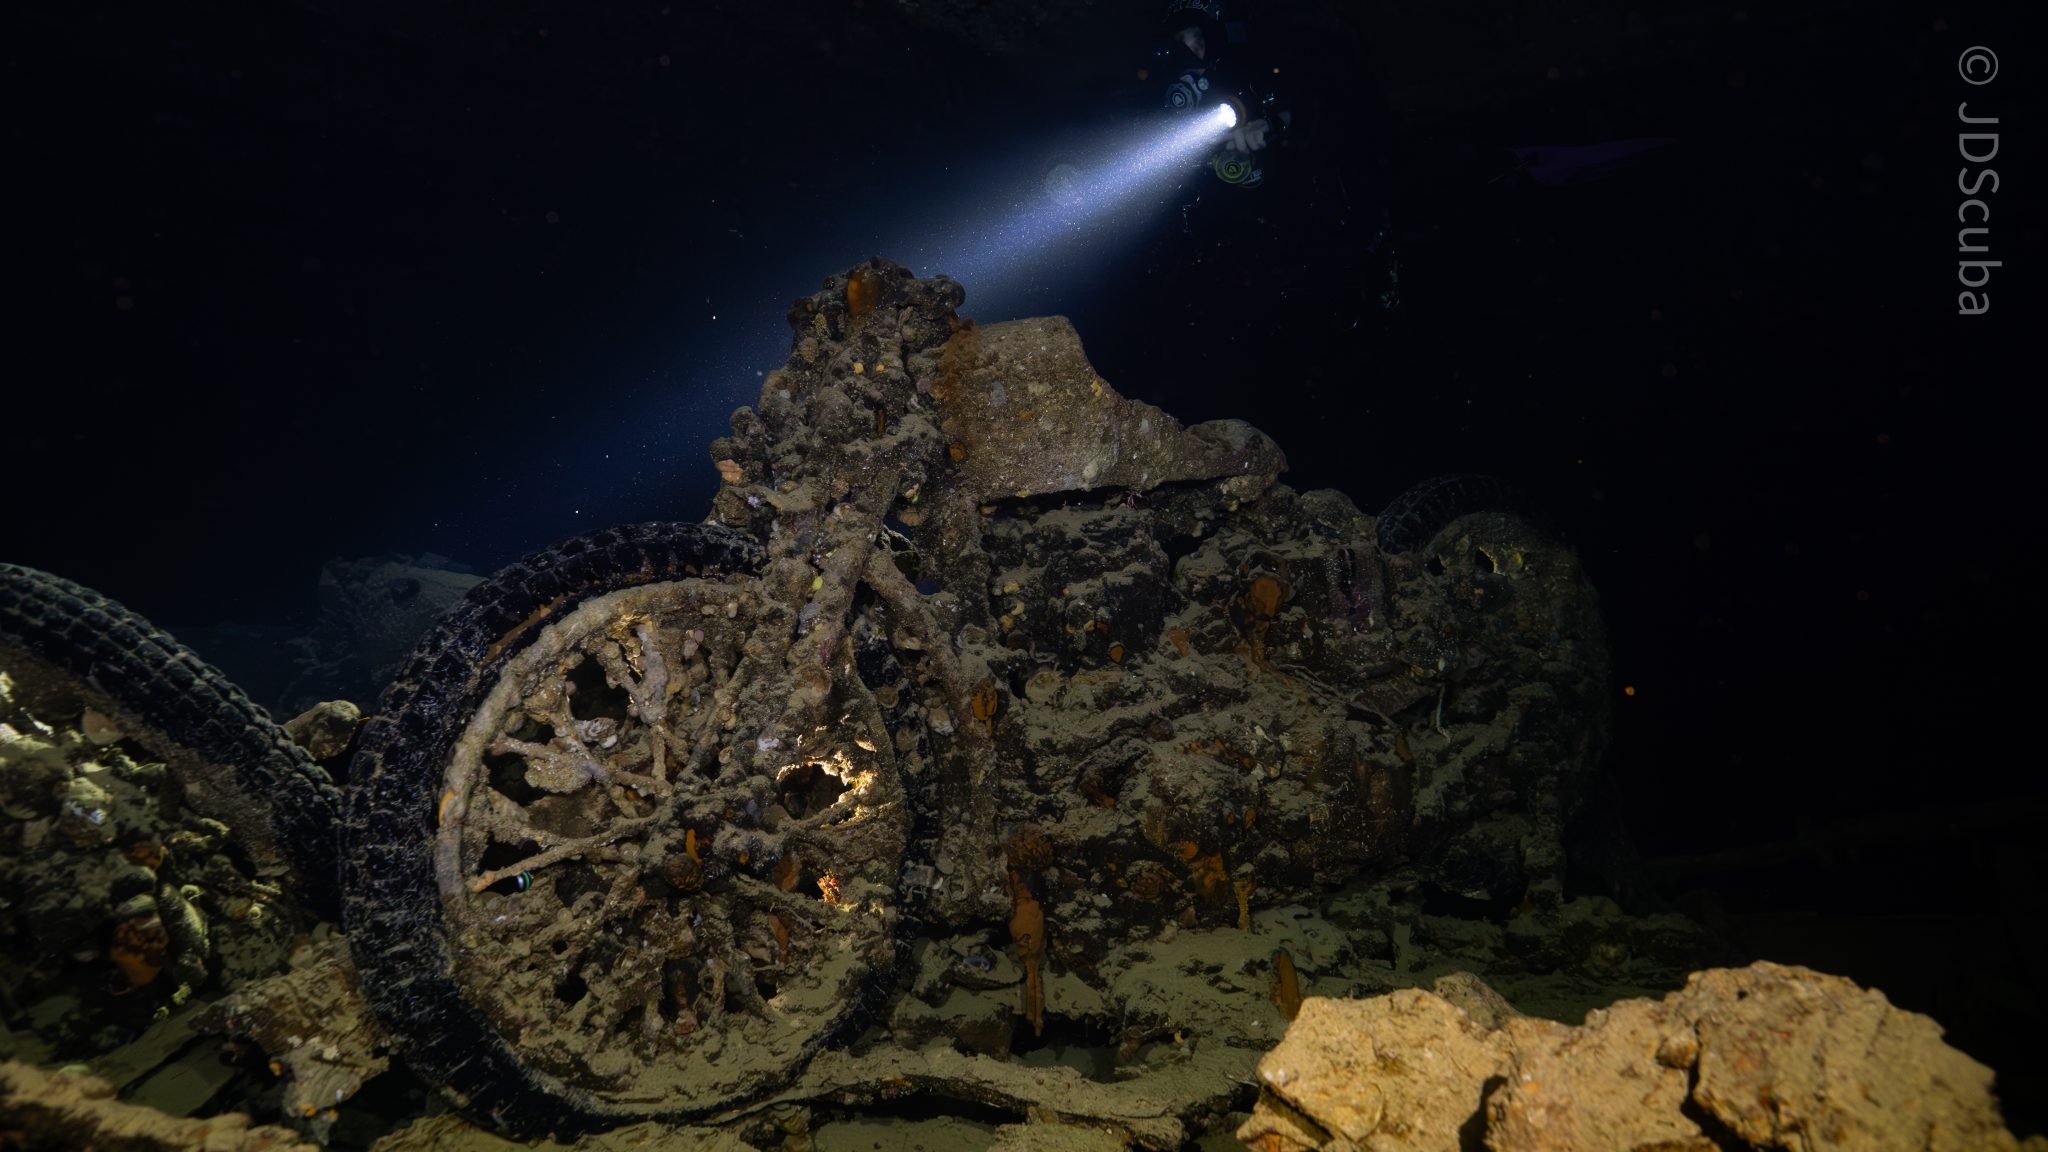
We headed around the exterior, taking a look at the large propeller and guns mounted on deck before entering the wreck on the port side to take a look in the holds. It was incredible to see all the trucks, Norton 16H, and BSA motorcycles still perfectly stacked within, providing a real snapshot in time.

Overall, we had four dives on the Thistlegorm, where for all of the dives we were the only group in the water, and at times, there were just three of us on the whole wreck, which made it even more special, especially knowing that most days the wreck has hundreds of divers. Along with the history of the wreck, there was plenty of marine life on the wreck and around, from big green turtles to batfish, along with shoals of mackerel being hunted by trevally. Some unforgettable dives.
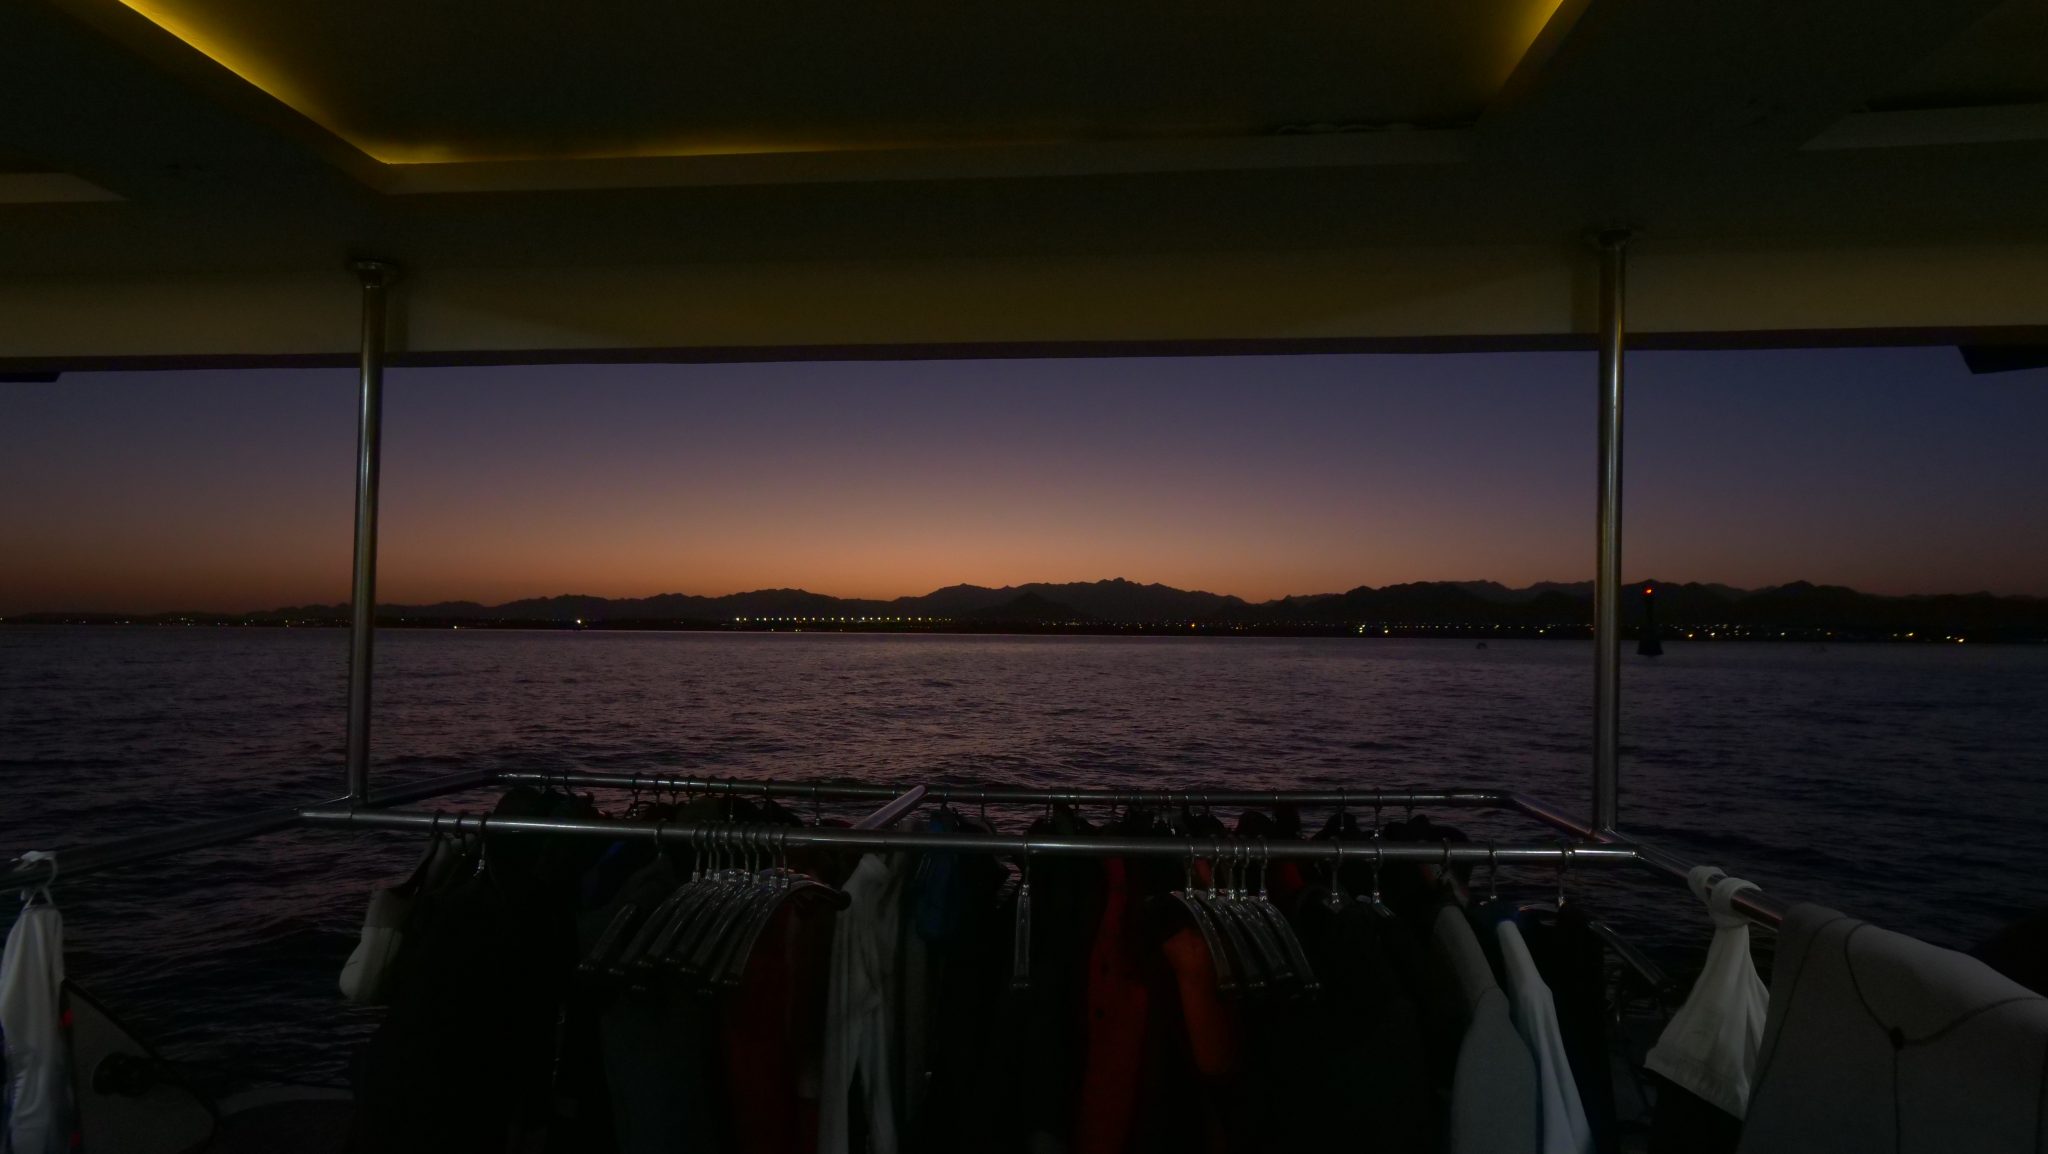
The final leg of the trip saw us cross back over the Suez Canal to the Gobal Islands where we planned to stay the night and do three dives at the Dolphin House for the potential of sharing the dive with dolphins. The site, which included a channel that was teeming with reef fish, especially large numbers of goatfish that swam in large shoals along the edge of the reef. These were nice relaxing dives to end the week. Unfortunately, the dolphins didn’t show up, which was okay as like all marine life they are difficult to predict and you can’t guarantee what’s going to be seen. With the last dive complete, we headed back to port for the final night where it was time to clean all the kit and pack before the departure flight the next day.
The whole week from start to finish on Ghazala Explorer was amazing; the boat had all the facilities you need for a comfortable week aboard. The crew were always there to help throughout the day and the chefs providing top quality food which was required after every dive. The itinerary providing some of the best diving with a nice mixture of wreck and reef dives. I would recommend the trip to anyone, whether it’s your first Red Sea liveaboard in the Red Sea or you’re revisiting. Hopefully, it’s not too long before I head back to explore more of the Red Sea onboard Ghazala Explorer.
To find out more about the Northern Red Sea reef and wrecks itineraries aboard Ghazala Explorer, or to book, contact Scuba Travel now:
Email: dive@scubatravel.com
Tel: +44 (0)1483 411590
Photos: Jake Davies / Avalon.Red

-
 News3 months ago
Hone your underwater photography skills with Alphamarine Photography at Red Sea Diving Safari in March
-
 News3 months ago
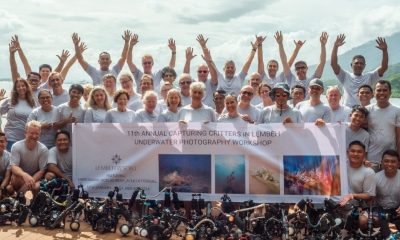
Capturing Critters in Lembeh Underwater Photography Workshop 2024: Event Roundup
-
 Marine Life & Conservation Blogs2 months ago
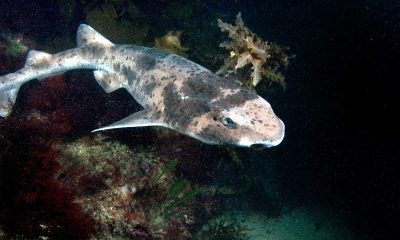
Creature Feature: Swell Sharks
-
 Blogs2 months ago
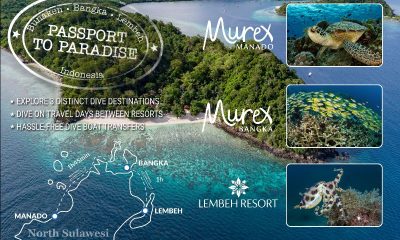
Murex Resorts: Passport to Paradise!
-

 Blogs2 months ago
Diver Discovering Whale Skeletons Beneath Ice Judged World’s Best Underwater Photograph
-
 Marine Life & Conservation2 months ago
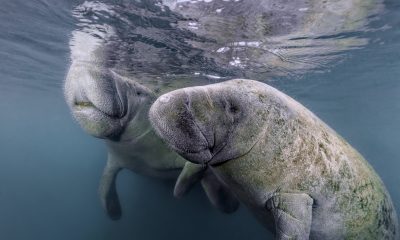
Save the Manatee Club launches brand new webcams at Silver Springs State Park, Florida
-
 Gear Reviews3 months ago
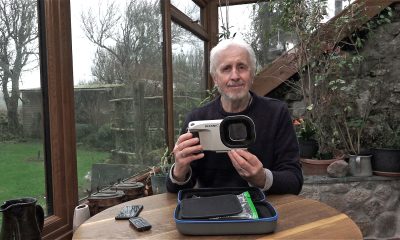
Gear Review: Oceanic+ Dive Housing for iPhone
-
 Gear Reviews2 weeks ago
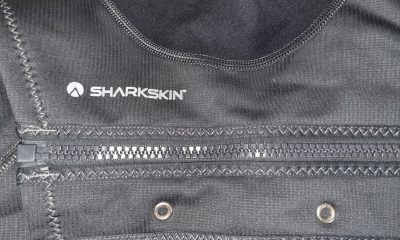
GEAR REVIEW – Revolutionising Diving Comfort: The Sharkskin T2 Chillproof Suit