
News
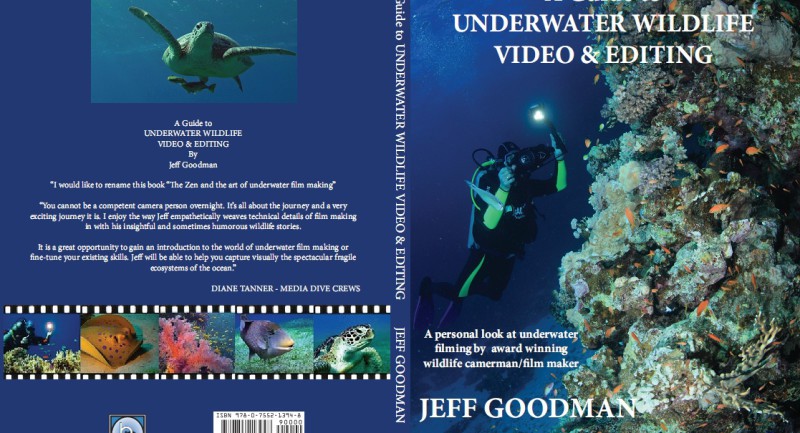
A Guide to Underwater Wildlife Video & Editing: Part 7
Read Part 6 here.
A part serialisation of a book by Jeff Goodman
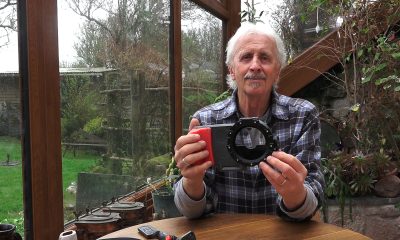
PART 7: Flat & Dome Ports
Having paid good money for your camera and housing, it would be a shame to now spoil your image quality with a cheap port.
The optical properties of your port are as important as the lens of your camera. A low quality port would be like putting the wrong pair of spectacles on a person, so although they could still see well enough, the images would be slightly soft or degraded.
Once again you usually get what you pay for. Often the problem of choosing your first port is solved for you by the housing manufacturer in that a particular housing and supplied port will be specially designed for optimum results with a particular camera and lens. It is always worth grilling the sales person that this is the case for the set-up you are interested in (In the semi-professional range of cameras and above, you can of course change camera lenses. It then becomes very important to use a compatible port).
No single port will cover all the types of filming you may like to do.
There are 3 main port types:
- The flat port which is mainly useful for macro work and good close ups.
- The standard dome port which covers most applications.
- The wide angle dome port for videoing ultra wide angle.
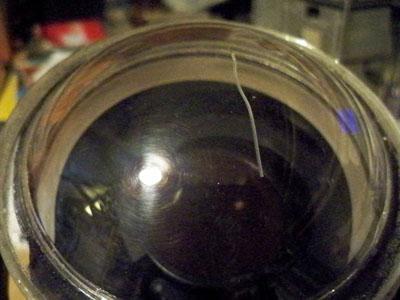
Flat Port
Dome Port
The flat or macro ports are great for filming close ups and macro but because of the refractive index effect as previously mentioned, this port will decrease the natural angle of coverage of the lens and so increase the apparent image size. These ports would not be the best for videoing large subjects such as whales or wrecks, especially if the water visibility is minimal and you have to get really close to see anything at all.
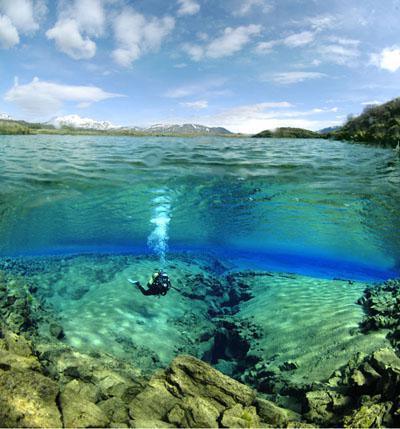
The standard dome port is a good option for covering a wide range of subjects and is probably the most widely used. These standard dome ports will compensate for the 1/3rd angle of coverage loss and restore your lens to normal coverage.
The wide angle port provides the maximum angle of coverage when used with a wide angle lens and is good for getting close to the subject but maintaining a wide perspective. These are particularly useful in temperate waters where the visibility may generally not be so clear. Many manufacturers of underwater housings put in a standard port by default. More expensive housings will allow you to change ports which in effect is the same as changing lenses. Another option for some housings is to use a ‘wet’ wide angle adaptor which can be added to, or taken away from the flat port while still underwater. These ‘wet’ ports are very versatile but there is a small drop in quality when compared to a prime wide angle port.
Fisheye lens & port
 A fisheye lens and port give an even greater angle of coverage, but does so with a high degree of distortion. This will vary in degree from lens to lens. The effects can be quite dramatic and are usually better used with stills photography than video.
Zooming through a dome port
Not all dome ports, especially the cheaper ones, will facilitate a zoom and at the same time, keep focus. Auto focus can sometimes compensate for this but it is not guaranteed. And remember, if you do zoom in, then the depth of field will decrease. Generally zooming while actually filming can be very off-putting for an audience and so unless there is a very good reason for doing this then I would suggest you mainly use the function for re-sizing and framing your shot.
Scratched Ports
 A scratch or mark on your port can be a real pain. Scratches are more noticeable on glass ports than on Perspex ones. This is because Perspex or acrylic is roughly the same refractive index as sea water and so scratches are effectively filled by the water and visually removed. But with glass the refractive index is different and as light passes through a scratch it behaves differently from the rest of the port glass and becomes noticeable. Under normal front, side or top-lit situations, a scratch may not be noticed but may very quickly become apparent when back-lit. With glass I’m afraid it is time to change your port. With Perspex there is the opportunity to buff the port with ‘wet & dry’ to remove light scratches. This will take hours of patient work.
In short, take care of your ports. Glass is tougher than Perspex but is far more expensive. Your choice. If you can afford it, go for glass.
Condensation
Condensation and fogging in a housing can lead to missed shots and great frustration and, of course, it doesn’t become noticeable until you are underwater. The problem can occur when there is a slight amount of moisture in your housing and then that housing is put in the heat of direct sunlight. The moist air in the housing, upon being put into relatively cold water, will immediately condense on the thinnest and coldest part of that housing, which is going to be at the centre of the dome port. It rarely happens with a flat port but it is not impossible. So, you jump in the water hoping for a great video session and all you get is foggy day shots. You can see the condensation right away, but just occasionally, if you are not paying attention and the amount of moisture is very slight, the effect will be to soften the focus of your image. You may think all this is obvious but be vigilant.
The solution is to make sure your camera and housing interior are thoroughly dry and you do not leave your rig out in the hot and direct sun at any time, especially while you are kitting up. Keep the housing shaded until you get in the water.
Next time we look at Colour Bars and Monitors.


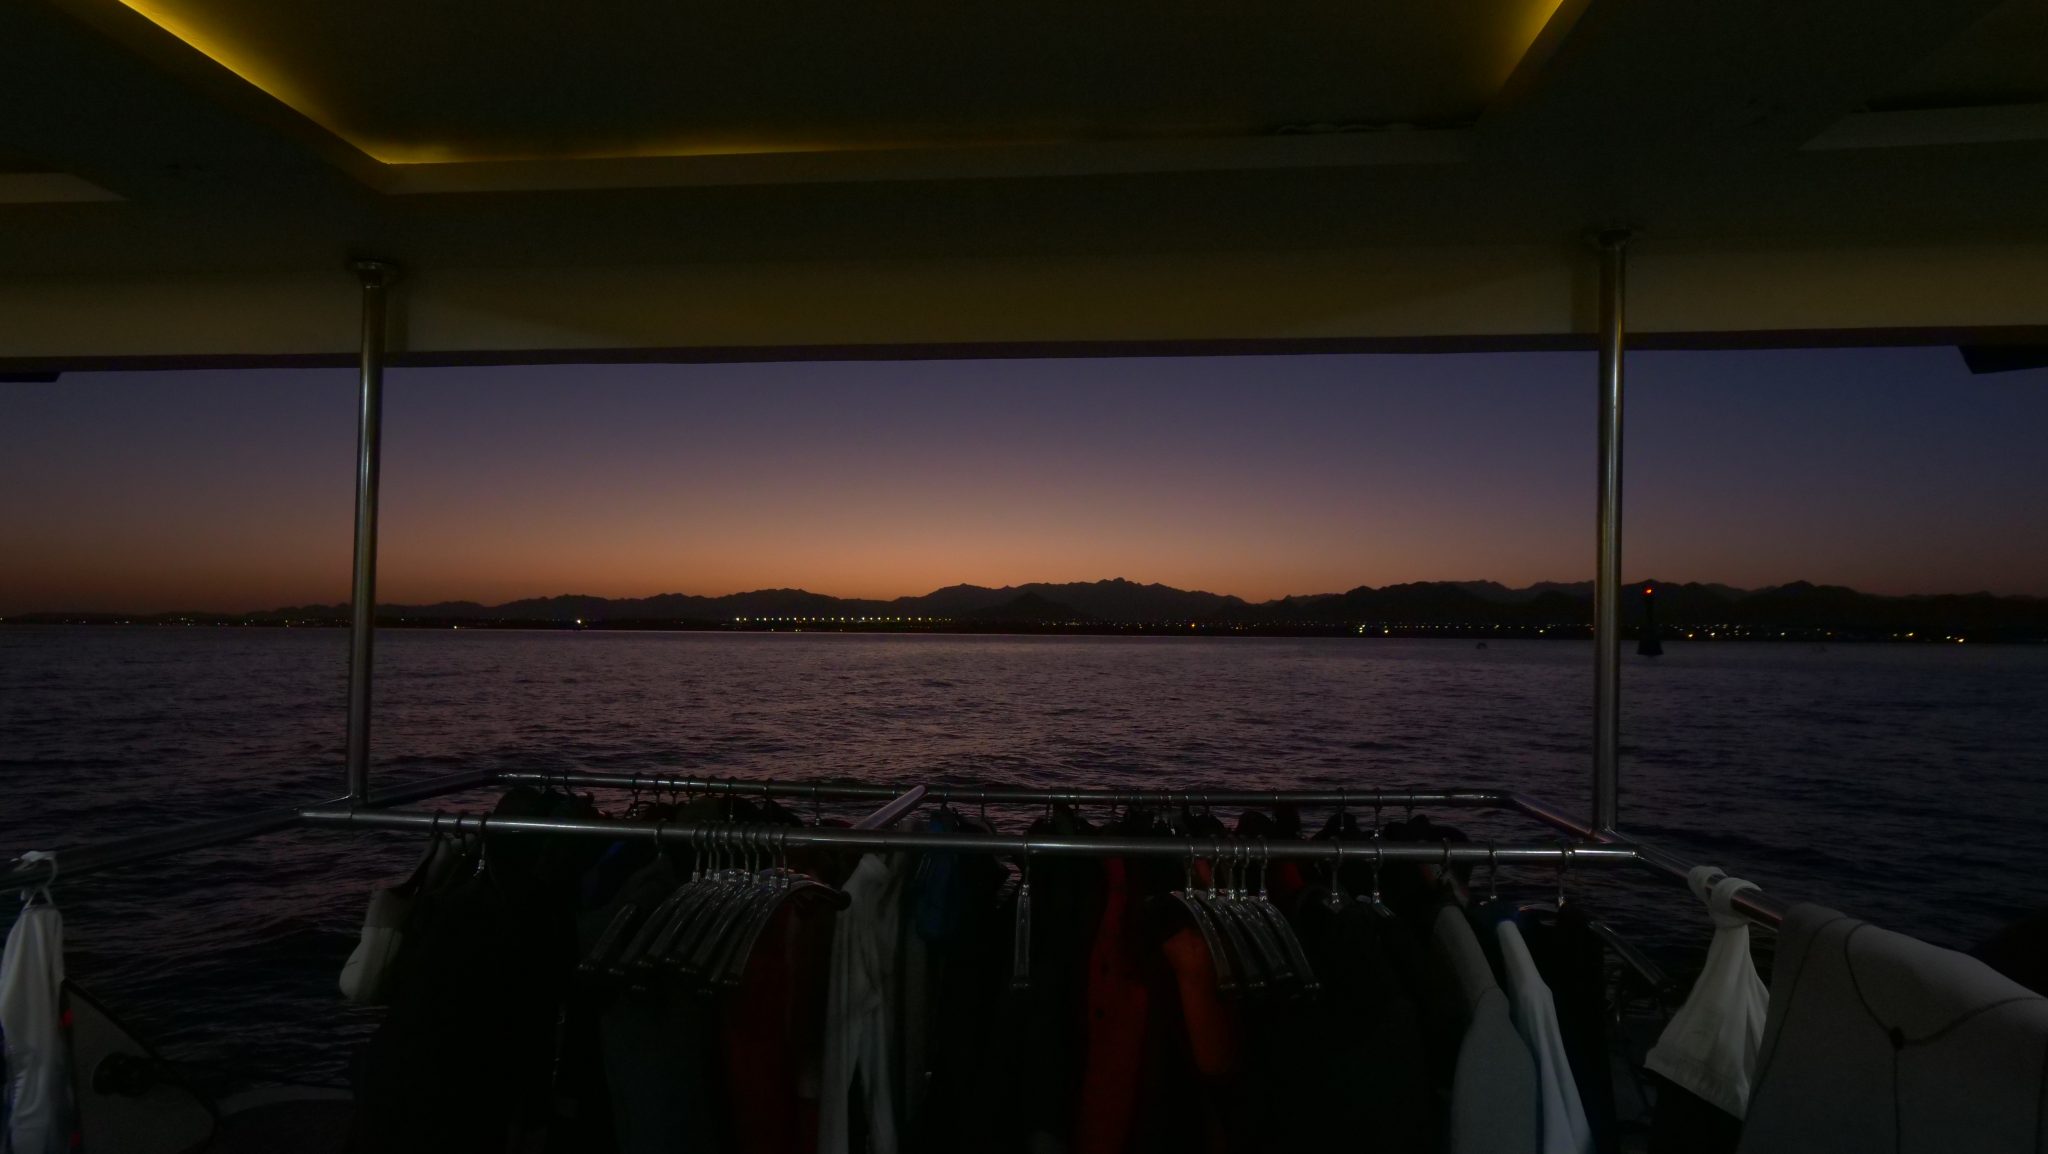
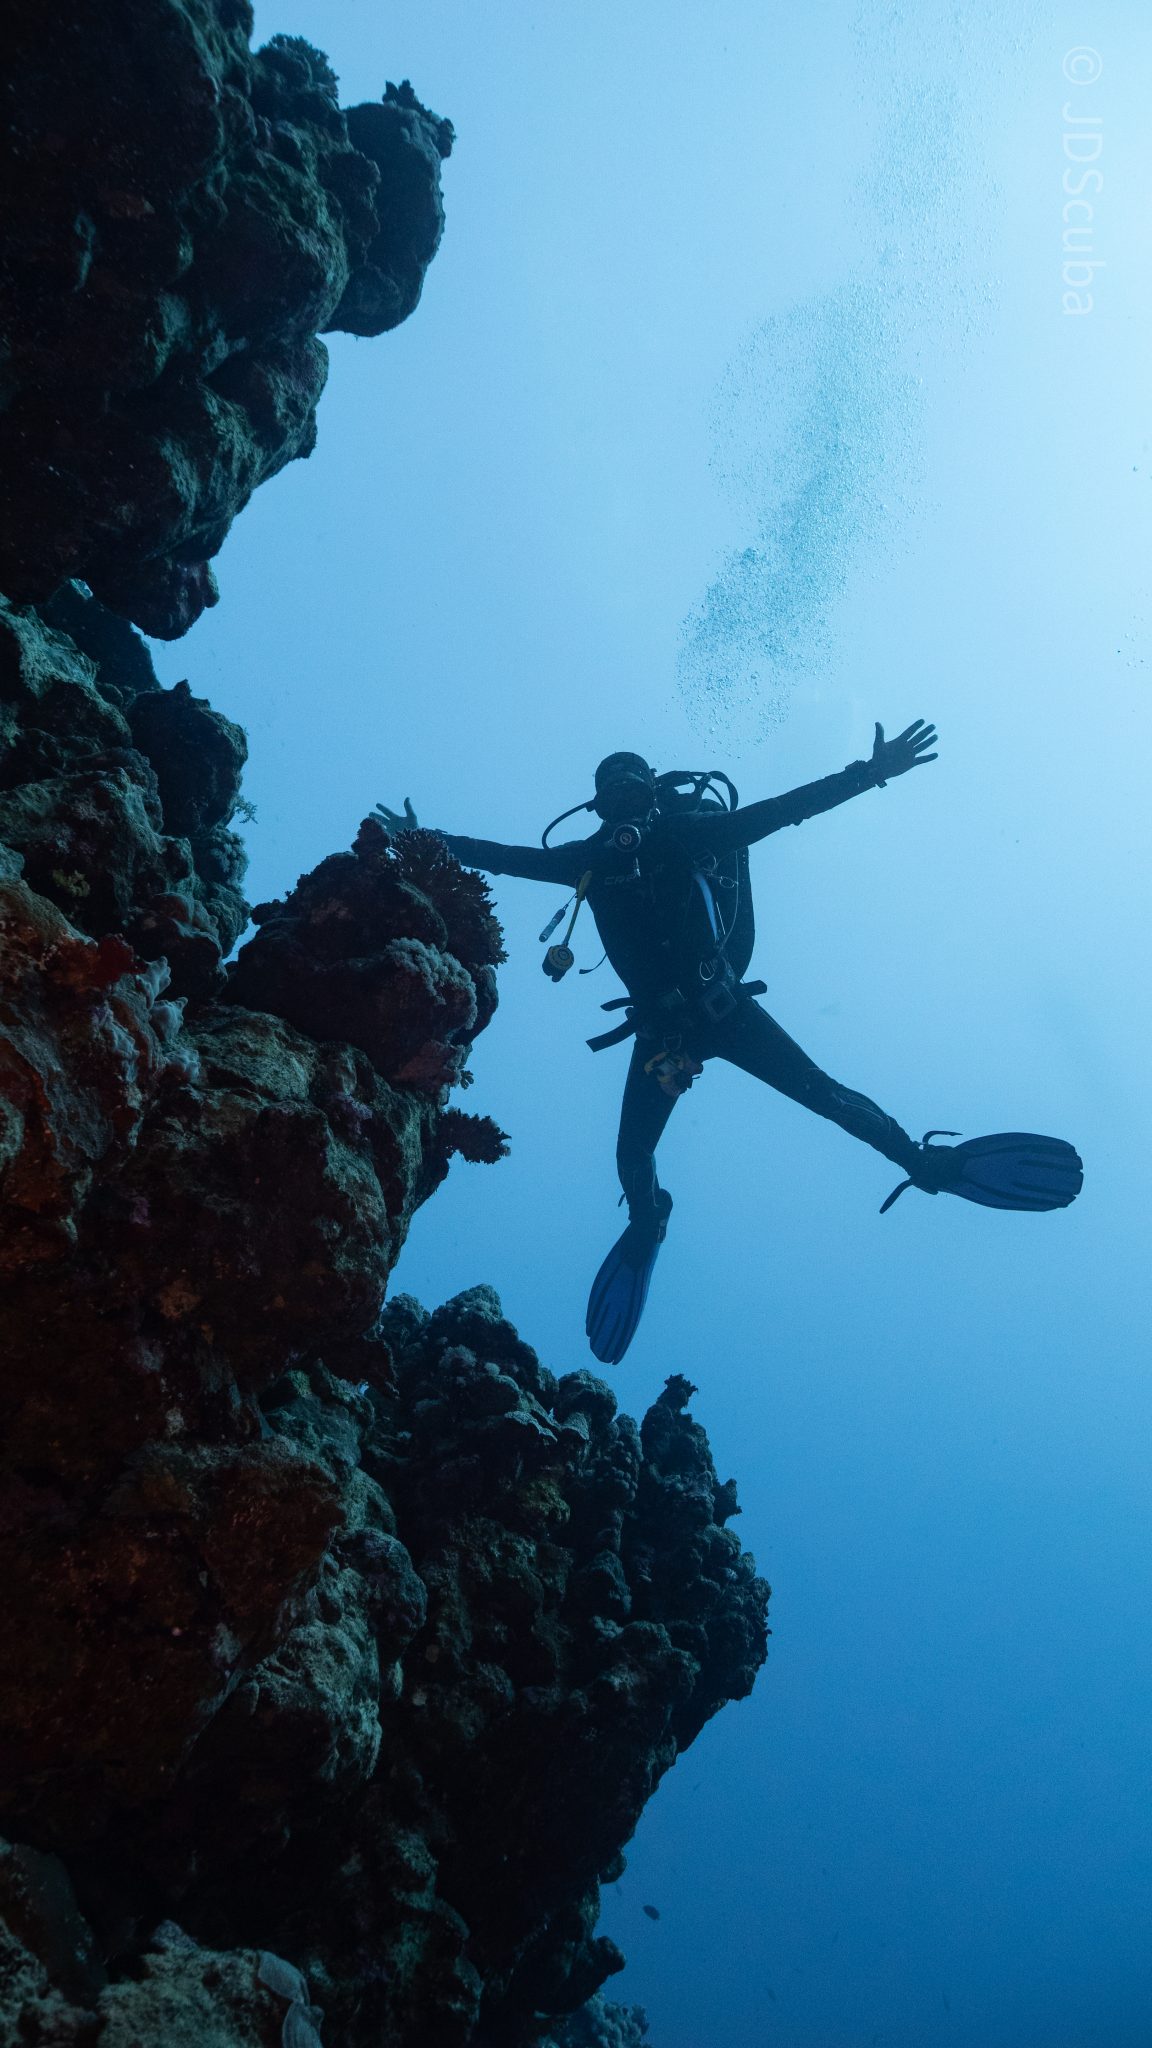
Jake Davies boards Ghazala Explorer for an unforgettable Red Sea diving experience…
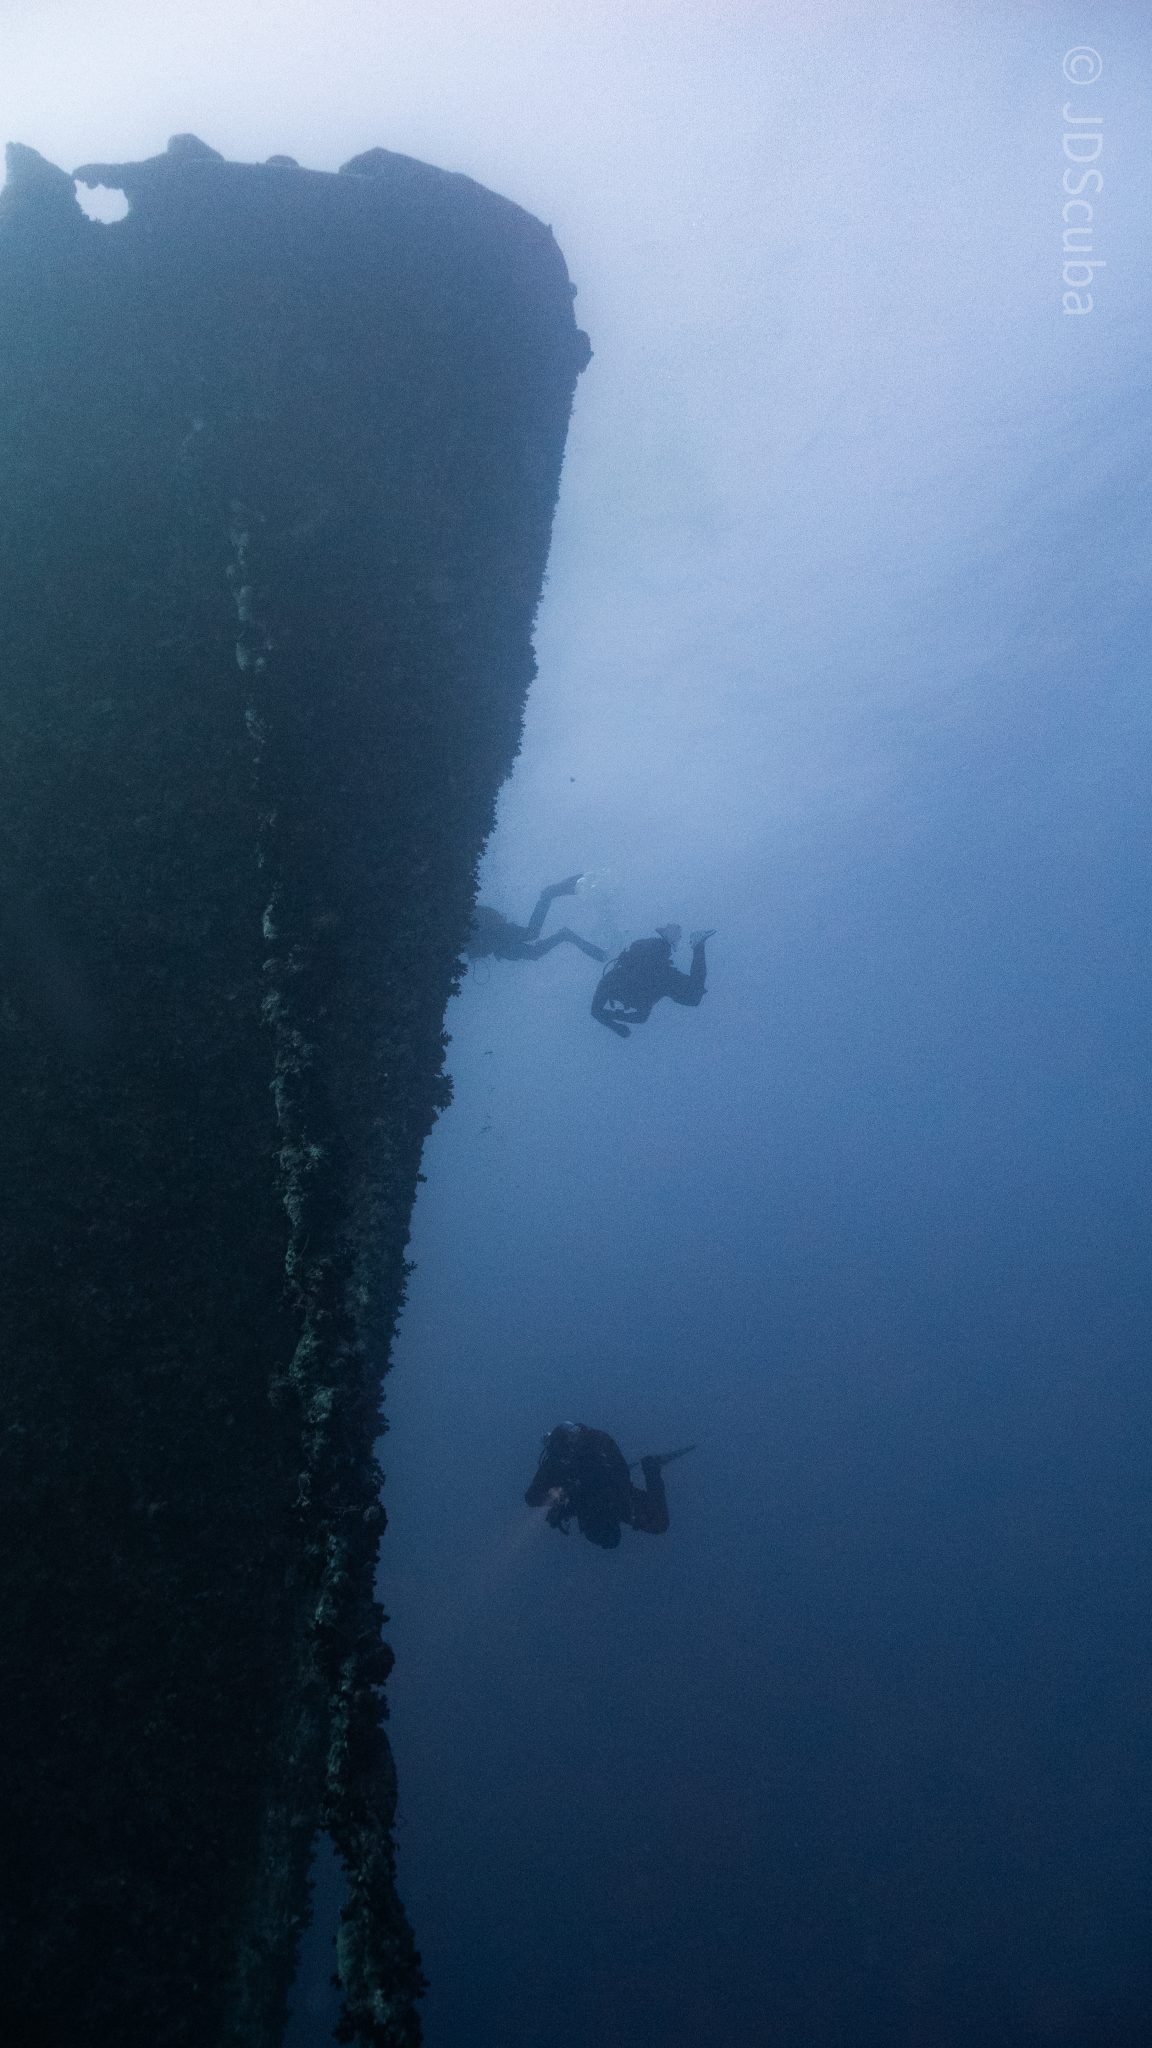
Overnight, the wind picked up, making the planned morning dive a bit bumpy on the Zodiacs to the drop point on Thomas Reef. There, we would dive along the reef before descending through the canyon and then passing under the arch before ascending the wall with a gentle drift. The site provided great encounters with more pelagic species, including shoals of large barracuda, tuna, and bigeye trevally.
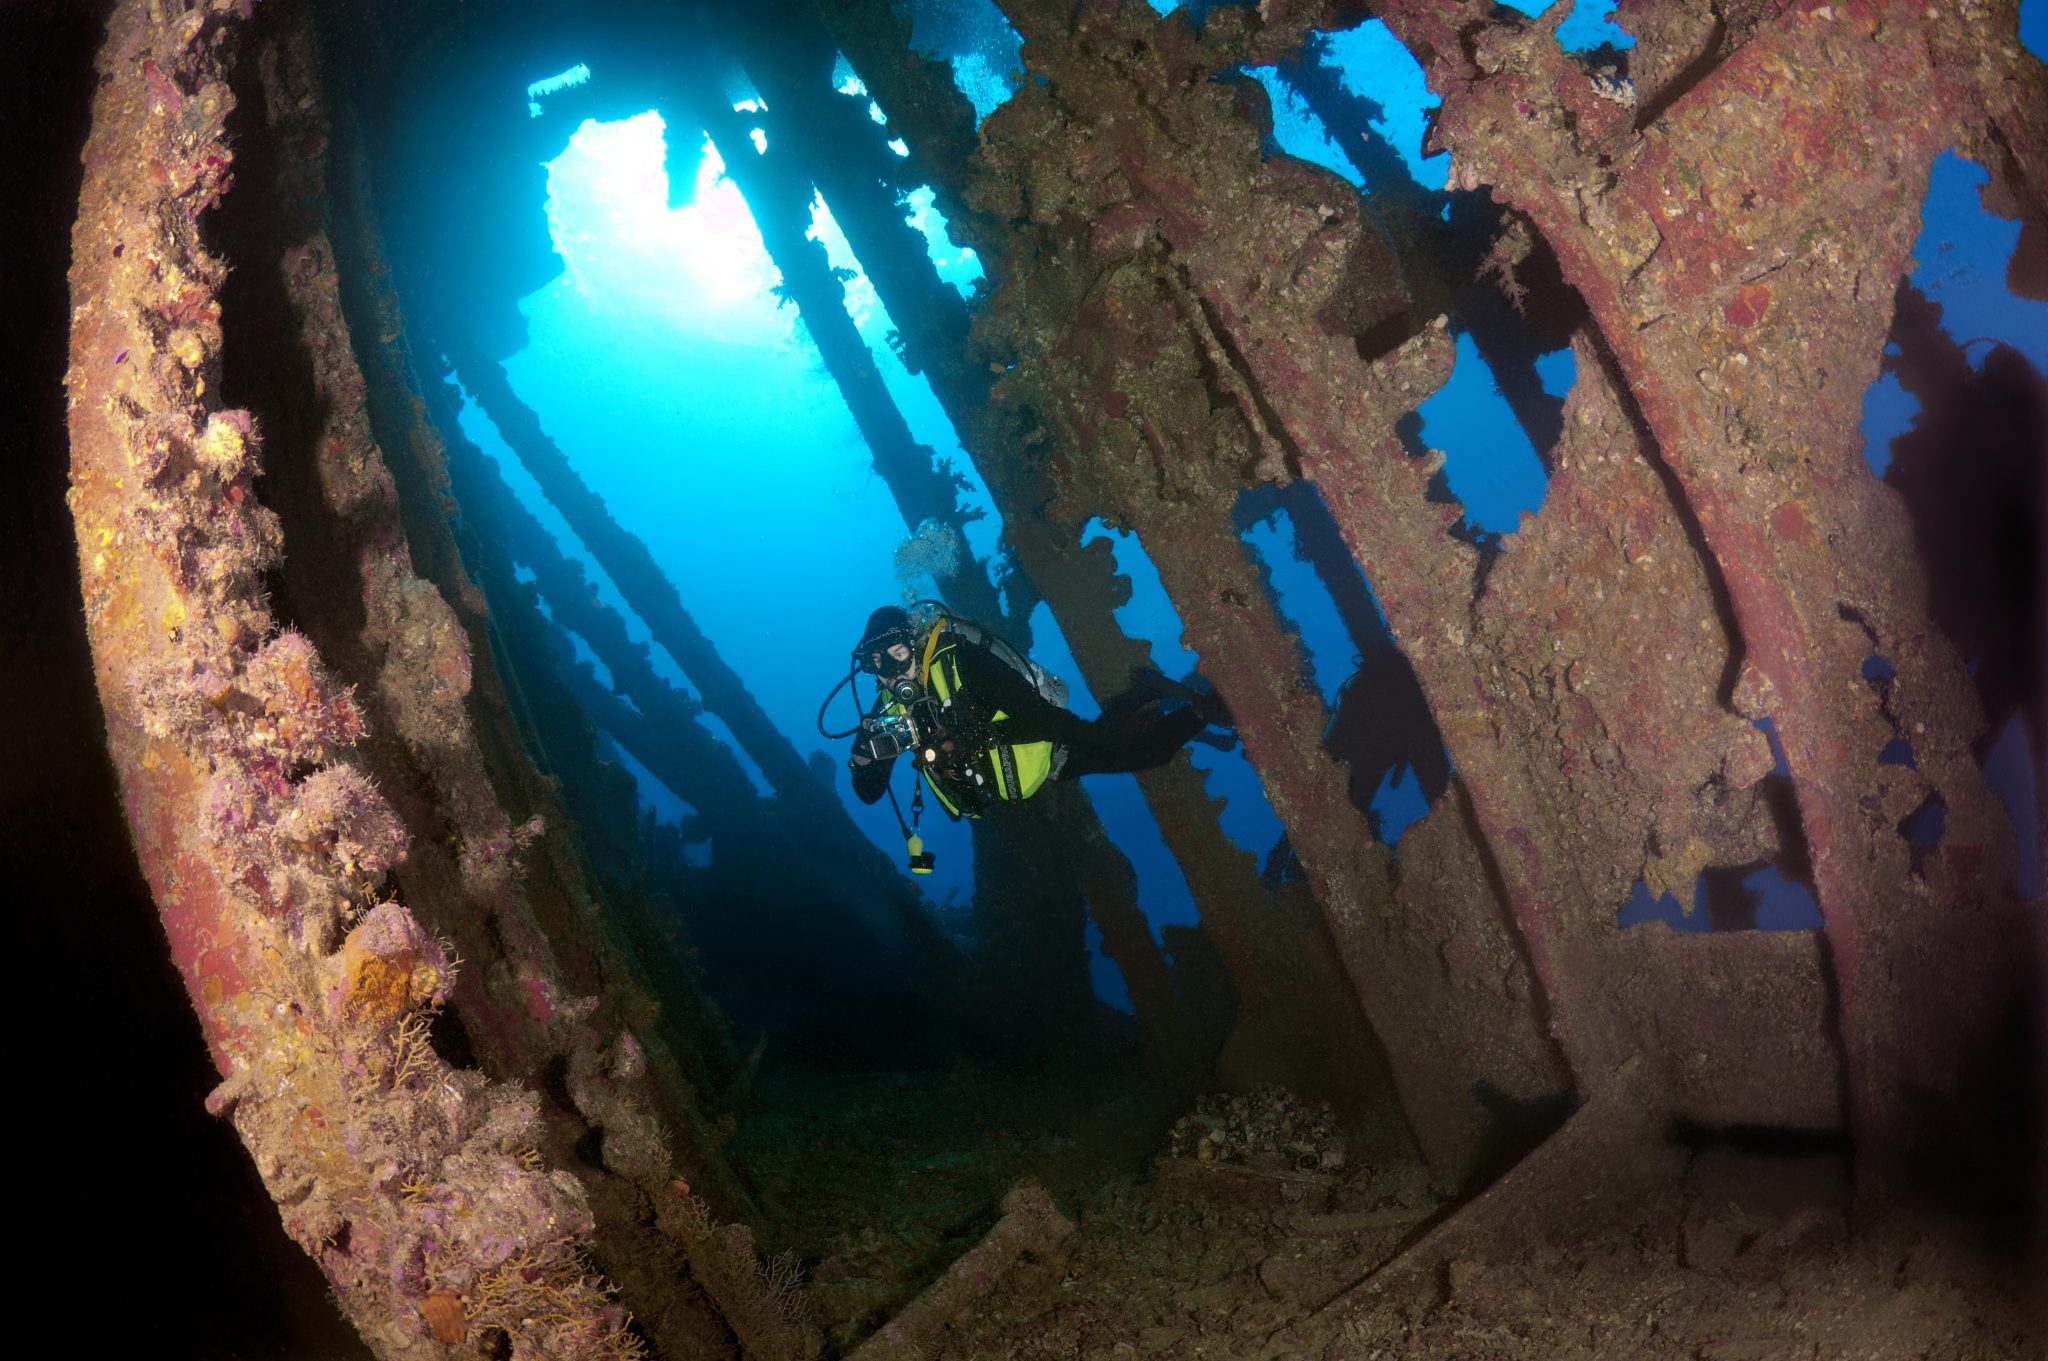
Once back on the boat, it was time to get everything tied down again as we would head back south. This time, with the wind behind us, heading to Ras Mohammed to dive Jackfish Alley for another great gentle drift wall dive before then heading up the coast towards the Gulf of Suez to moor up at the wreck of the Thistlegorm. This being the highlight wreck dive of the trip and for many onboard, including myself, it was the first time diving this iconic wreck. I had heard so much about the wreck from friends, and globally, this is a must on any diver’s list. Fortunately for us, there was only one other boat at the site, which was a rarity. A great briefing was delivered by Ahmed, who provided a detailed background about the wreck’s history along with all the required safety information as the currents and visibility at the site can be variable.
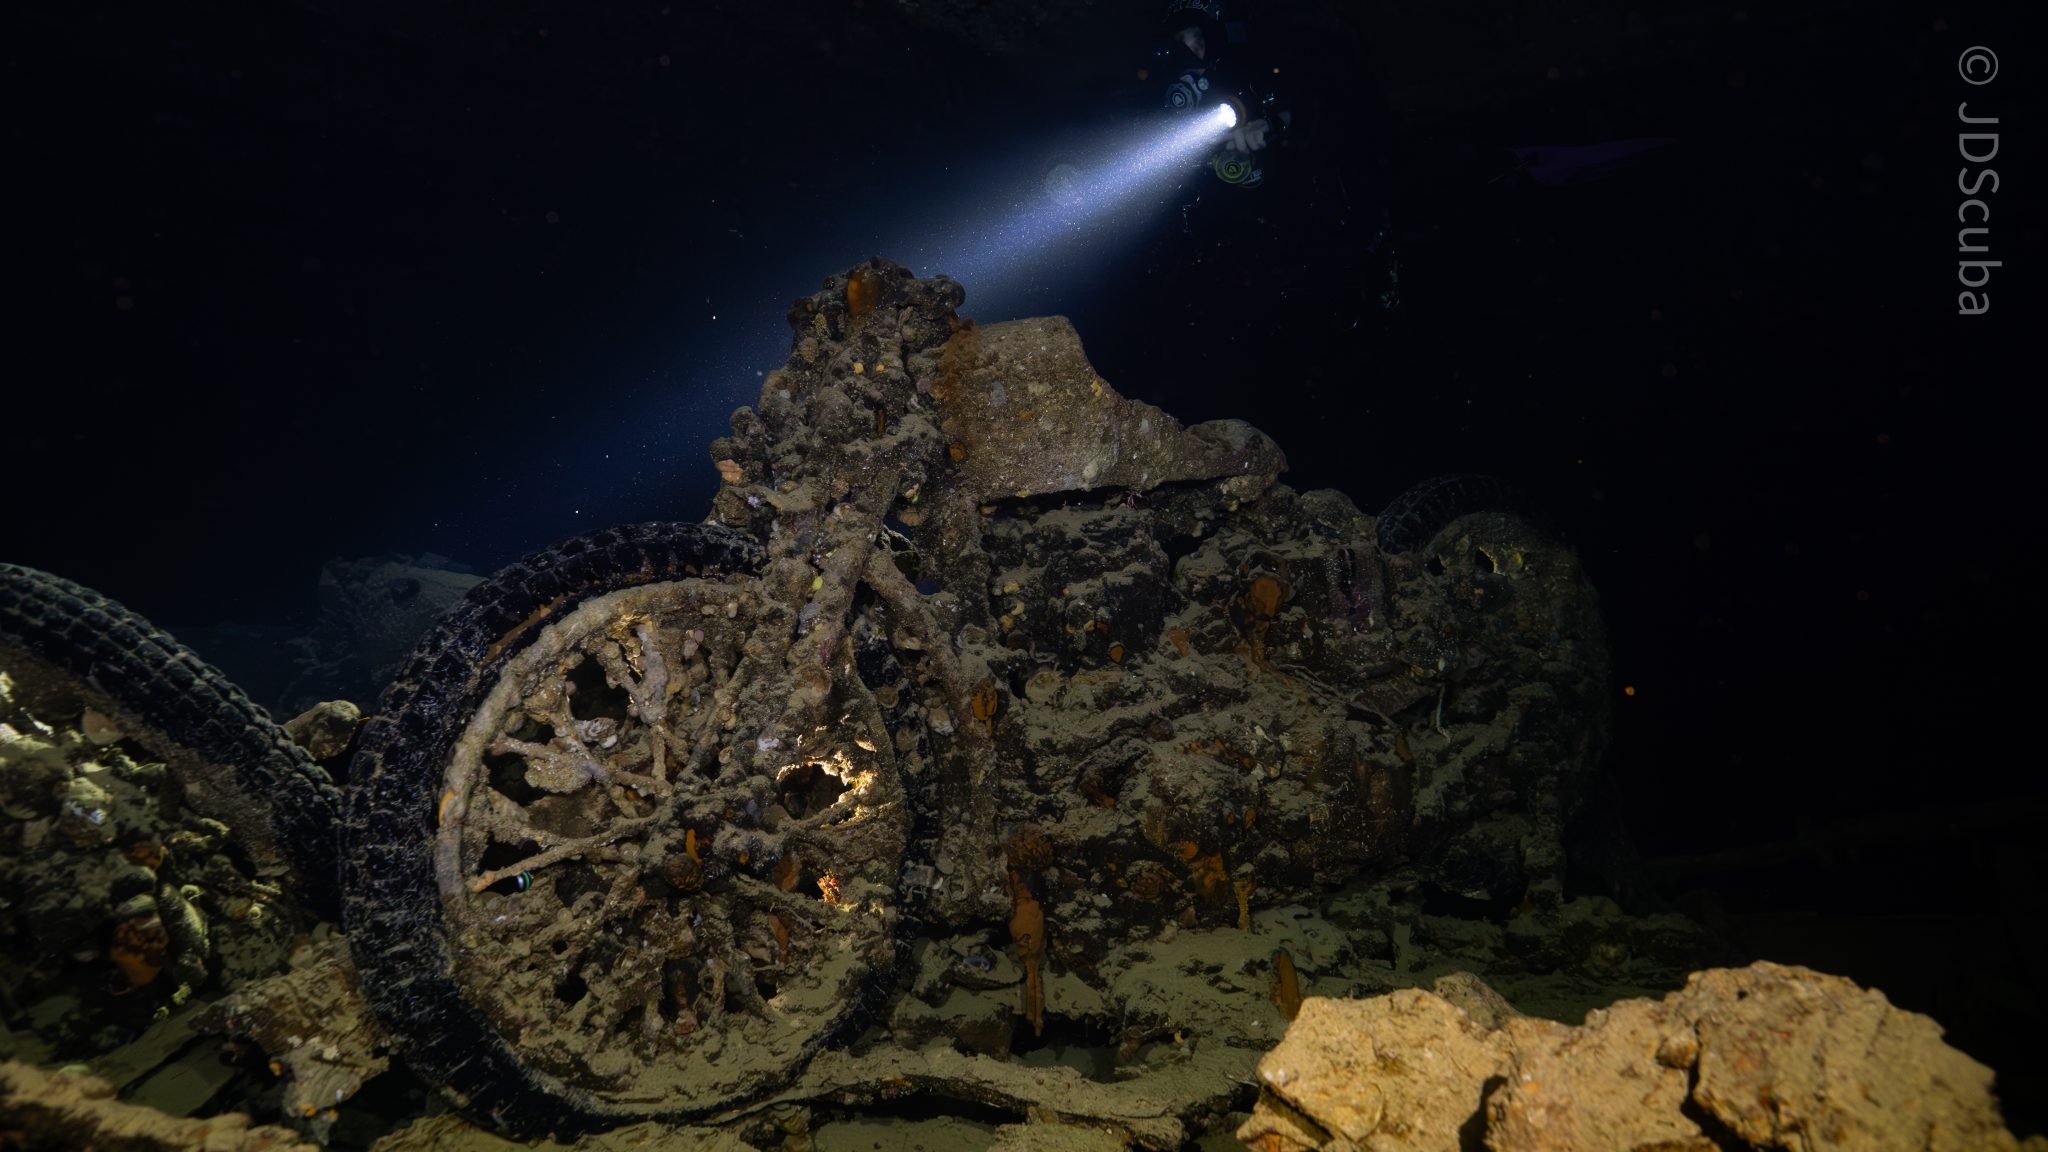
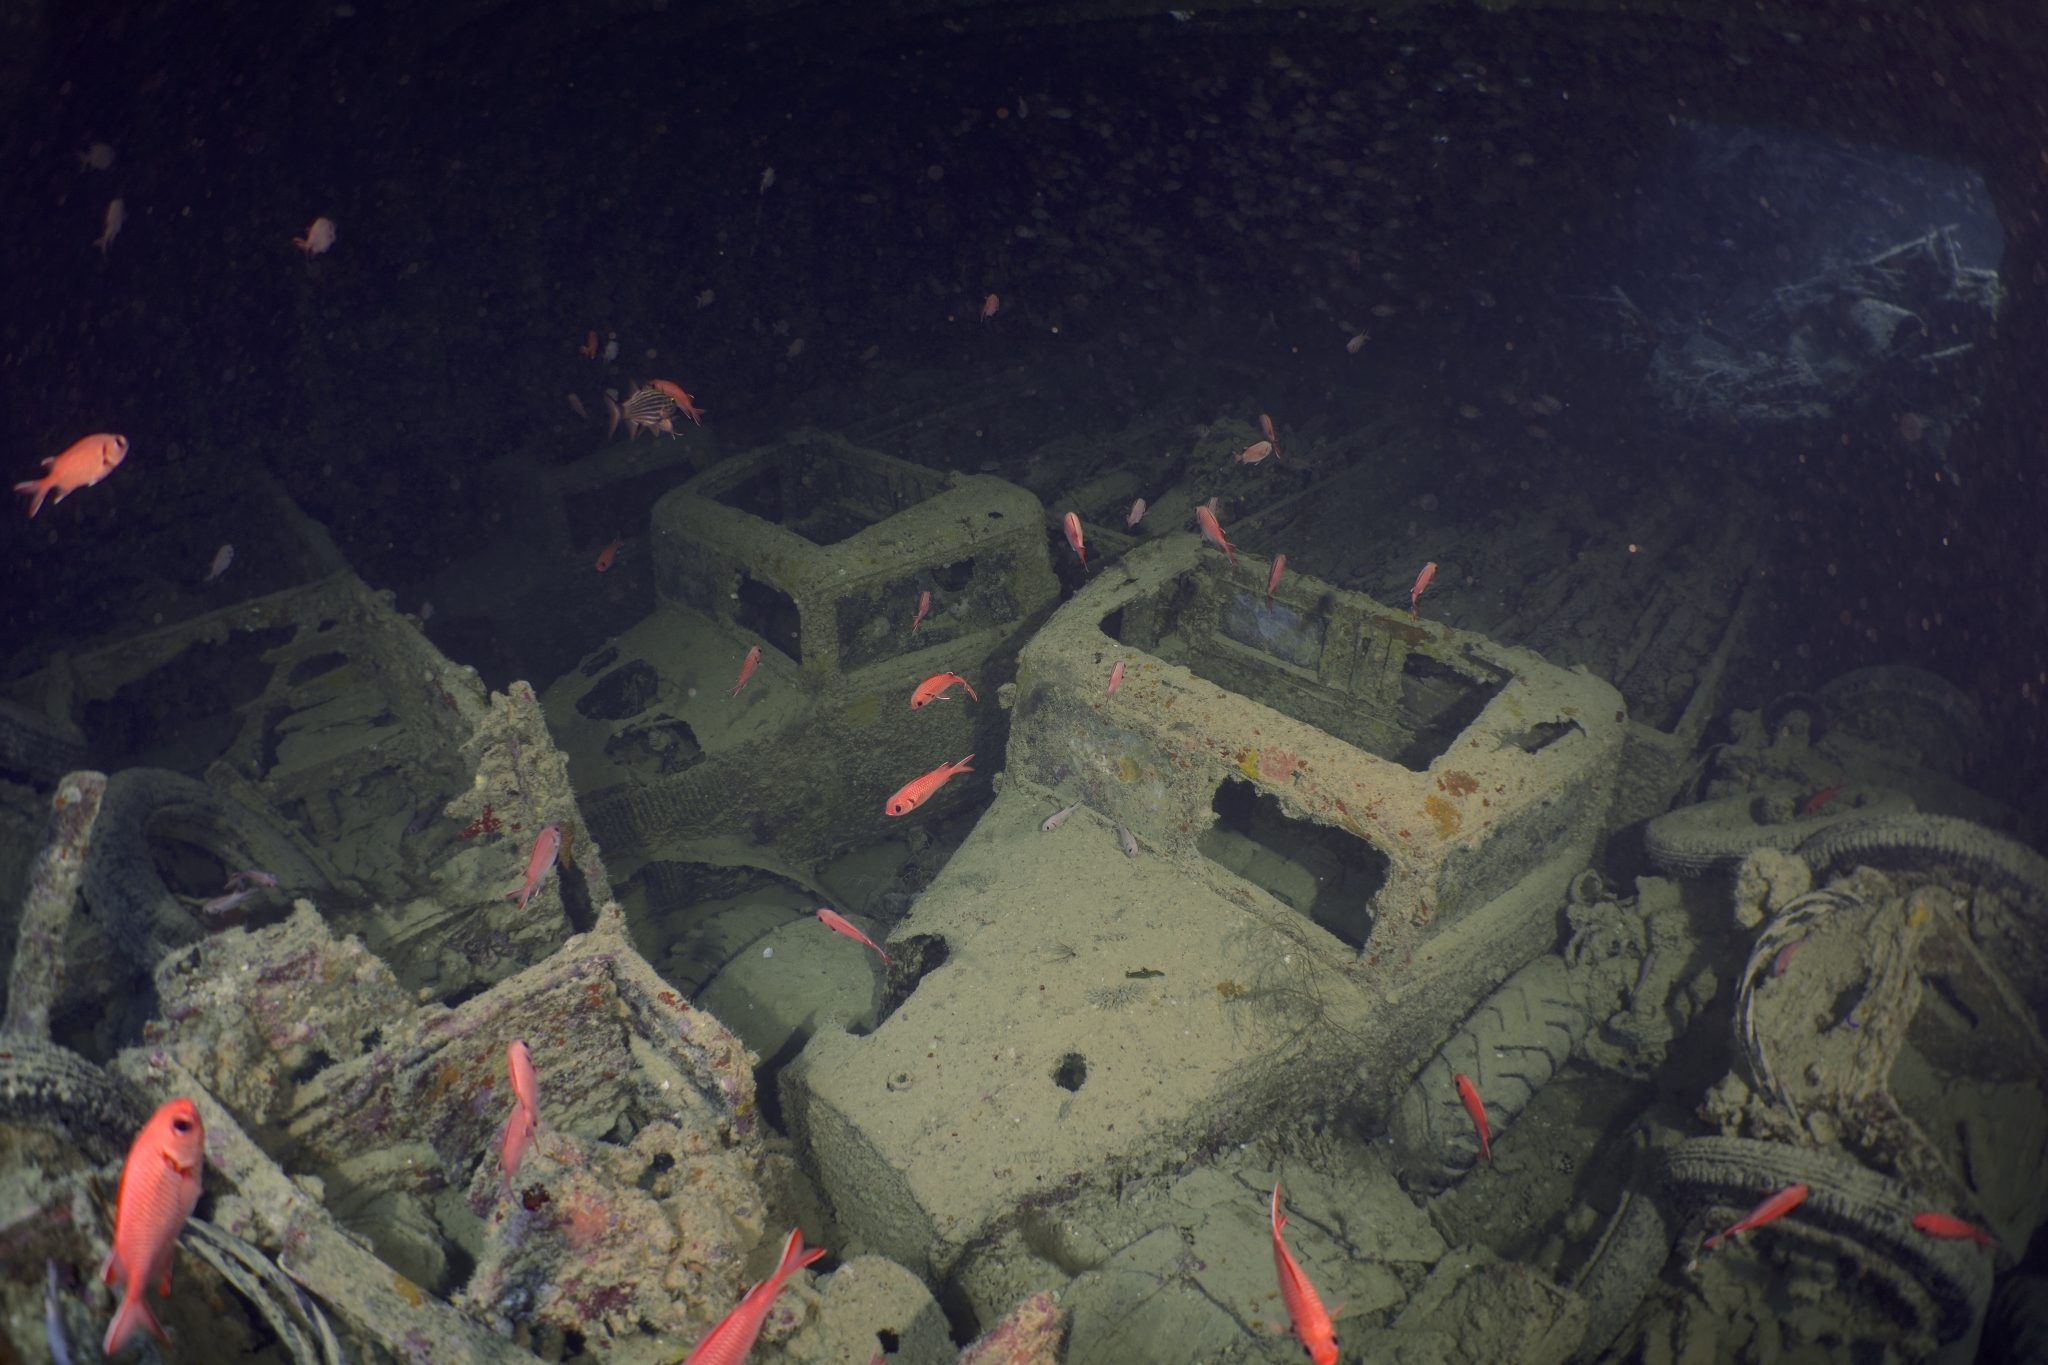
Kitting up, there was a lot of excitement on deck before entering the water and heading down the shoreline. Descending to the wreck, there was a light northerly current which reduced the visibility, making it feel more like the conditions that can be found off the Welsh coast. At 10m from the bottom, the outline of the wreck appeared as we reached the area of the wreck which had been bombed, as our mooring line was attached to part of the propeller shaft. Arriving on deck, instantly everywhere you looked there were many of the supplies which the ship was carrying, including Bren Carrier tanks and projectiles that instantly stood out.
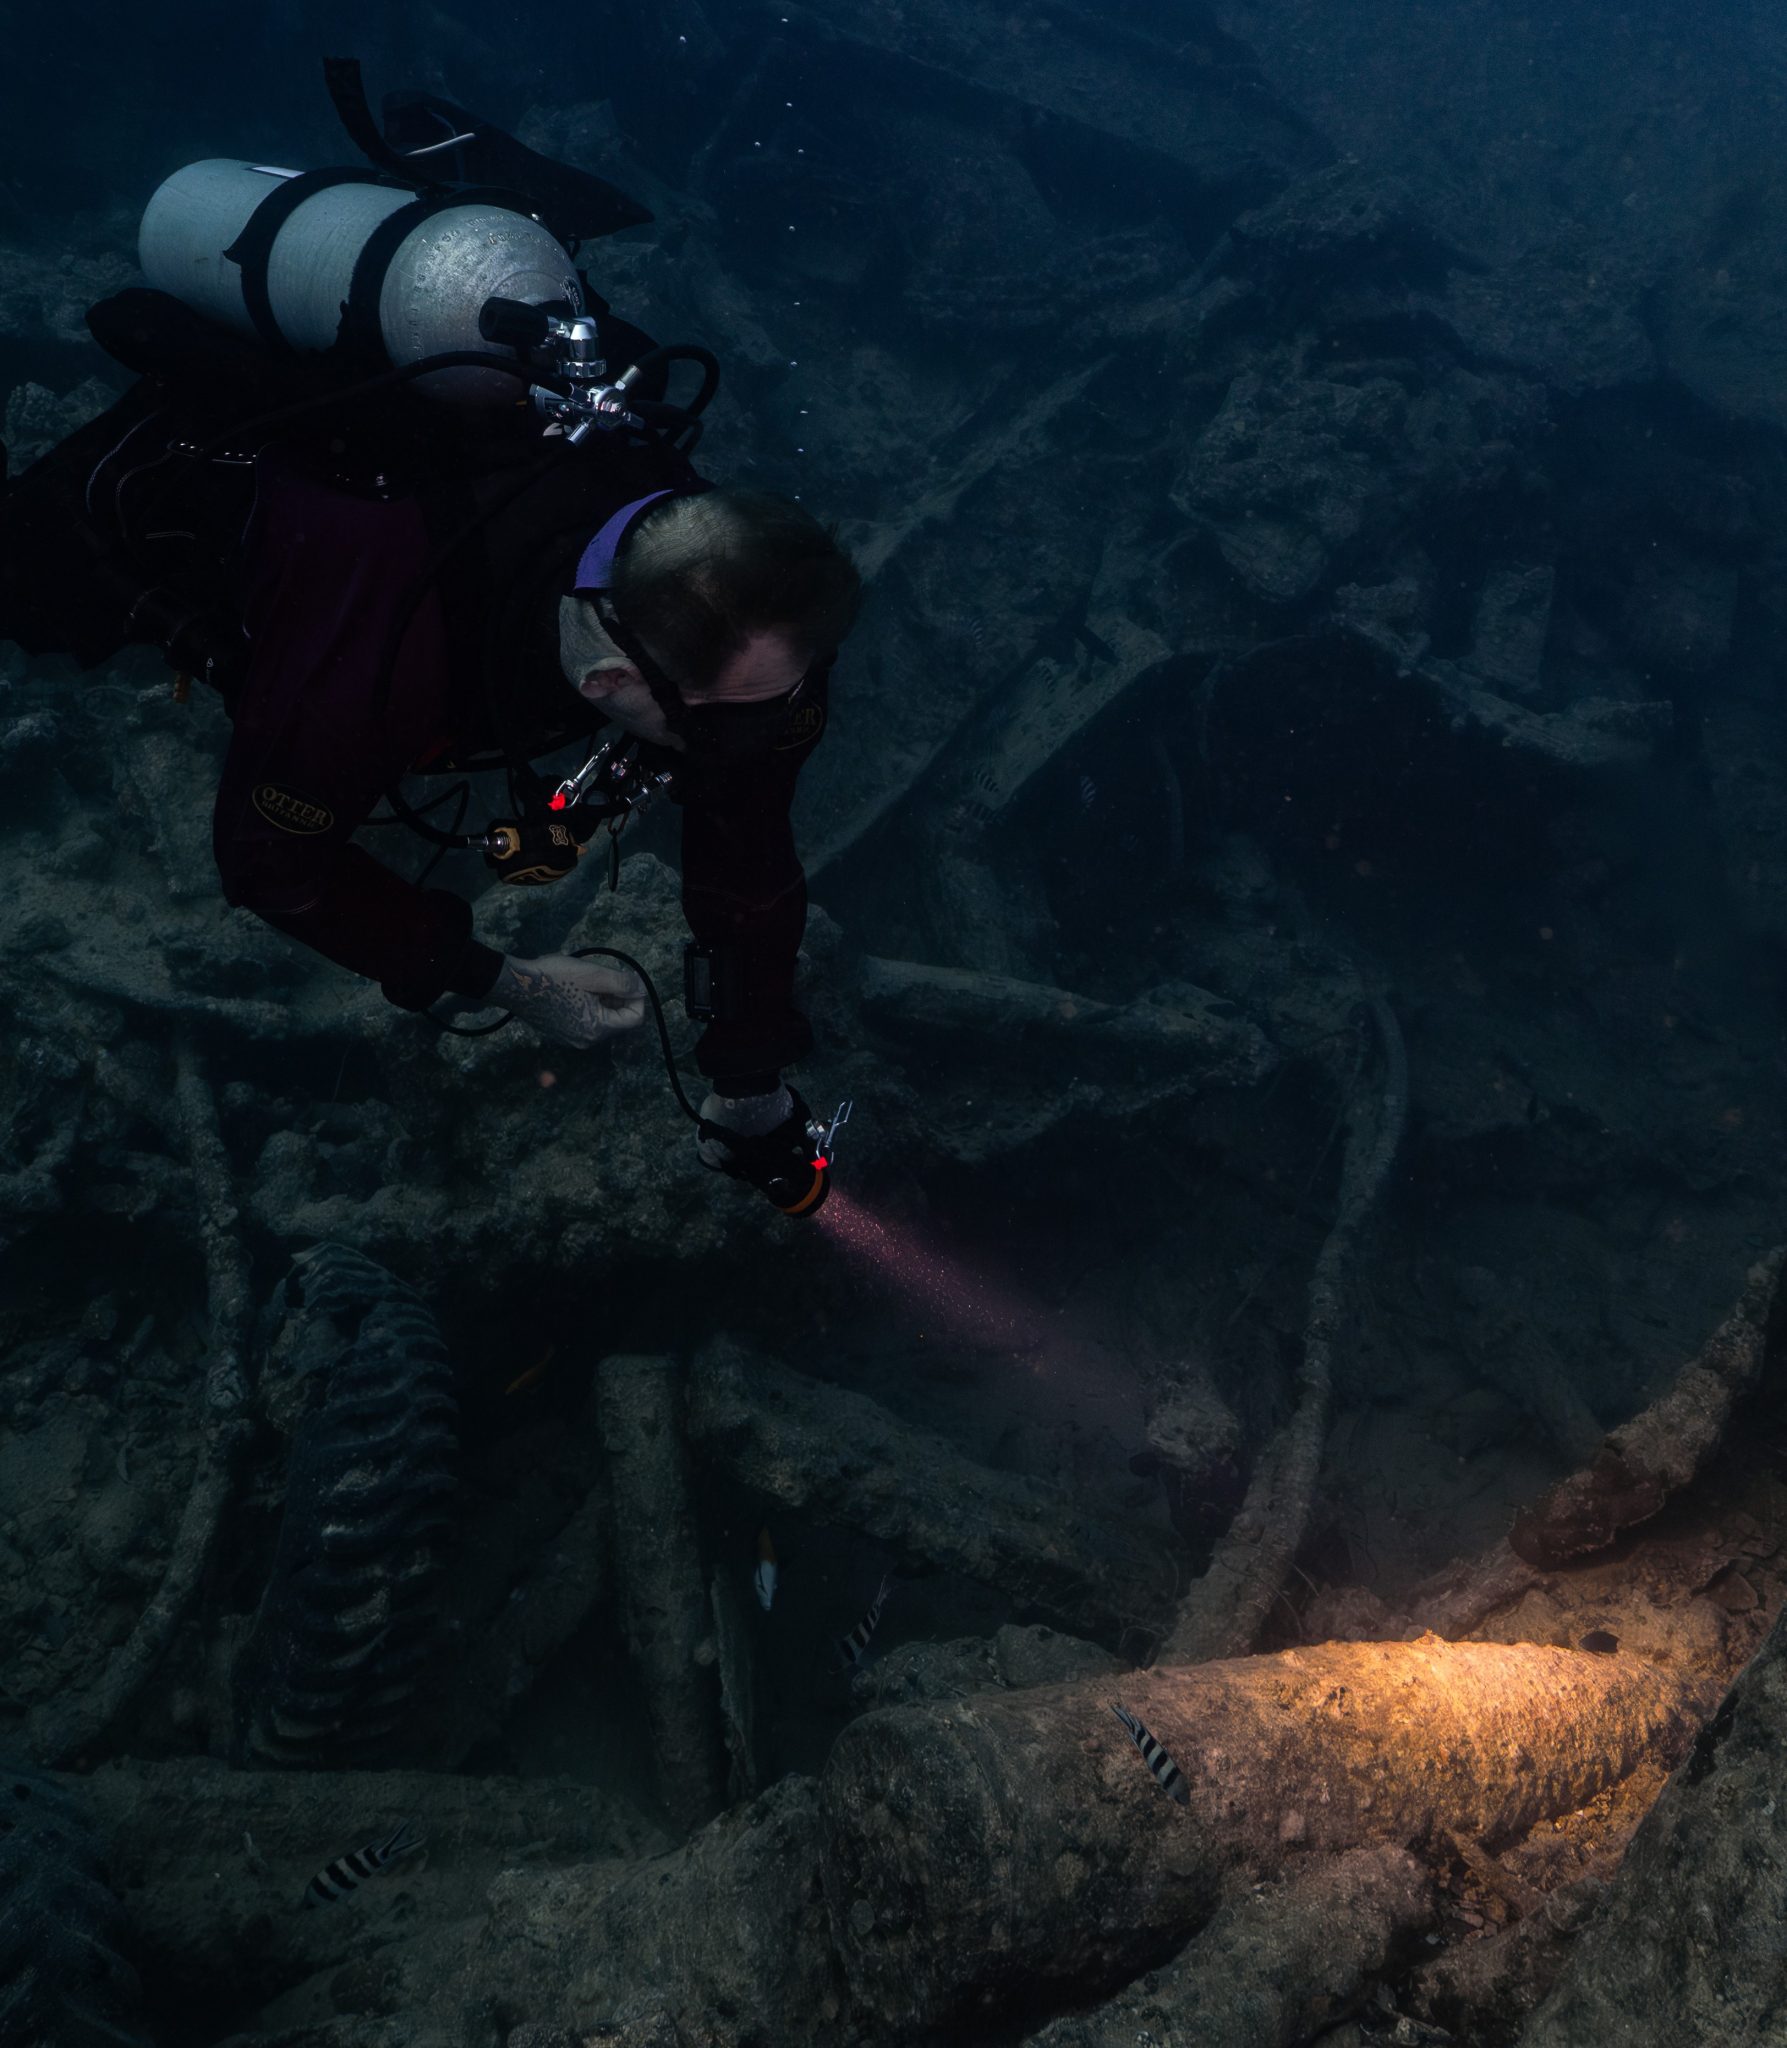
We headed around the exterior, taking a look at the large propeller and guns mounted on deck before entering the wreck on the port side to take a look in the holds. It was incredible to see all the trucks, Norton 16H, and BSA motorcycles still perfectly stacked within, providing a real snapshot in time.

Overall, we had four dives on the Thistlegorm, where for all of the dives we were the only group in the water, and at times, there were just three of us on the whole wreck, which made it even more special, especially knowing that most days the wreck has hundreds of divers. Along with the history of the wreck, there was plenty of marine life on the wreck and around, from big green turtles to batfish, along with shoals of mackerel being hunted by trevally. Some unforgettable dives.
The final leg of the trip saw us cross back over the Suez Canal to the Gobal Islands where we planned to stay the night and do three dives at the Dolphin House for the potential of sharing the dive with dolphins. The site, which included a channel that was teeming with reef fish, especially large numbers of goatfish that swam in large shoals along the edge of the reef. These were nice relaxing dives to end the week. Unfortunately, the dolphins didn’t show up, which was okay as like all marine life they are difficult to predict and you can’t guarantee what’s going to be seen. With the last dive complete, we headed back to port for the final night where it was time to clean all the kit and pack before the departure flight the next day.
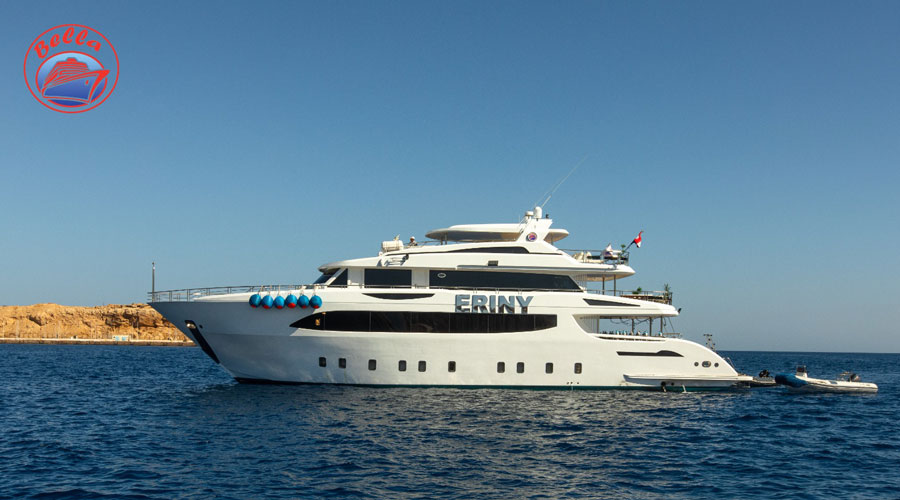
The whole week from start to finish on Ghazala Explorer was amazing; the boat had all the facilities you need for a comfortable week aboard. The crew were always there to help throughout the day and the chefs providing top quality food which was required after every dive. The itinerary providing some of the best diving with a nice mixture of wreck and reef dives. I would recommend the trip to anyone, whether it’s your first Red Sea liveaboard in the Red Sea or you’re revisiting. Hopefully, it’s not too long before I head back to explore more of the Red Sea onboard Ghazala Explorer.
To find out more about the Northern Red Sea reef and wrecks itineraries aboard Ghazala Explorer, or to book, contact Scuba Travel now:
Email: dive@scubatravel.com
Tel: +44 (0)1483 411590
Photos: Jake Davies / Avalon.Red
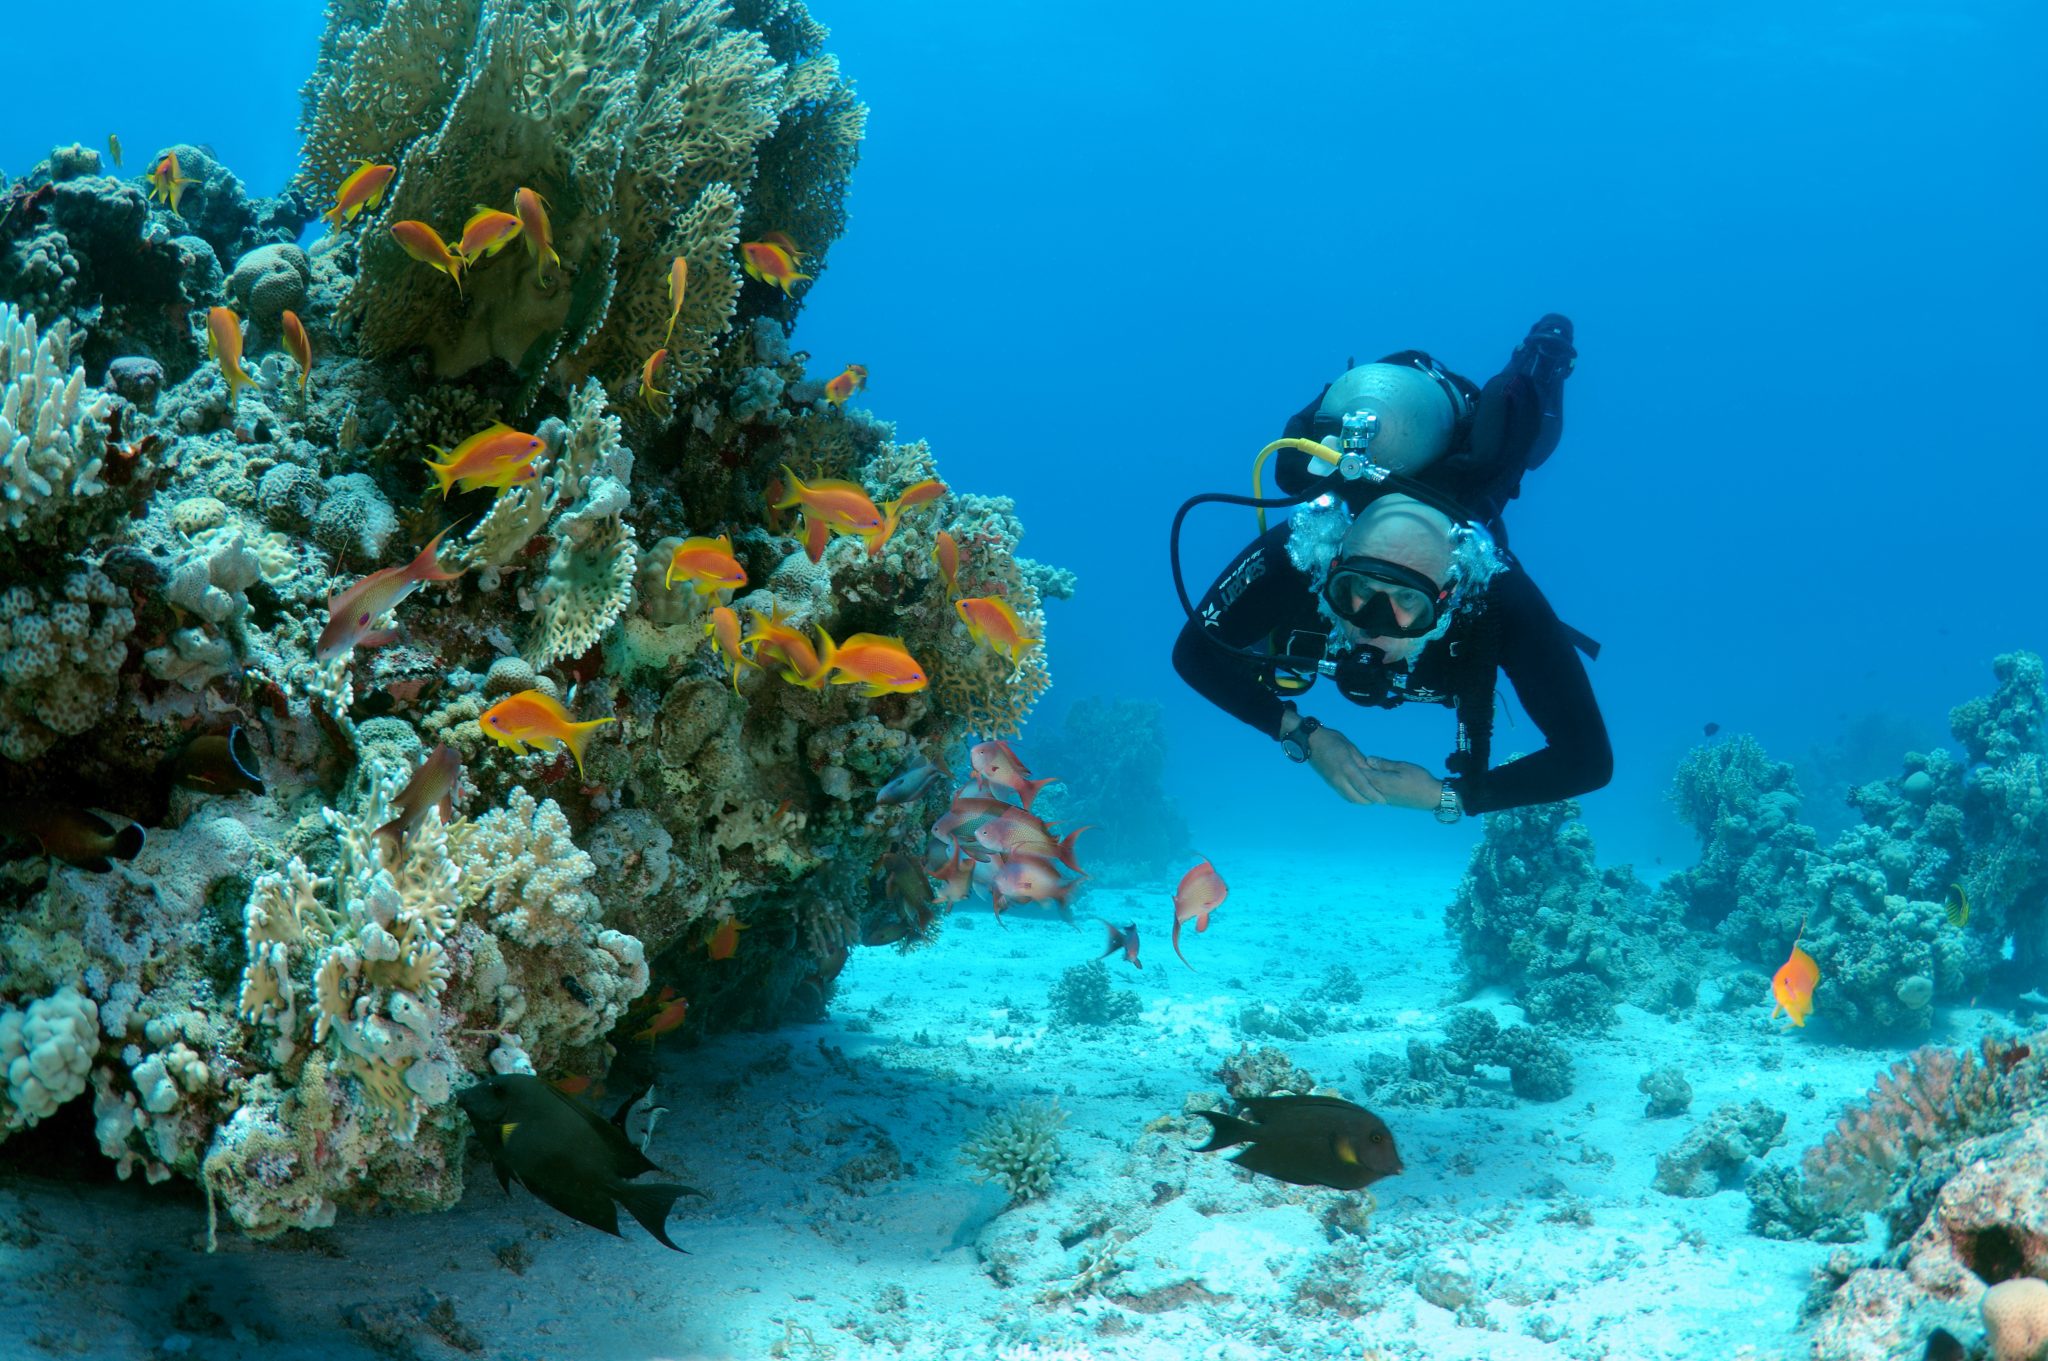
Jake Davies boards Ghazala Explorer for an unforgettable Red Sea diving experience…
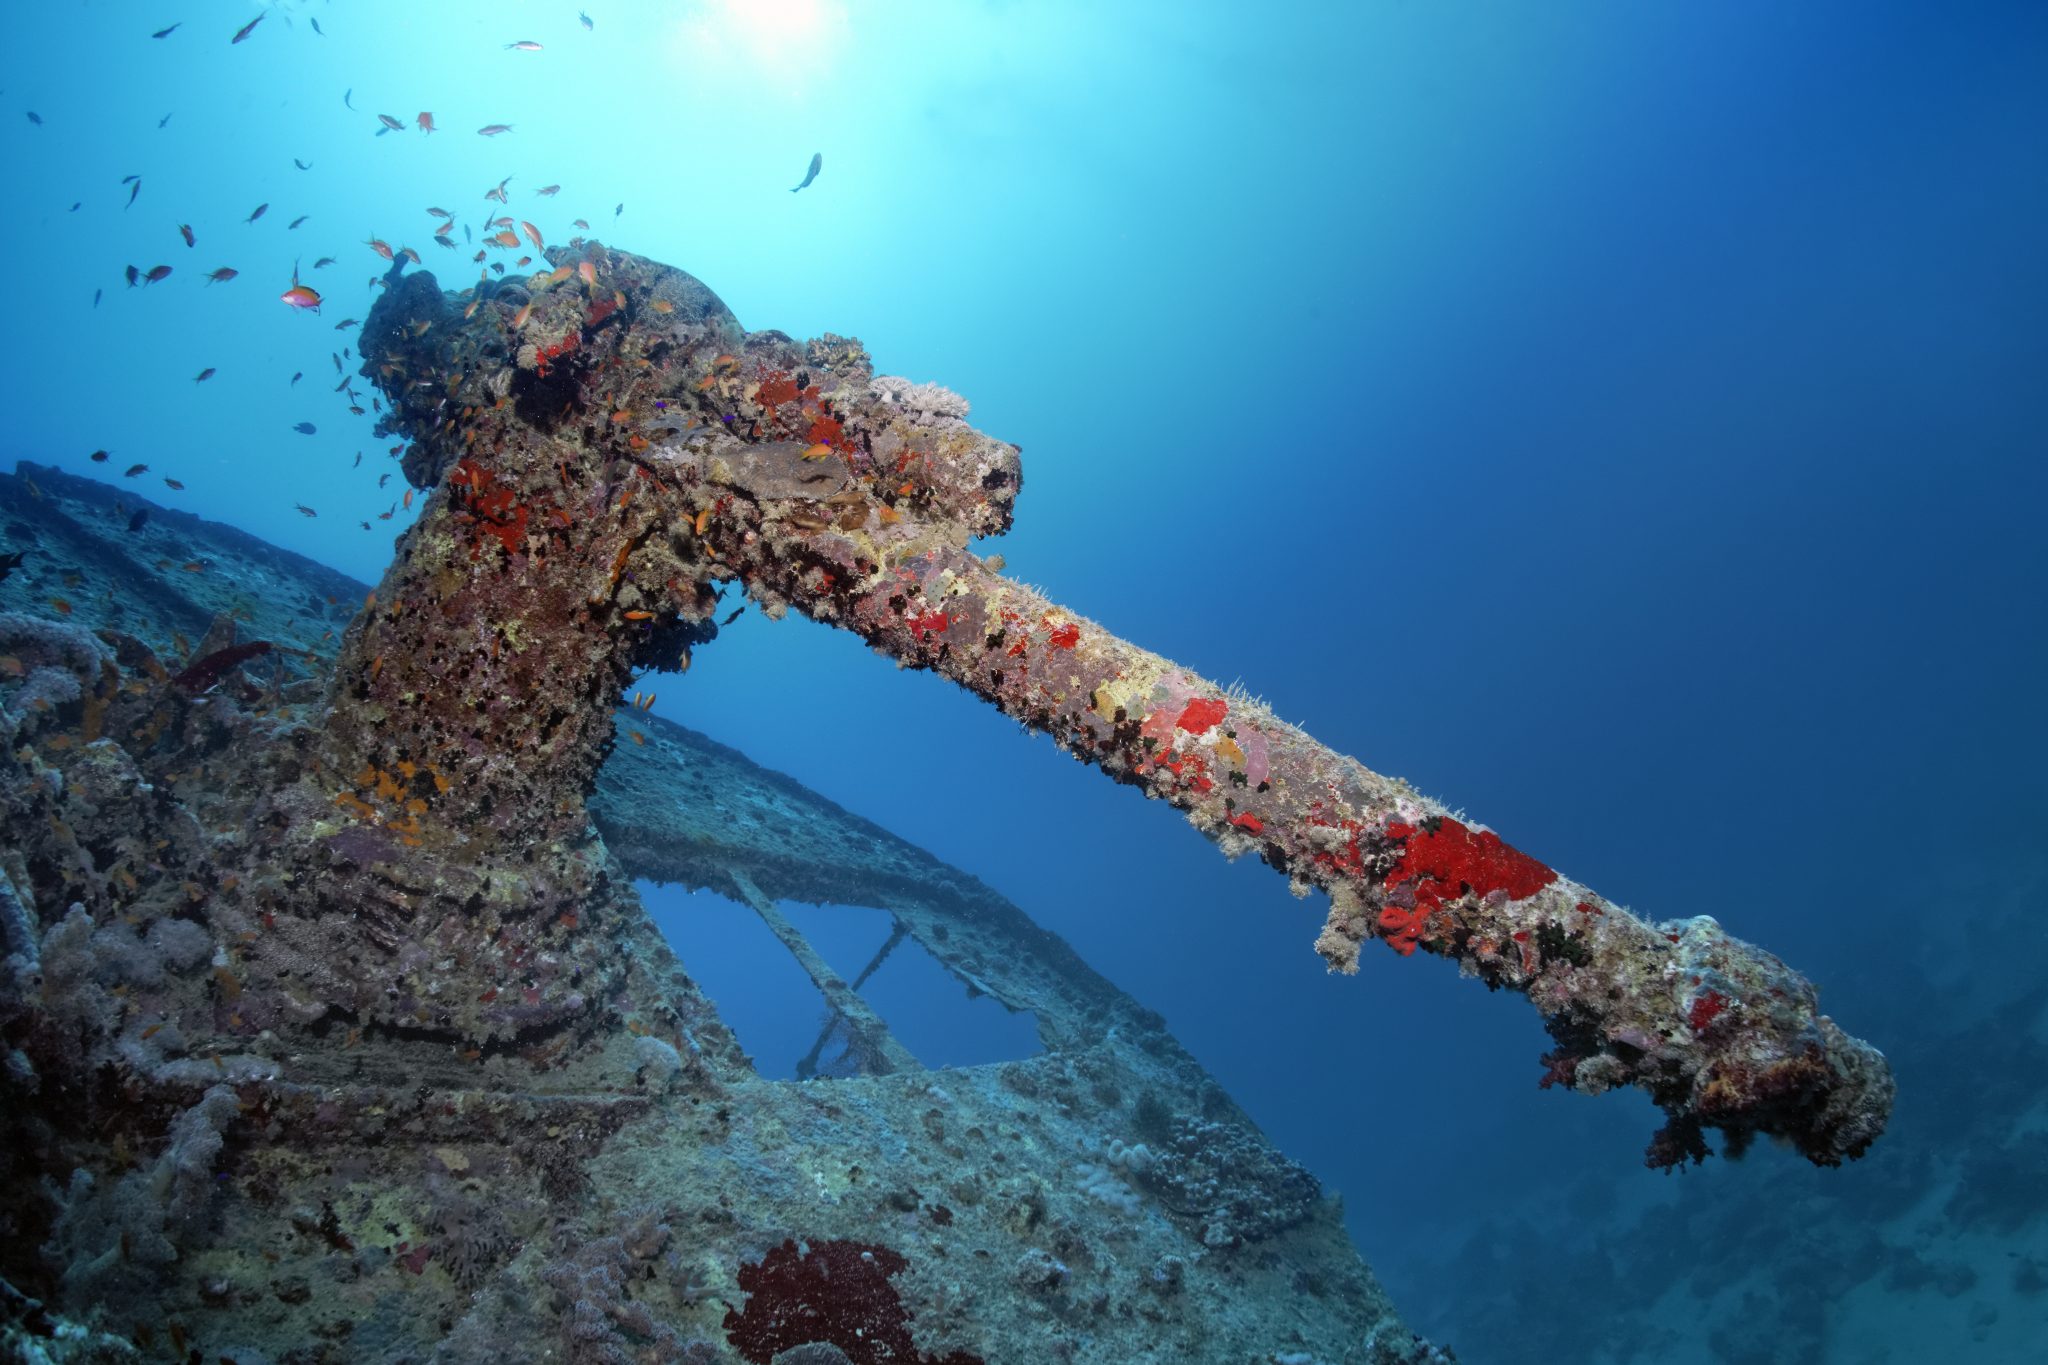
The second day’s diving was a day full of wreck diving at Abu Nuhas, which included the Chrisoula K, Carnatic, and Ghiannis D. The first dive of the day was onto the Chrisoula K, also known as the wreck of tiles. The 98m vessel remains largely intact where she was loaded with tiles which can be seen throughout the hold. The stern sits at 26m and the bow just below the surface. One of the highlights of the wreck is heading inside and seeing the workroom where the machinery used for cutting the tiles are perfectly intact. The bow provided some relaxing scenery as the bright sunlight highlighted the colours of the soft coral reef and the many reef fish.
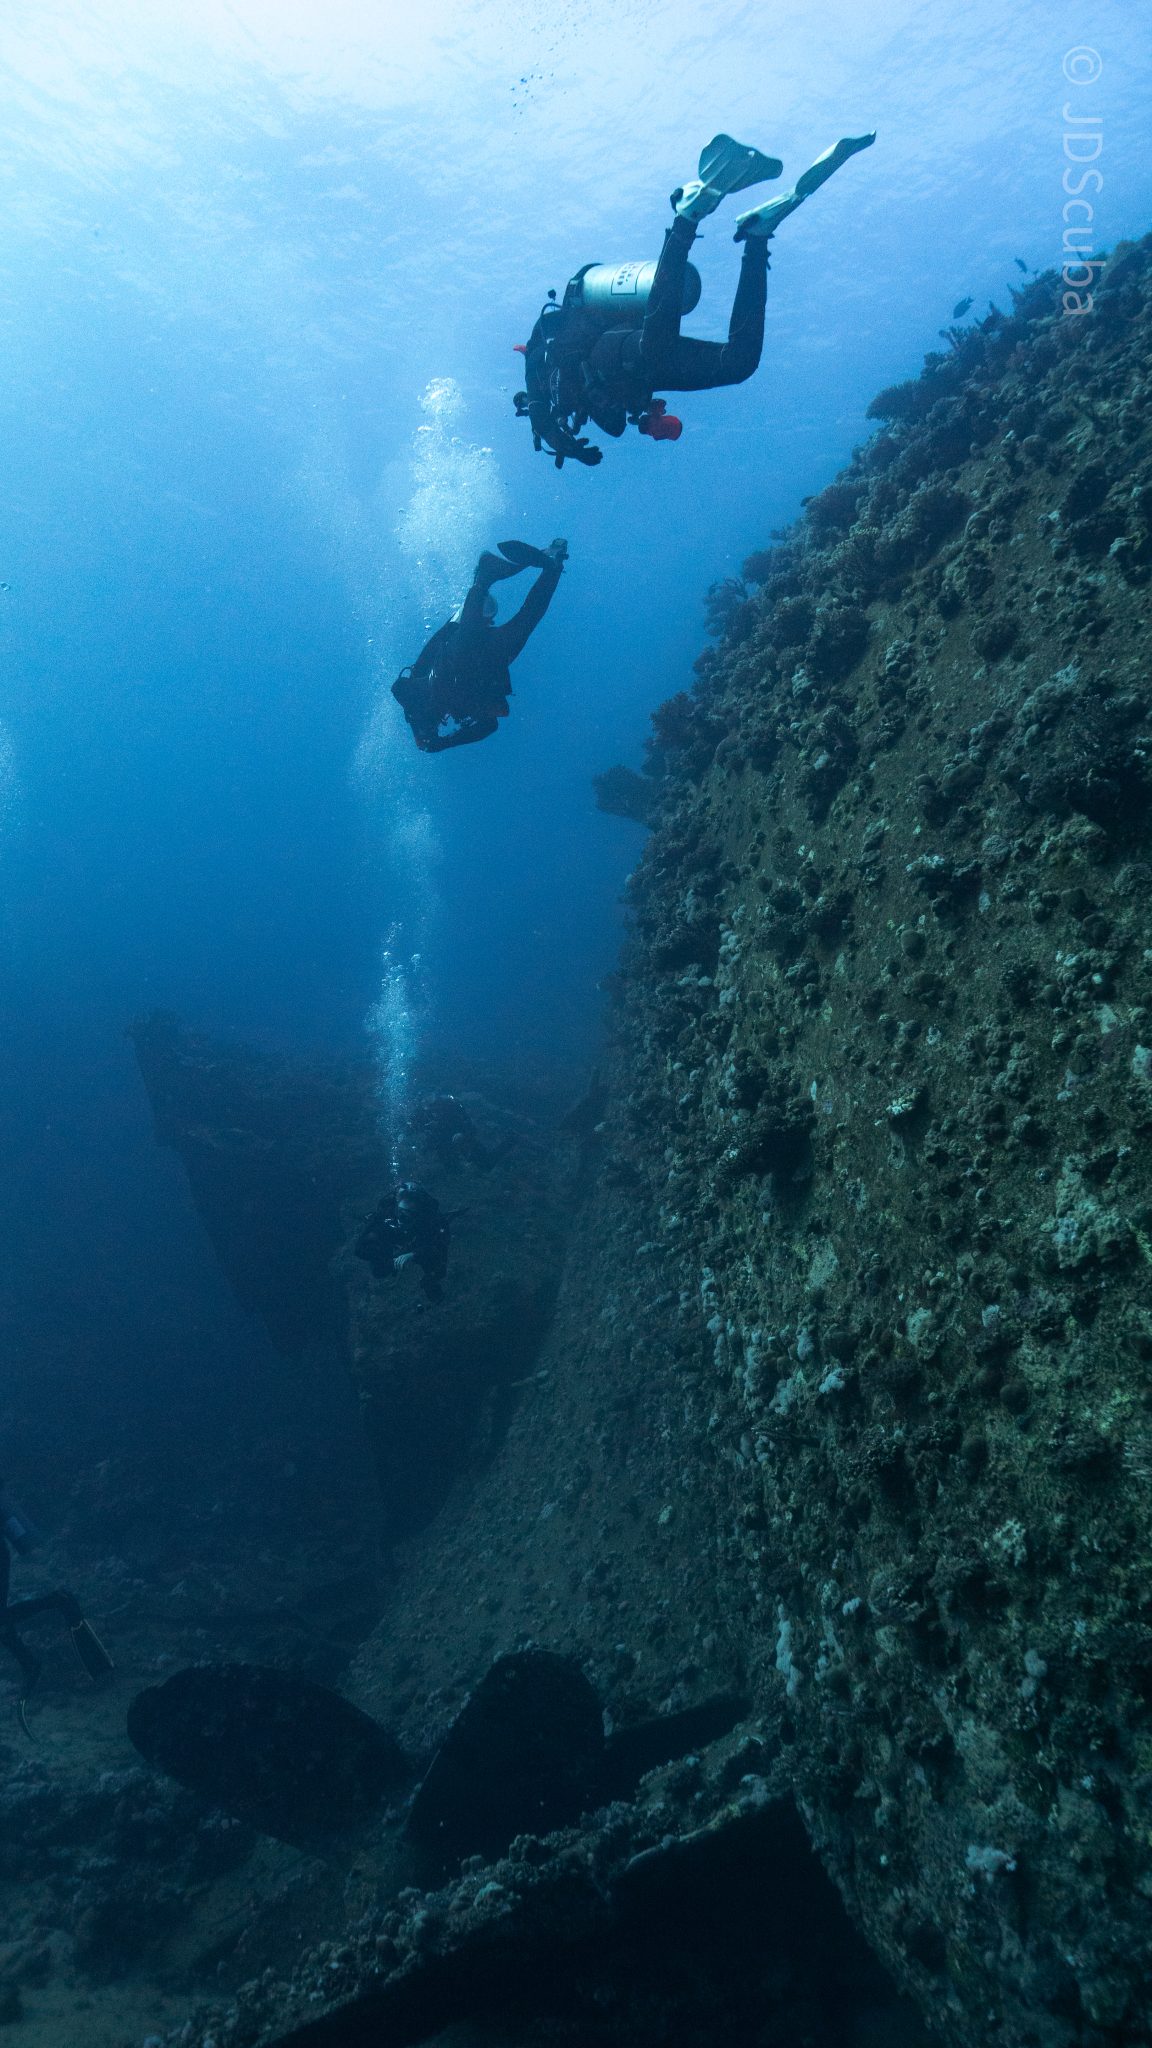
Following breakfast, we then headed to the next wreck, which was the Carnatic. The Carnatic is an 89.9m sail steamer vessel that was built in Britain back in 1862. She ran aground on the reef back in 1869 and remains at 27m. At the time, she was carrying a range of items, including 40,000 sterling in gold. An impressive wreck where much of the superstructure remains, and the two large masts lay on the seafloor. The wooden ribs of the hull provide structures for lots of soft corals, and into the stern section, the light beams through, bouncing off the large shoals of glass fish that can be found using the structure as shelter from the larger predators that are found outside of the wreck.
The final wreck at Abu Nuhas was the Ghiannis D, originally called ‘Shoyo Maru,’ which was 99.5m long and built in Japan back in 1969 before becoming a Greek-registered cargo ship in 1980. The ship then ran aground on the reef on April 19th, 1983, and now sits at the bottom at a depth of 27m. Heading down the line, the stern of the ship remains in good condition compared to the rest of the hull. The highlight of the wreck, though, is heading into the stern section and down the flights of stairs to enter the engine room, which remains in good condition and is definitely worth exploring. After exploring the interior section of the ship, we then headed over to see the rest of the superstructure, where it’s particularly interesting to see the large table corals that have grown at the bow relatively quickly considering the date the ship sank. After surfacing and enjoying some afternoon snacks, we made sure everything was strapped down and secured as we would be heading north and crossing the Gulf of Suez, where the winds were still creating plenty of chop.

The next morning, it was a short hop to Ras Mohammed Nature Reserve for the next couple of days of diving. The 6am wake-up call came along with the briefing for the first site we would be diving, which was Shark & Yolanda. The low current conditions allowed us to start the dive at Anemone City, where we would drift along the steep, coral-filled wall. These dives involved drifts, as mooring in Ras Mohammed wasn’t allowed to protect the reefs. As a dive site, Shark & Yolanda is well-known and historically had a lot of sharks, but unfortunately not so many in recent years, especially not so early in the season. However, there was always a chance when looking out into the blue.
The gentle drift took us along the steep walls of the site, with plenty of anemone fish to be seen and a huge variety of corals. It wasn’t long into the dive before we were accompanied by a hawksbill turtle, who drifted with us between the two atolls before parting ways. Between the two reefs, the shallow patch with parts of coral heads surrounded by sand provided the chance to see a few blue-spotted stingrays that were mainly resting underneath the corals and are always a pleasure to see. With this being the morning dive, the early sunlight lit up the walls, providing tranquil moments. Looking out into the blue, there was very little to be seen, but a small shoal of batfish shimmering underneath the sunlight was a moment to capture as we watched them swim by as they watched us.

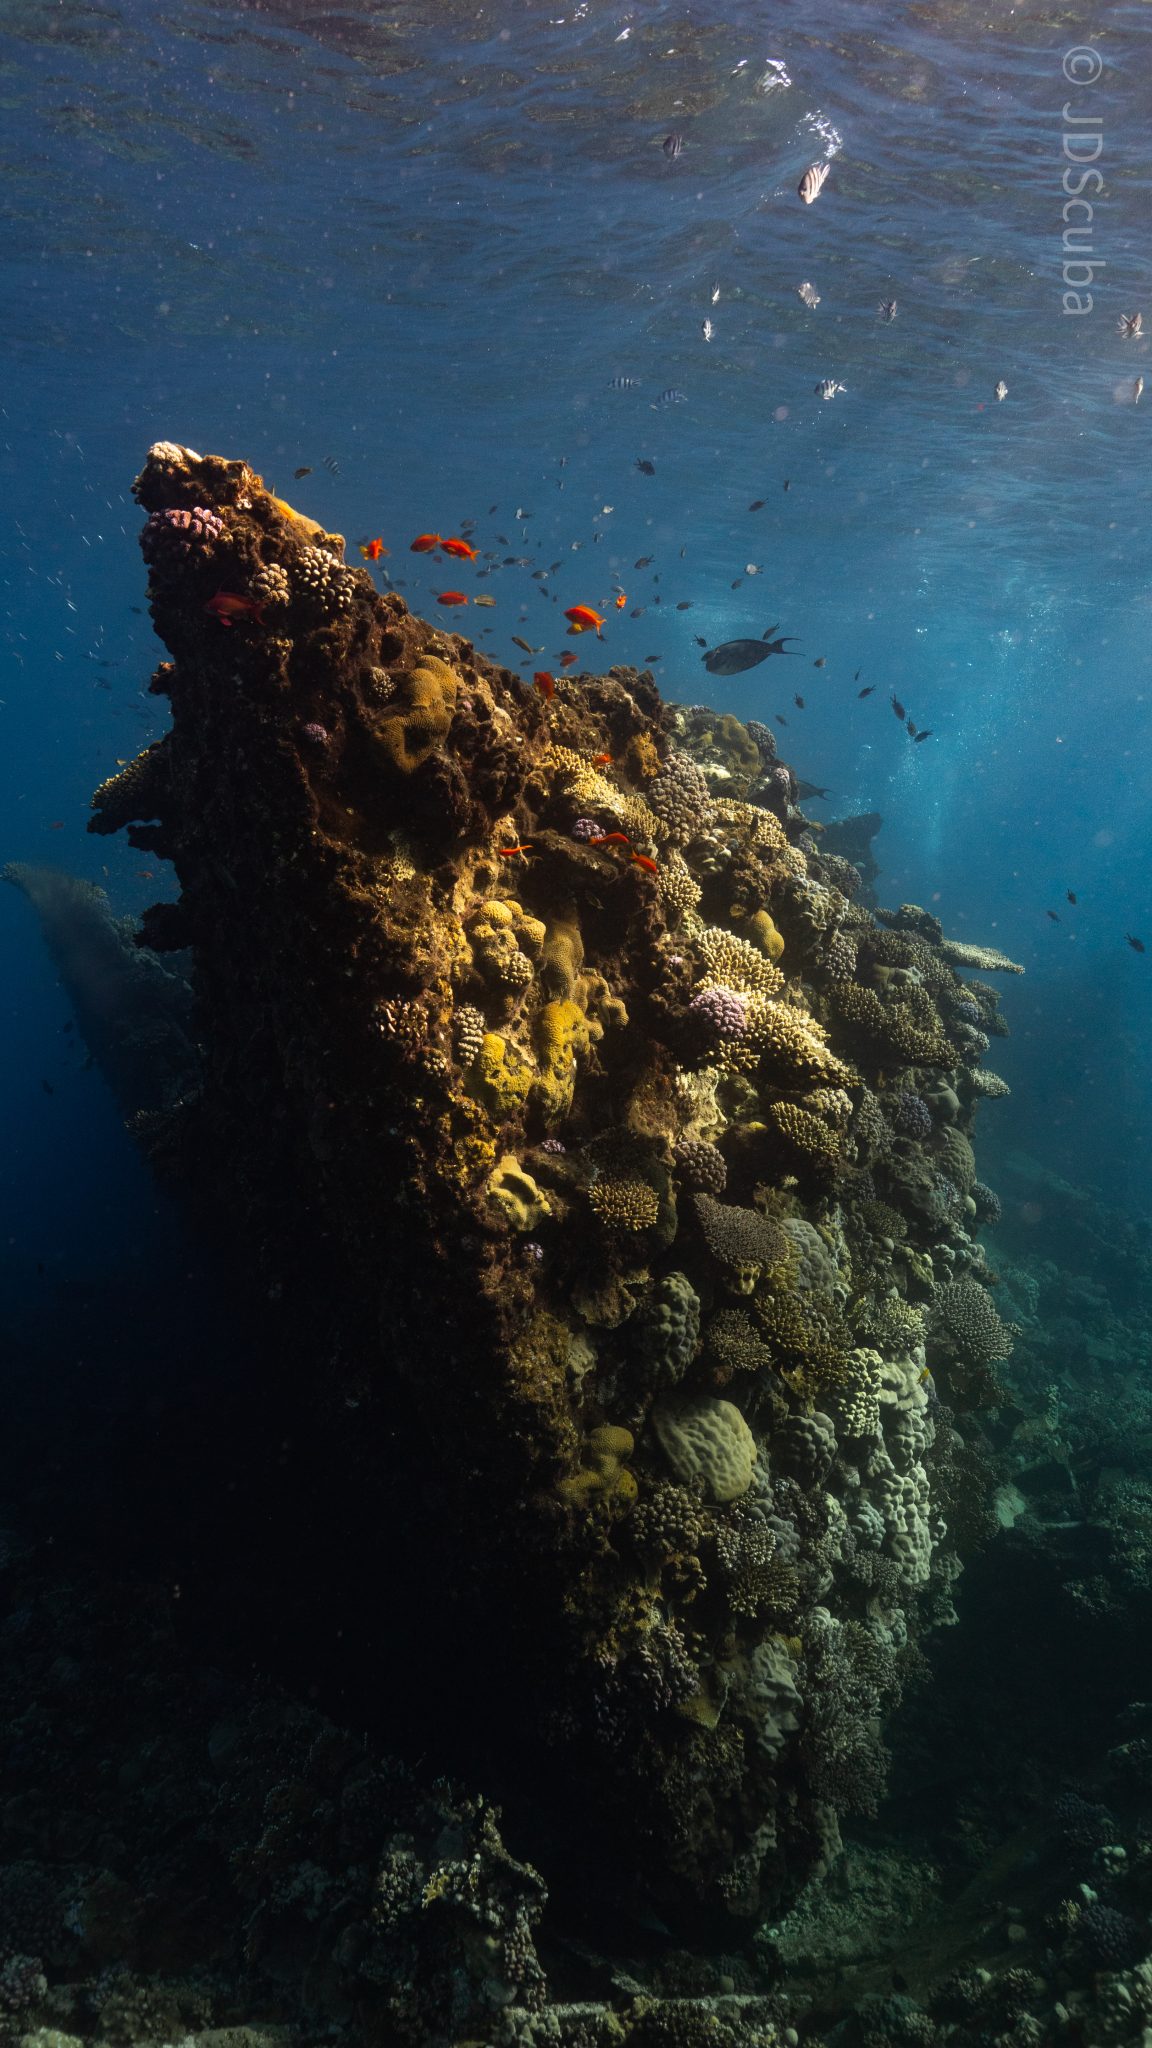
Towards the end of the dive, we stopped at the wreck of the Jolanda where the seafloor was scattered with toilets from the containers it was carrying. This provided a unique site to make a safety stop, which was also accompanied by a large barracuda slowly swimming by, along with a hawksbill turtle calmly swimming over the reef as the sun rays danced in the distance.
For the next dive, we headed north to the Strait of Tiran to explore the reefs situated between Tiran Island and Sharm El Sheik, which were named after the British divers who had found them. We started on Jackson before heading to Gordons Reef, where we also did the night dive. All the atolls at these sites provided stunning, bustling coral reefs close to the surface and steep walls to swim along, which always provided the opportunity to keep an eye out for some of the larger species that can be seen in the blue. Midwater around Jackson Reef was filled with red-toothed triggerfish and shoals of banner fish, which at times were so dense that you couldn’t see into the blue. Moments went by peacefully as we enjoyed the slow drift above the reef, watching these shoals swim around under the mid-afternoon sun.
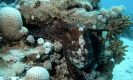
The night dive at Gordon’s Reef was mainly among the stacks of corals surrounded by sand, which was great to explore under the darkness. After some time circling the corals, we came across what we were really hoping to find, and that was an octopus hunting on the reef. We spent the majority of the dive just watching it crawl among the reef, blending into its changing surroundings through changes in colour and skin texture. It’s always so fascinating and captivating to watch these incredibly intelligent animals, in awe of their ability to carry out these physical changes to perfectly blend into the reef. Before we knew it, it was time to head back to the boat to enjoy a well-deserved tasty dinner prepared by the talented chefs onboard.
Check in for the 3rd and final part of this series from Jake tomorrow!
To find out more about the Northern Red Sea reef and wrecks itineraries aboard Ghazala Explorer, or to book, contact Scuba Travel now:
Email: dive@scubatravel.com
Tel: +44 (0)1483 411590
Photos: Jake Davies / Avalon.Red

-
 News3 months ago
Hone your underwater photography skills with Alphamarine Photography at Red Sea Diving Safari in March
-
 News3 months ago
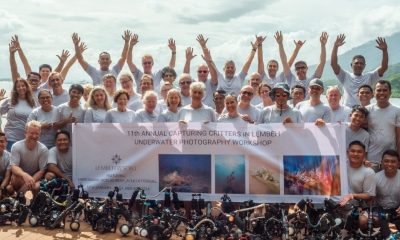
Capturing Critters in Lembeh Underwater Photography Workshop 2024: Event Roundup
-
 Marine Life & Conservation Blogs2 months ago
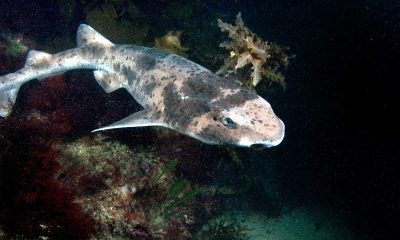
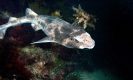
Creature Feature: Swell Sharks
-
 Blogs2 months ago
Murex Resorts: Passport to Paradise!
-

 Blogs2 months ago
Diver Discovering Whale Skeletons Beneath Ice Judged World’s Best Underwater Photograph
-
 Gear Reviews3 months ago
Gear Review: Oceanic+ Dive Housing for iPhone
-
 Marine Life & Conservation2 months ago
Save the Manatee Club launches brand new webcams at Silver Springs State Park, Florida
-
 News3 months ago
World’s Best Underwater Photographers Unveil Breathtaking Images at World Shootout 2023