
News
A Guide to Underwater Wildlife Video & Editing: Part 5
Read Part 4 here.
A part serialisation of a book by Jeff Goodman
PART 5: Focus
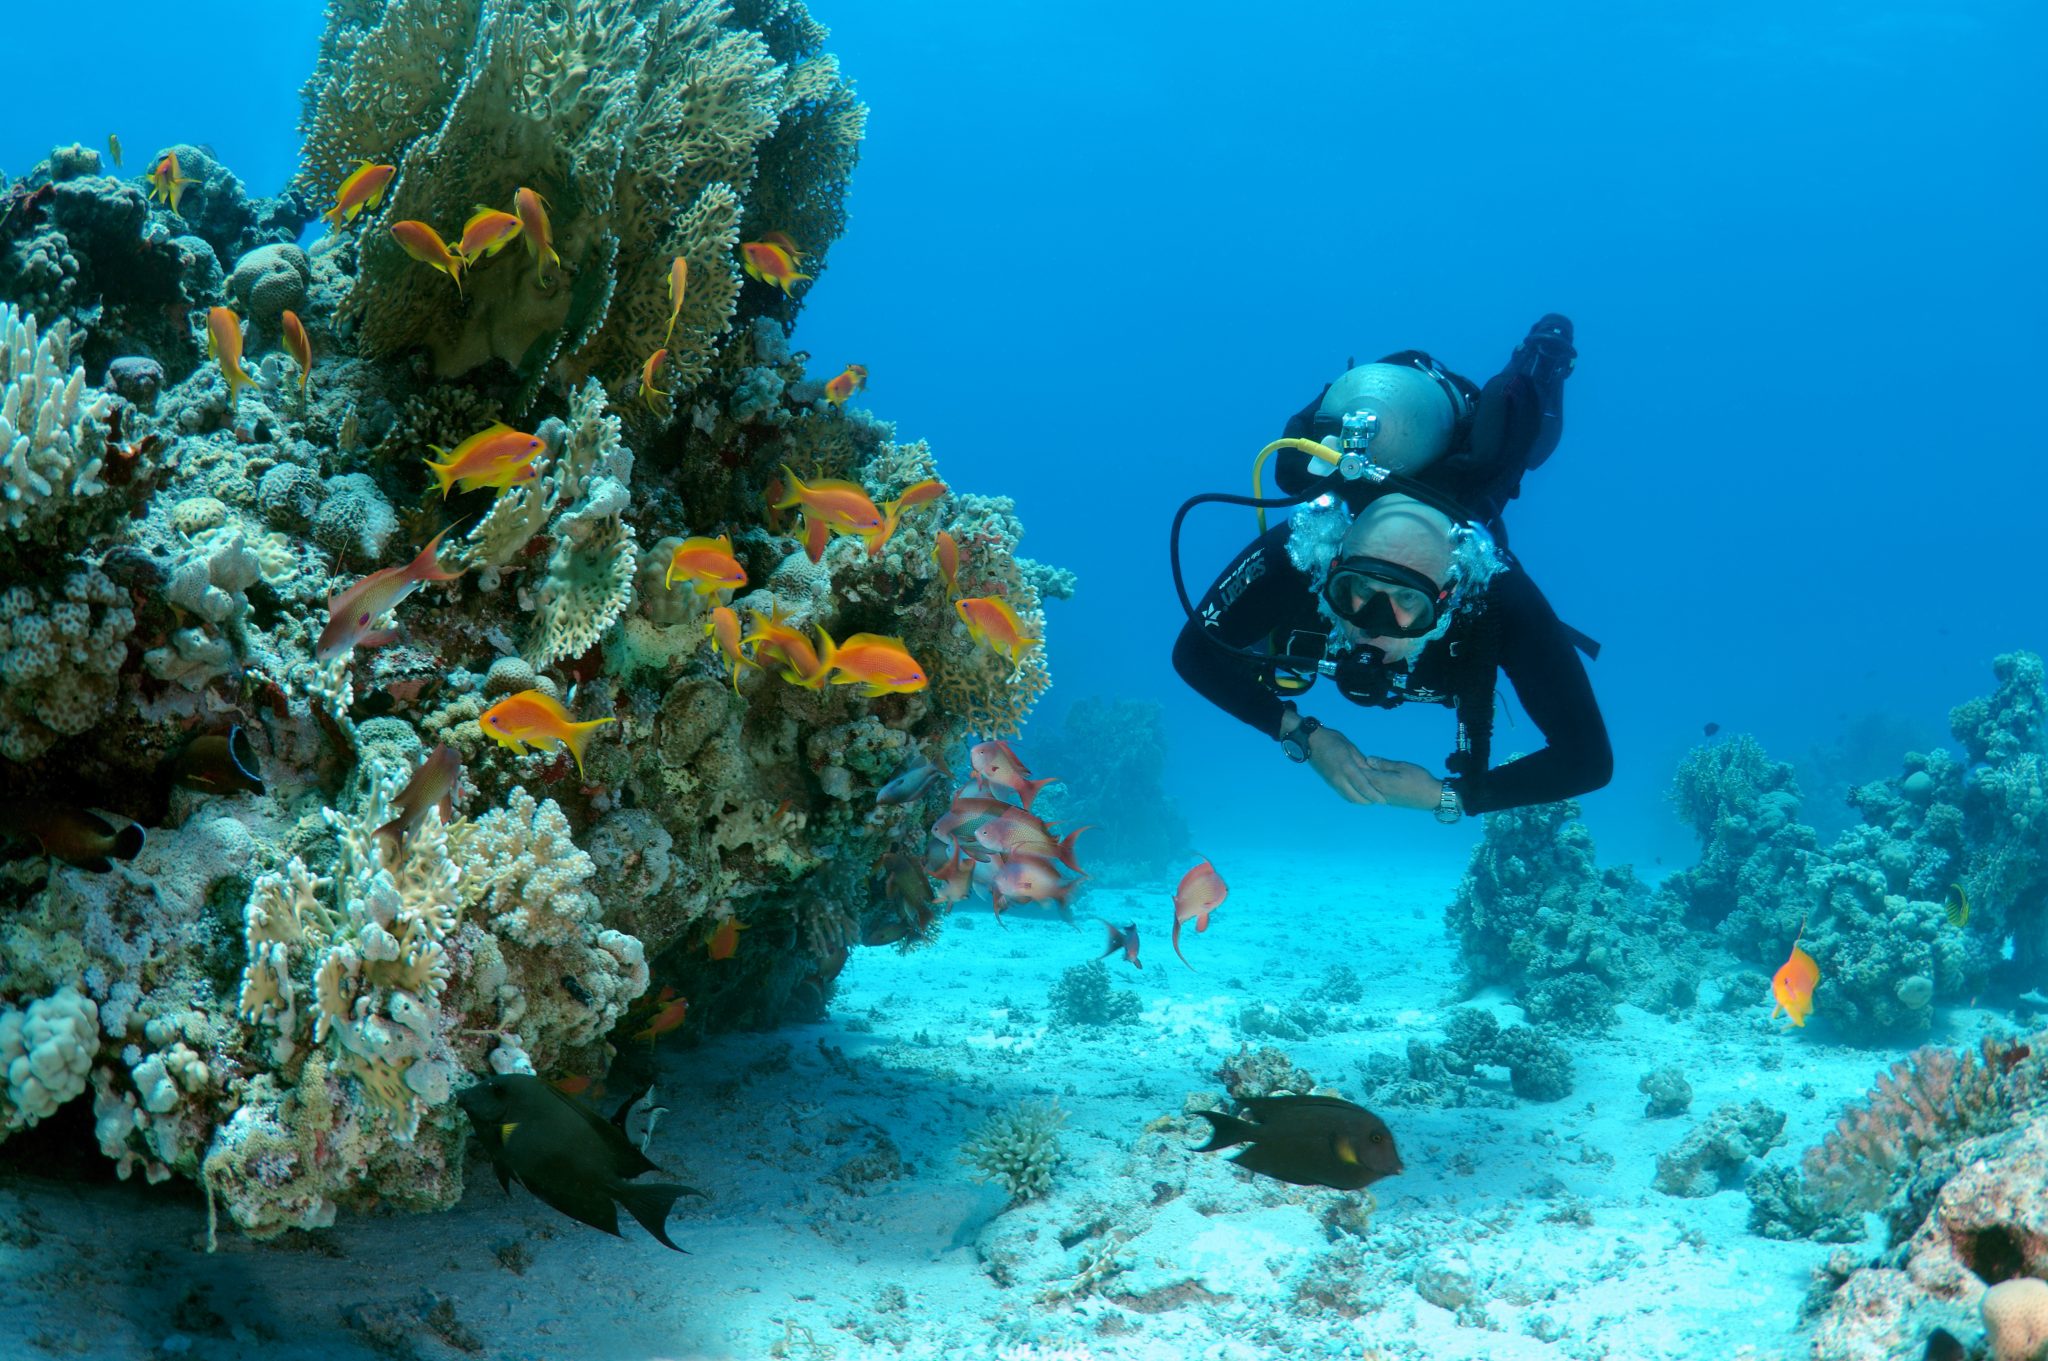
Most cameras will have an auto focus mode with the option of switching to manual if desired. Unfortunately not all underwater housings will have the controls to let you access this. Some give you a choice of being able to manually change either focus or exposure. If this is the case then I would highly recommend leaving focus on auto and having full manual control over exposure.
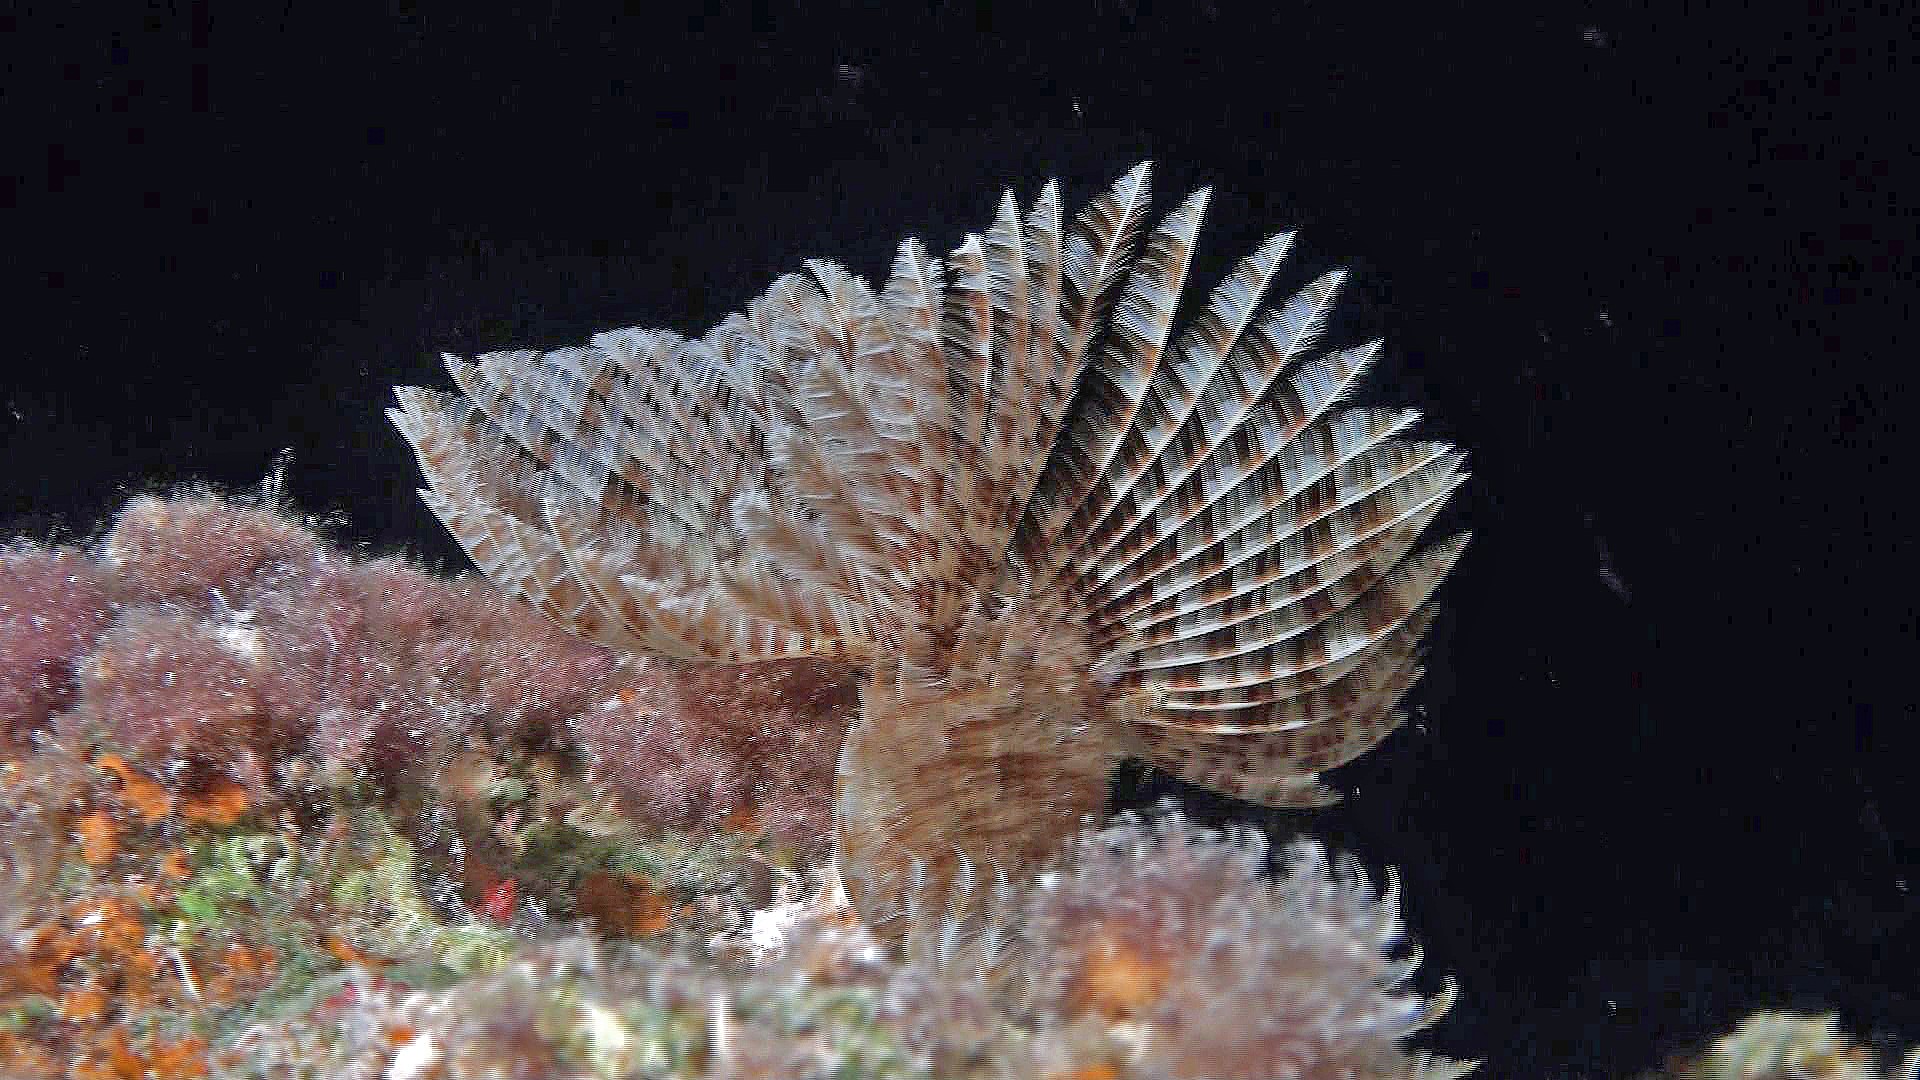
Focus is critical to get right.
Sharp – in focus

Soft – out of focus
A picture can be a little too dark or a little too light, or even a little oddly framed, and still be acceptable to most audiences. But a picture that is even slightly out of focus is very hard to accept.
Auto focus
Professional cameras don’t have this option but most others do. Auto focus is a wonderful piece of technology, but no matter how wonderful, it still doesn’t know what you, as a camera person, actually want to focus on. It will take its ‘best guess’ as to what’s right and that generally is what is biggest and most central to your picture frame.
Let’s look at an example of when auto focus can really mess up your videoing.
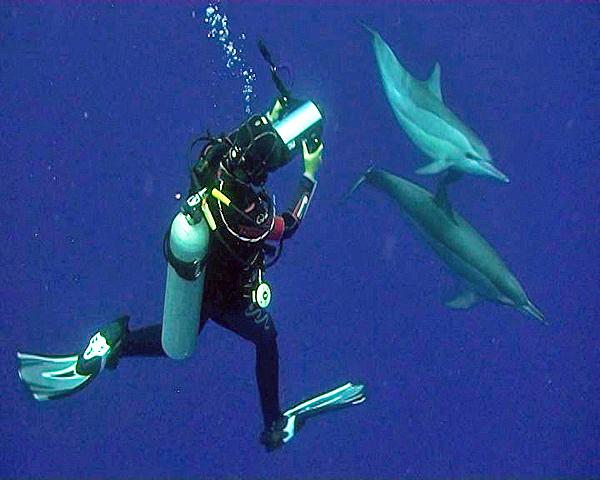
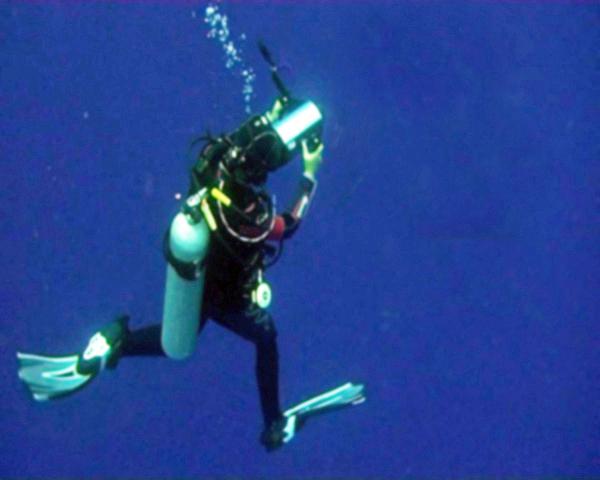
You are in open water with a dolphin or two. There are no well defined images in the water except the dolphins themselves. Unless the dolphin is large in the frame the auto focus will have a terrible time trying to find an image to resolve itself on. Without the dolphin as a reference in your monitor you may notice that the auto focus is ‘hunting’ in and out trying to find a subject. Often it will settle on focusing on the small bits of dirt or bubbles on your lens port. (Note – always keep your port clean and check it constantly.)
Then a dolphin comes into frame. Will it be sharp? Who knows, it’s pot luck. If you then stay framed on the dolphin long enough, maybe just a few seconds, the auto focus will recognize the image and be happy. Sadly in those first few seconds of video, which may be the most important, the dolphin may not be sharp. Then as soon as the dolphin leaves frame the auto focus will become worried again and may start looking for a new focal point.
This may seem only a minor problem at the time, but believe me, when you get back into the edit room and look at the video, the first few seconds of out-of focus images will drive you crazy. Hence the advantage here of manual focus which you can set yourself.
For this type of shot with the dolphins it usually works out that wide angle framing is best and thus will have a good depth of field. Preset the focus to around 1 to 2 metres. This will generally give sharp images from the lens port to infinity. A point of reference for the pre-focal point could be one of your fins. Simply point the camera down to you feet and focus on the tip of your fin. A brightly coloured one would be most effective. Perhaps use your dive buddy’s bright tank. This pre focus trick can also work quite well for the auto focus especially if you do it moments before the dolphin enters frame.
With manual focus, although you do have greater control over what is sharp, the difficulty arises when you want to zoom in and alter the frame size. Now the 1-2 meter focal point won’t have enough depth of field and so you will have to adjust your focus to compensate. On zooming in the focus becomes much more critical and will have to reflect the true distance of the subject as the depth of field will now be quite small. We look at depth of field later.
With auto focus, zooming in, as long as you remain on the subject, can be very good, but if you are not already framed up on the subject the auto focus will have a devil of a time trying to resolve the image.
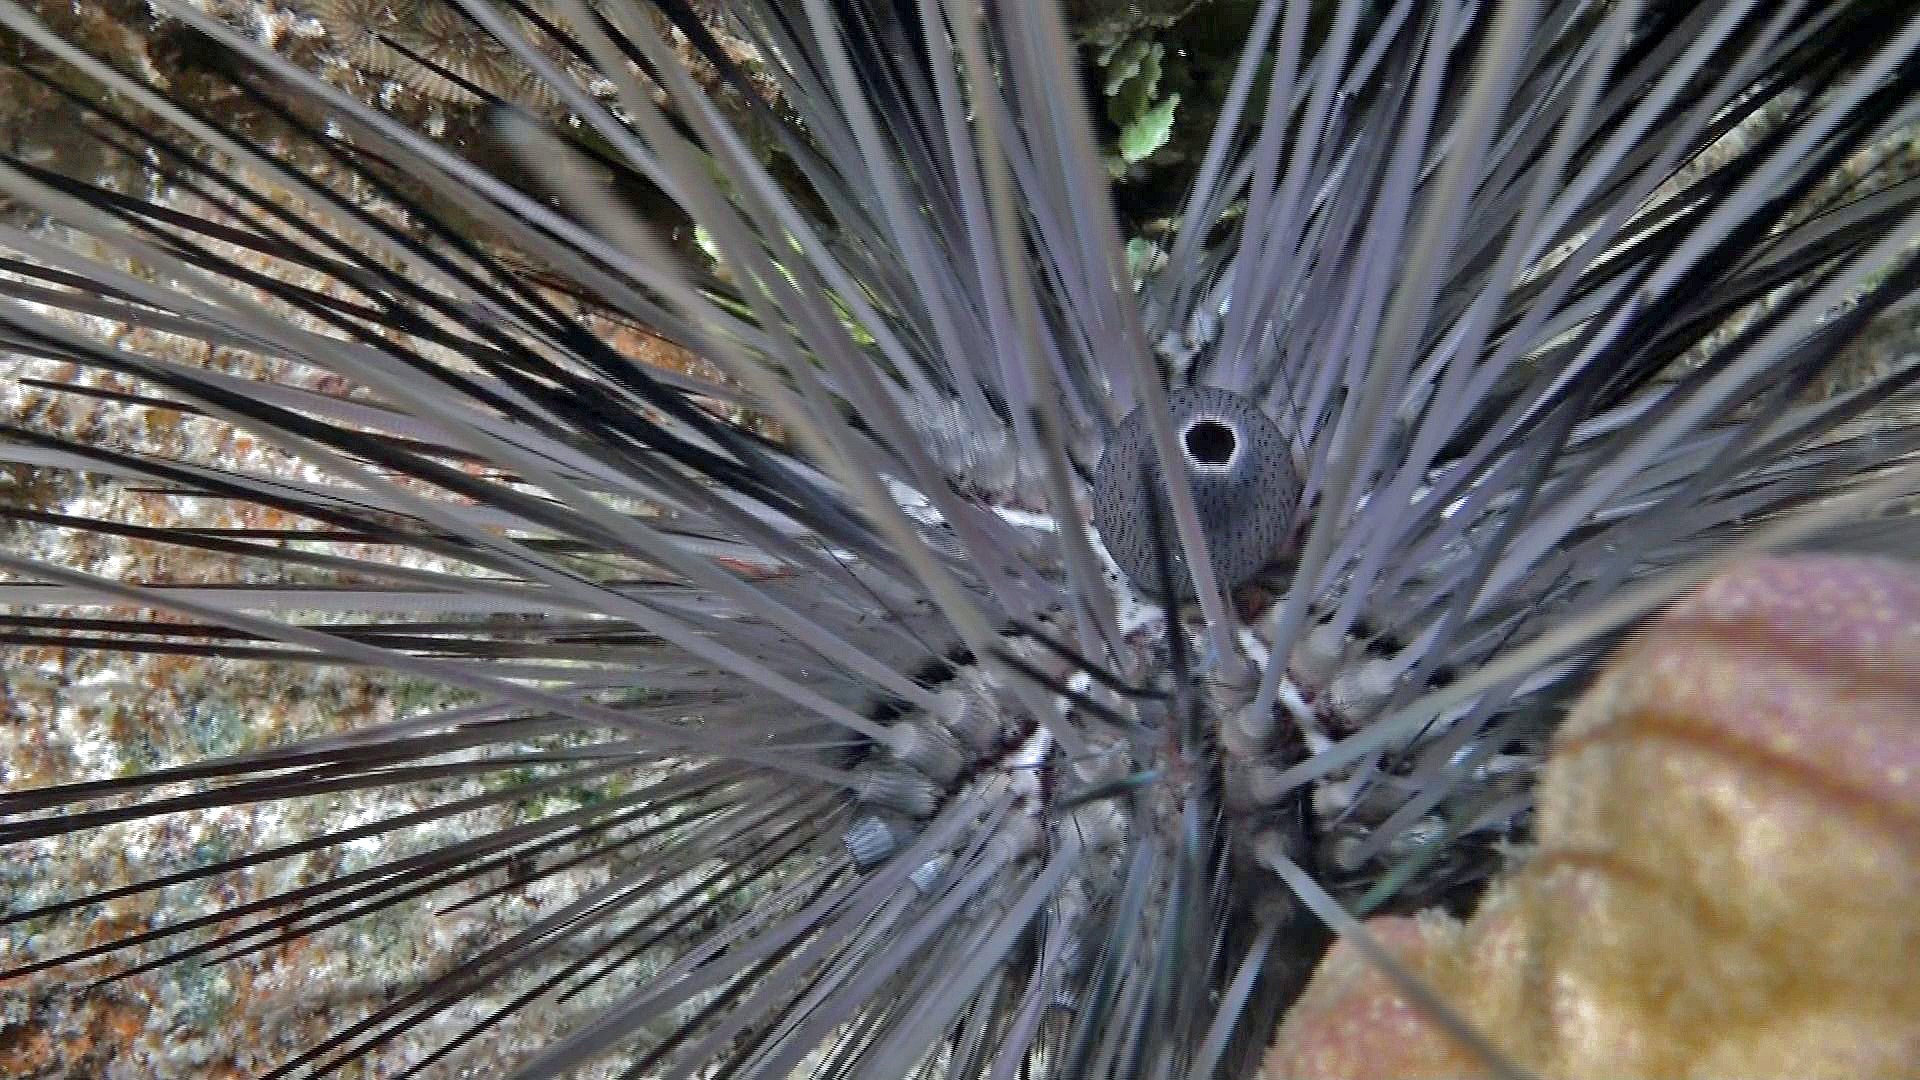
Ideally your image should be crisp and sharp. Even if the visibility or light values are bad.

A ‘hunting’ auto focus may give you a ‘soft’ unusable image while all the action is going on regardless.
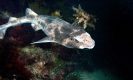
Here, the auto focus has almost resolved the image for you but not quite in time.
A clown fish in an anemone
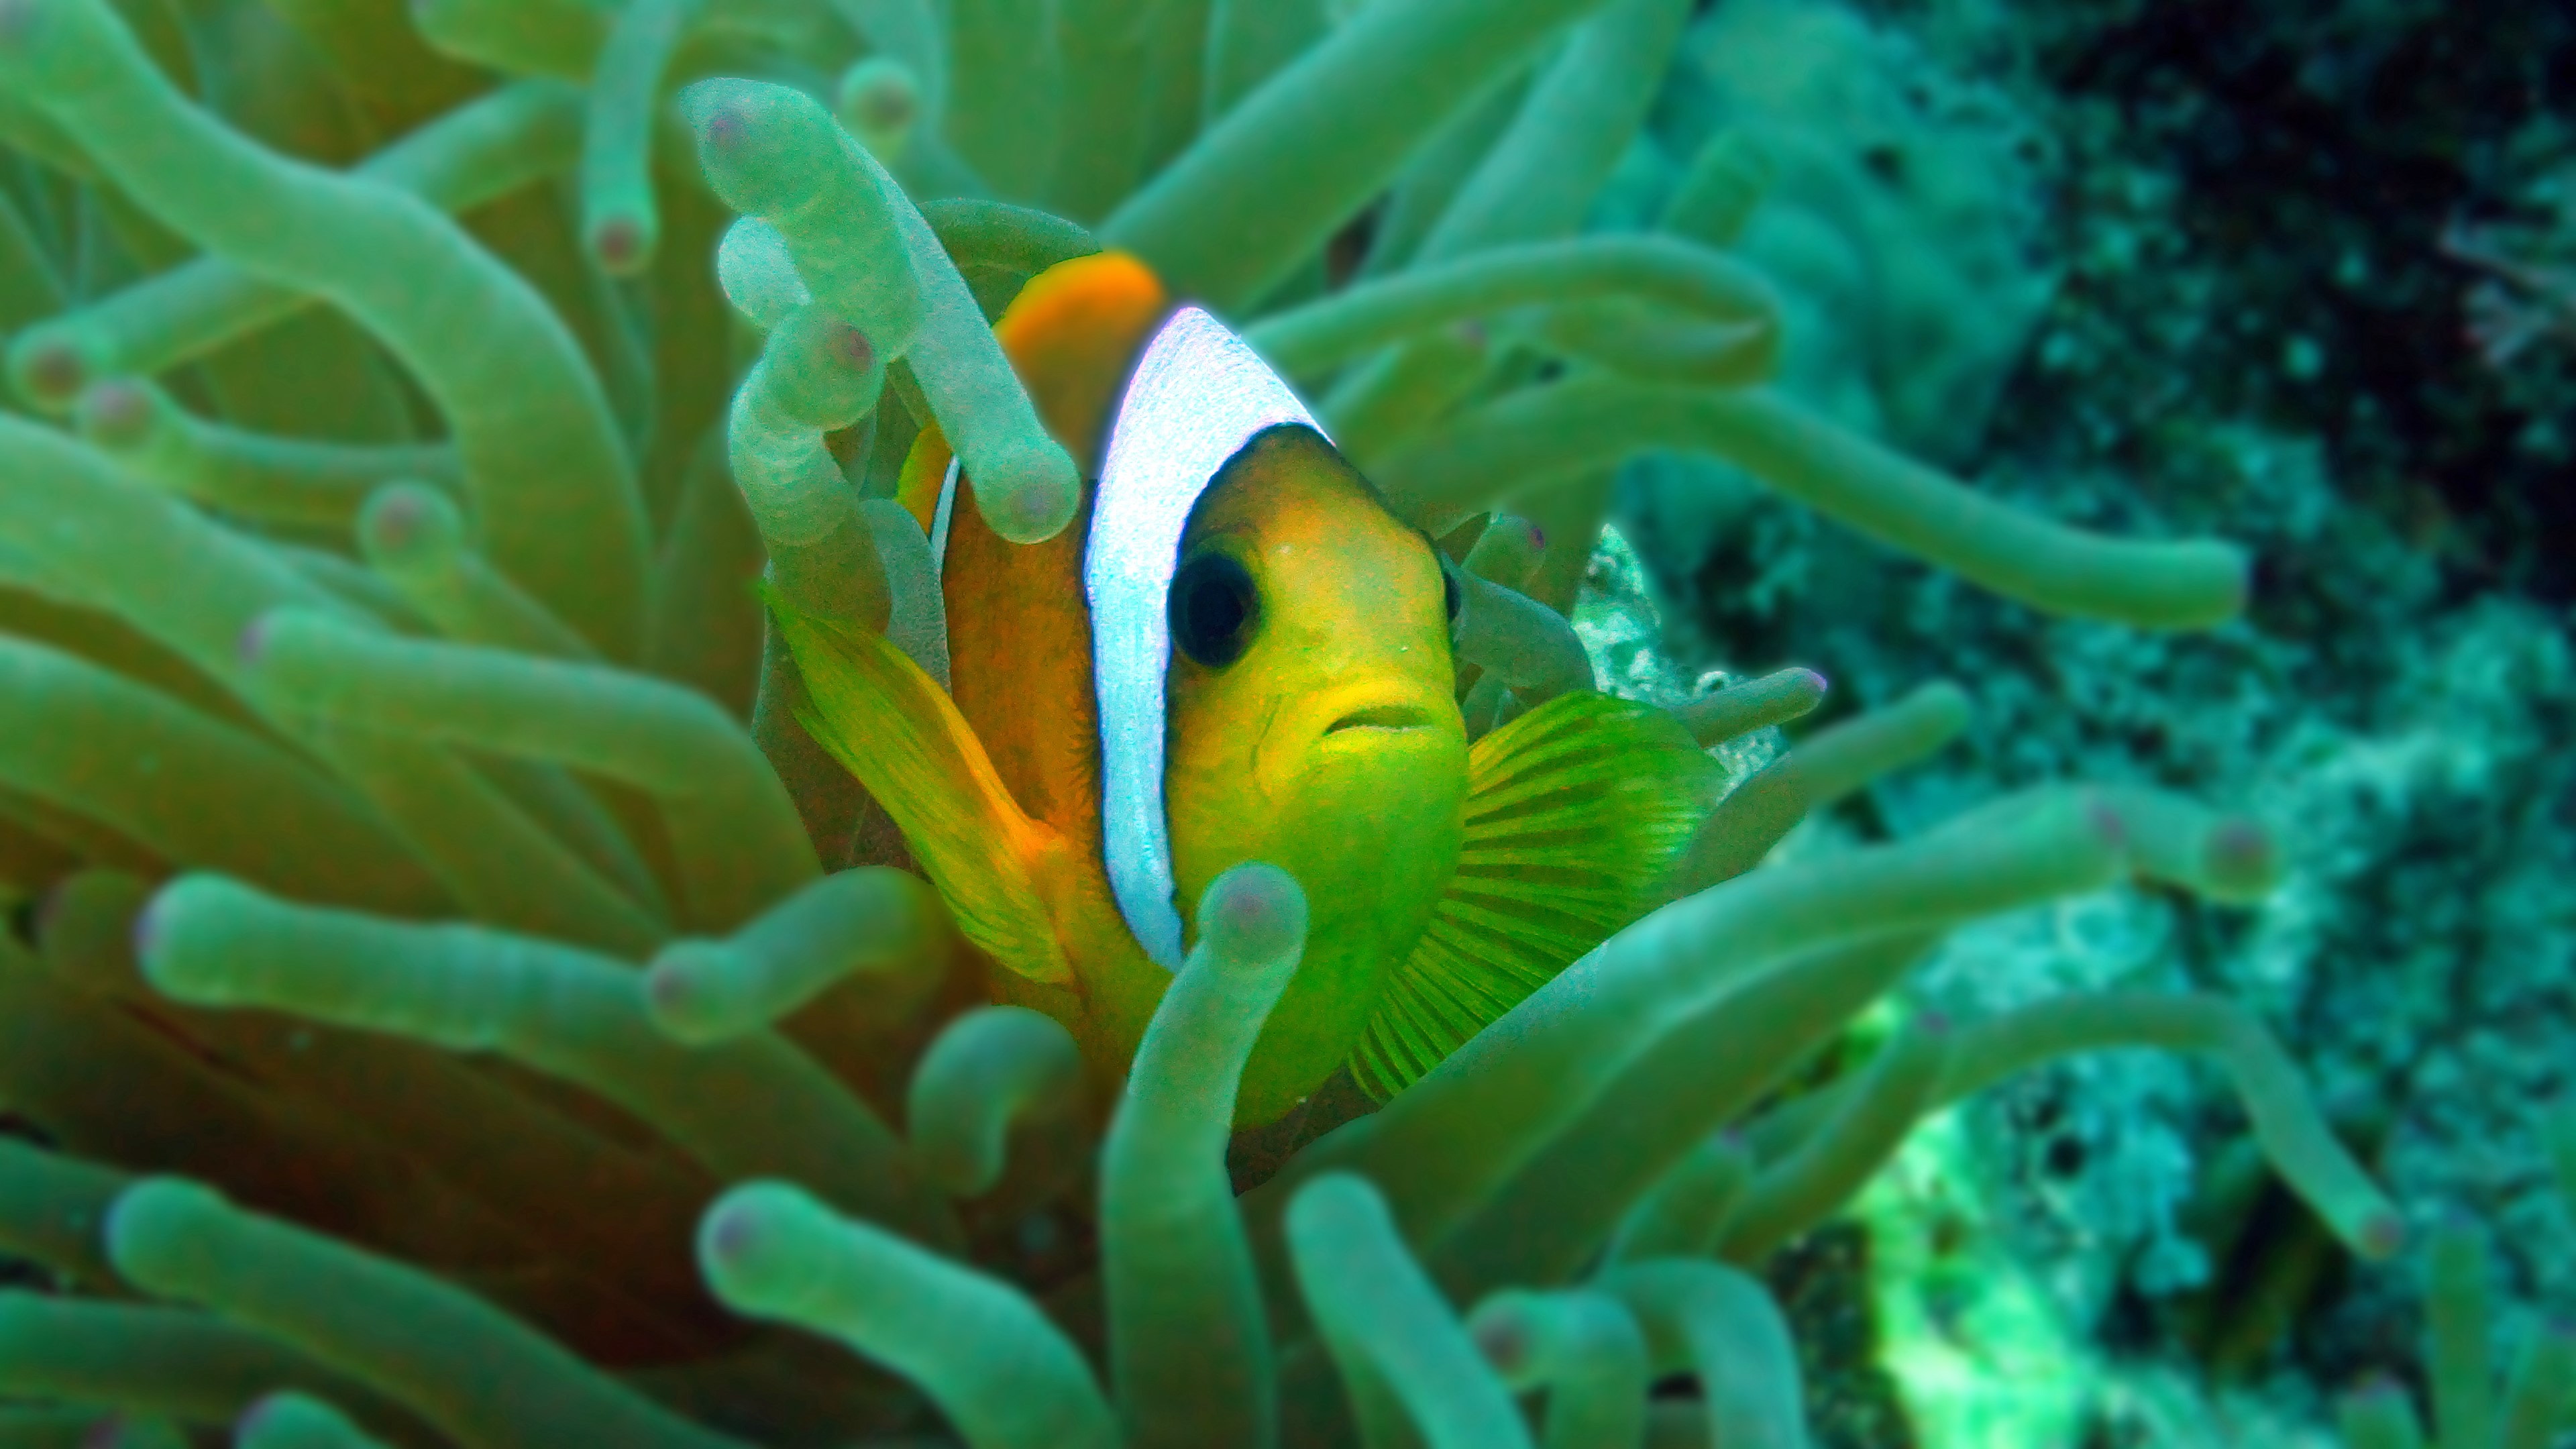
Here again, as with the dolphin, the auto focus would work very well in a wide angle shot, but as soon as you zoom in to get some close-ups and the depth of field becomes very small, then the clever auto focus is not going to know which part of the frame needs to be kept sharp. The constantly moving fish and also the tentacles of the anemone could keep the auto focus ‘hunting’ throughout your entire shot. Here certainly, the best option is manual focus. If you do not have the option of easily adjusting focus through the housing controls, then keep to the manual option and move the camera in and out slightly as the fish moves, thus keeping it at the correct focal distance. i.e. sharp. There will be many occasions when the auto focus will work just fine and do a brilliant job, but, you are giving over control to an electronic chip. Know it’s limitations.
Not all housings allow you to have full manual control of focus and many don’t allow you to have any control at all. If you only have the auto focus option it’s no problem as long as you are aware of what is going on. With a good clear monitor you can see when a shot is losing focus or not and if it is, then re-think what you are doing and perhaps something as simple as adjusting your shot size will cure the problem.
As we will see later when we discuss editing, it is often desirable to let your subject leave or enter your frame, in this case the clown fish. The downside to this with auto focus is, that as soon as the fish does leave frame, the focus will start hunting for the next best thing to be sharp on. This ‘searching’ even be it for a few moments can look awful and is very different from deliberately changing focus.
So all in all, auto focus is generally very good but can occasionally cause problems which may be acceptable in an amateur video but certainly not in a professional production.
For the lucky ones, some cameras and housings will allow you to change from auto to manual and back again with the flick of a switch or press of a button. Here you have the best of both worlds. Let’s suppose we are filming a turtle on a reef. The first shot you may want to do could be a wide angle and then, adjust shot size, for a close up or two. If there is time, try to zoom right into the turtle and let the auto focus do it’s thing, then flick over to manual focus. The focal distance of the lens will then be locked in place. Now zoom out to the shot size you want and you can be confident that the picture is as sharp as it can possibly be. As the turtle moves you can occasionally, momentarily, flick the auto focus option just to ensure that all is well. How many times you do this is entirely down to your discretion, and lots of practice.
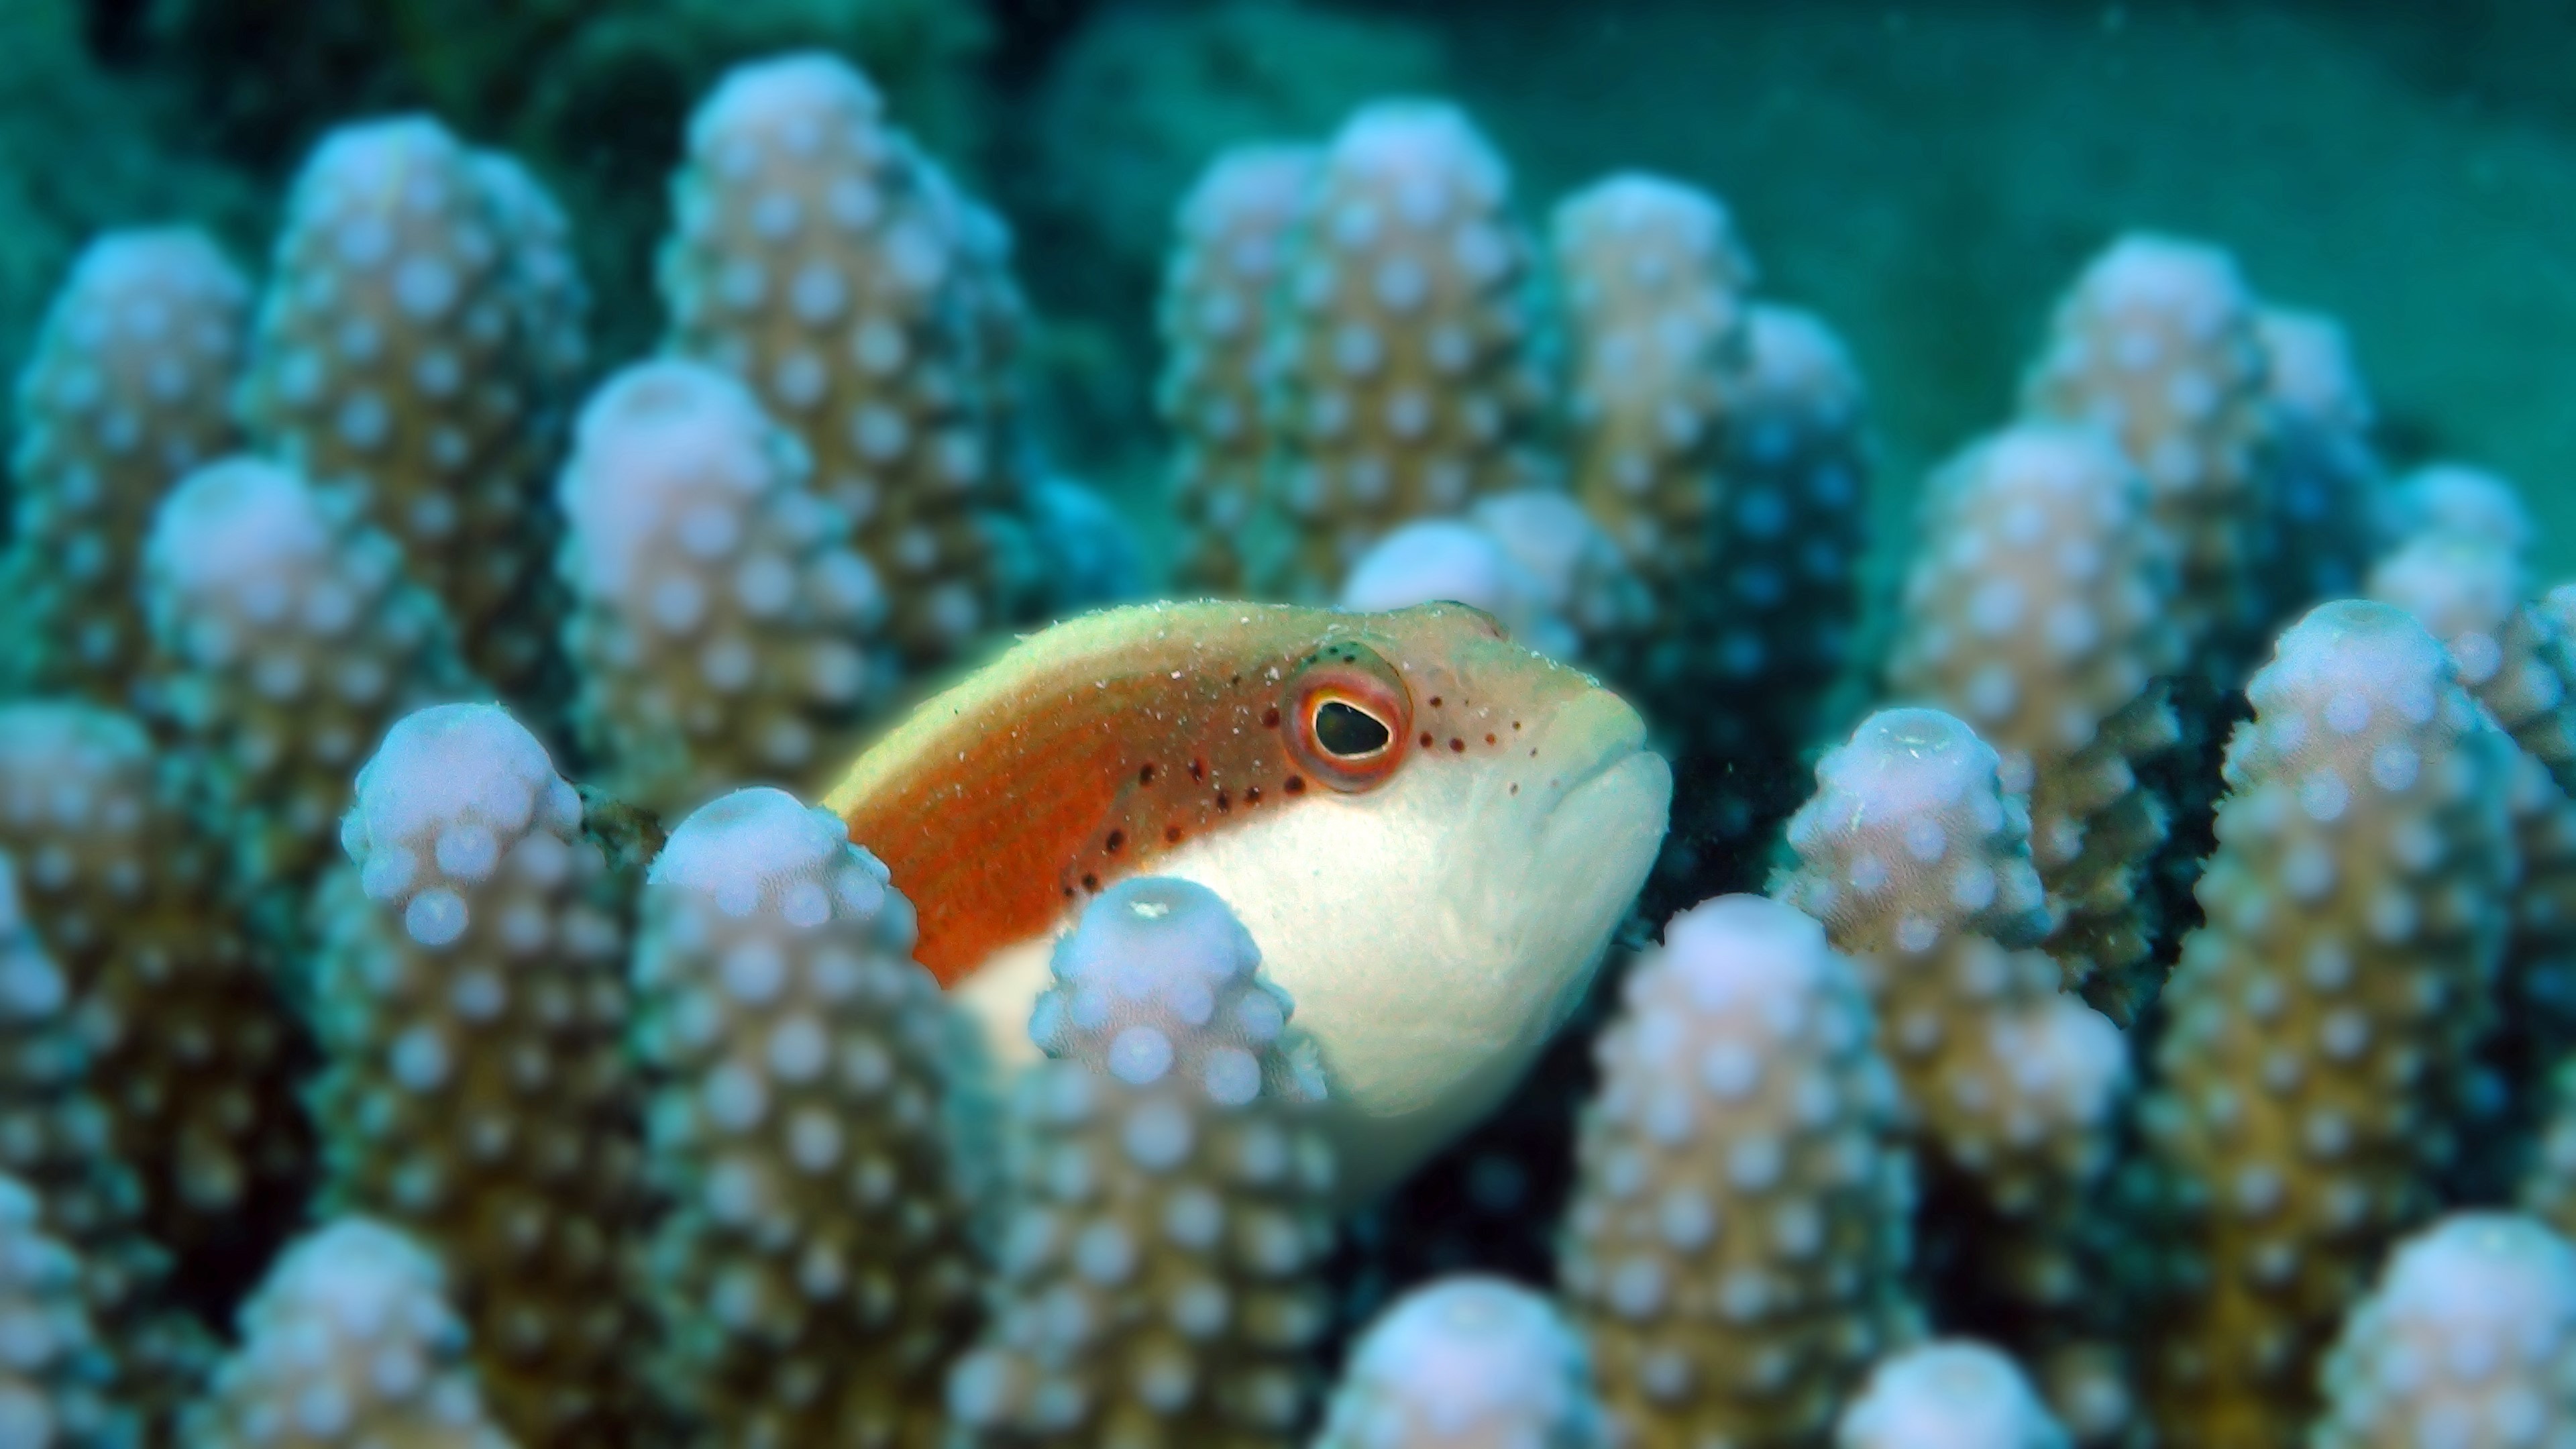
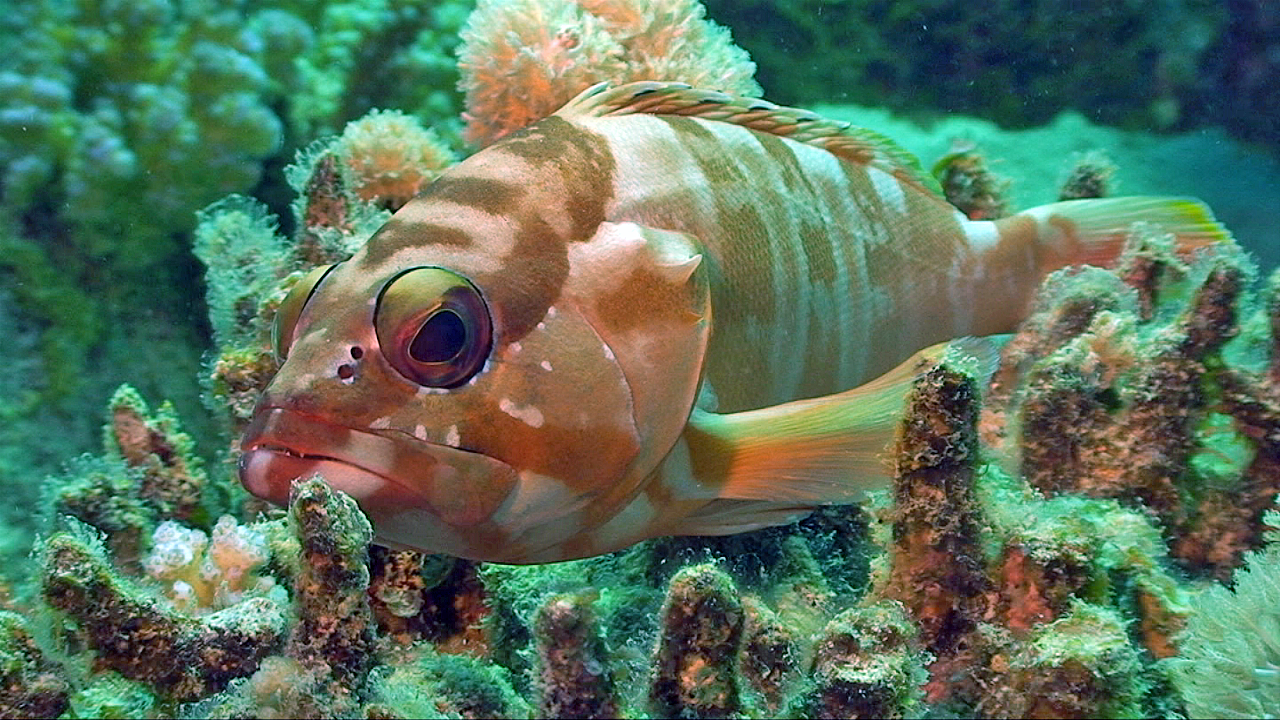
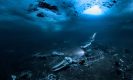
With a very small depth of field, the focus is critical
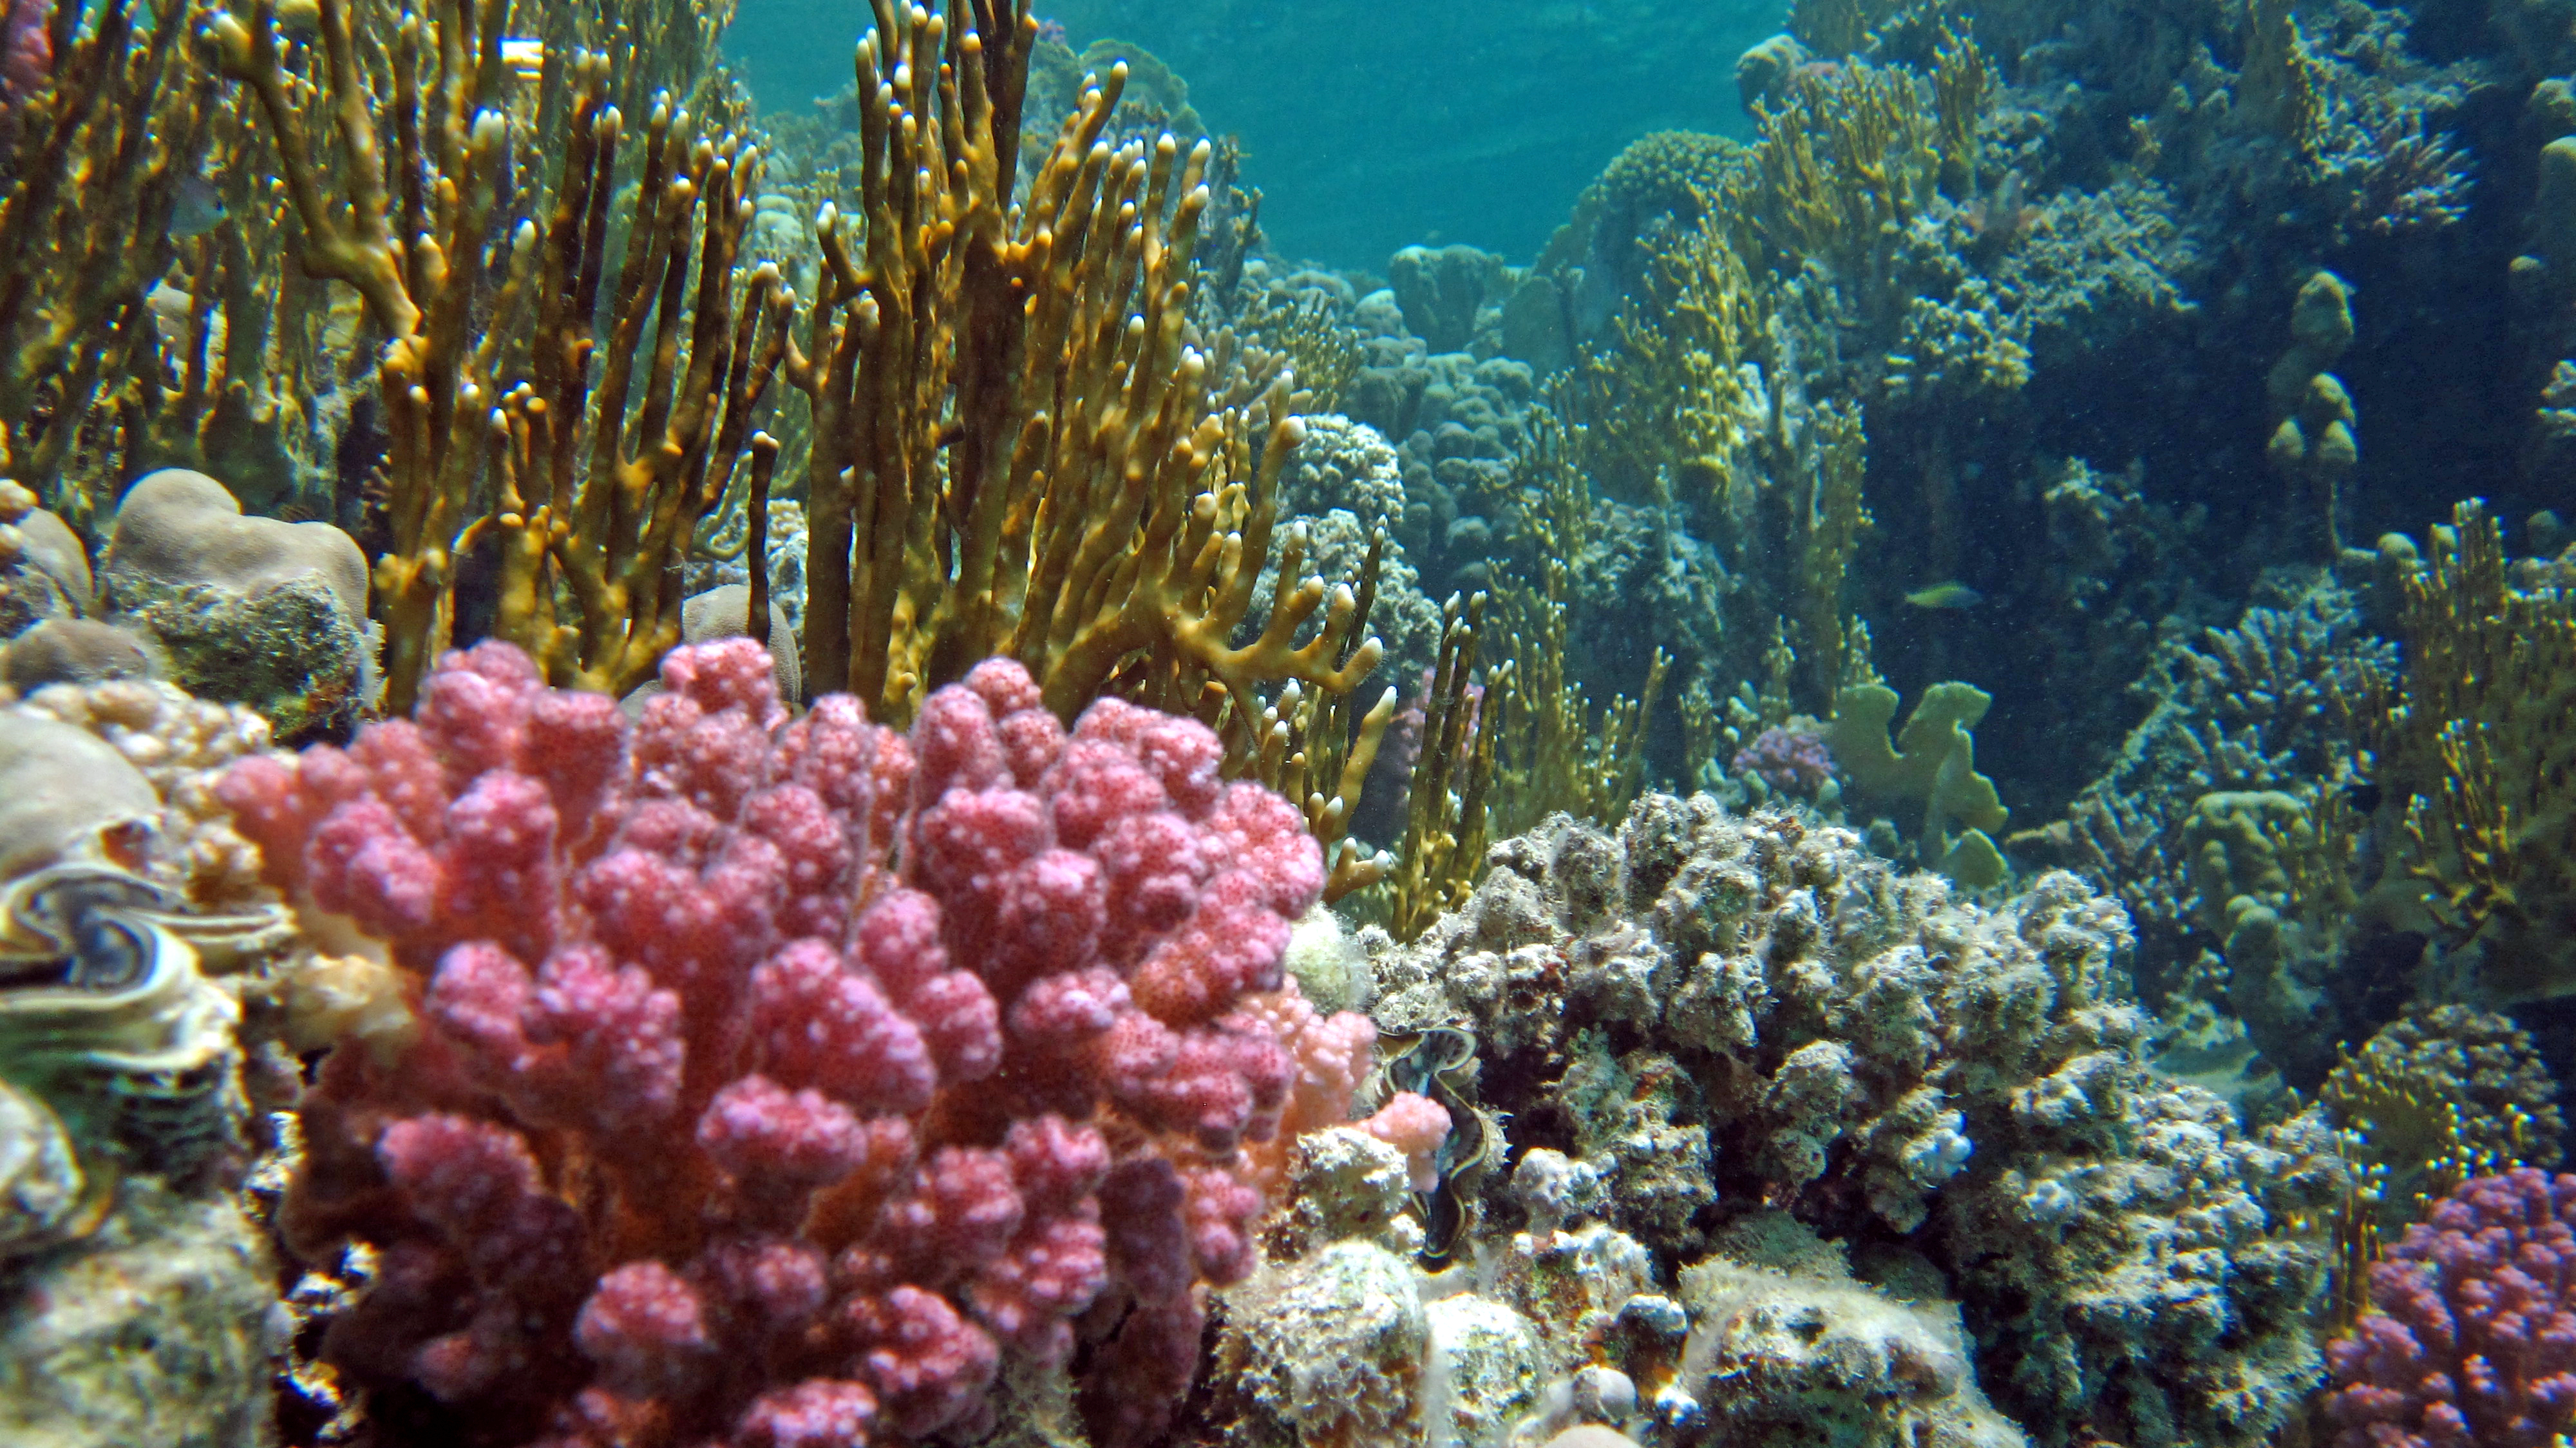
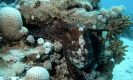
This wide angle image of a reef is spoilt because the auto focus concentrated on the background reef. The red foreground coral is out of focus, even though it is in the key part of the frame.
In the previous example of the coral wide angle, it isn’t of course the fault of the auto focus that the foreground coral is not sharp. You are in charge. Look carefully at what the auto focus is doing. If you don’t like it then turn to manual, re-frame, or don’t do the shot. In this instance it would have been better to have had the red foreground coral sharp, at the expense of the background
Pulling Focus
Pulling focus from one subject to another can be very dramatic, but is mostly effective on long lens shots or at the longer end of your zoom. As we are underwater and most of our videoing is done with a wide angle, pulling focus is not something that is used much at all. However, it can be effective when shooting in close up or macro mode. Here auto focus is next to useless as the shot size and framing will remain constant throughout and the auto focus has no idea that you want to alter the focal point from one part of the frame to another. We definitely want the manual focus option, which needs to be very smooth in its operation, otherwise it will look amateurish.
With small subjects the point of focus is critical for a good image.
Next month we look at Lenses, Depth of Field and Angle of Coverage.


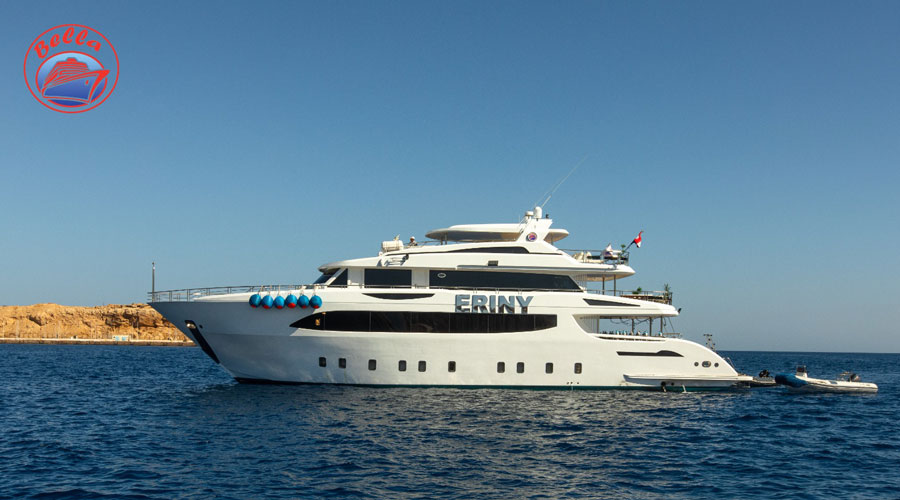
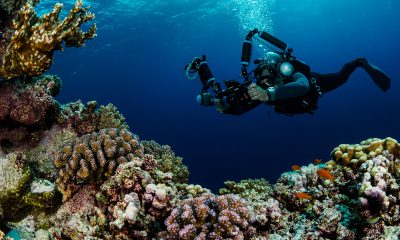
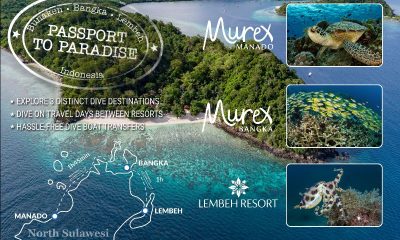
Jake Davies boards Ghazala Explorer for an unforgettable Red Sea diving experience…
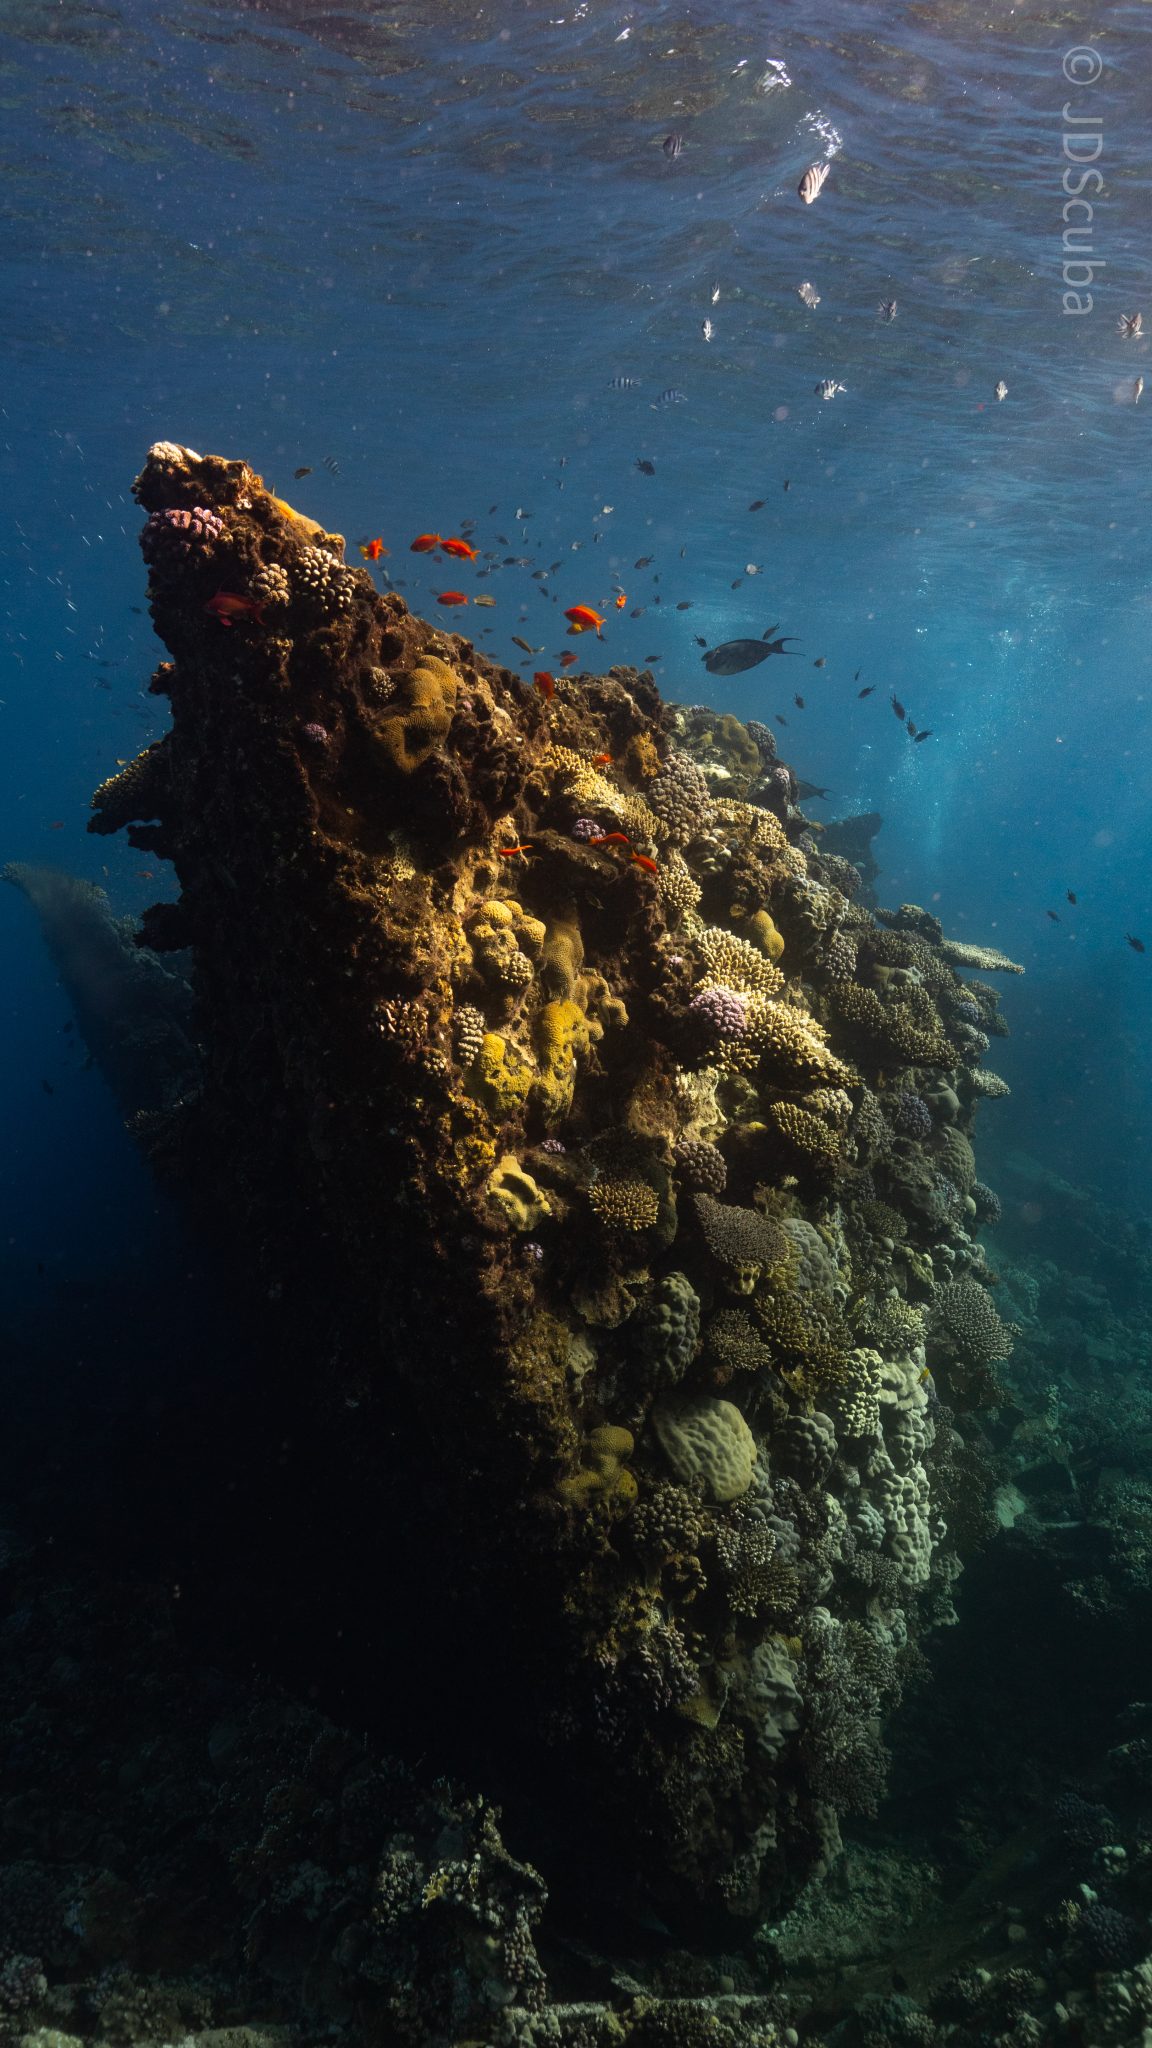
The second day’s diving was a day full of wreck diving at Abu Nuhas, which included the Chrisoula K, Carnatic, and Ghiannis D. The first dive of the day was onto the Chrisoula K, also known as the wreck of tiles. The 98m vessel remains largely intact where she was loaded with tiles which can be seen throughout the hold. The stern sits at 26m and the bow just below the surface. One of the highlights of the wreck is heading inside and seeing the workroom where the machinery used for cutting the tiles are perfectly intact. The bow provided some relaxing scenery as the bright sunlight highlighted the colours of the soft coral reef and the many reef fish.
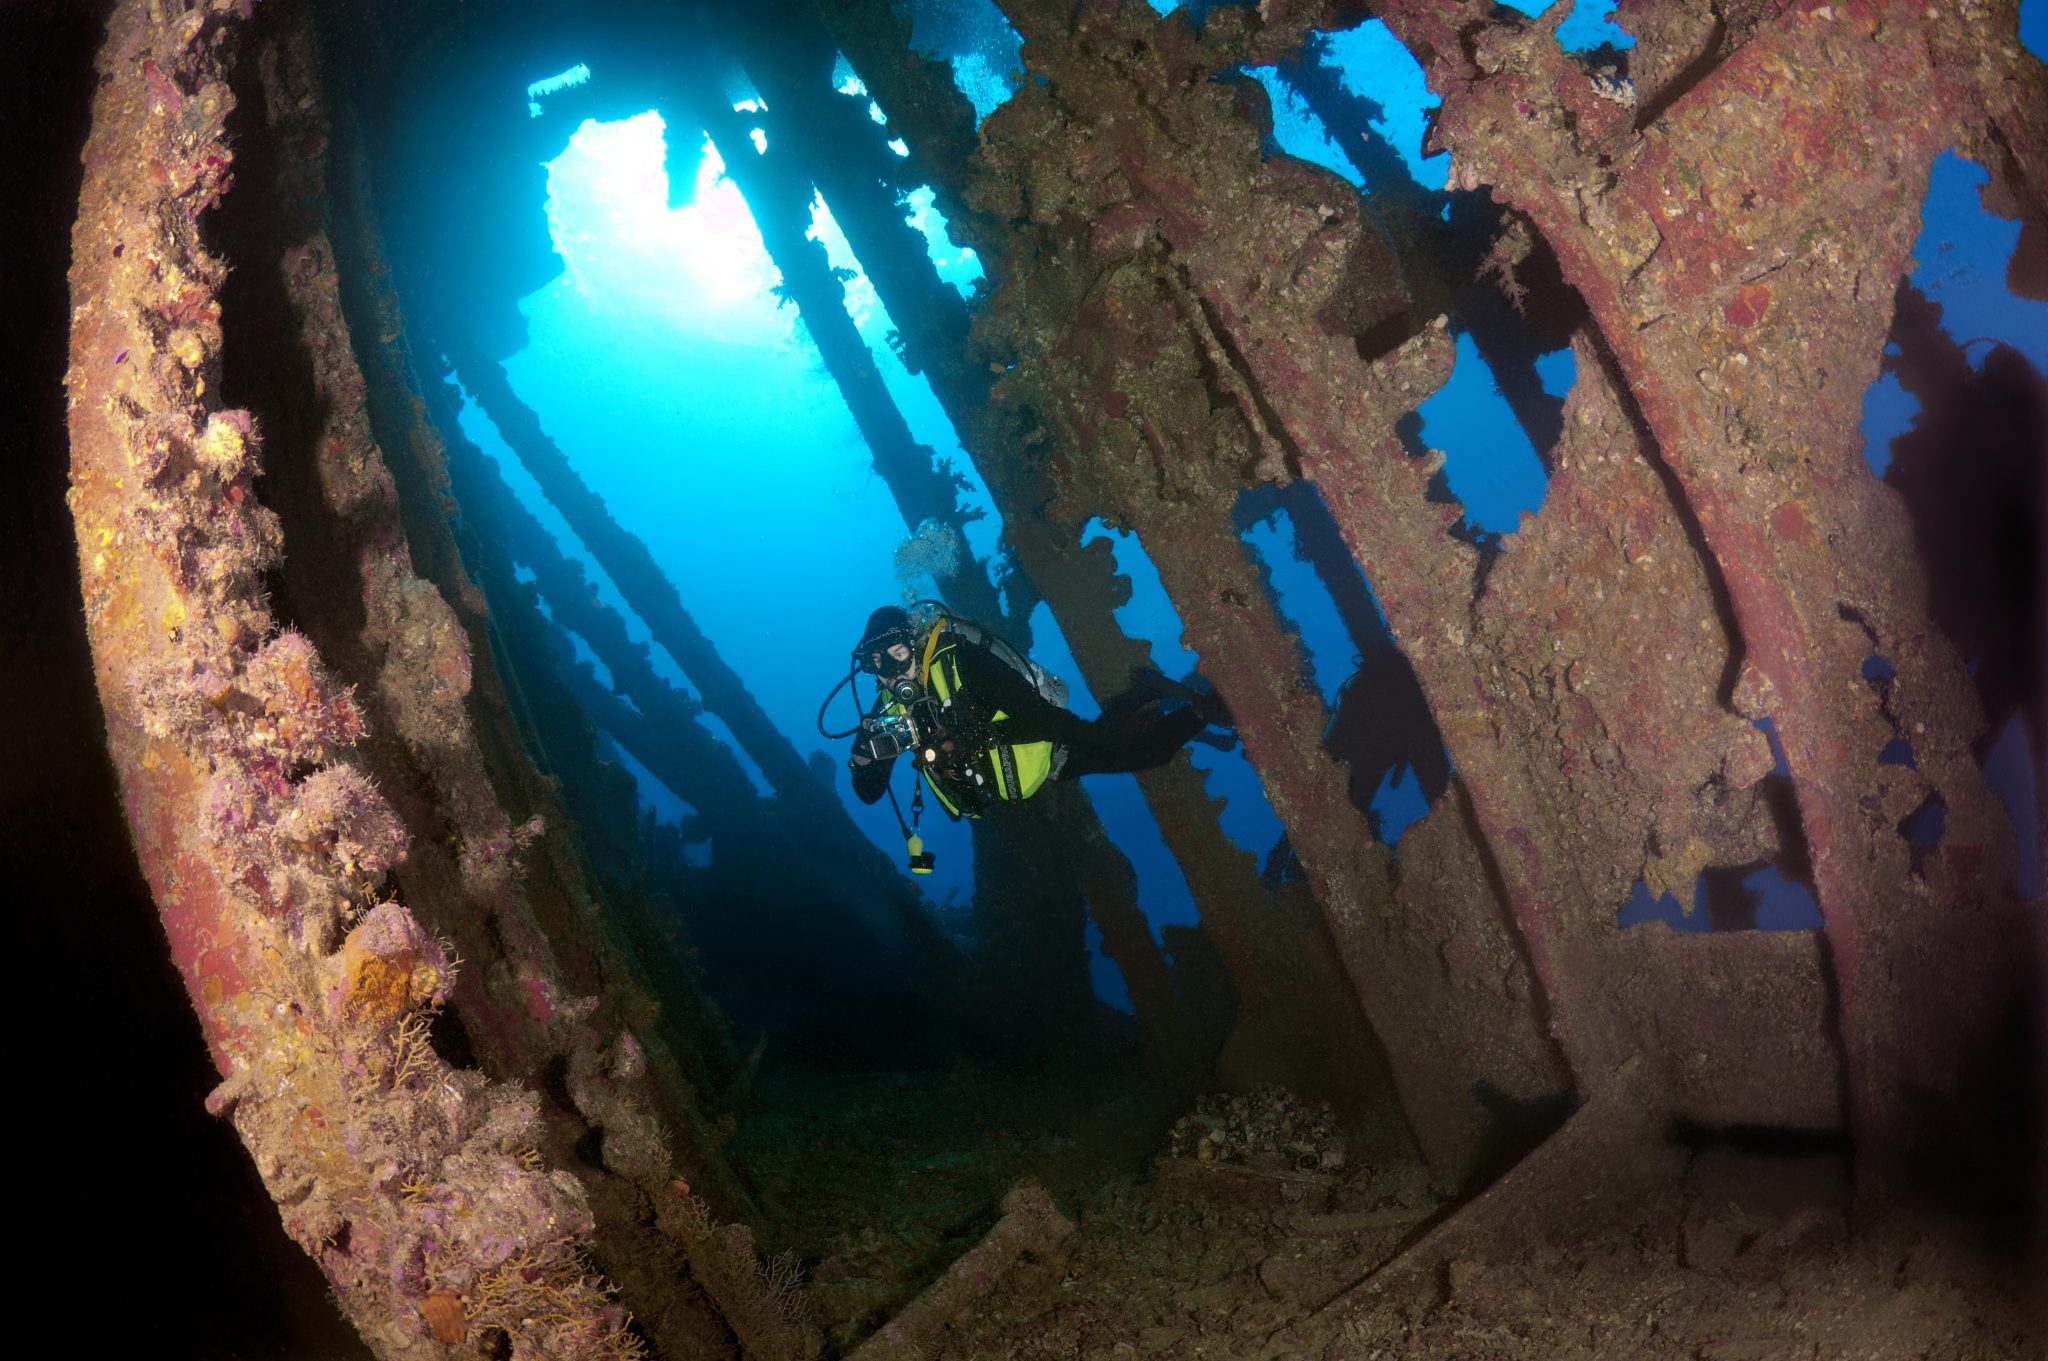
Following breakfast, we then headed to the next wreck, which was the Carnatic. The Carnatic is an 89.9m sail steamer vessel that was built in Britain back in 1862. She ran aground on the reef back in 1869 and remains at 27m. At the time, she was carrying a range of items, including 40,000 sterling in gold. An impressive wreck where much of the superstructure remains, and the two large masts lay on the seafloor. The wooden ribs of the hull provide structures for lots of soft corals, and into the stern section, the light beams through, bouncing off the large shoals of glass fish that can be found using the structure as shelter from the larger predators that are found outside of the wreck.
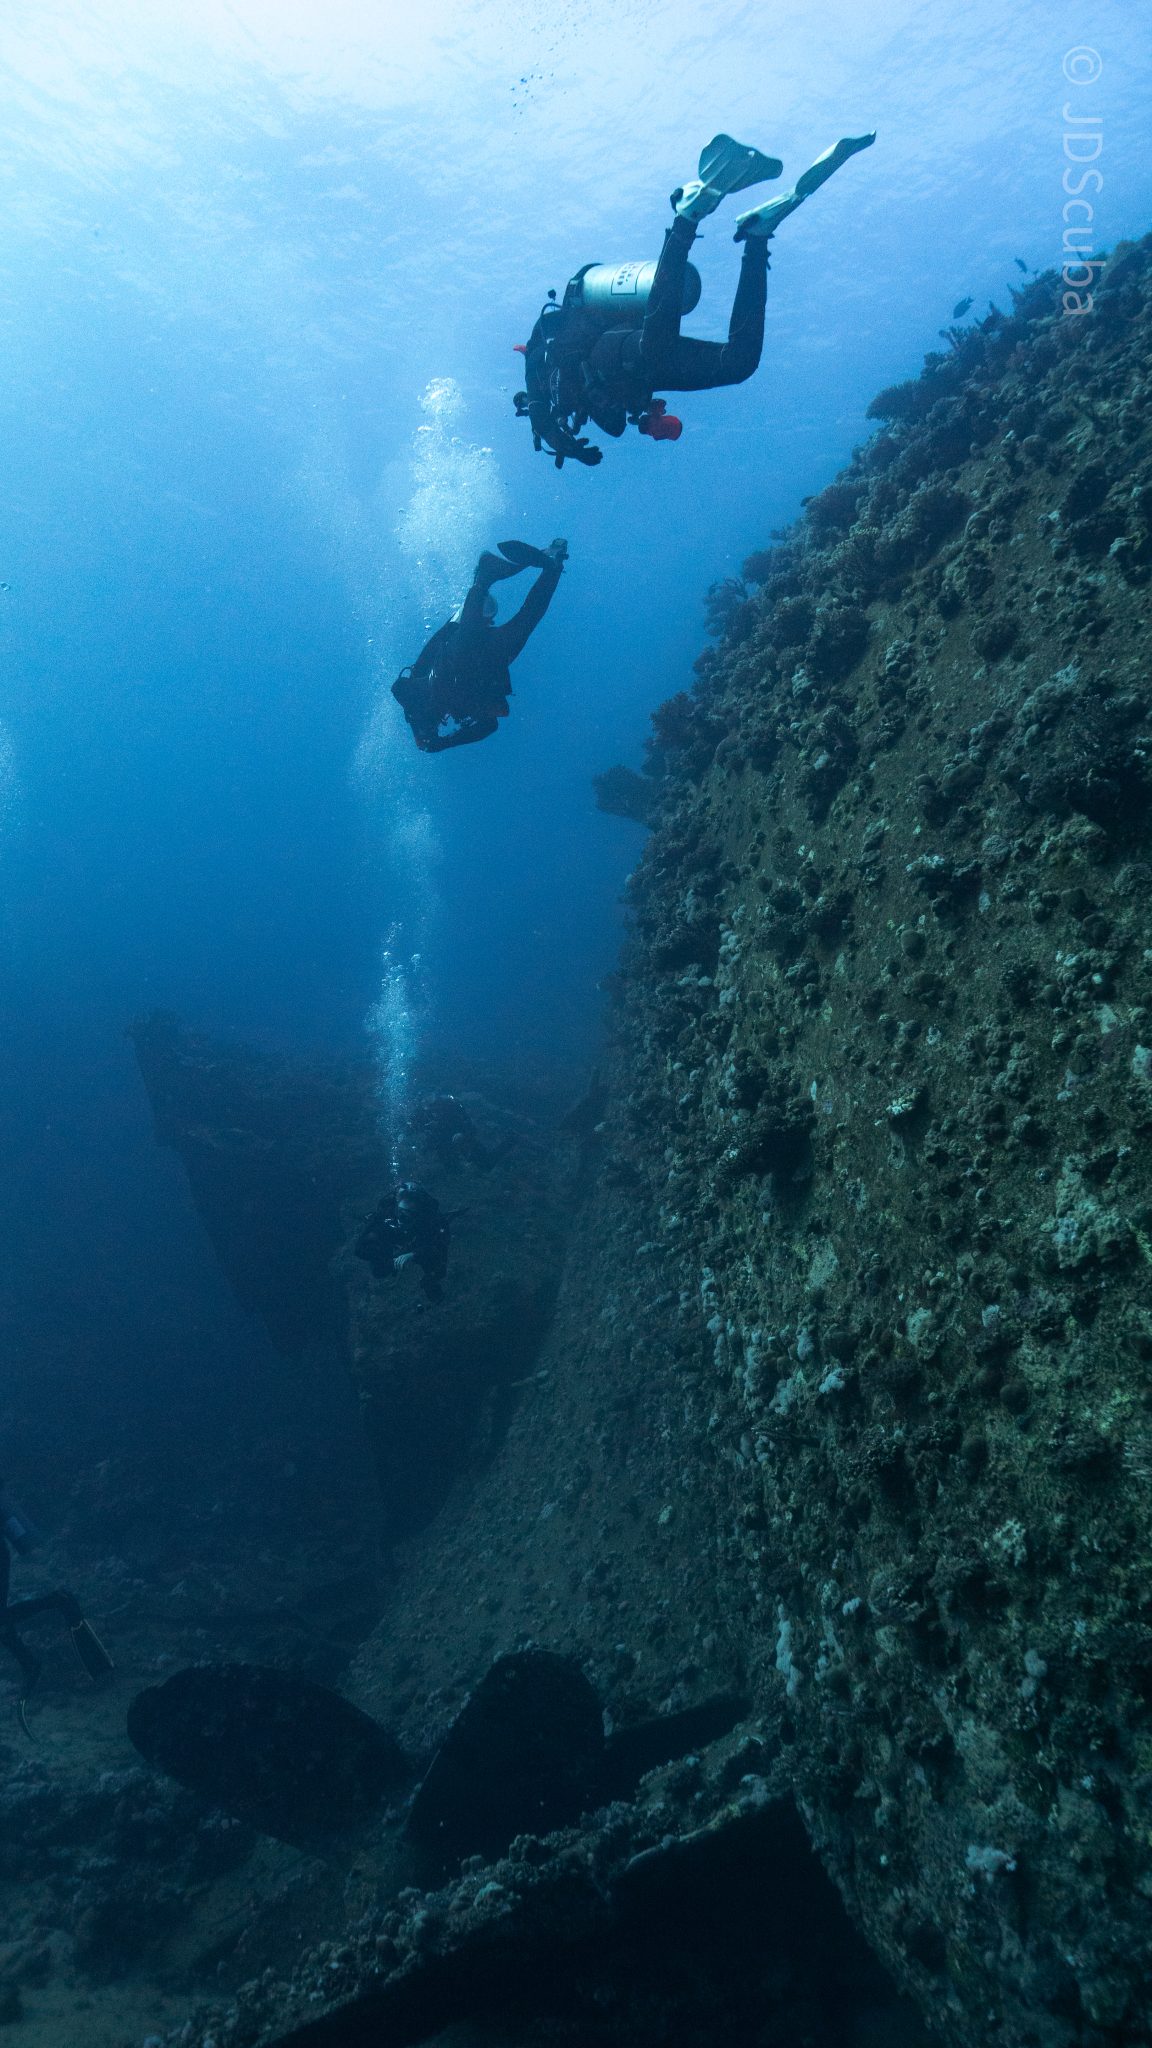
The final wreck at Abu Nuhas was the Ghiannis D, originally called ‘Shoyo Maru,’ which was 99.5m long and built in Japan back in 1969 before becoming a Greek-registered cargo ship in 1980. The ship then ran aground on the reef on April 19th, 1983, and now sits at the bottom at a depth of 27m. Heading down the line, the stern of the ship remains in good condition compared to the rest of the hull. The highlight of the wreck, though, is heading into the stern section and down the flights of stairs to enter the engine room, which remains in good condition and is definitely worth exploring. After exploring the interior section of the ship, we then headed over to see the rest of the superstructure, where it’s particularly interesting to see the large table corals that have grown at the bow relatively quickly considering the date the ship sank. After surfacing and enjoying some afternoon snacks, we made sure everything was strapped down and secured as we would be heading north and crossing the Gulf of Suez, where the winds were still creating plenty of chop.

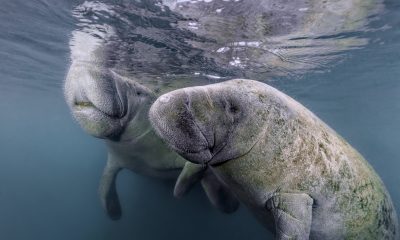
The next morning, it was a short hop to Ras Mohammed Nature Reserve for the next couple of days of diving. The 6am wake-up call came along with the briefing for the first site we would be diving, which was Shark & Yolanda. The low current conditions allowed us to start the dive at Anemone City, where we would drift along the steep, coral-filled wall. These dives involved drifts, as mooring in Ras Mohammed wasn’t allowed to protect the reefs. As a dive site, Shark & Yolanda is well-known and historically had a lot of sharks, but unfortunately not so many in recent years, especially not so early in the season. However, there was always a chance when looking out into the blue.
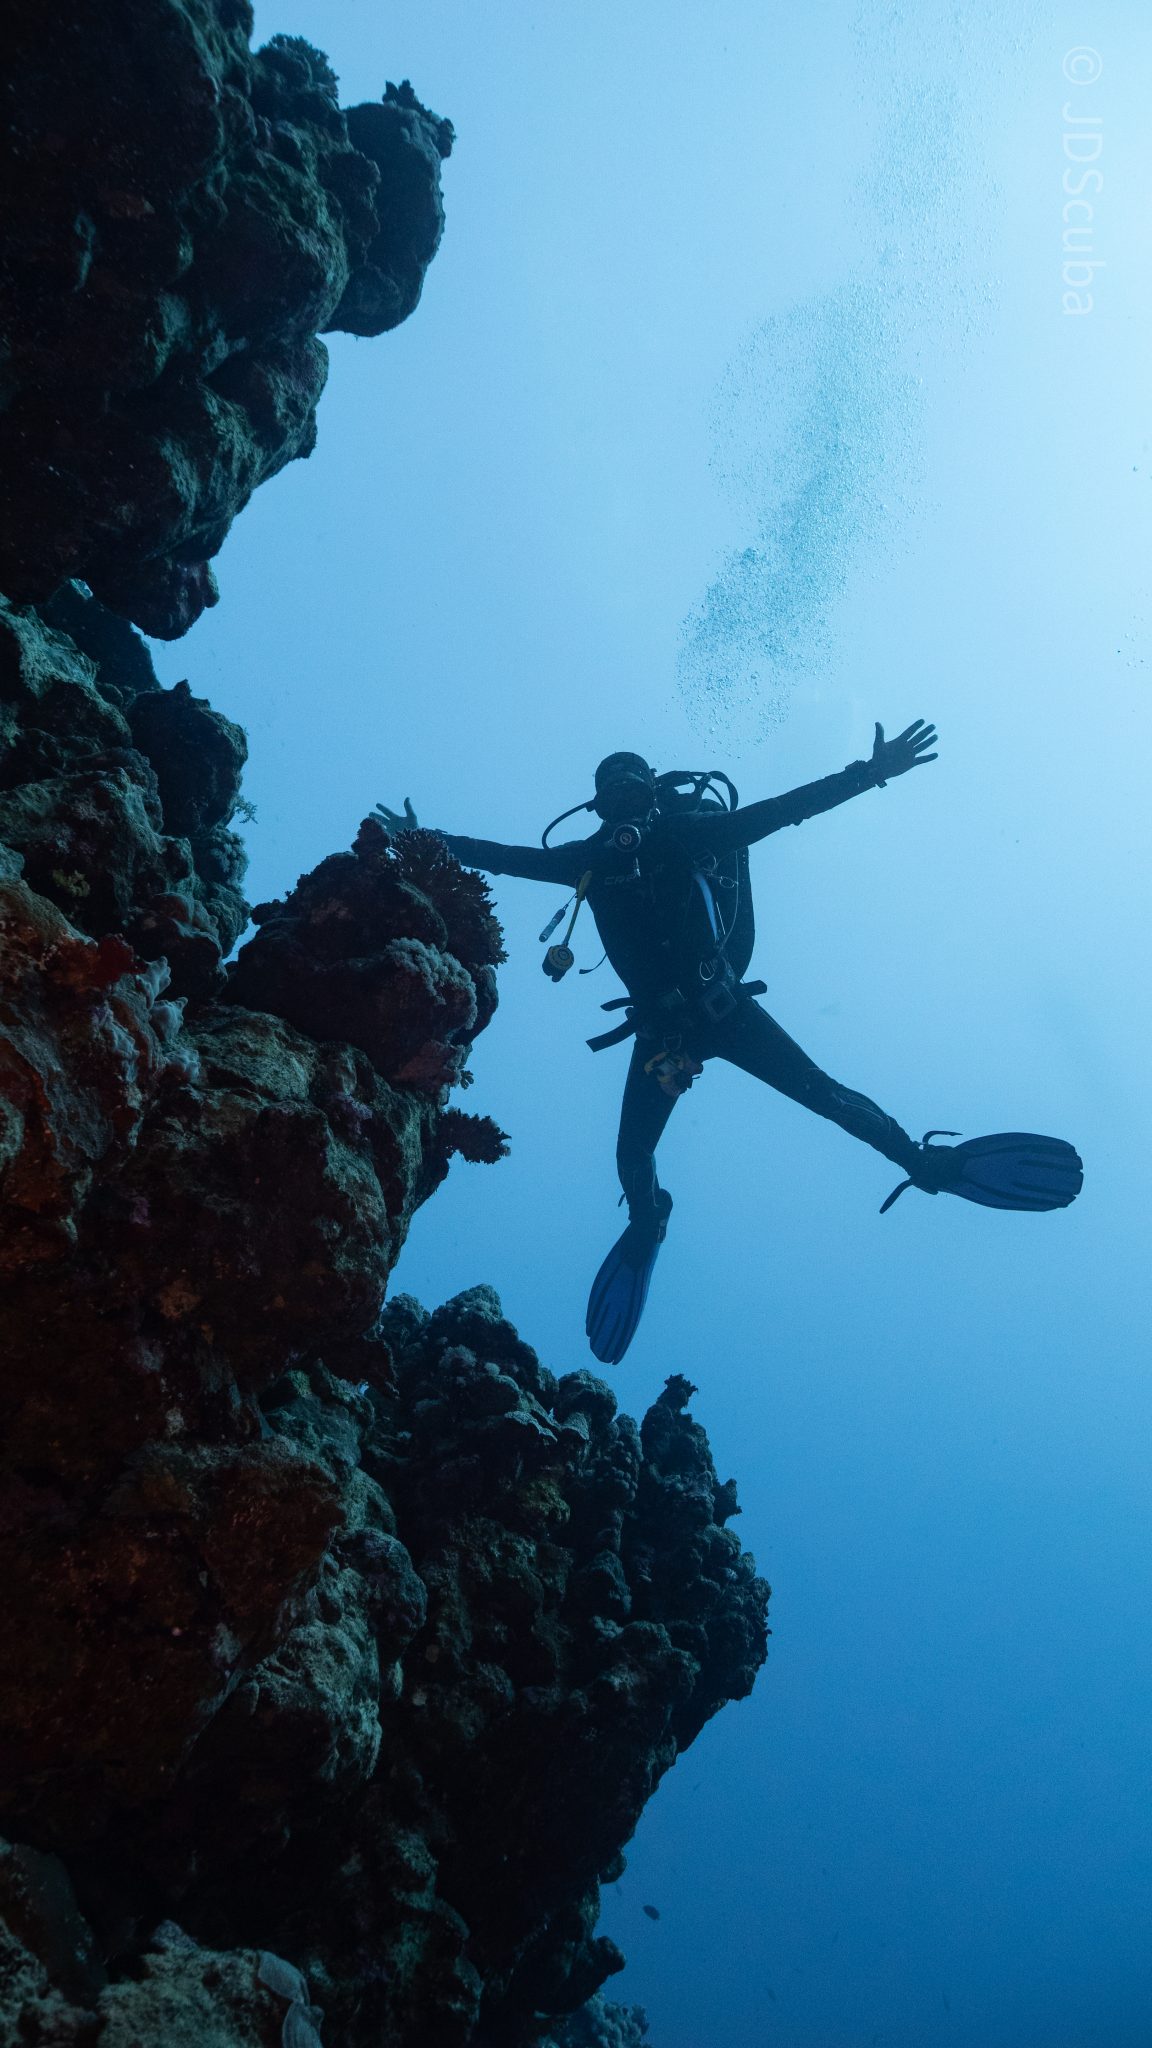
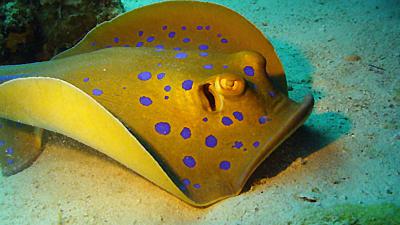
The gentle drift took us along the steep walls of the site, with plenty of anemone fish to be seen and a huge variety of corals. It wasn’t long into the dive before we were accompanied by a hawksbill turtle, who drifted with us between the two atolls before parting ways. Between the two reefs, the shallow patch with parts of coral heads surrounded by sand provided the chance to see a few blue-spotted stingrays that were mainly resting underneath the corals and are always a pleasure to see. With this being the morning dive, the early sunlight lit up the walls, providing tranquil moments. Looking out into the blue, there was very little to be seen, but a small shoal of batfish shimmering underneath the sunlight was a moment to capture as we watched them swim by as they watched us.

Towards the end of the dive, we stopped at the wreck of the Jolanda where the seafloor was scattered with toilets from the containers it was carrying. This provided a unique site to make a safety stop, which was also accompanied by a large barracuda slowly swimming by, along with a hawksbill turtle calmly swimming over the reef as the sun rays danced in the distance.
For the next dive, we headed north to the Strait of Tiran to explore the reefs situated between Tiran Island and Sharm El Sheik, which were named after the British divers who had found them. We started on Jackson before heading to Gordons Reef, where we also did the night dive. All the atolls at these sites provided stunning, bustling coral reefs close to the surface and steep walls to swim along, which always provided the opportunity to keep an eye out for some of the larger species that can be seen in the blue. Midwater around Jackson Reef was filled with red-toothed triggerfish and shoals of banner fish, which at times were so dense that you couldn’t see into the blue. Moments went by peacefully as we enjoyed the slow drift above the reef, watching these shoals swim around under the mid-afternoon sun.
The night dive at Gordon’s Reef was mainly among the stacks of corals surrounded by sand, which was great to explore under the darkness. After some time circling the corals, we came across what we were really hoping to find, and that was an octopus hunting on the reef. We spent the majority of the dive just watching it crawl among the reef, blending into its changing surroundings through changes in colour and skin texture. It’s always so fascinating and captivating to watch these incredibly intelligent animals, in awe of their ability to carry out these physical changes to perfectly blend into the reef. Before we knew it, it was time to head back to the boat to enjoy a well-deserved tasty dinner prepared by the talented chefs onboard.
Check in for the 3rd and final part of this series from Jake tomorrow!
To find out more about the Northern Red Sea reef and wrecks itineraries aboard Ghazala Explorer, or to book, contact Scuba Travel now:
Email: dive@scubatravel.com
Tel: +44 (0)1483 411590
Photos: Jake Davies / Avalon.Red
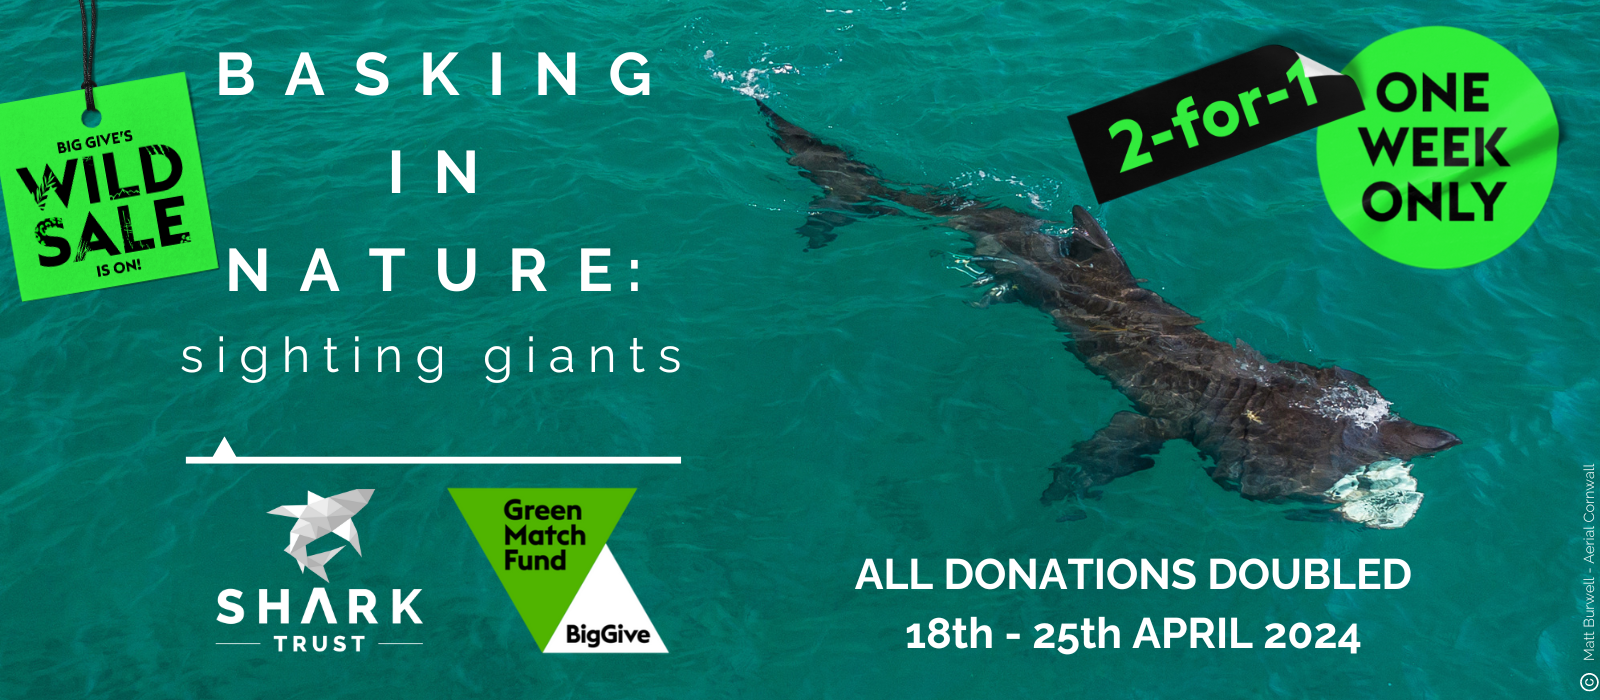
 The Shark Trust is excited to announce that, for two more days only, all donations, large or small, will be doubled in the Big Give Green Match Fund!
Donate to Basking in Nature: Sighting Giants
The Shark Trust is hoping to raise £10k which will be doubled to £20k. This will go towards Basking in Nature: Sighting Giants. And they need YOUR help to reach they’re goal.
The Shark Trust’s citizen science project is to monitor and assess basking sharks through sightings; encouraging data collection, community engagement, and promoting nature accessibility. This initiative aims to enhance health and wellbeing by fostering a deeper connection with British Sharks.
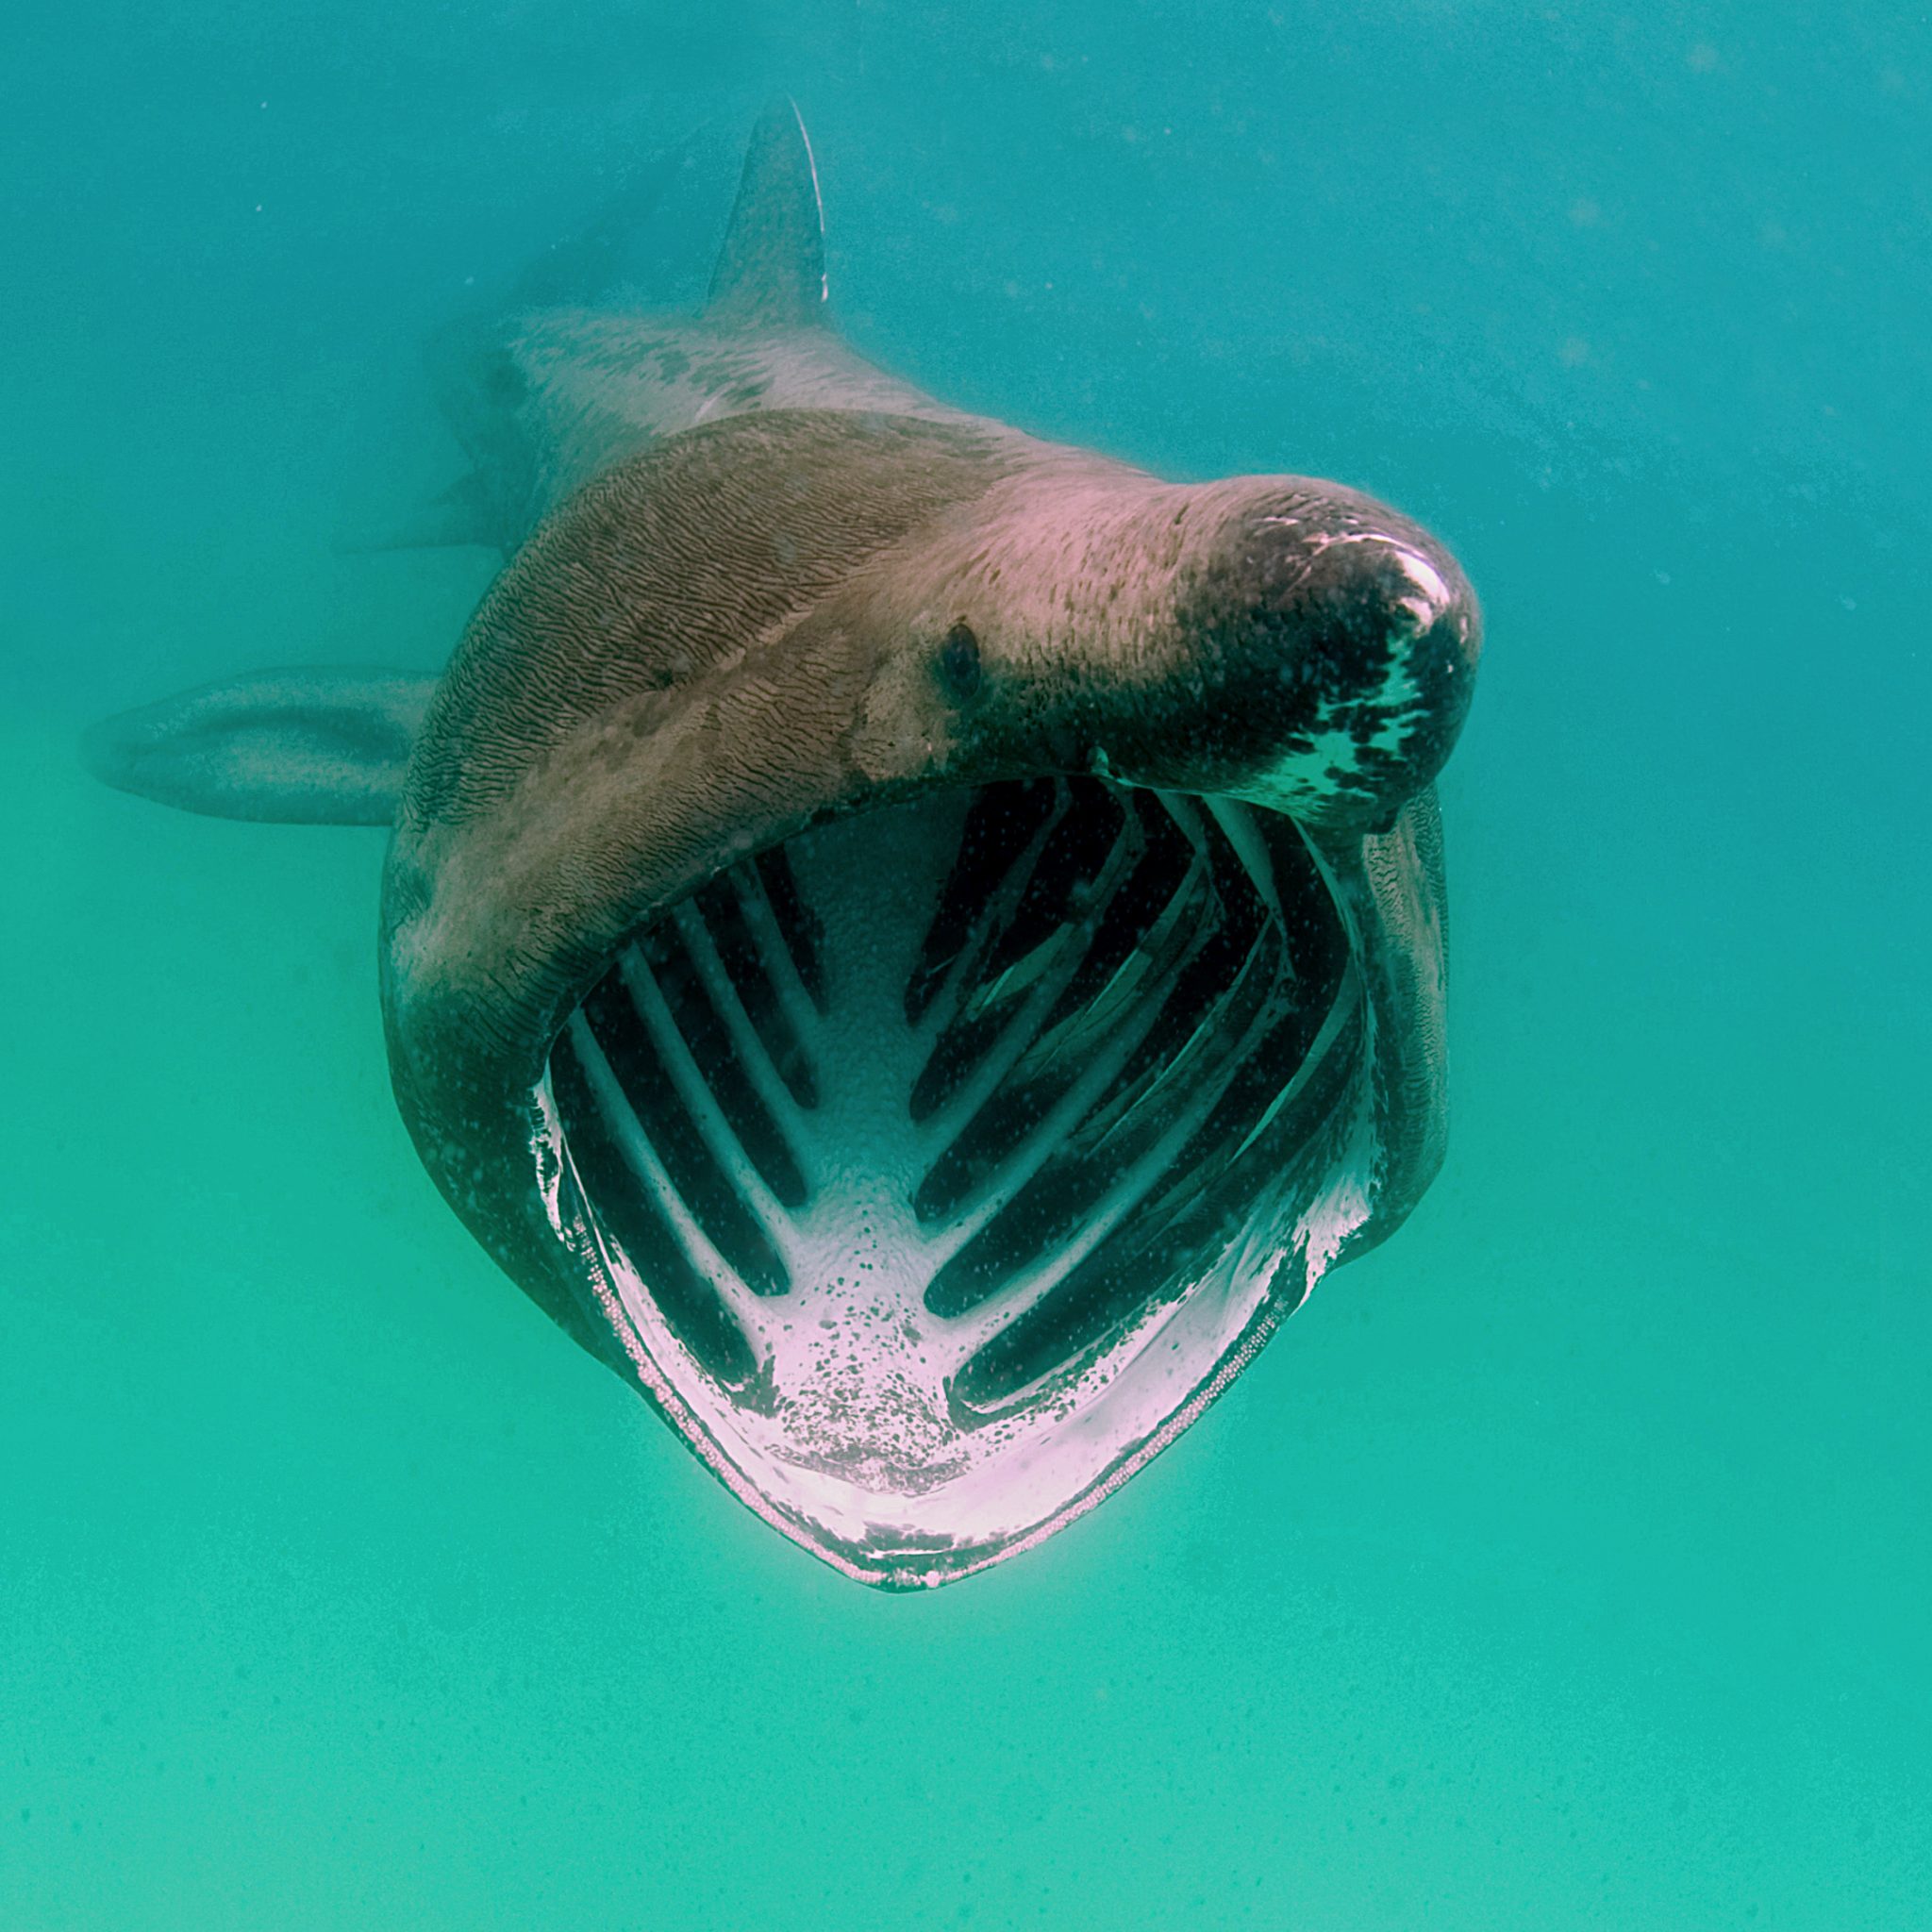
Campaign Aims
- Increase citizen science reporting of Basking Sharks and other shark sightings to help inform shark and ray conservation.
- Provide educational talks about the diverse range of sharks and rays in British waters and accessible identification guides!
- Create engaging and fun information panels on how to ID the amazing sharks and rays we have on our doorstep! These can be used on coastal paths around the Southwest. With activities and information on how you can make a difference for sharks and rays!
- Promote mental wellbeing through increasing time in nature and discovering the wonders beneath the waves!
Donate, and double your impact. Click Here

-
 News3 months ago
Hone your underwater photography skills with Alphamarine Photography at Red Sea Diving Safari in March
-
 News3 months ago
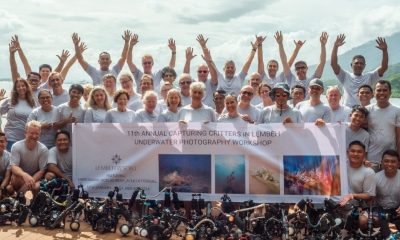
Capturing Critters in Lembeh Underwater Photography Workshop 2024: Event Roundup
-
 Marine Life & Conservation Blogs2 months ago
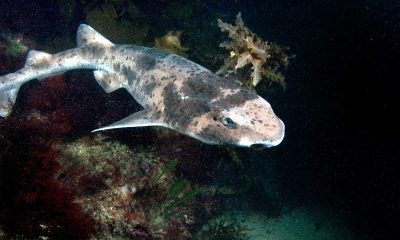
Creature Feature: Swell Sharks
-
 Blogs2 months ago
Murex Resorts: Passport to Paradise!
-

 Blogs2 months ago
Diver Discovering Whale Skeletons Beneath Ice Judged World’s Best Underwater Photograph
-
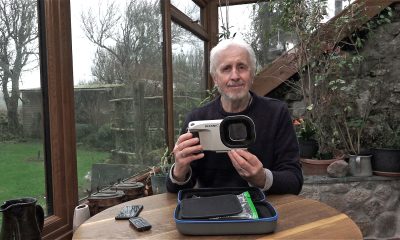
 Gear Reviews2 months ago
Gear Review: Oceanic+ Dive Housing for iPhone
-
 Marine Life & Conservation2 months ago
Save the Manatee Club launches brand new webcams at Silver Springs State Park, Florida
-
 News3 months ago
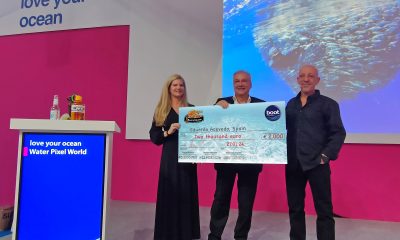
World’s Best Underwater Photographers Unveil Breathtaking Images at World Shootout 2023