
News
Deep Safety
Though the primary safety in freediving is the athlete themselves, in about 5 to 10 percent of the dives done during AIDA freediving competitions another person is needed to help the athlete to the surface or keep their airways above the surface. This person is known as the safety diver (in this document referred to as “safety”), and in competitive deep freediving, 2 safety divers are required per dive-line. The safety diver’s job is two-fold: one is to ensure the athlete’s safety around and on the line, the other is as an extension for the judges.
Safety in general
The safety is there to assist the athlete and the judges. A safety’s position around the line should be visible to the athlete, but in the background. Their presence should be noted but never dominant, calm but not indifferent, helpful but not imposing. A safety should be ready to dive in one breath, and respond instantly to judges. If a safety judges a situation unsafe or has questions, they should communicate with the judges. A safety cannot touch the athlete from the start of their official dive (official top time) until the end of their performance when they receive their judgment card form the judges unless told to do so by the judges or in case of imminent danger or black out (BO).
To ensure the athlete’s safety, a safety freediver has to observe multiple aspects during three phases of the dive. Below are the 3 phases and the main aspects to observe:
1: The breathe-up
Equipment check
An athlete gets limited time on the dive-line, during which he/she can prepare for the dive. In this time, the safety should check whether the athlete has attached themselves to the dive-line with a lanyard. Most athletes like to attach the lanyard themselves, but sometimes they forget or let somebody else do it while they concentrate. In the case an athlete put the lanyard on themselves, the safety should still check, both visually and manually, to make sure the lanyard is attached correctly. Lanyards often tangle round the line, the safety needs to make sure the lanyard is straight and keep in mind how the athlete duckdives.
After lanyard, the safety also needs to check the rest of equipment for possible dangers: fins might come off, suits might rip, gauges might come loose or poke out of the hood, noseclips can brake, masks can crack or snap, and liquid goggles might have bubbles in them. Check for any irregularities.
Check breathing
Another concern during the breath-up is the breathing itself. An athlete that is obviously hyperventilating runs greater risks of having a black-out. Nervous breathing, or quick movements, indicate that the athlete could be tense and more likely to experience problems. In wavy conditions, there’s the risk of water entering the airways during the final breath, which might cause athletes to cough during the dive, increasing their risk of squeeze. And lastly, the athlete might pack to the point of black-out. It is important to keep a close eye on the athlete, especially during the last part of the countdown.
2: The dive
Packing BO
The dive begins as soon as the athlete’s airways submerge. For the safety, this means that he/she must maintain visual contact, both above and below water. The first concern is packing black out, which can occur as late as 10 seconds into the dive, but is usually caused by the compression of the chest during the duckdive. Obvious signs of packing BO are loss of air and cessation of motion (athlete stops moving). If the safety observes any of those they should immediately dive and assist the athlete. However, most packing incidents aren’t quite as severe; the athlete might be less coordinated than usual but it is rare to completely lose control after the duckdive.
It is still important to visually follow the athlete once the dive has started, for there are clues as to how relaxed they are and how quick. A very slow start could result in a longer dive-time than announced, a very speedy one in equalization trouble and early turn, etc. During this part of the dive it is also important to check that equipment is working -the athlete might continue the dive despite malfunction but it will affect them. It could also happen that the lanyard comes off; if this is the case the safety should immediately dive and attempt to stop the athlete’s descent. However, such cases are very rare.
During the athlete’s dive it is helpful to keep a hand on the line to feel for the athlete’s movements and possible turns. This is primarily the job of the judge but 2 hands feel more than 1 and the extra hand does not impede the judge’s in any way.
The safety’s dive
Preparation
Safety should always prepare for a deep hang and rescue, so breathe up should prepare the safety for a 2 to 3 minute dive at 35-40. Safety should start breathing up with the athlete, but keeping their breathing quiet. Safety moves to the line slowly after the athlete starts their dive and hangs on the line, make use of the dive-time to slow your heart-rate. As a general rule of thumb, the depth at which to meet the athlete is a third of the announced performance, but it is up to the athlete to determine the depth they prefer to be met by the safety. If an athlete is specific about the depth at which they’d like to be met, the safety should try and follow this rather than the one third rule, since the athlete will use the safety as a marker for depth and might slow down too soon or late if the safety is not at the requested depth.
Duckdive
The safety’s duckdive should be such that it causes no or very little splashing. This is to keep the judges and the electronic equipment dry. Speed of descent is up to the safety, but should be enough to reach the diver at the required depth. In general it is best not to sprint, since that will produce much more lactic acid and exhaust the legs quite quickly. Check down the line regularly for the athlete before reaching required depth -in case of bad visibility, continuously look down the line, so as to avoid colliding with the athlete.
Timing
Safety must time the start of their dive so that the required depth can be reached easily, but not so early as to lead to a long hang at the required depth. Ideally the safety should turn at the depth the athlete likes and begin swimming up with the athlete immediately. In competition setups where sonar is used to monitor athlete’s progress, it is easy to determine the athlete’s position and speed and therefore the point at which the safety should start. In competitions without sonar, the main information the safety has are the estimated dive-time, and the timing of the turn. It is always a good idea to note on the dive-watch the time the athlete started, so the dive-time can be tracked. If the safety knows their dive-time to a certain depth -say 20 meters- then they should be able to calculate when to start their dive without having a long hang. The athlete’s dive-time should also be monitored by the judges during official competition dives.
Hang
In case of a hang, the safety should not touch the line, since the judge might interpret it as a grab by the athlete. Instead, the safety can hold position by keeping horizontal, looking down the line and using arms and legs to maintain position and not sink. In case of a long hang, the safety can use an open hand or just fingers to check the line for movement. Should the safety feel that his/her dive has taken too long, they should abort the dive and get back to the surface. In this case the second safety should take over.
Body position
In water with reasonable visibility the safety should spot the athlete soon enough to be able to adjust his/her position to that of the athlete. In general, that position is in front of and slightly below the athlete. This position is preferred because it allows the safety to make eye-contact with the athlete without the athlete having to take eyes off the line, and looking below maintains the streamlined head position of the athlete. Watching the athlete come up the safety already has a chance to spot possible signs of trouble: uncontrolled movements, panicky speeds, malfunctioning equipment or really big contractions. Once they are at eye level the safety can spot more subtle signs: excessive swallowing, staring off into the distance, ashen complexion, purple lips, panic in the eyes but not in the movements.
Eye contact
Most athletes will make eye-contact, but if not, it is recommended for a safety to actively seek it by adjusting your position, so the safety is sure the athlete is aware of their presence. However, some athletes prefer their safety on the side and a bit further off, which makes them harder to read. In this case, the safety must make sure that they remain within arm’s reach.
In general, when making eye-contact it is preferable to give the athlete an encouraging smile or a wink. If the athlete gives an ok signal or something of the kind, the safety can acknowledge with a nod. When it looks like the athlete is in trouble, the safety should try to avoid letting this reflect in their expression and keep neutral or encouraging. It is important for the safety to convey a positive attitude in their expression and posture -a worried look and hands ready to grab do not help the relaxation nor the focus of the athlete.
Ascent
During the ascent, it is important to check conditions on the surface, making sure the athlete will not swim into anything or anybody. Also during the ascent, the position of the safety diver with regard to the athlete changes from being in front and slightly below to being to the side of the athlete while remaining below them. There are two reasons for this change in position. The first is that, once the athlete knows the safety is there, they need to start concentrating on procedures on the surface and facing the judges, so the safety needs to get out of the way. The second reason is that in case of black out, the safety needs to be ready to intervene, and in order to do so, he/she needs to be on the side of the athlete, where the proper grip for an unconscious athlete can be performed.
Rescue grip
The best way to grip an unconscious athlete underwater is on the athlete’s side, with one arm going under the athlete’s arm and hand placed over the athlete’s mouth, sealing the airway, and the other arm running over the athlete’s back with the hand grabbing back of the athlete’s neck. This way, you ensure a strong grip while keeping the airways closed. Once on the surface, the hand holding the neck is enough to keep the airways above water, allowing for one free hand to remove facial equipment. Most of the time the safety will be right handed so the body position should be such that the right hand can remove the mask, goggles, and/or noseclip while the left hand supports the back of the neck, meaning they should be on the athlete’s right side.
In the late nineties and early 2000′s a different approach was taught, namely that the safety should get behind the athlete in case of black out, and lift the athlete by the armpits. Though this move has the advantage of being slightly simpler, it does expose the athlete to the dangers of having his/her airways flooded. In general, the most important thing is to get the athlete up to the surface fast, so panicky rescues might still work, but it is a lot harder to treat a black out when the victim also has water in their lungs or stomach. Furthermore such uncoordinated rescue techniques expose the unconscious athlete to greater risk in cases of deep black outs.
3: Back at the surface
The safety surfaces to the side of the athlete, having made sure that the athlete’s way up is clear and void of objects or people. The safety must keep an eye on the athlete but avoid eye-contact, since the athlete must now perform the surface protocol to the judges -not to the safety. At the same time, if the athlete doesn’t recover properly from the dive during this time, he/she might still black out, so it is important to check that the athlete breathes properly, and shows no signs of blacking out, such as a nodding head or rolling eyes or a gentle backward falling motion. Even if the athlete is in obvious trouble, the safety should not touch them unless told to do so by the judges. Touching by the safety leads to disqualification, be it at the surface or underwater, so at no point should the safety touch unless the athlete has already disqualified themselves by blacking out or by dipping the airways.
In case of BO
In case of a black out, the first safety freediver (the one gripping the athlete) performs the rescue procedures; he/she brings the athlete up, keeps the airways above water, removes facial equipment, blows on the athlete’s cheeks and eyes, and talks calmly to them. The second safety unclips the lanyard from the line and makes sure that the first safety can proceed with the rescue. In case rescue breaths are needed, the second safety can help holding the athlete up, but in general, it is best to keep the environment around a blacked out athlete as calm as possible with only one safety diver performing recue procedures.
Rescue breaths
Rescue breaths are performed when the athlete hasn’t started breathing by themselves within 10-15 seconds of surfacing. The purpose of a rescue breath is to get air to the athlete’s lungs through the laryngospasm that keeps the athlete from breathing. The rescue breath is performed in the following way: the first safety holds the back of the neck up out of the water with one hand, with the other he presses down the chin, opening the mouth, then closes the nose by pinching it, turns the face towards him slightly, locks lips to create a seal and gently blows into the athlete’s mouth, increasing pressure while blowing. This should be done 4 or 5 times before moving the athlete to a place where oxygen treatment can be given. Usually, after one or two rescue breaths, the athlete wakes up. Between rescue breaths the safety diver must check if the athlete has commenced breathing.
Transporting an unconscious athlete
If the athlete remains unresponsive after 5 rescue breaths, resume hand position as in rescue grip and transport the athlete to where further care can be given, be it a boat, a platform or the shore. If the transport takes a long time and the athlete is not breathing, make sure to perform rescue breaths at least twice a minute. Once the safety and athlete reach a place where further help can be given, the safety should assist in getting the athlete out of the water and stable. If the athlete is unconscious but breathing, it is important that the situation remains calm, so that the athlete doesn’t wake up to a hectic environment. An athlete coming out off unconsciousness is often a bit confused as to what is going on, and a calm environment can help reassuring them that all is fine.
Coming back to consciousness
The athlete who has just experienced a BO will be momentarily confused once conscious; there is a gap between what they last remember and where they are now. The safety should at this point keep a light hold on the athlete, reassure the athlete they are ok, tell them they had a BO. In most cases the realization will dawn upon the athlete and the safety can then take them to where they can breathy oxygen or where they can sit out of water and recuperate.
Some athletes will experience severe confusion. Not knowing how they got into the situation they’re in, can lead them to get a bit aggressive or erratic. If this is the case, the safety should back off and not try to hold them – as long as the athlete is conscious enough to remain above the surface. The safety can repeat that the athlete has had a BO, tell them where they are, that they were diving, that they are alright now. The athlete might have doubts, but needs input to help put the picture of what happened together. It sometimes takes a while for them to accept what happened and that they have no recollection of it. Safety should be gentle with them, swim with them to oxygen or where they can sit, and advise them not to dive again that day.
Squeeze
In case an athlete surfaces with a lung squeeze, they run greater risks of BO at or before the surface. If they reach the surface, their recovery breathing might sound labored and rattling, and because the lungs aren’t working optimally, they might still black out from lack of oxygen. Labored breathing is a clue for safety to stay very close and be ready to hold the airways up. Other clues for squeezes are frothy bloody saliva coming from the mouth, and coughing. Tracheal squeezes tend to be less frothy -mostly some clear red spots in the spit. Sinus squeezes tend to be obvious, since the blood comes from the nose and they do not impede breathing at all. A bit of blood coming from the nose should not raise immediate concerns with the safety, but it should be pointed out to the athlete.
In case of a mild squeeze (bit of blood, some coughing), the athlete tends to be able to keep themselves up, but should the coughing be so severe that the airways run the risk of being submerged, the safety should help the athlete stay above water by gripping them under the armpits if the judge instructs to grab them. Coughing is easier in a vertical position, and often the athlete is already gripping the line in that position anyway. Athletes should be instructed to avoid coughing when possible after a lung squeeze, to avoid causing additional damage to their lungs. The excess phlegm and blood in the lungs however will initially cause a severe need to cough.
If the athlete suffers a lung squeeze and loses consciousness at the end of the dive, it is harder for them to start breathing again. In such an event athletes might also be unresponsive to rescue breaths. In such a case, it is likely that there is a lot of blood in the lungs and the rescue breaths need to be a bit more forceful in order to properly oxygenate the lungs. It is essential that the rescue position of the athlete should allow the lungs to drain from this excess fluid (either by coughing or vomiting); in water their head should be tilted to the side as much as possible, on steady ground they should be placed on the recovery position as soon as possible. The first priority is to get the fluids out, then to get oxygen in.
Athletes suffering lung squeeze are weaker and normally take longer to recover, so safety should observe the athlete longer after their recovery and make sure they are alright. Athletes with lung squeeze should never take oxygen at depth, and must always stay supervised on the surface when re-entering the water. They shouldn’t dive anymore that day, and be advised not to dive for a couple of days. Additionally athletes suffering a lung squeeze should be advised to seek medical evaluation of their injuries as soon as possible.
After the dive
The dive is over for the athlete after the judge has given them their card. Until this point the safety m touch the athlete unless required by BO, imminent danger, or told to do so by the judge. It is the safety’s responsibility to avoid contact, by careful body position and remain at arm-length distance. Once the surface is reached and it is obvious that the athlete is ok, the safety can increase their distance from the athlete to facilitate easier judgment, but they should remain close enough to intervene.
It is important to keep an eye on the athlete but avoid eye-contact, since the athlete has to do the protocol facing the judges and might do it to the safety instead, if that’s the first person they see. The safety can actively avoid this by looking towards the judges and keeping the athlete in their peripheral vision. The judges at this point might ask the safety about possible irregularities.
After the card is presented the safety can congratulate or console the athlete, unclip the lanyard from the line, remove the official gauge and tell the judges the maximum depth the watch reached.
Special forms of safety
Safety and counterweight system
If the first safety comes up without having seen athlete they should inform the surface crew to activate the counterweight. At this stage the second safety should dive down to meet the athlete as deep as possible. Chances are that the athlete is unconscious, in which case the goal is to help get the athlete to the surface quickly while minimizing chances of water entering the airways.
In case of a fast system, the safety will probably not be able to keep up with the counterweight system and must therefore hold onto the line just above the athlete, grab the athlete with their free arm in the grip described previously and maintain an airtight grip on their mouth. The athlete’s head can be held to the chest of the safety diver for a firm and stable grip.
In case of a slower counterweight system, the safety should follow regular procedures, including normal rescue grip and finning back to the surface after the athlete has been retrieved.
Safety and scuba safety divers
If scuba safety divers are present, their job is to attach lift-bags to the athlete or the dive line in case of trouble. The freediver safety then has to make sure the athlete’s airways are protected so that no water can enter. In order to do so they either swim with the lift-bag with the athlete in the rescue grip, or ride along with the lift-bag while holding the athlete against them and securing an air-tight grip on their mouths.
Safety using underwater scooters
For very deep safety or long days of safety diving, an UW scooter can be helpful. It saves a lot of energy during the descent and ascent, so the safety can work longer periods. Since it is relatively easy to do repetitive deep dives this way, it is recommended that the first and second safety switch between deep dives in order to avoid DCS.
The drawback of the scooter is that the safety can only hold the athlete with one hand in case of a BO, since the other hand is needed for the use of the controls of the scooter. Scooters that are controlled by the right hand, will leave the safety freediver’s left hand free, to grab the athlete. In order to quickly grab the athlete, it is then necessary to be on the left side of the athlete.
Rescue grip using underwater scooter
The rescue grip on the scooter is as follows: the left arm of the safety goes under the left arm of the athlete; the safety’s left hand goes over the mouth of the athlete forming an air-tight seal and presses the athlete’s head against the safety’s chest. The scooter is pointed to the surface and the safety kicks along to maximize speed of ascent.
Just before reaching the surface the safety should point the scooter upwards and behind them, so it will not get in the way on the surface. The scooter is attached to the safety via a belt lanyard, which makes it harder to move, so at this point it is best if the second safety takes over and performs the rescue procedure. The first safety then takes the job of second safety and releases the lanyard.
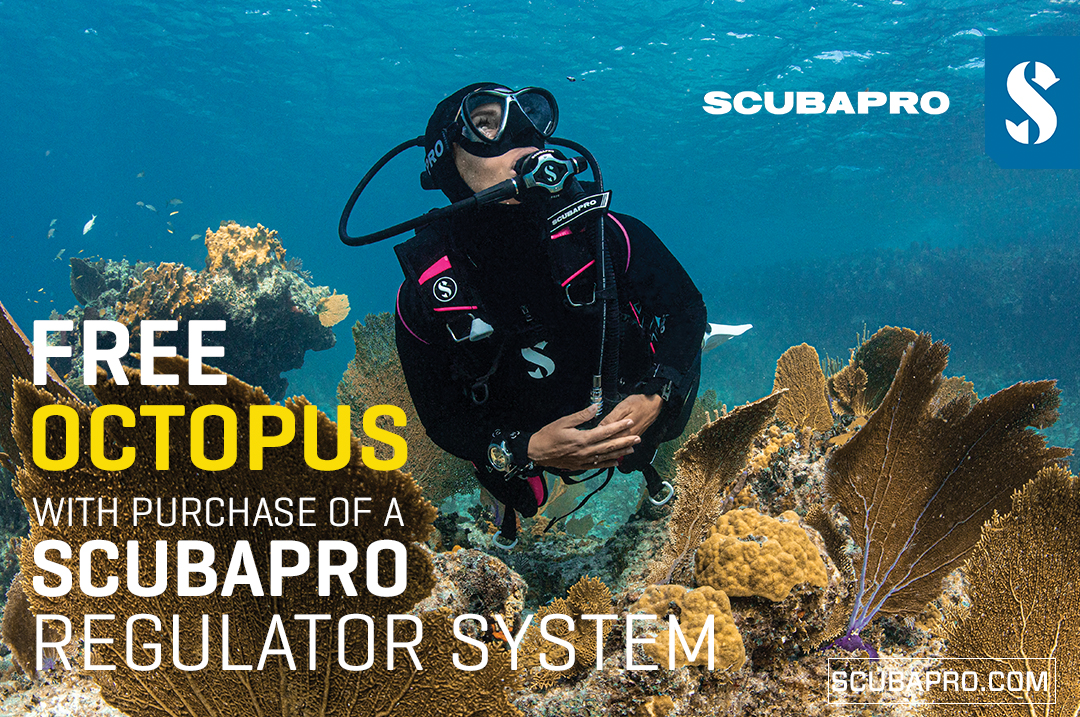
Free Octopus with every purchase of a SCUBAPRO regulator system
Just in time for the spring season, divers can save money with the FREE OCTOPUS SPRING PROMOTION! Until July 31st SCUBAPRO offers an Octopus for free
with every purchase of a regulator system!
Get a free S270 OCTOPUS with purchase of these combinations:
MK25 EVO or MK19 EVO with A700
MK25 EVO or MK19 EVO with S620Ti
MK25 EVO or MK19 EVO with D420
MK25 EVO Din mit S620Ti-X
Get a free R105 OCTOPUS with purchase of the following combinations:
MK25 EVO or MK19 EVO with G260
MK25 EVO or MK17 EVO with S600
SCUBAPRO offers a 30-year first owner warranty on all regulators, with a revision period of two years or 100 dives. All SCUBAPRO regulators are of course certified according to the new European test standard EN250-2014.
Available at participating SCUBAPRO dealers. Promotion may not be available in all regions. Find an authorized SCUBAPRO Dealer at scubapro.com.
More information available on www.scubapro.com.
Jake Davies boards Ghazala Explorer for an unforgettable Red Sea diving experience…
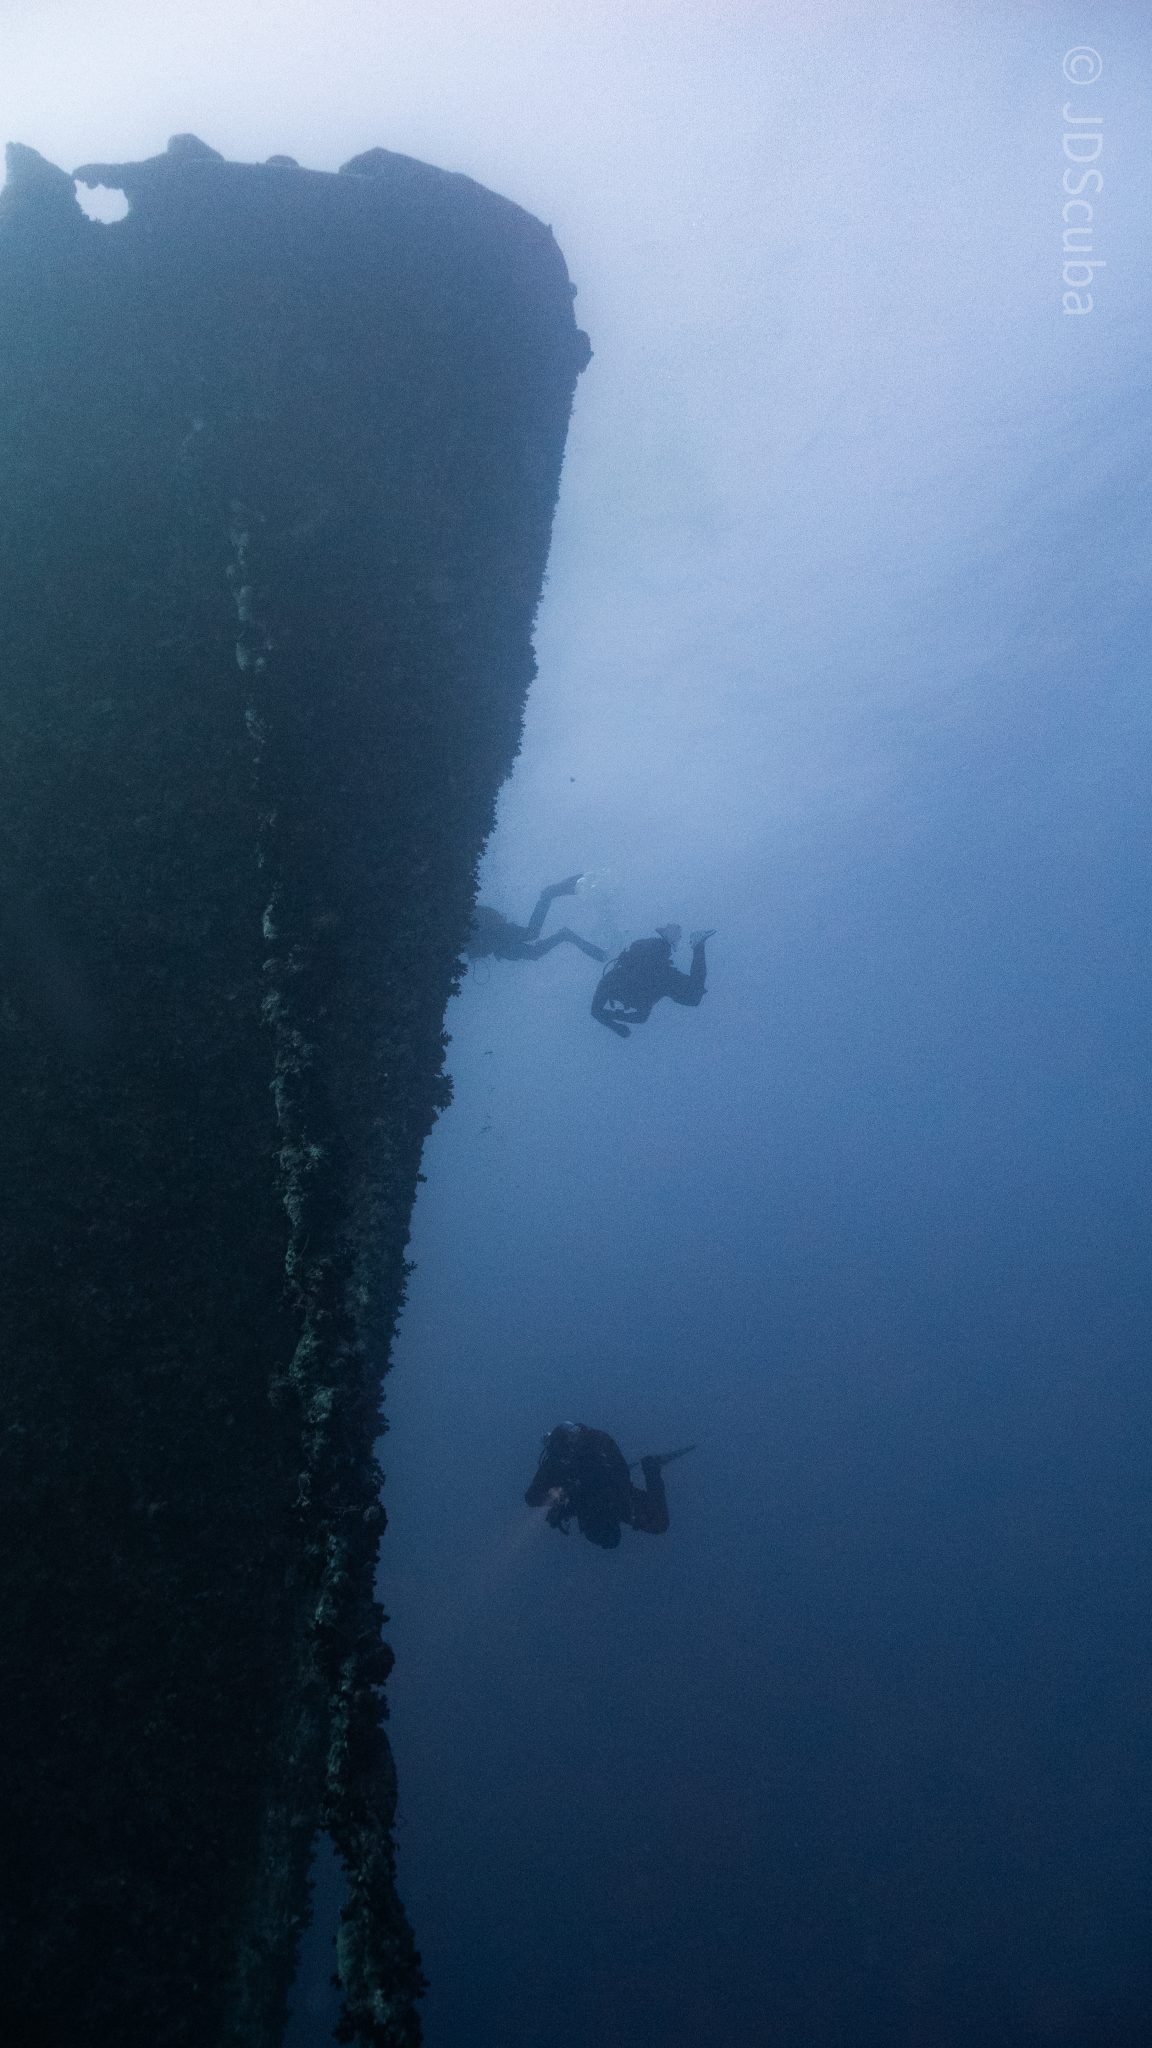
Overnight, the wind picked up, making the planned morning dive a bit bumpy on the Zodiacs to the drop point on Thomas Reef. There, we would dive along the reef before descending through the canyon and then passing under the arch before ascending the wall with a gentle drift. The site provided great encounters with more pelagic species, including shoals of large barracuda, tuna, and bigeye trevally.
Once back on the boat, it was time to get everything tied down again as we would head back south. This time, with the wind behind us, heading to Ras Mohammed to dive Jackfish Alley for another great gentle drift wall dive before then heading up the coast towards the Gulf of Suez to moor up at the wreck of the Thistlegorm. This being the highlight wreck dive of the trip and for many onboard, including myself, it was the first time diving this iconic wreck. I had heard so much about the wreck from friends, and globally, this is a must on any diver’s list. Fortunately for us, there was only one other boat at the site, which was a rarity. A great briefing was delivered by Ahmed, who provided a detailed background about the wreck’s history along with all the required safety information as the currents and visibility at the site can be variable.
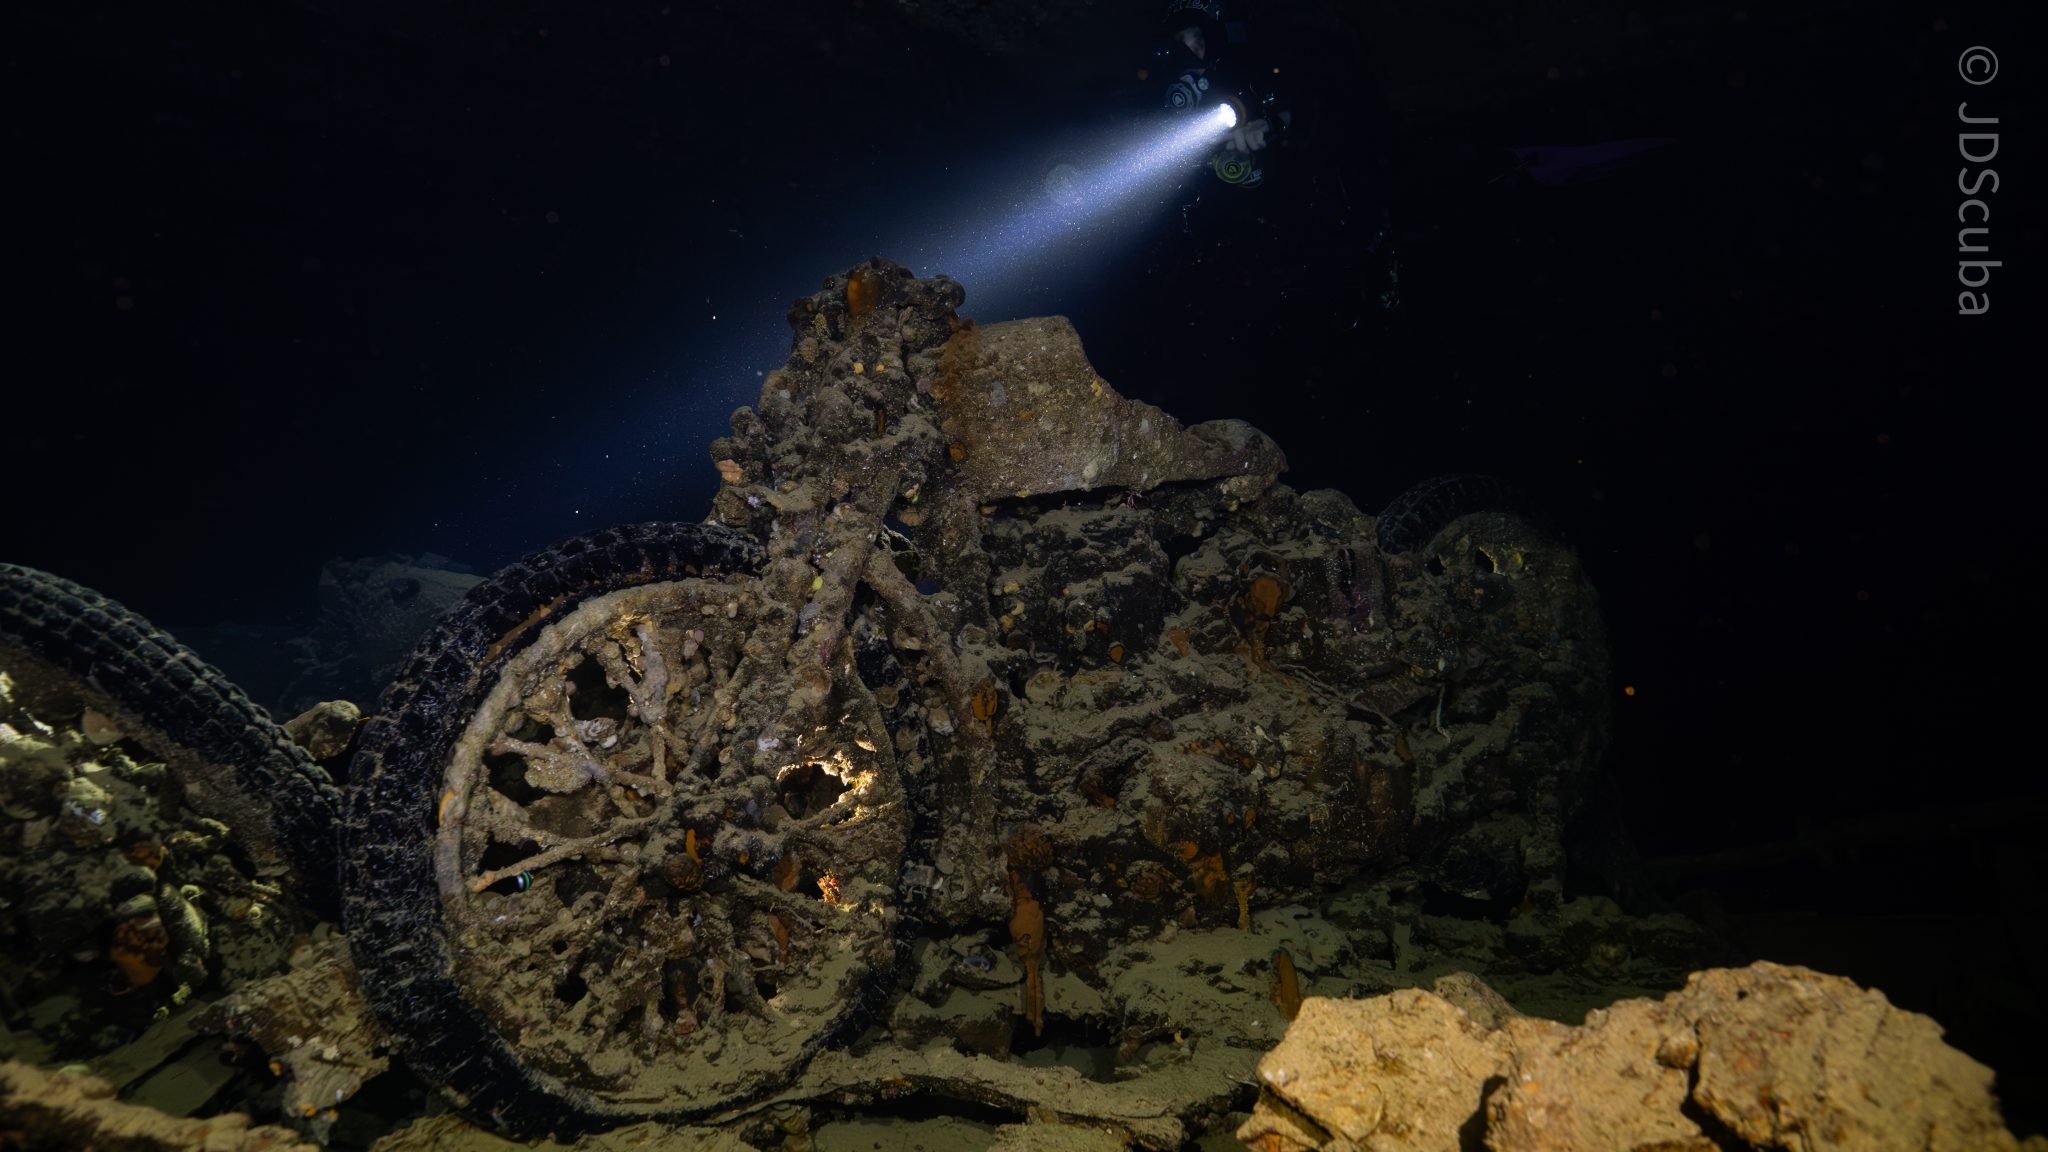
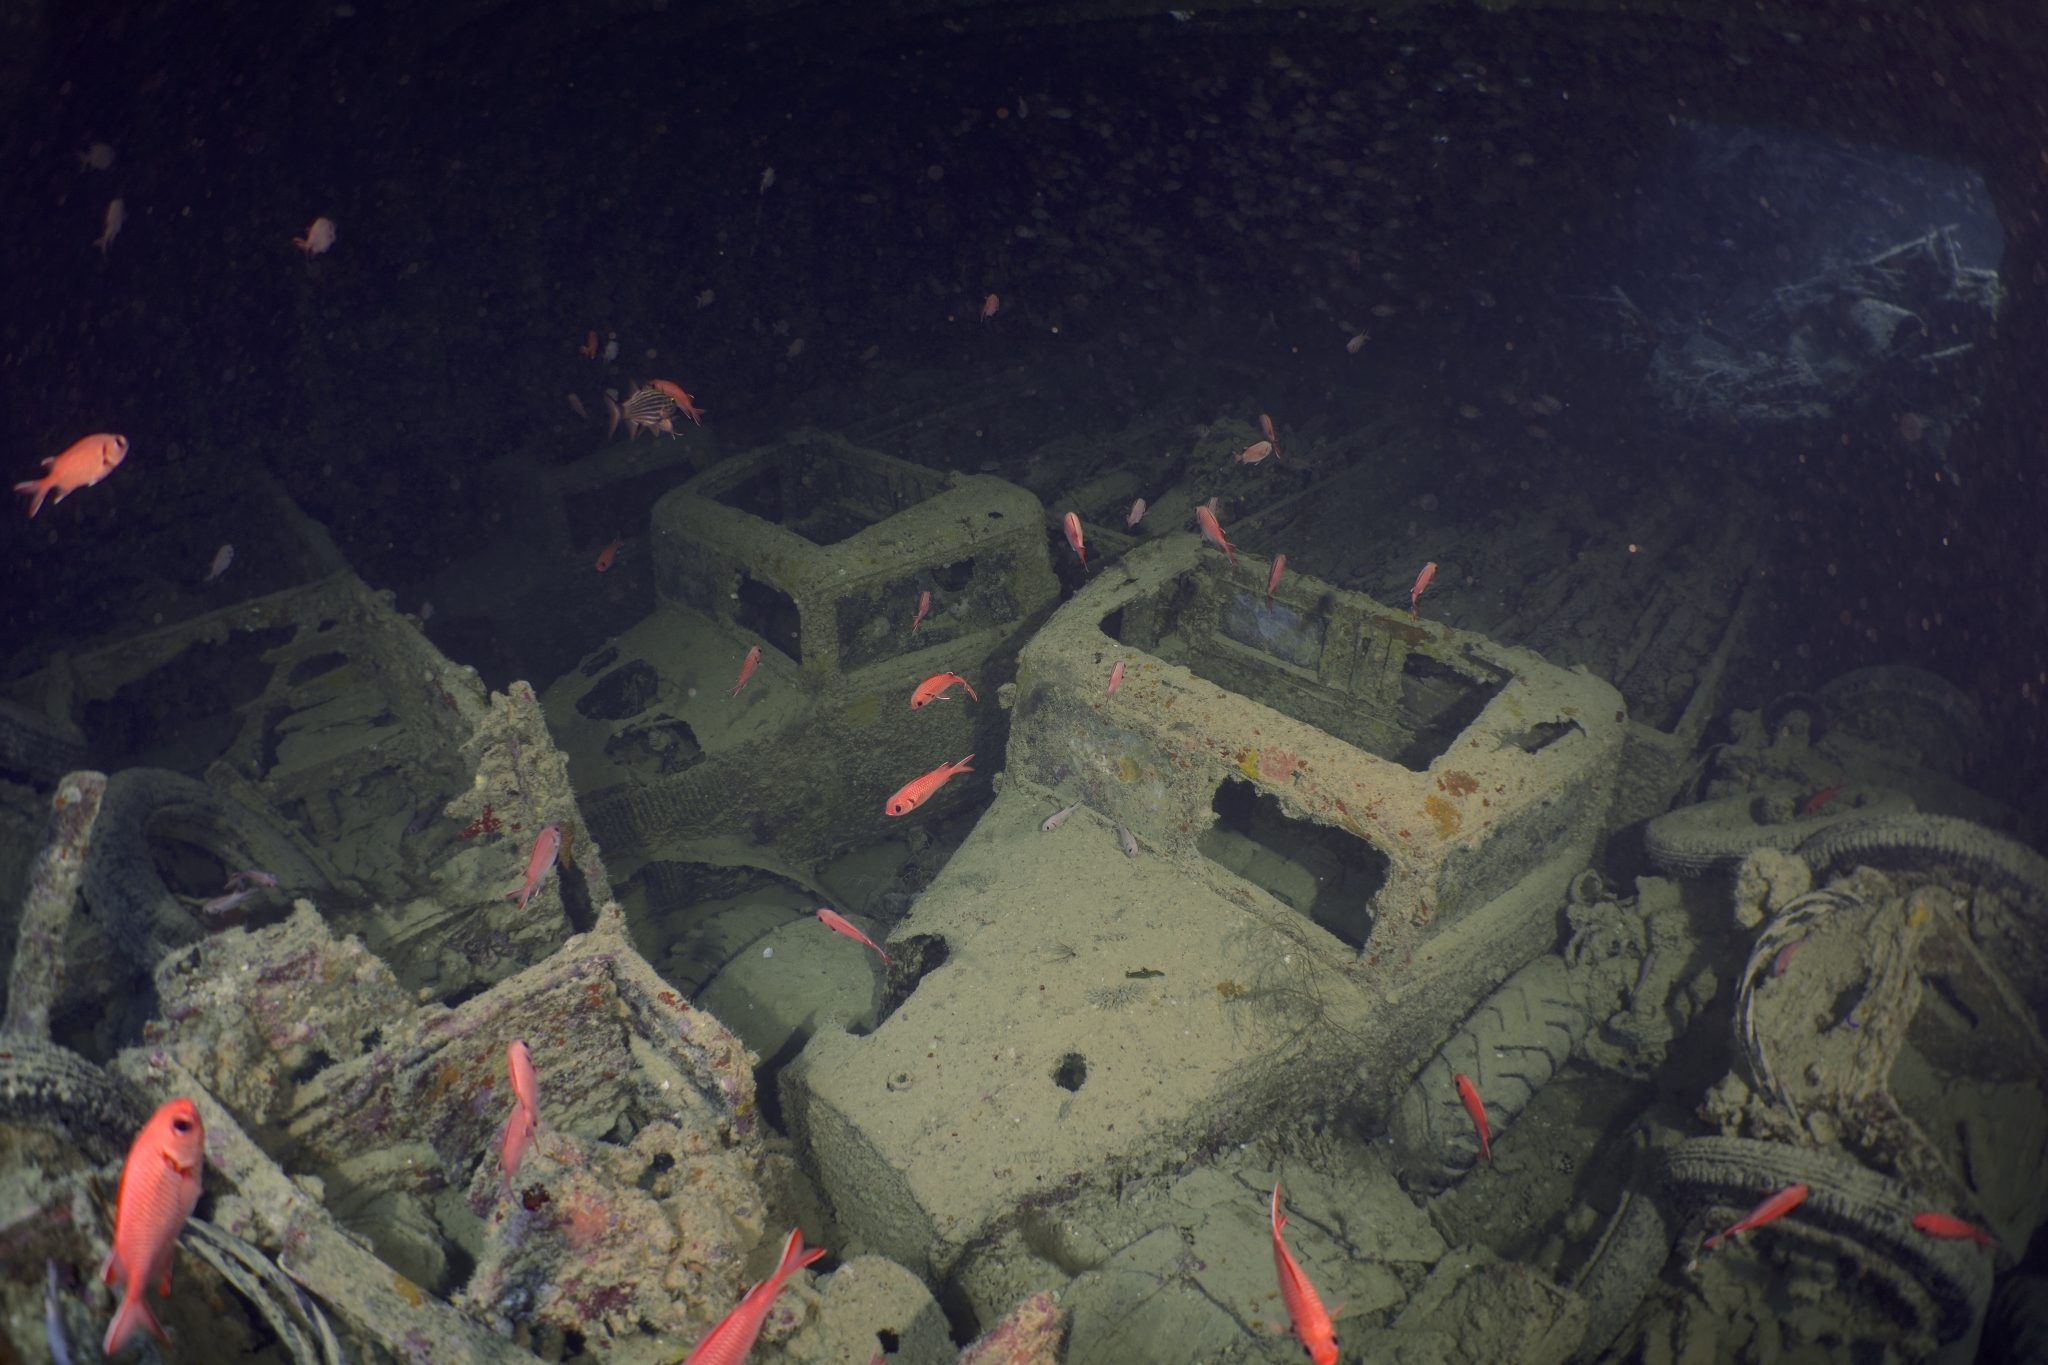
Kitting up, there was a lot of excitement on deck before entering the water and heading down the shoreline. Descending to the wreck, there was a light northerly current which reduced the visibility, making it feel more like the conditions that can be found off the Welsh coast. At 10m from the bottom, the outline of the wreck appeared as we reached the area of the wreck which had been bombed, as our mooring line was attached to part of the propeller shaft. Arriving on deck, instantly everywhere you looked there were many of the supplies which the ship was carrying, including Bren Carrier tanks and projectiles that instantly stood out.
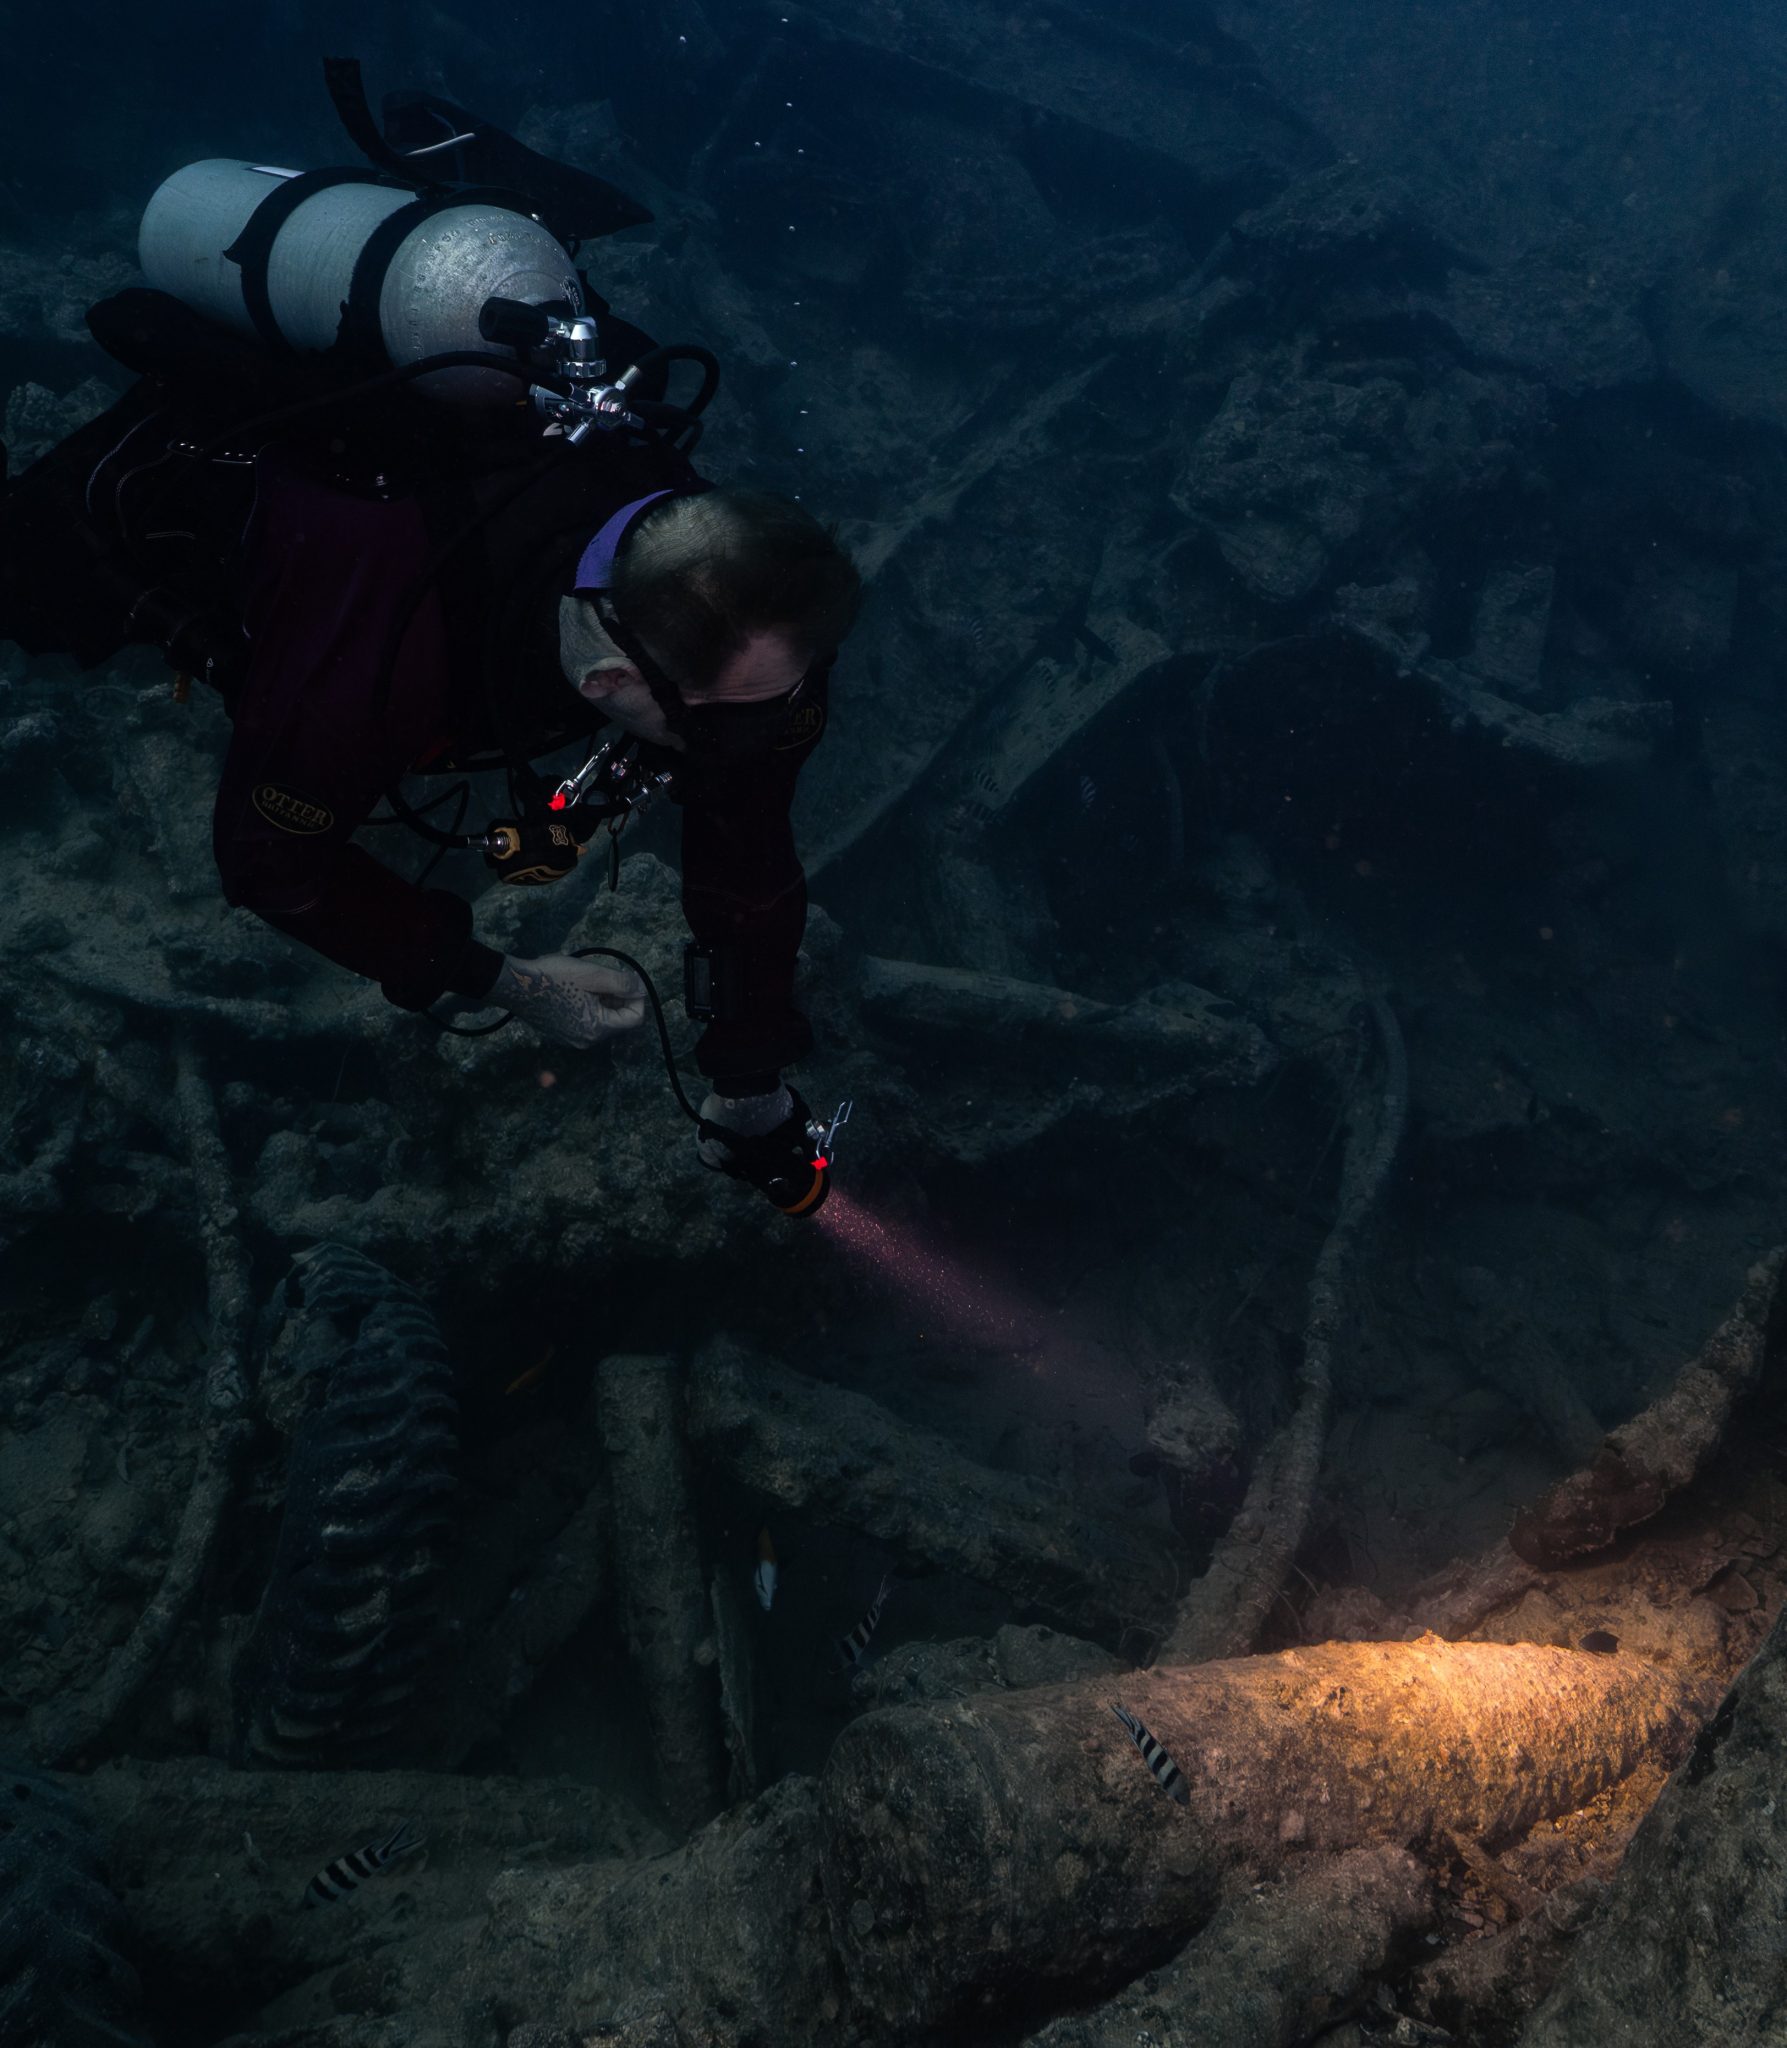
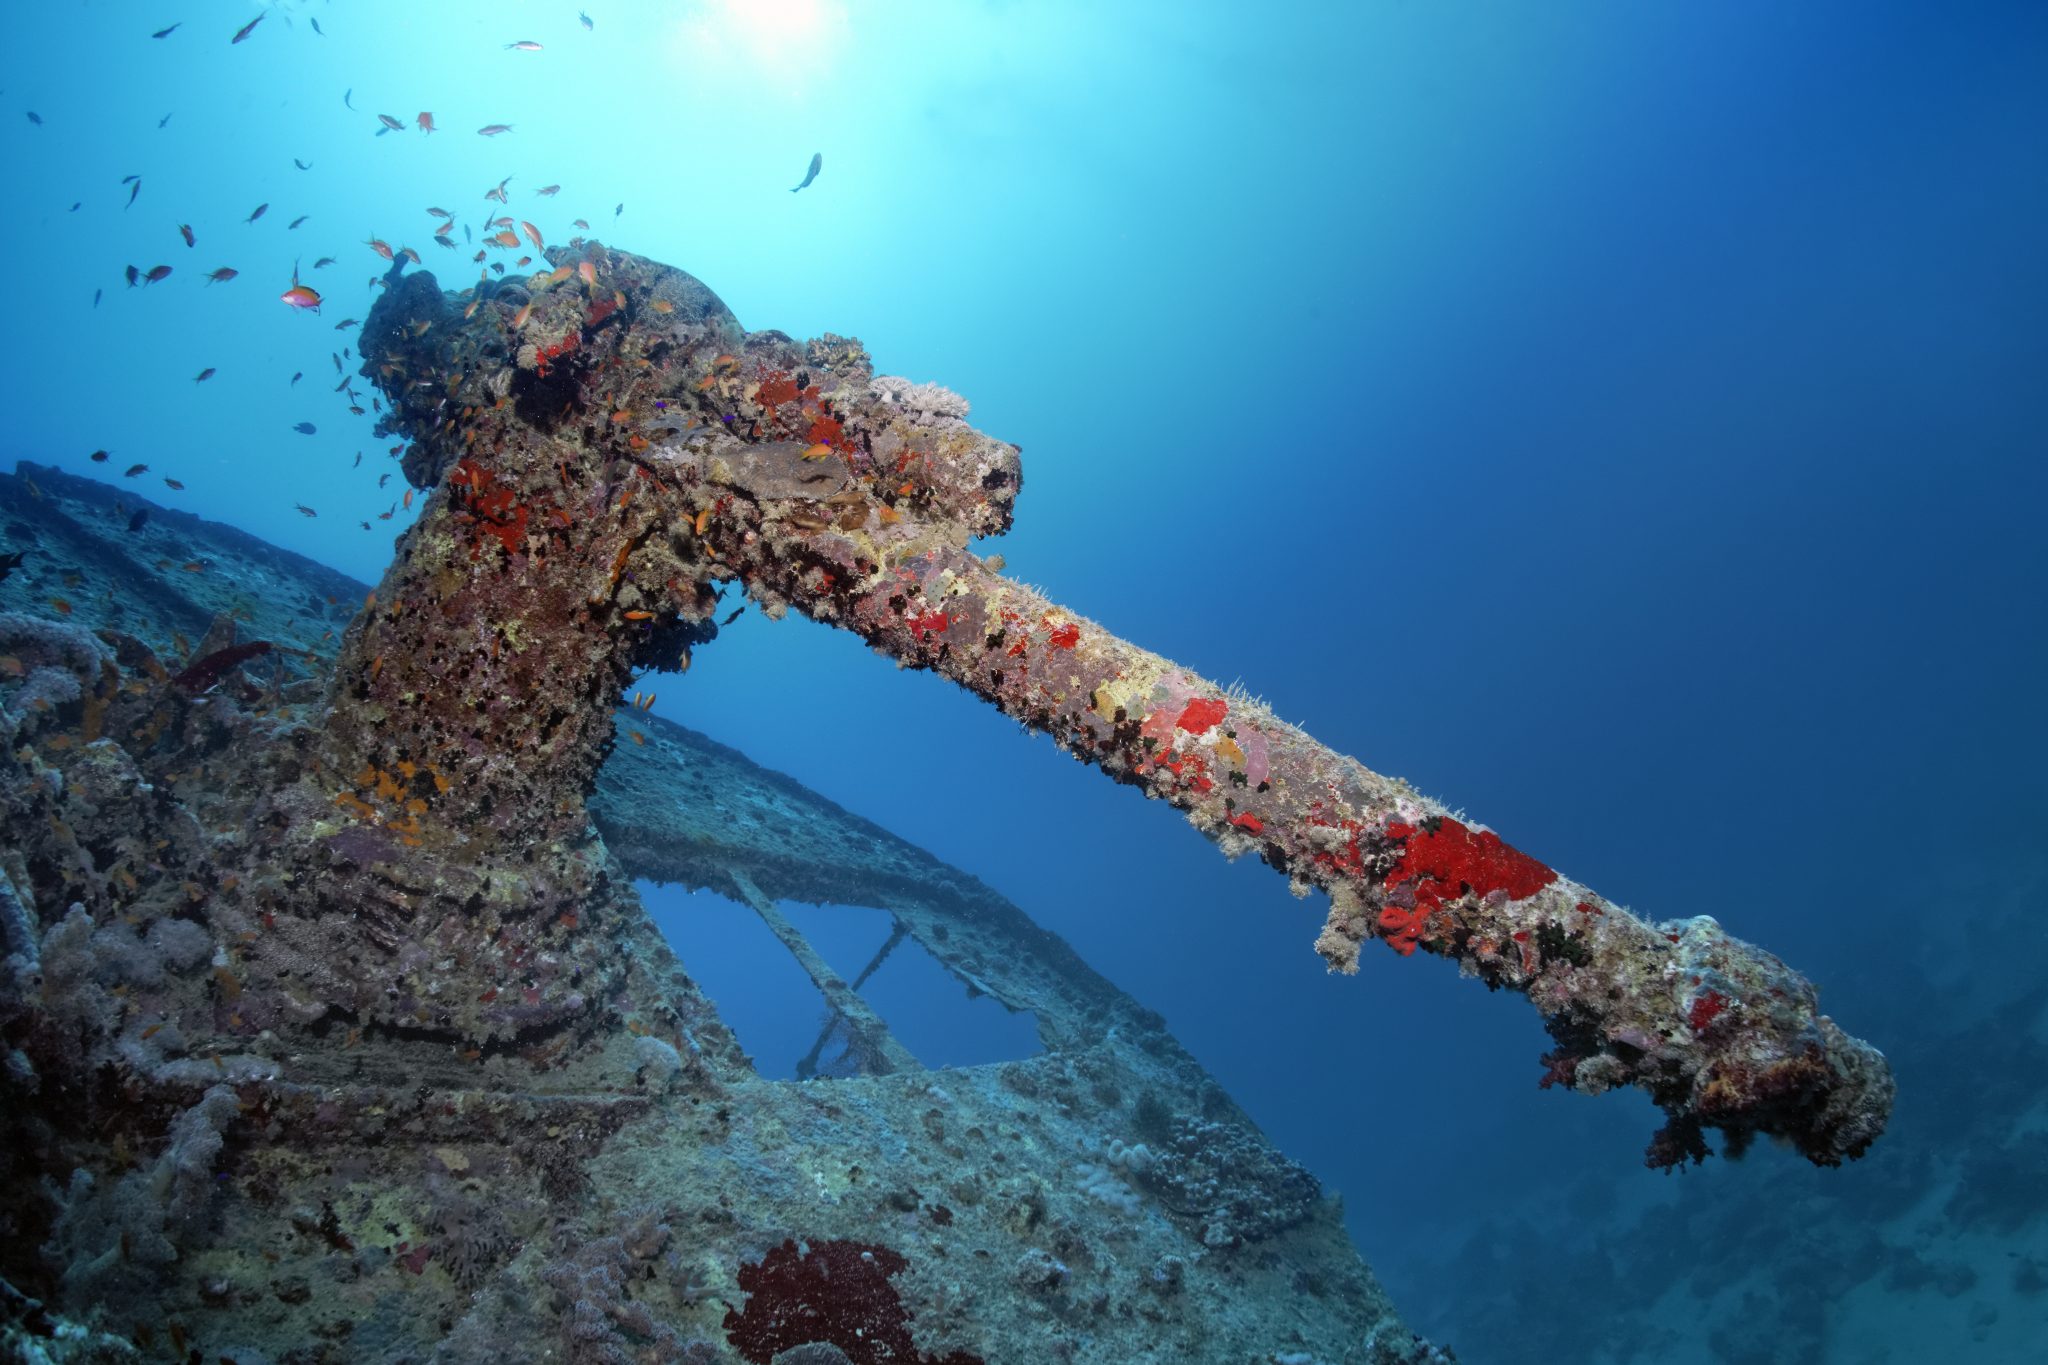
We headed around the exterior, taking a look at the large propeller and guns mounted on deck before entering the wreck on the port side to take a look in the holds. It was incredible to see all the trucks, Norton 16H, and BSA motorcycles still perfectly stacked within, providing a real snapshot in time.

Overall, we had four dives on the Thistlegorm, where for all of the dives we were the only group in the water, and at times, there were just three of us on the whole wreck, which made it even more special, especially knowing that most days the wreck has hundreds of divers. Along with the history of the wreck, there was plenty of marine life on the wreck and around, from big green turtles to batfish, along with shoals of mackerel being hunted by trevally. Some unforgettable dives.
The final leg of the trip saw us cross back over the Suez Canal to the Gobal Islands where we planned to stay the night and do three dives at the Dolphin House for the potential of sharing the dive with dolphins. The site, which included a channel that was teeming with reef fish, especially large numbers of goatfish that swam in large shoals along the edge of the reef. These were nice relaxing dives to end the week. Unfortunately, the dolphins didn’t show up, which was okay as like all marine life they are difficult to predict and you can’t guarantee what’s going to be seen. With the last dive complete, we headed back to port for the final night where it was time to clean all the kit and pack before the departure flight the next day.
The whole week from start to finish on Ghazala Explorer was amazing; the boat had all the facilities you need for a comfortable week aboard. The crew were always there to help throughout the day and the chefs providing top quality food which was required after every dive. The itinerary providing some of the best diving with a nice mixture of wreck and reef dives. I would recommend the trip to anyone, whether it’s your first Red Sea liveaboard in the Red Sea or you’re revisiting. Hopefully, it’s not too long before I head back to explore more of the Red Sea onboard Ghazala Explorer.
To find out more about the Northern Red Sea reef and wrecks itineraries aboard Ghazala Explorer, or to book, contact Scuba Travel now:
Email: dive@scubatravel.com
Tel: +44 (0)1483 411590
Photos: Jake Davies / Avalon.Red


-
 News3 months ago
Hone your underwater photography skills with Alphamarine Photography at Red Sea Diving Safari in March
-

 News3 months ago
Capturing Critters in Lembeh Underwater Photography Workshop 2024: Event Roundup
-
 Marine Life & Conservation Blogs2 months ago
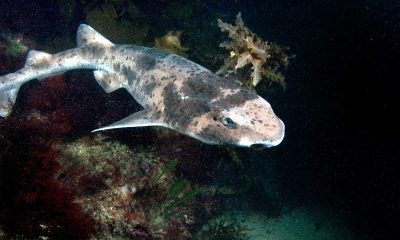
Creature Feature: Swell Sharks
-

 Blogs2 months ago
Murex Resorts: Passport to Paradise!
-

 Blogs2 months ago
Diver Discovering Whale Skeletons Beneath Ice Judged World’s Best Underwater Photograph
-
 Gear Reviews3 months ago
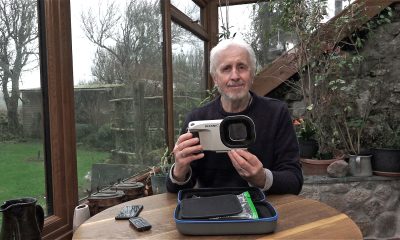
Gear Review: Oceanic+ Dive Housing for iPhone
-

 Marine Life & Conservation2 months ago
Save the Manatee Club launches brand new webcams at Silver Springs State Park, Florida
-

 News3 months ago
World’s Best Underwater Photographers Unveil Breathtaking Images at World Shootout 2023