
News
Duxy’s Underwater Photography Blog: Available Light, Part 4
This is the final part in our series on shooting in available light. Part one was all about shooting with wide angle lenses; part two covered Custom White Balance; and part 3 was about the pitfalls and problems of shooting with Custom White Balance.
For the fourth and final instalment I am going to cover all of the extra bits and little things that don’t fall into the earlier sections.
So we are going to look at colour correction using filters and also colour correcting after the fact when you are shooting on a camera that produces RAW files.
Processing wreck shots, and whether or not to go black and white.
And is it possible to shoot available light macro?
Correction Filters and the Underwater Mode
Some cameras don’t have quick and easy to use Custom White Balance controls, which can put folks off. And they often want a one stop solution.
In days of yore, (and tbh sometimes these days too) with some cameras you had no option but to use a filter, which is normally of a reddish magenta colour, to restore colour balance to your underwater shots. And they work fine as long as you understand that they only really work within a very narrow band of depth, typically around 8-12m. This is because as explained in our earlier white balancing blog, our colours are diminished progressively as we get deeper, so any fixed method of colour correction such as a filter is really only going to work efficiently at one depth. And we would need a collection of filters of variable intensity as we got deeper, which is impractical to say the least.
To be honest, unless there is absolutely no alternative with your camera (GoPro’s and other cameras of this type fall into this category), I would steer away from conventional colour correction filters because they also steal quite a bit of light from you. Or as in the cases below only shoot with them really shallow – no deeper than around 8m – for the best results.
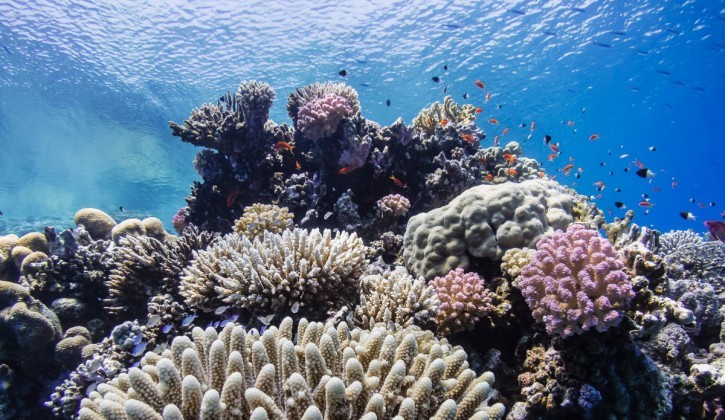
A classic reef scene that could be taken with any camera from a GoPro upwards. This is unfiltered and what a lot of people experience when first shooting underwater.
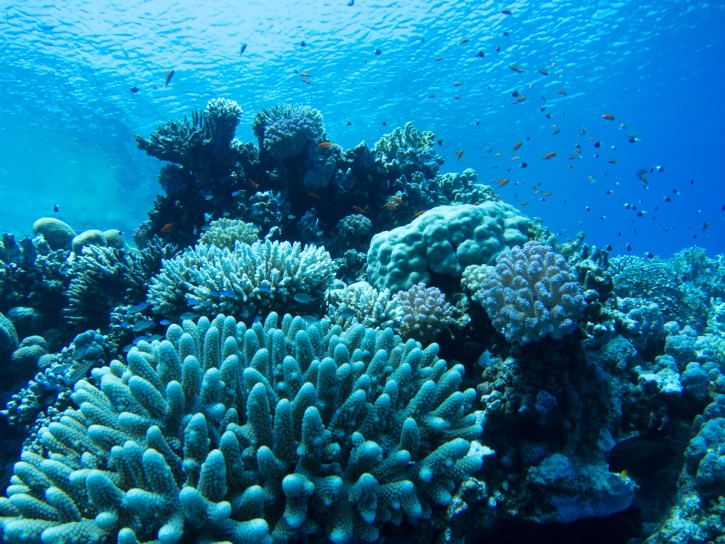
Here the same shot as previous, but this time I’ve used a colour correction filter to restore the colours. Note however that I am very shallow and this is where these filters work best.
Some cameras have a dedicated underwater mode, but this is usually little more than an electronic version of a coloured filter and doesn’t always do much, but of late I’ve seen some more promising offerings of this sort of thing from Canon and Olympus.
Here’s a video I shot using the underwater mode on an Olympus Mirrorless camera, an EM5:
https://www.youtube.com/watch?v=Ulat1Z6L0qk
Shooting in the RAW
Probably the very best way to colour correct your pictures, even if you have the option of custom white balance, is if your camera will allow you to shoot RAW files.
Now if you are not sure, the chances are that your camera won’t, as the ability to shoot RAW will be something you will probably have looked at when buying a camera, and also the salesman will have made a big deal out of it, because it is a big deal. So you know what to ask for when you purchase your next camera.
RAW files are simply the actual data recorded at the sensor and are not processed into a jpeg file within the camera.
The means that you can have full control after you’ve taken your shots to process the pictures yourself, and really fine tune things like colour correction, white balance and even exposure to a lesser degree. This processing you would do within a program like Adobe Photoshop or Adobe Lightroom, and this is why things like RAW shooting are available to people with high end compact cameras or Mirrorless and DSLR shooters.
It’s nothing to be intimidated about and processing RAW files is a relatively easy task, and is also quite fun too. A bit like the modern equivalent of having a home darkroom, but without the dangerous chemicals and fumbling around in the dark!

This is an uncorrected RAW file taken on a Canon Compact camera, at around a 12m depth.
After colour correction within Adobe Lightroom, the RAW file has allowed me to completely restore the colours, but beware – this won’t work miracles, and at depths greater than 12m, it has less usefulness, and maybe using a strobe would be better.
Macro Photography in Available Light
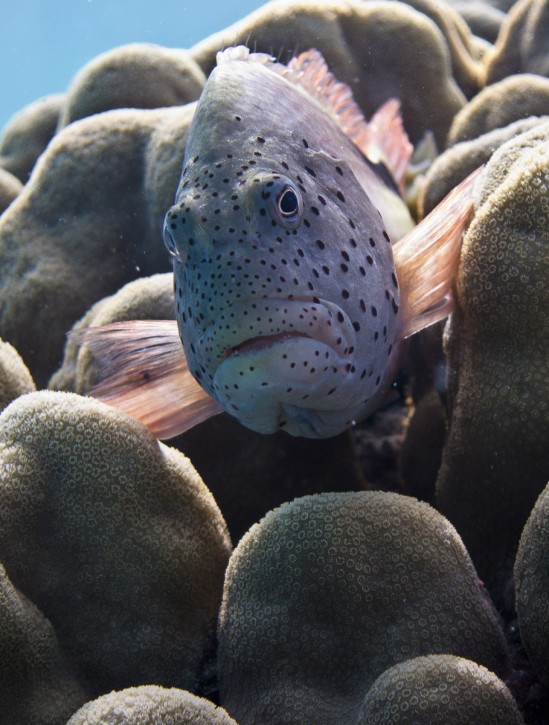
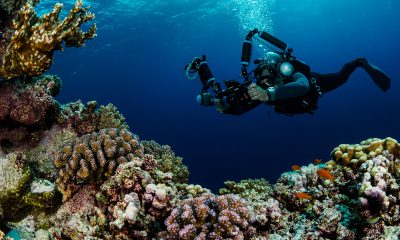
Underwater macro or close up photography is often thought to be only practical if you use extra lighting of some kind. If you encounter subjects that are in good light like the Hawkfish below, then there is no reason as long as your shutter speeds and apertures of your camera will allow to shoot with what the sun is providing for you. This can often be simpler and produce more naturalistic results.
So keep an eye on what your camera is telling you, and if the camera shake warning is flashing then you may need to up your ISO’s to provide a suitable shutter speed to hand hold. On that note hand holding close up shots is more tricky than wide angle so you may need to pick (or force shutter speeds with a higher ISO) than you could get away with with a wider lens. I try and keep above 1/250 of a second if shooting like this.

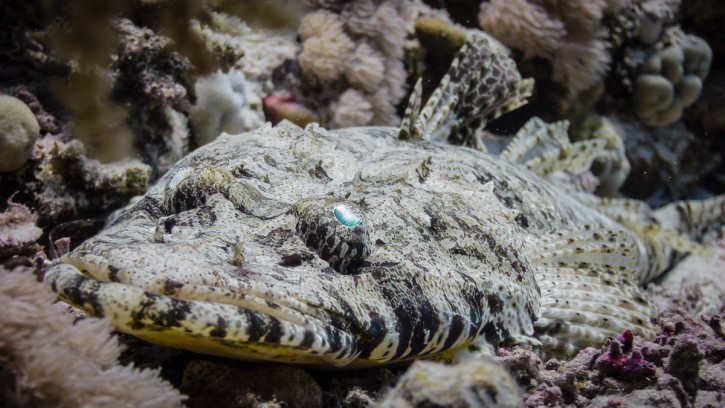
This Lizard fish is about as close as you could expect to shoot successfully without a strobe. These guys are often in very shallow water, laying on bright well lit sand, so are a very suitable subject for available light macro photography.
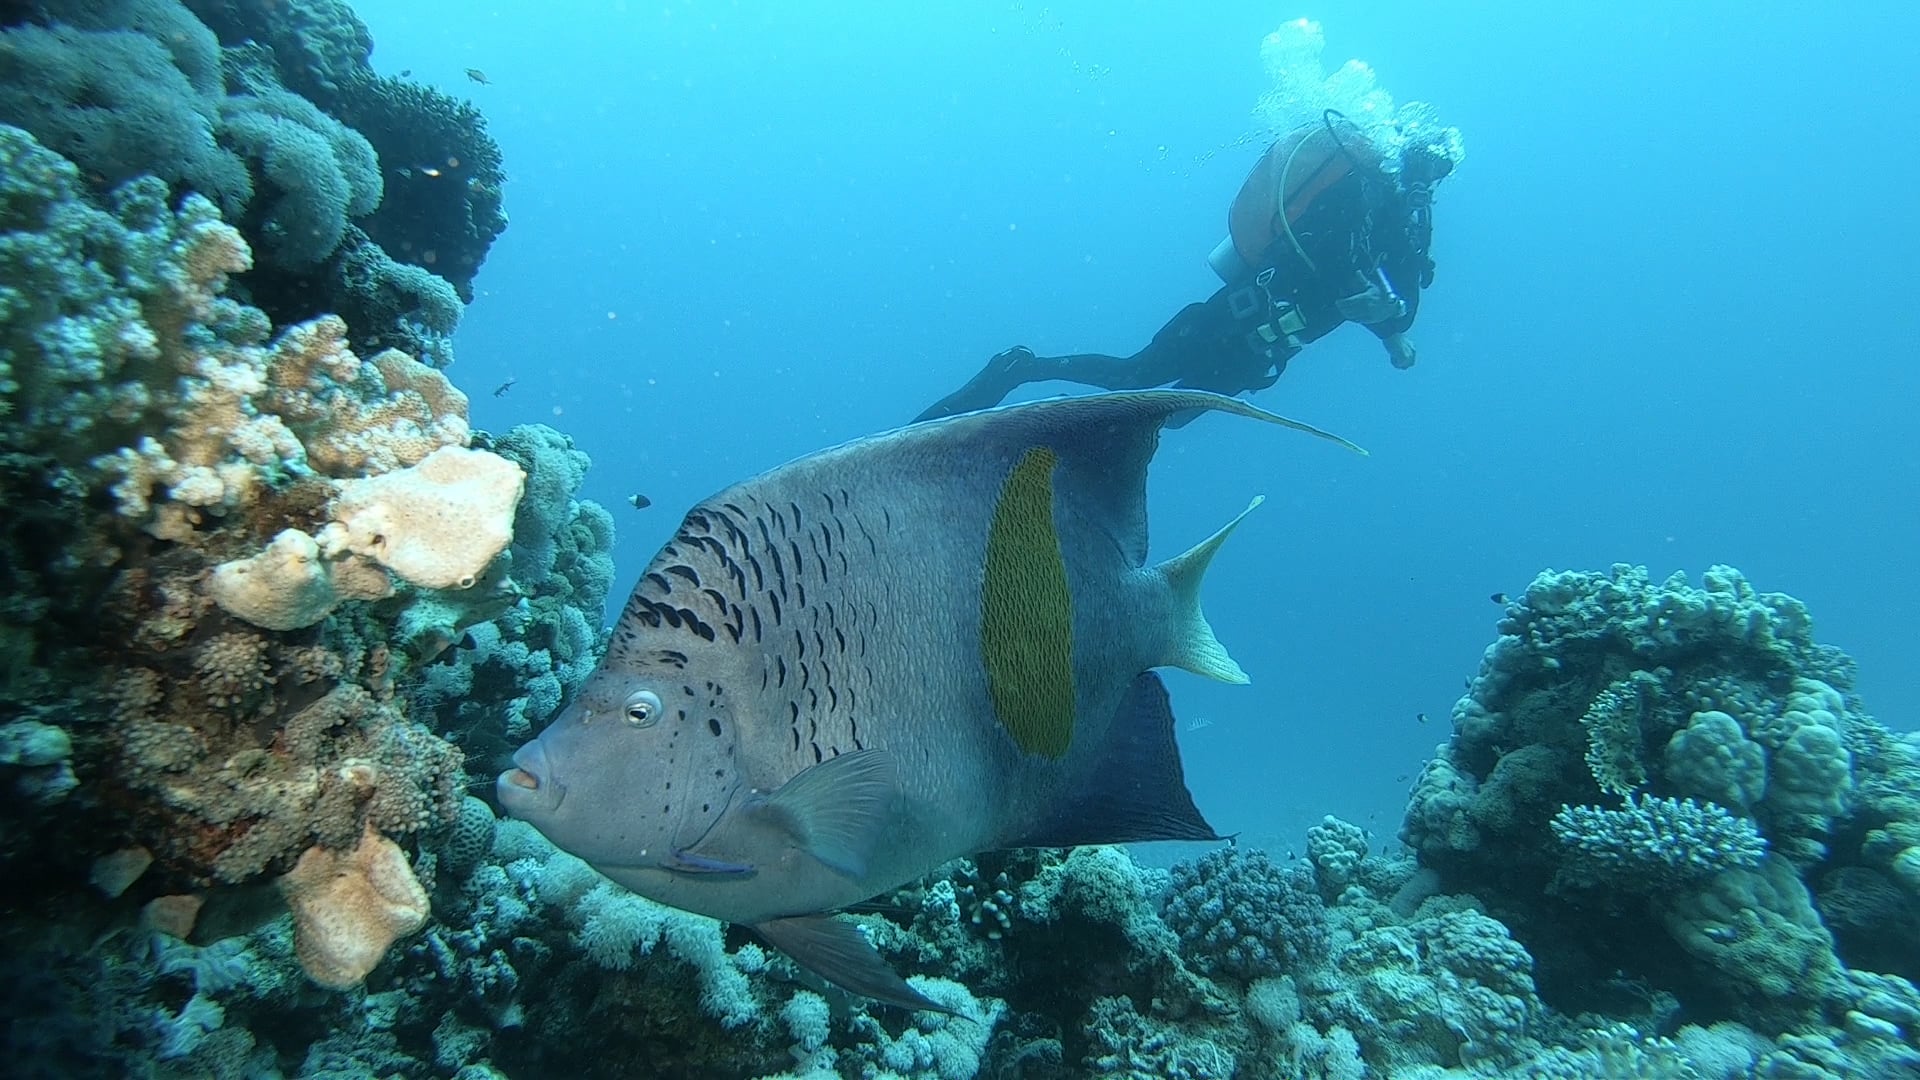
Fish portraiture like this is perfectly achievable using available light, and allows you to capture the subject exactly as you see it. The things you need to watch out for are that your shutter speeds are sufficiently high enough to hand hold your camera set up, because in macro mode you may also be zoomed in slightly so any movements you make will be magnified. These two shots below were typical examples of pictures where I wanted to get the shot exactly as I was seeing it, and whilst the Crocodile Fish is only just qualified to be called a macro picture, everything I’ve said above applies.
Fish Portraits like the ones here shot using compact cameras and underwater white balance, or RAW files, is very possible in very bright light conditions.
Macro Photography is normally the preserve of someone shooting with strobes only, but as long as you are in good light Macro photography is possible.
Available light wreck shooting
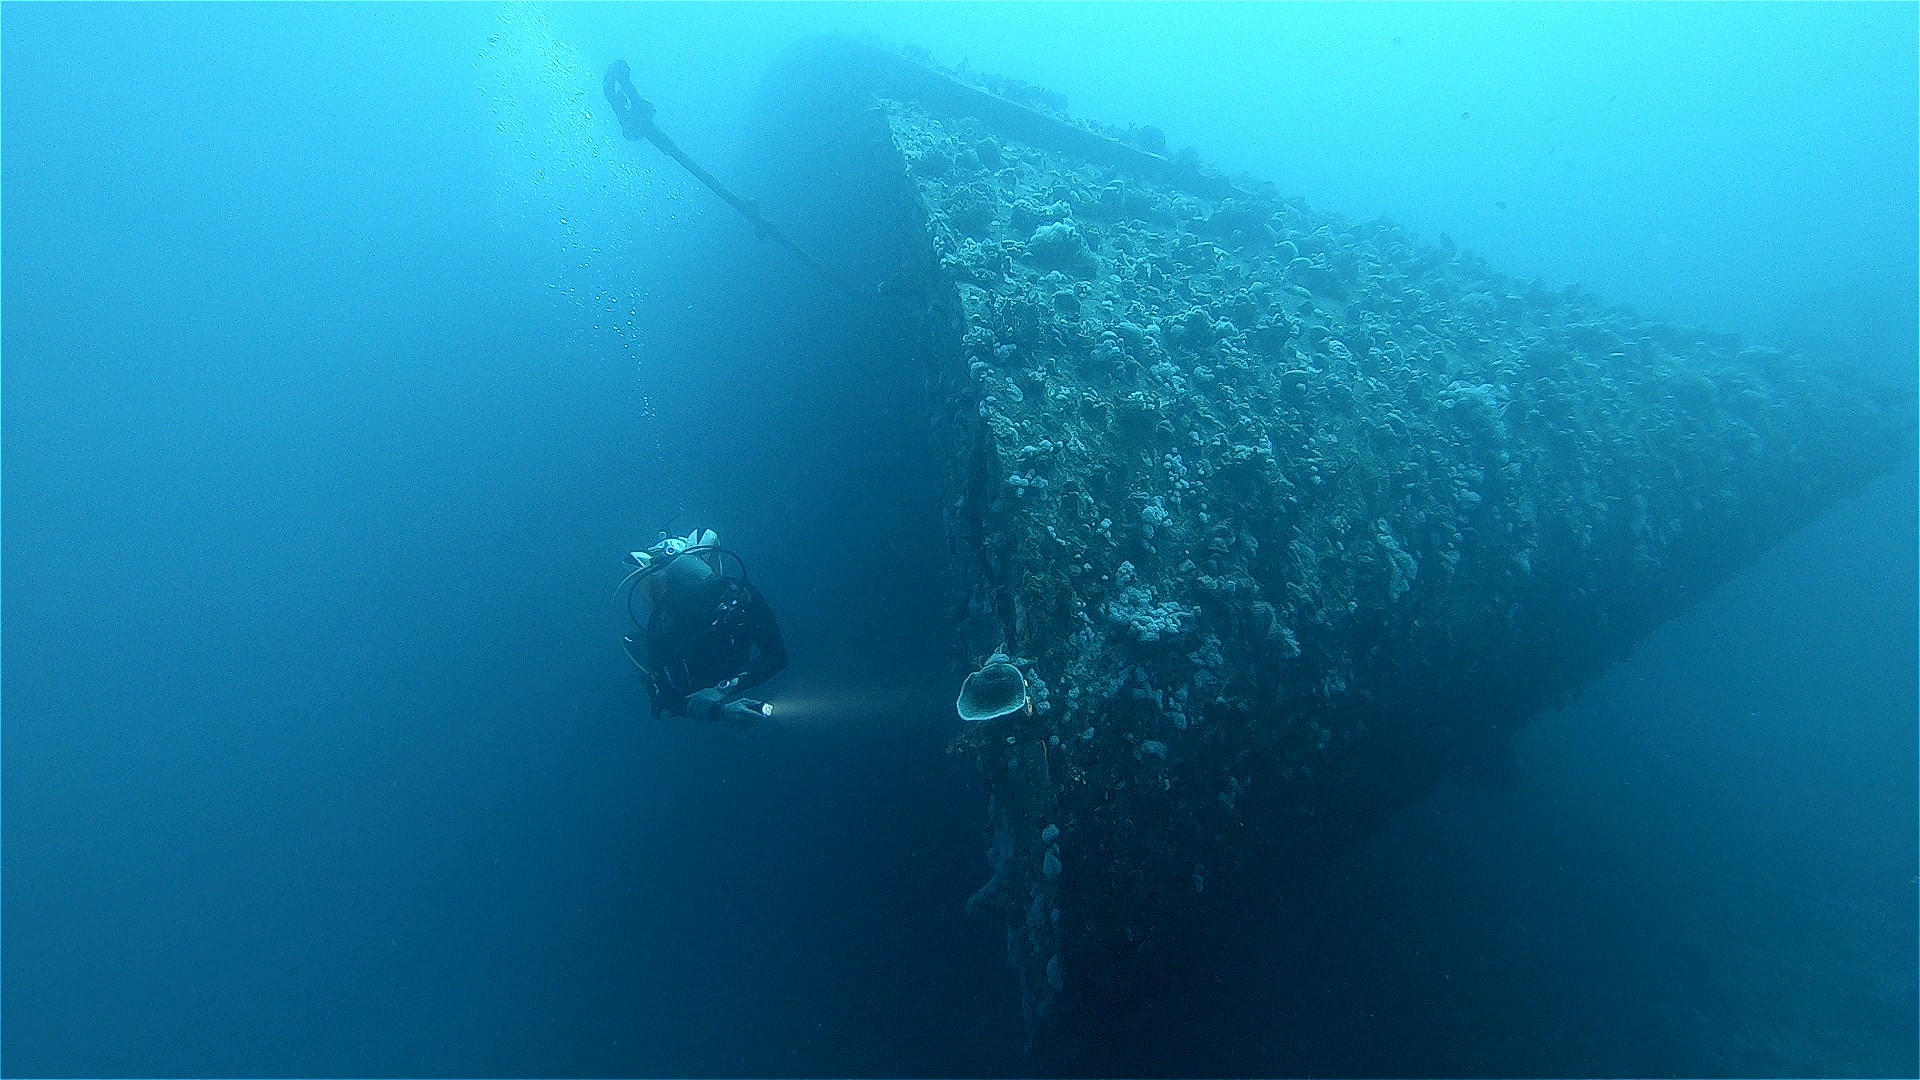
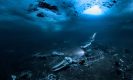
A very popular subject for available light shooting is to shoot big expansive wreck photographs, and often shooting available light is the only way possible to light such a large object, because even with the most powerful strobes it would be nigh on impossible to completely illuminate a large subject like a wreck. Unless the light conditions are in your favour, and the wreck is positioned so that the sun is directly illuminating it, when you want to shoot it, then getting your colours correct will depend hugely on all these variables. Just one of the reasons why people often choose to turn their wreck photographs to black and white – this not only heightens the drama and mood but is often the only get out clause to avoid weird colours, because the conditions are not in your favour.
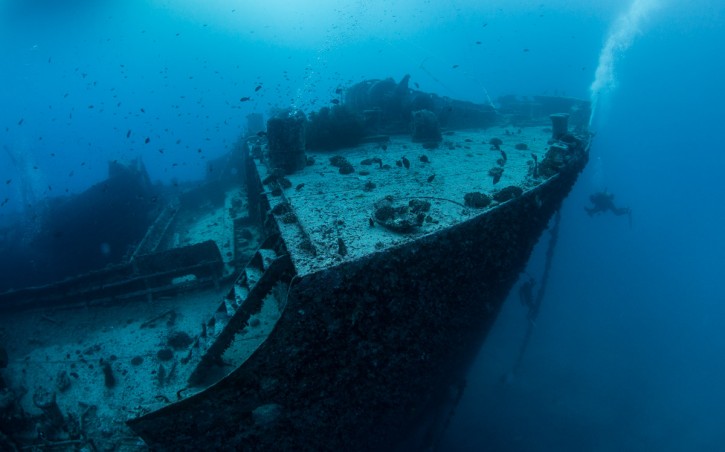
For the stern shot of the Thistlegorm, I have actually used a little bit of flash, but it has only slightly lightened the very closest part of the wreck, and lifted it a little. To all intents and purposes the shot is being mostly illuminated by the late afternoon sunlight.
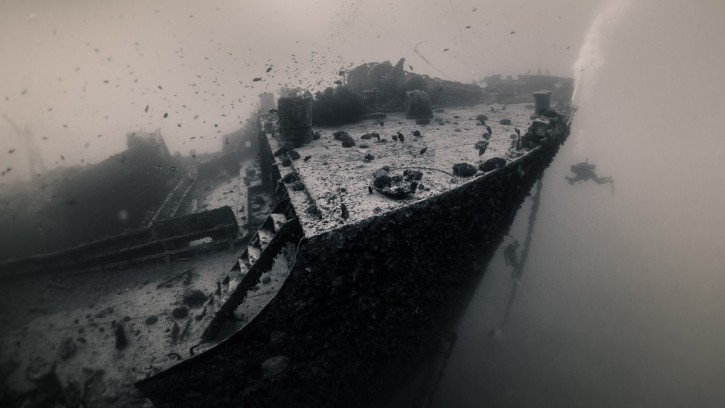
So I will leave it up to you which you prefer, the straight shot or the black and white toned version below it:
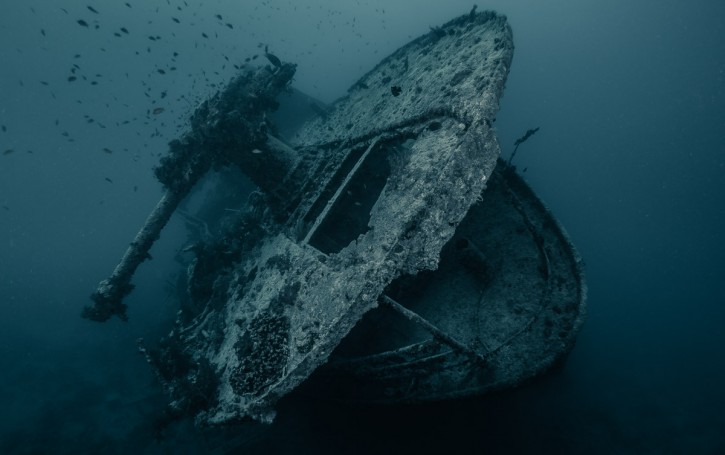
A shot at the stern, where I have been lucky enough to have no other divers in the scene, which if you’ve been to the Thistlegorm, you’ll realise is rare indeed. This is with only a tiny amount of flash lighting up the very closest part of the wreck.
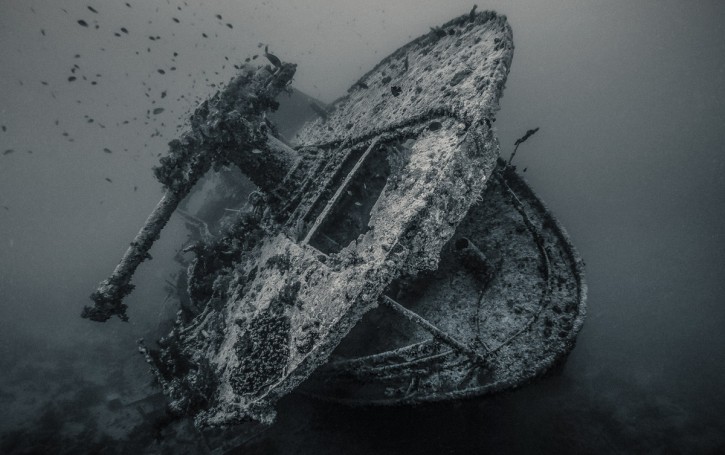
The black and white version of the stern shot of the Thistlegorm. It’s a matter of personal taste which one you prefer. Making black and white edits like this is a question I get asked a lot on our photo workshops.
The side on shot which is an unusual angle. I have given you the straight shot at the top with little or no editing, and then the more stylised black and white version below it:
This is a rather untraditional viewpoint of the Thistlegorm, taken sideways on at the bow. The picture is a little soft at the edges because of the wide aperture I have had to use to gain a sufficiently fast shutter speed to hold the camera steady.
Because of the wide aperture I used which has softened the edges somewhat, I decided to opt for a black and white edit which actually highlights the softer edges to try and give it a dated and otherworldly feel.
Another alternative is to come on a dedicated wreck photography week where we will often dive the same wreck many times throughout the day to raise the chances of good lighting. I spend a lot of time on these trips teaching people how to edit their pictures, with black and white editing particularly popular.
I hope you’ve enjoyed this series on available light shooting. If you’d like to ask me any questions or talk about our photo trips please drop me a line at duxy@scubatravel.com.
[hr style=”single”]
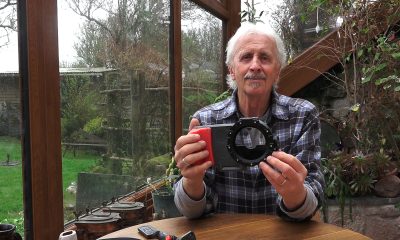
![]() Duxy is the in house photo-pro for UK-based dive tour operator Scuba Travel. To find out about availability on Scuba Travel’s underwater photography workshops hosted by Duxy click here.
Duxy is the in house photo-pro for UK-based dive tour operator Scuba Travel. To find out about availability on Scuba Travel’s underwater photography workshops hosted by Duxy click here.


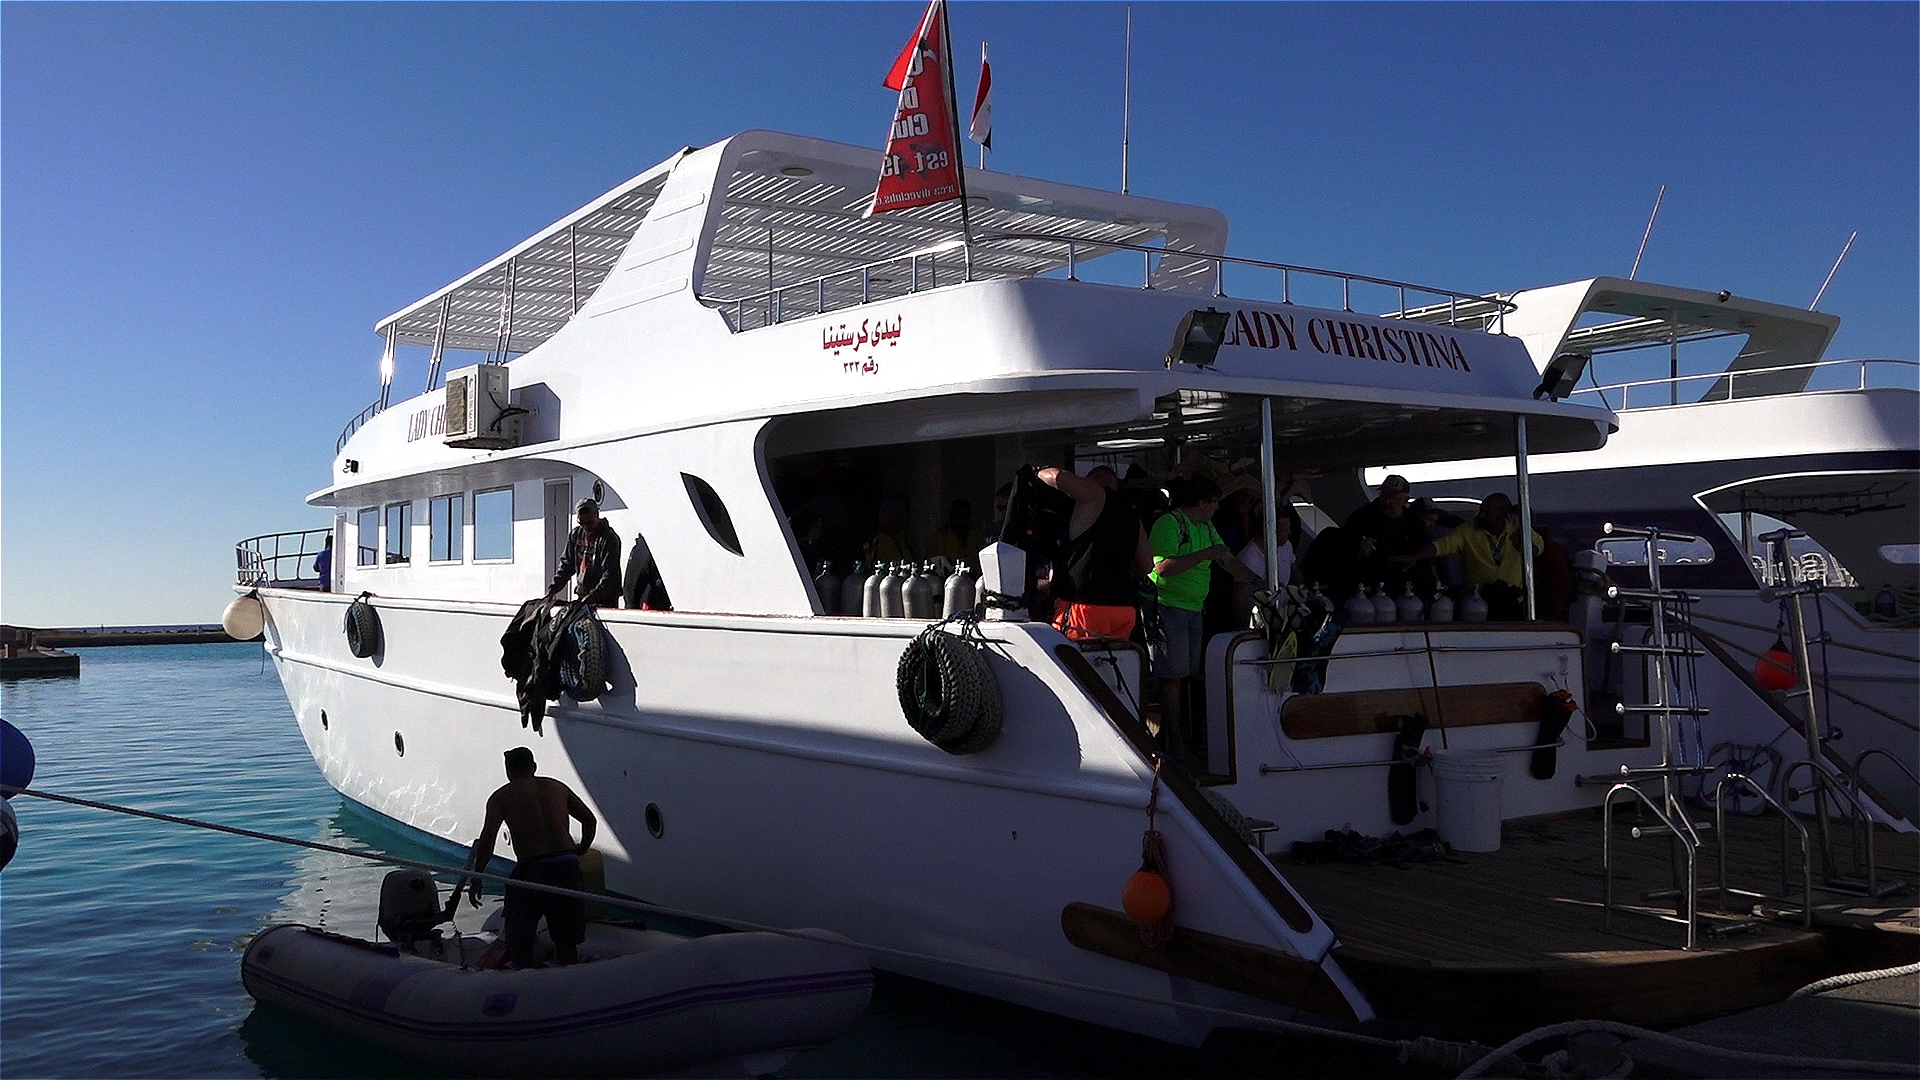
Day three of my trip to Somabay and we were spending the day on the Lady Christina and diving on the wreck of the Salem Express.
Diving wrecks for me is always one of mixed emotions. The excitement of diving a wreck is more than often tempered by the thought of loss of life when she sank. The Salem Express was a passenger ship and a roll-on/roll-off ferry travelling from Jeddah, Saudi Arabia to Safaga, Egypt. Most passengers were of poor class travelling home from their holidays while around 150 people were returning home from their pilgrimage to Mecca.
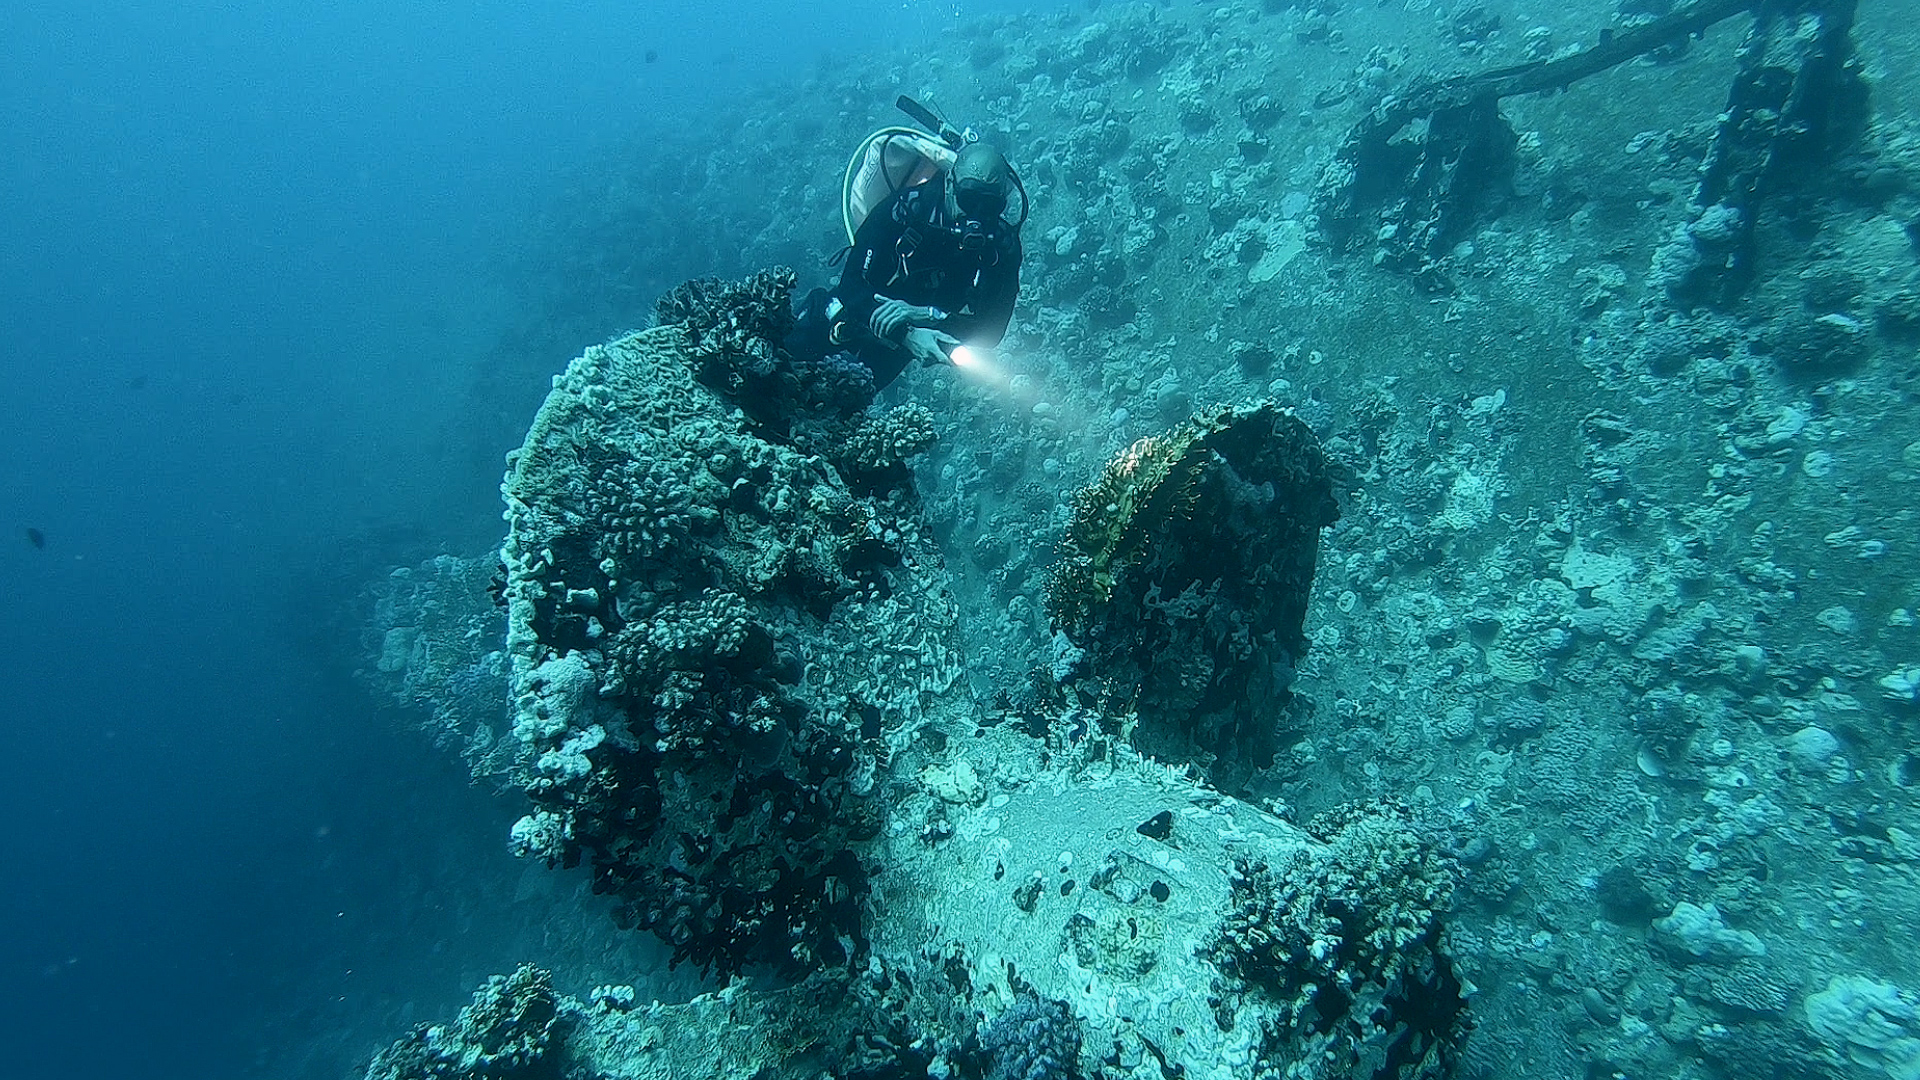
The ship struck a reef and sank within 20 minutes. Passengers were trapped below deck and the ship was filled with fear and panic.
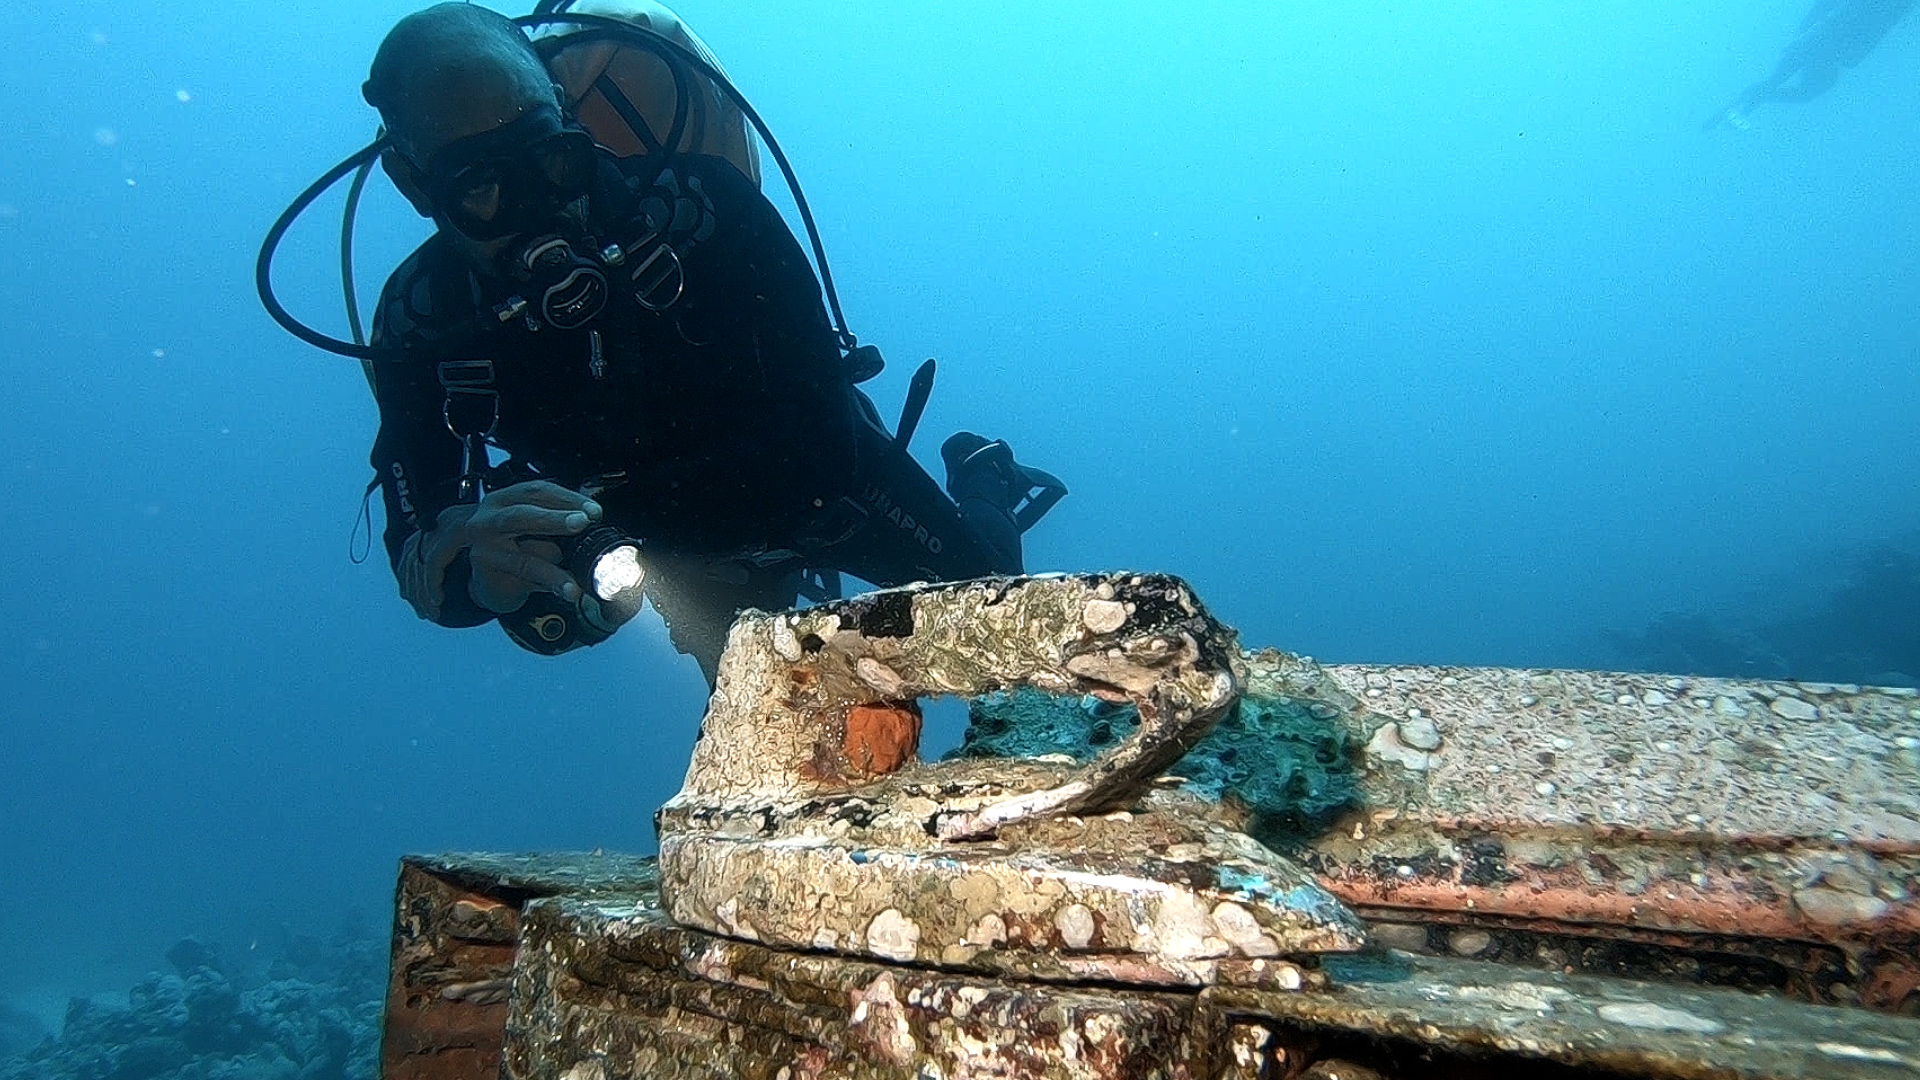
The wreck area is strewn with personal belongings from the crew and passengers such as a transistor radio and a flat iron for clothes. A diver at sometime has put them in a prominent place to be seen.
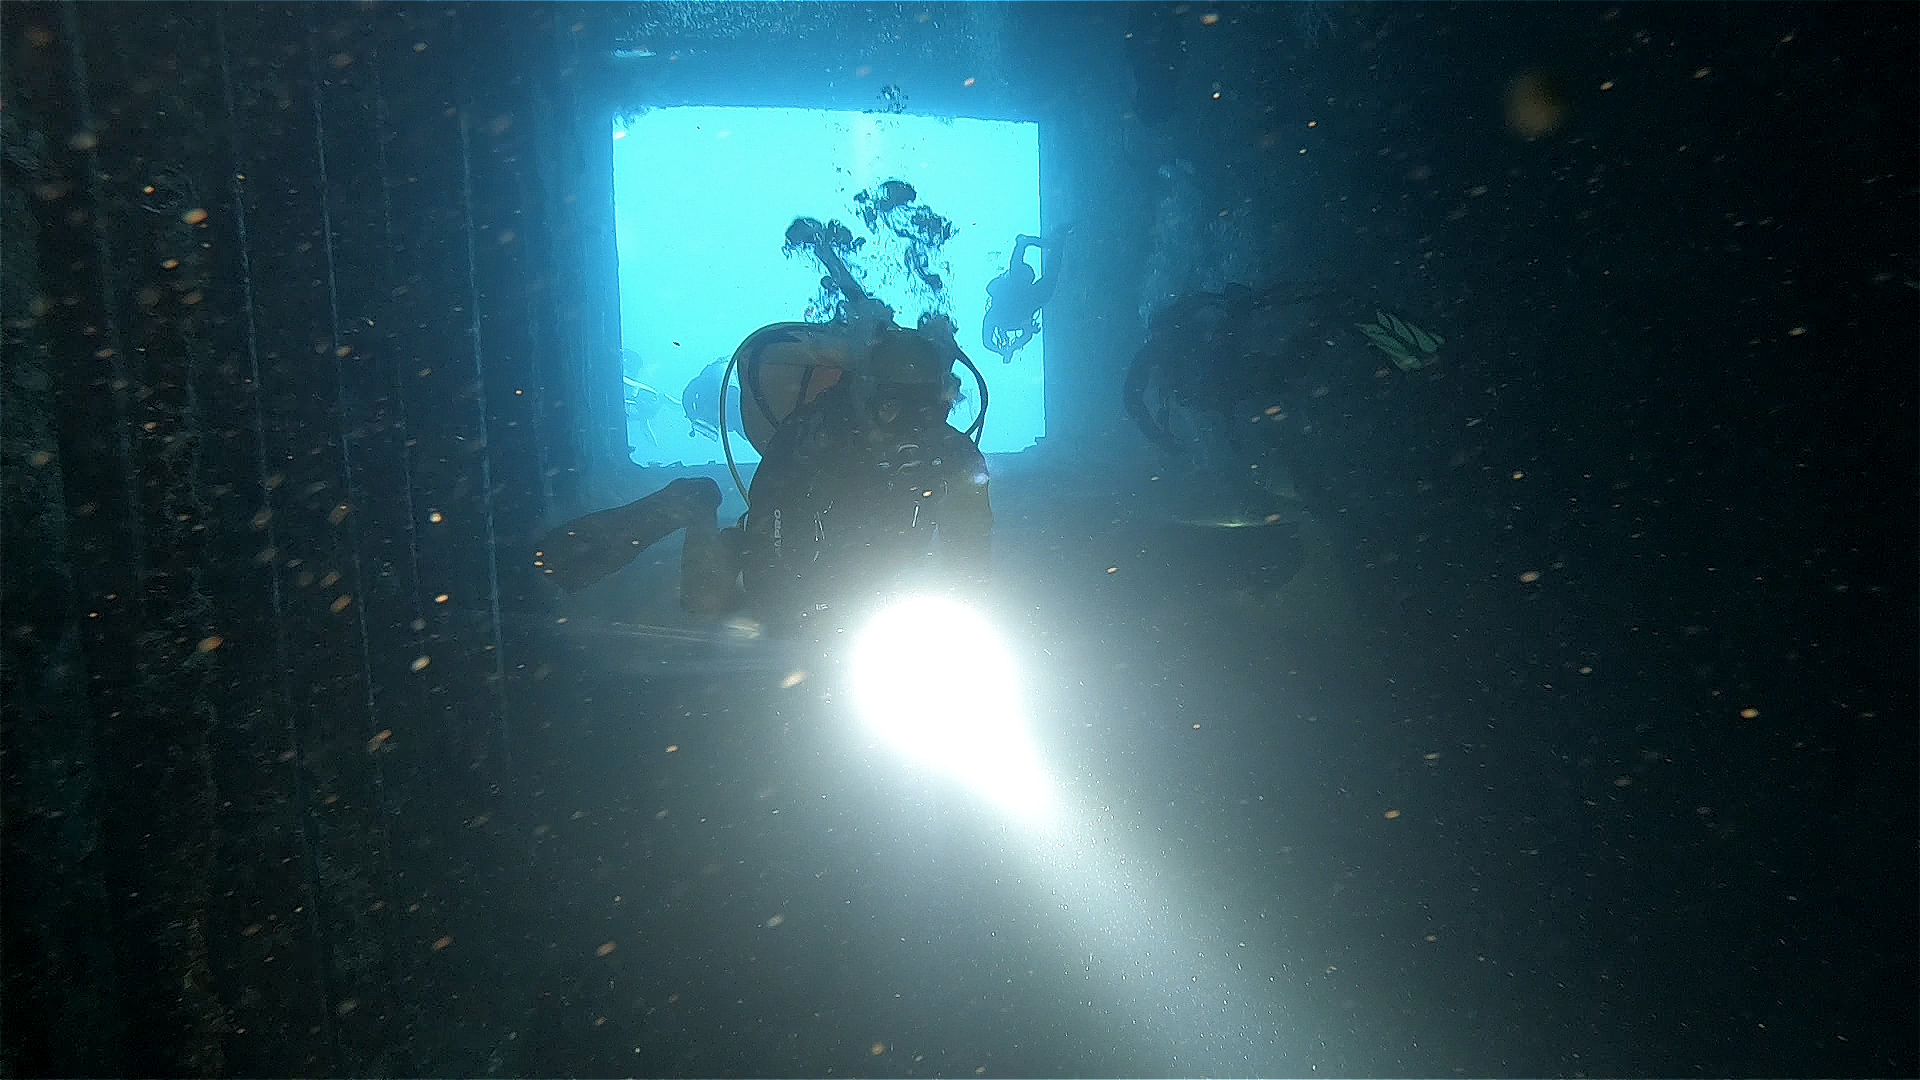
Tragically only one life boat was launched while the others went down with the ship. More than 600 men, women and children lost their lives here.
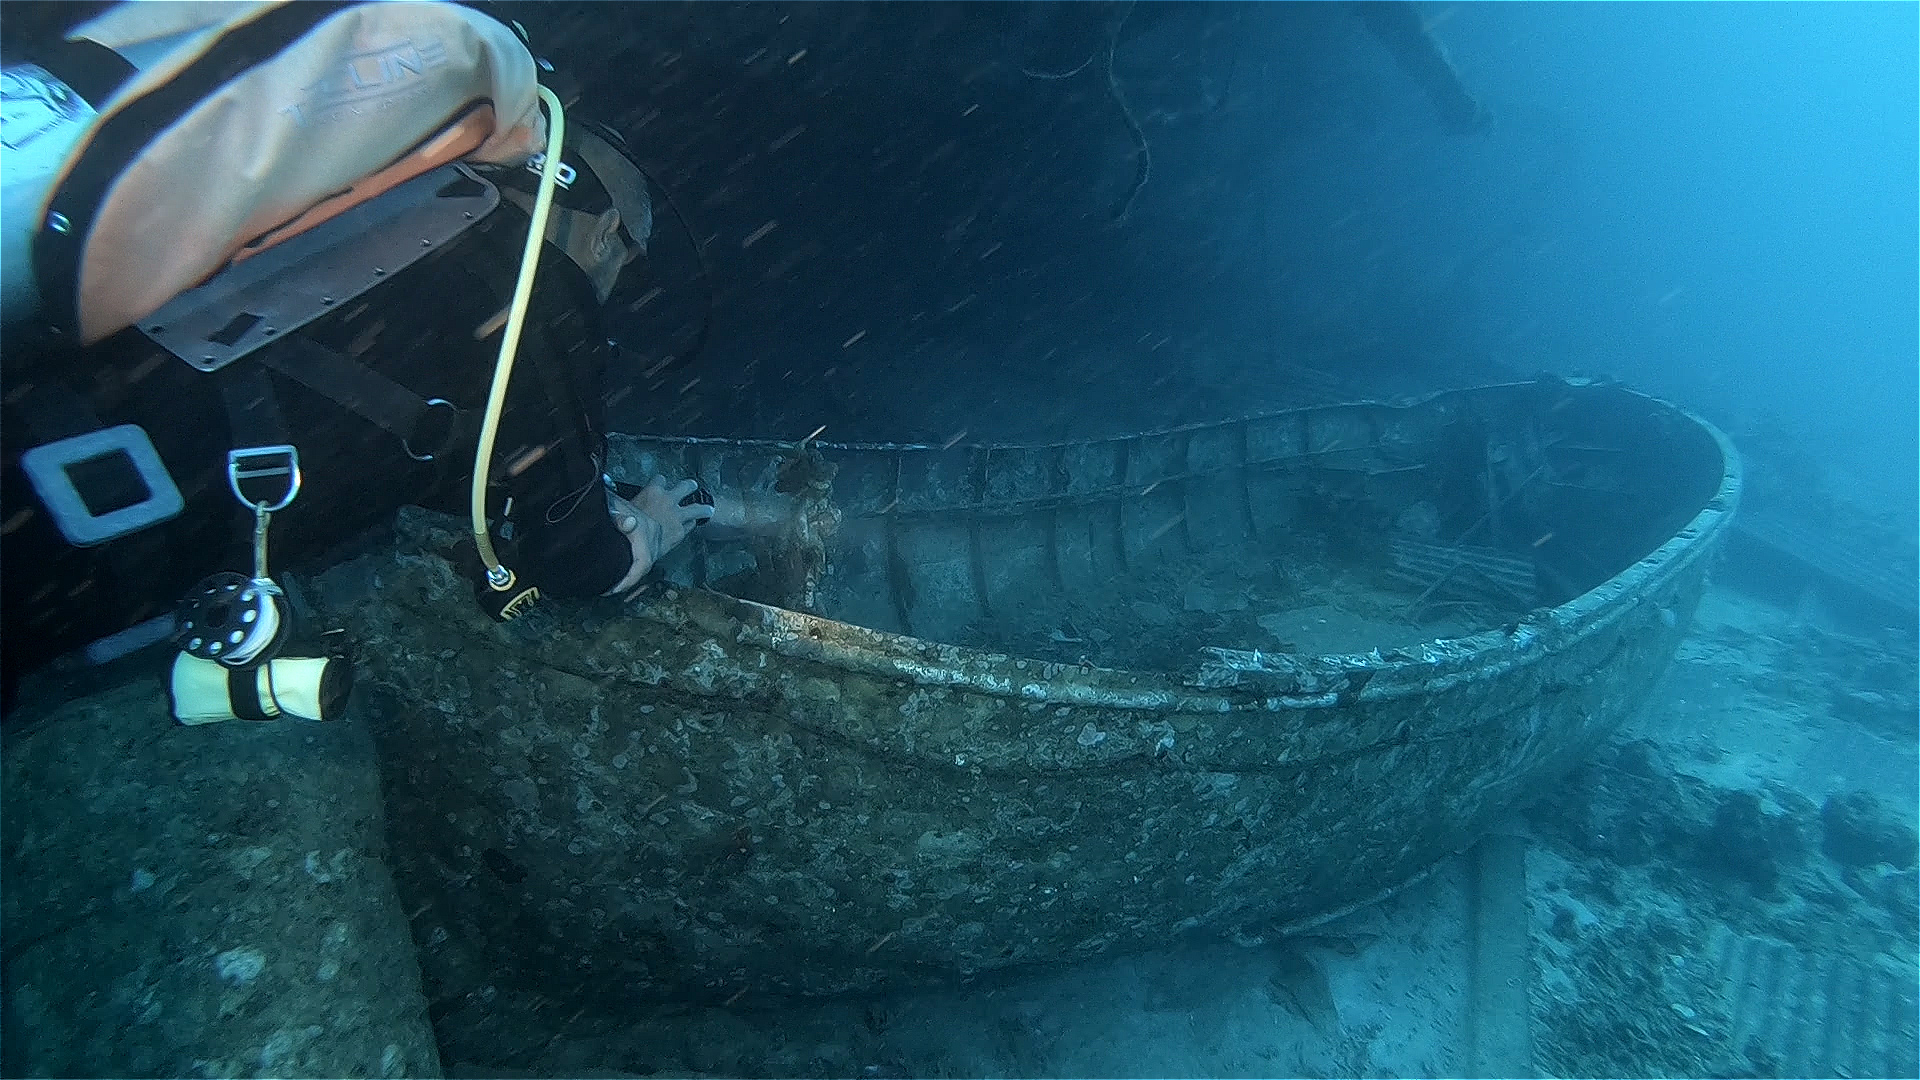
It’s a stark reminder that the sea can be unforgiving and so when we dive on such wrecks we should do so with humble regard.
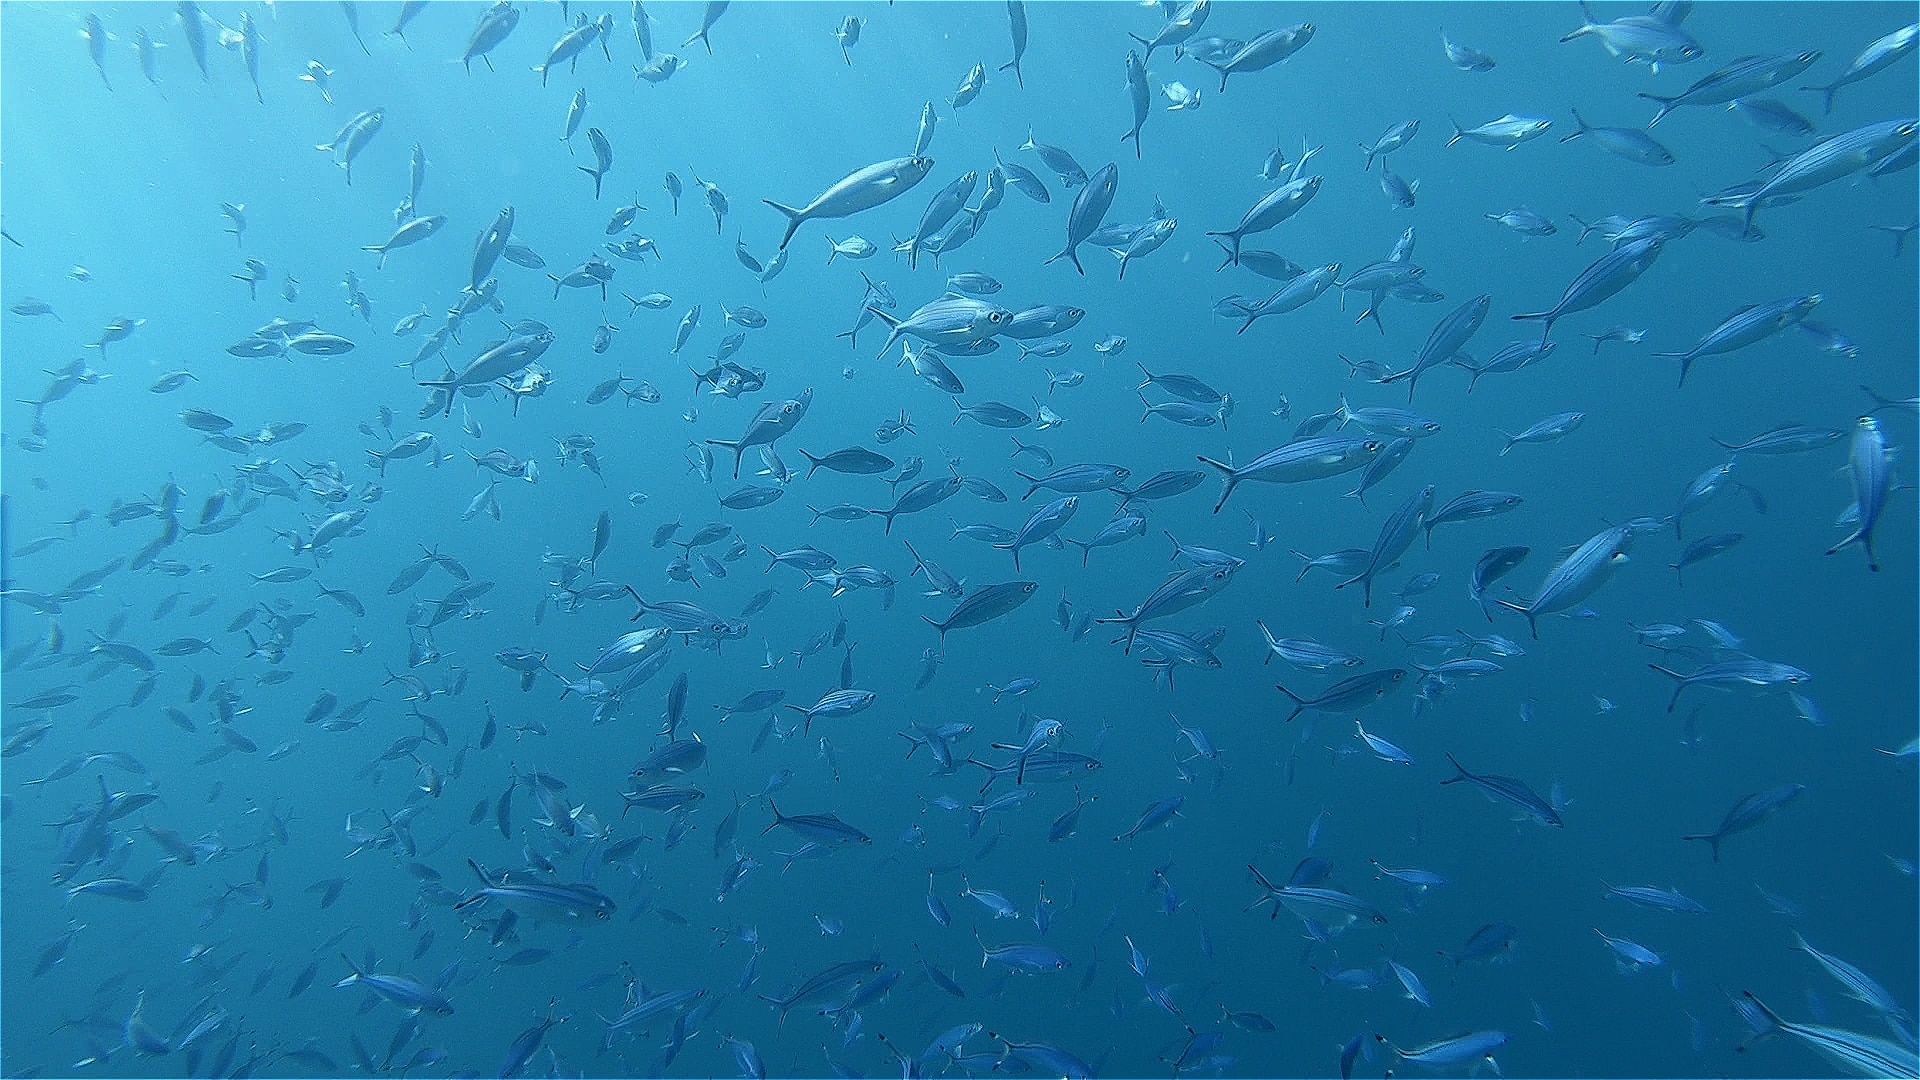
Returning to the surface, shoals of fish are gathered under our boat and seem to be welcoming us back into the light.
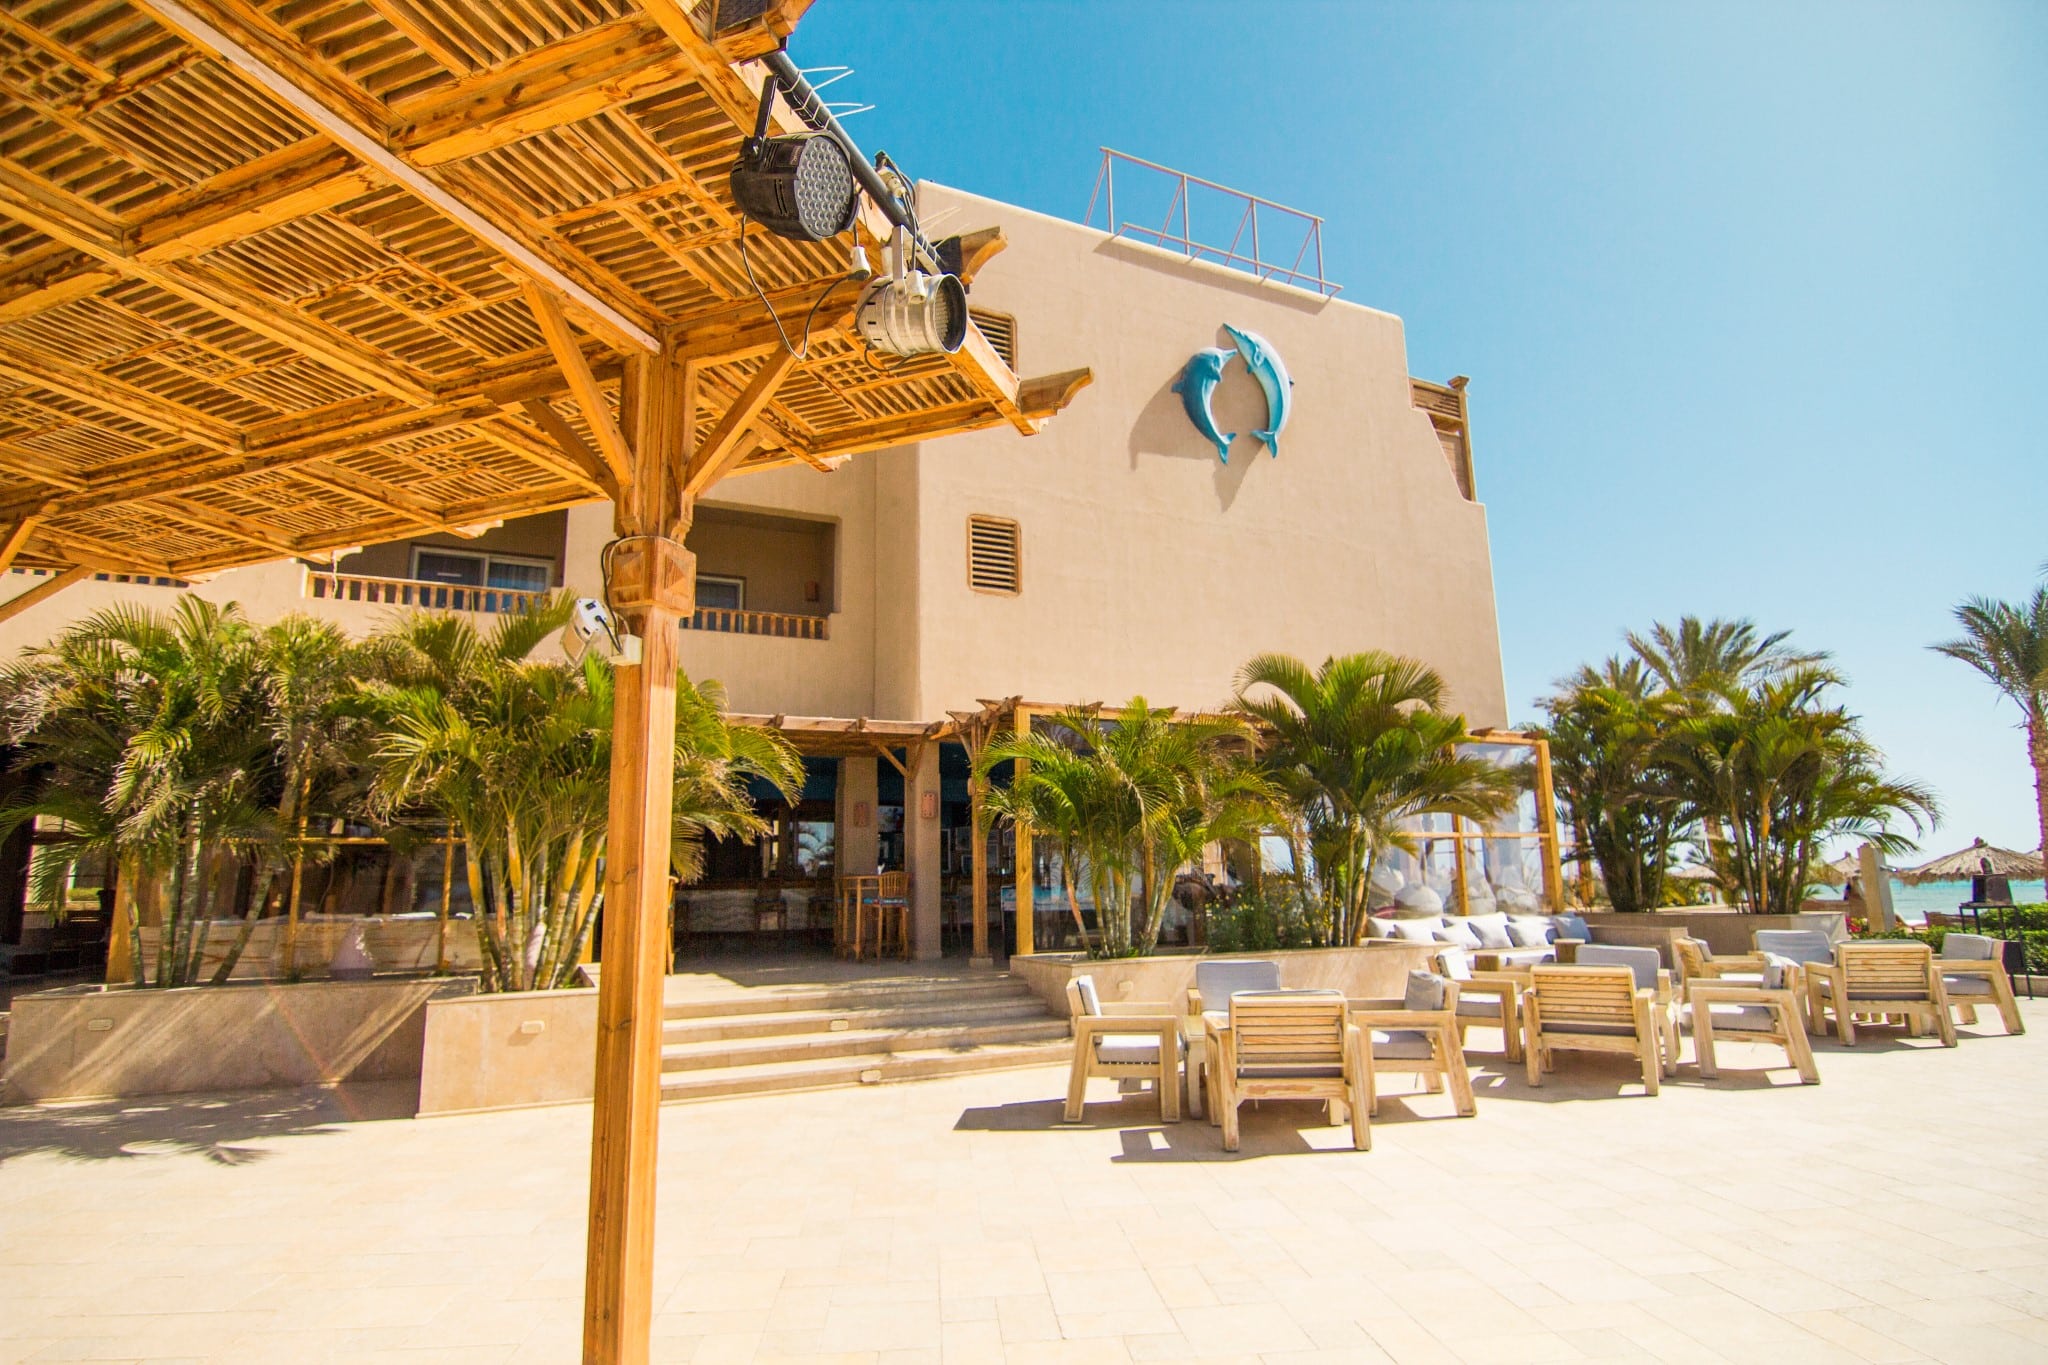
Back at the Breakers I sat in the dining area with a beer and a very good meal while my thoughts still remained with the day’s dive on the Salem Express.
Check in for part 3 tomorrow for Jeff’s last day of diving with Somabay on the off-shore reefs looking for turtles.
Book your next Red Sea dive adventure with SOMABAY! For more information, visit www.somabay.com.
Stay at the Breakers Diving & Surfing Lodge when you visit! For more information, visit www.thebreakers-somabay.com.
Find out more about ORCA Dive Clubs at SOMABAY at www.orca-diveclubs.com/en/soma-bay-en.
For a week at the end of February I was invited to sample the diving with Orca Dive Club based at the Breakers Diving and Surfing Lodge by courtesy of SOMABAY.
Somabay covers an entire peninsula and is home to several resorts as well as residential compounds. Somabay caters for scuba diving as well as many other sports, including windsurfing, golf, sailing, go-carting, horse riding and many other activities.
All the activities are of a world-class standard and any or all of these can be booked directly from The Breakers.
I took Easyjet from Bristol (UK) to Hurghada. Easyjet are not by any means my favourite airline but the flight was cheap and direct (except for the surprise extra £48 I was charged at the gate for my carry-on bag).
I was met at Hurghada airport by a driver and car and taken to the Breakers 28 miles (45Kilomaters) south along the coast. Once at the hotel I was too late for an evening meal and so a basic meal was delivered to my room. That and a beer from the fridge and I was fast asleep.
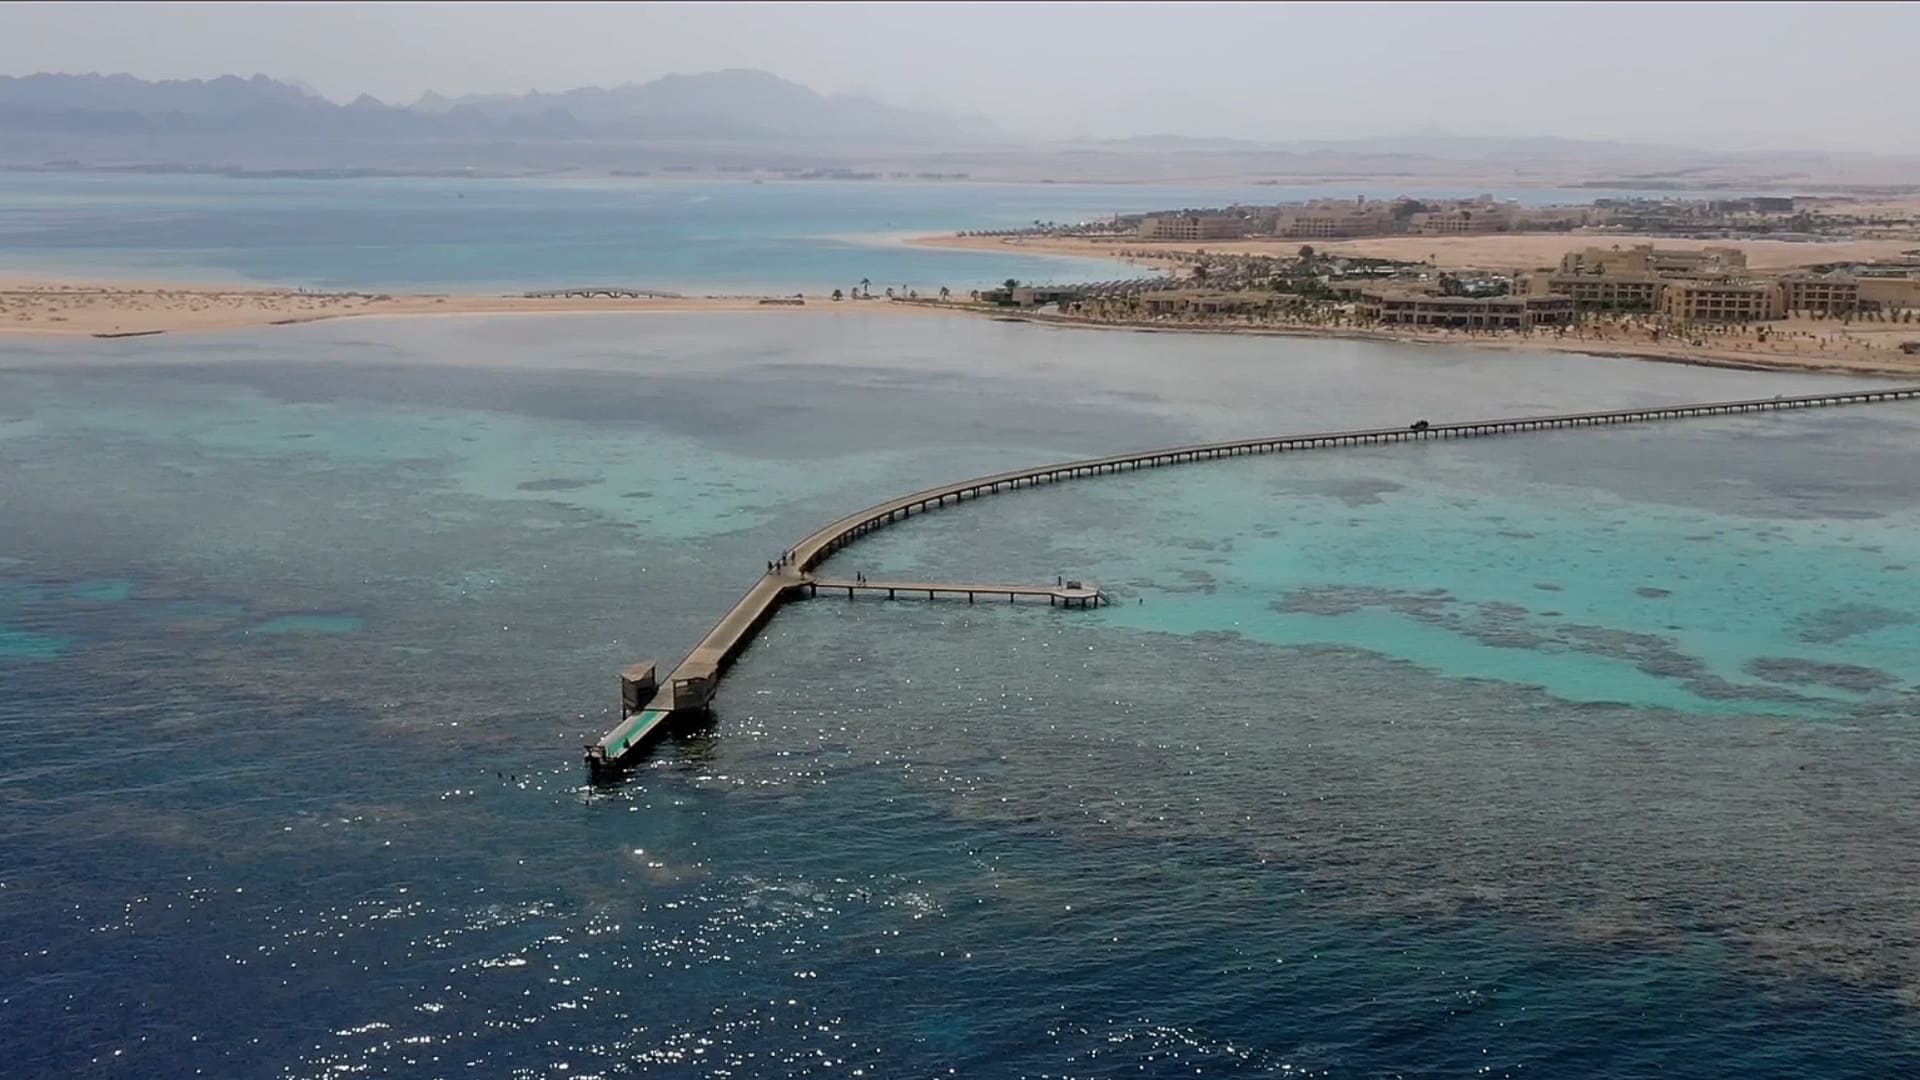
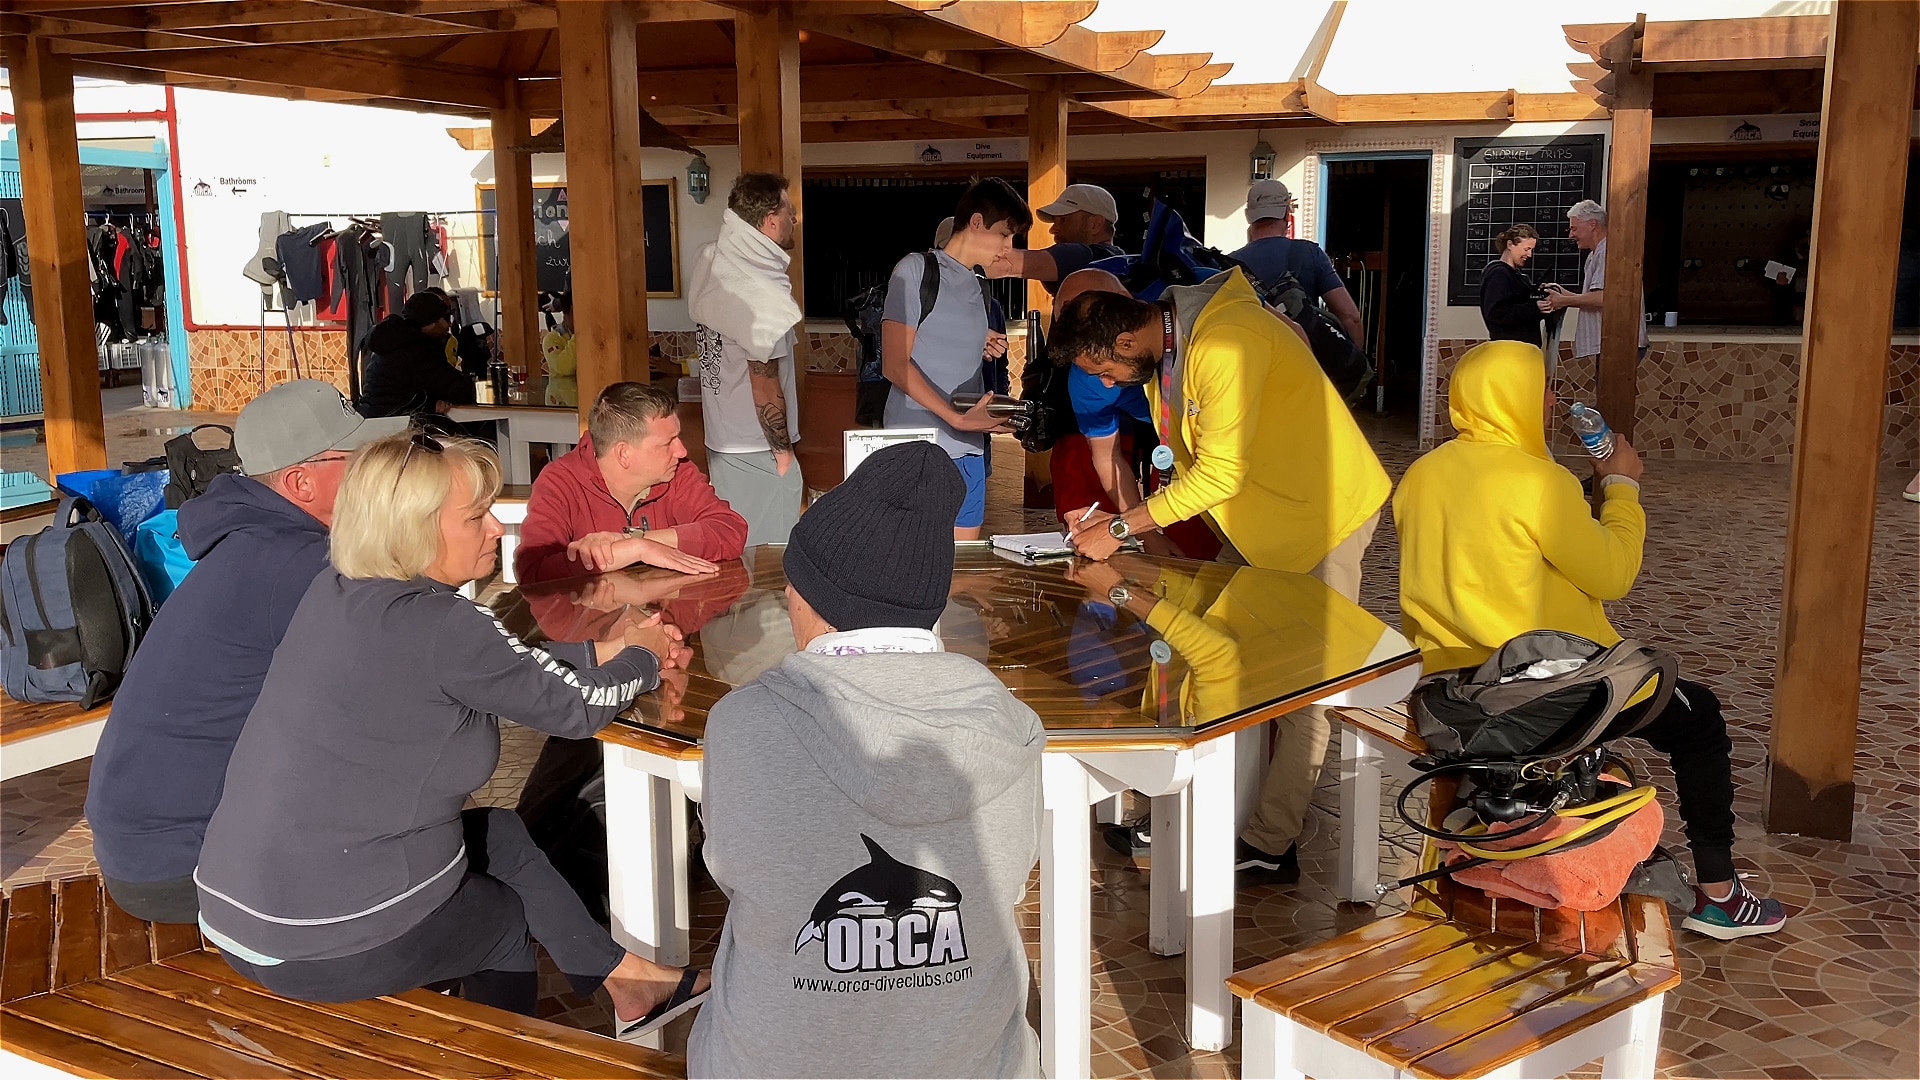
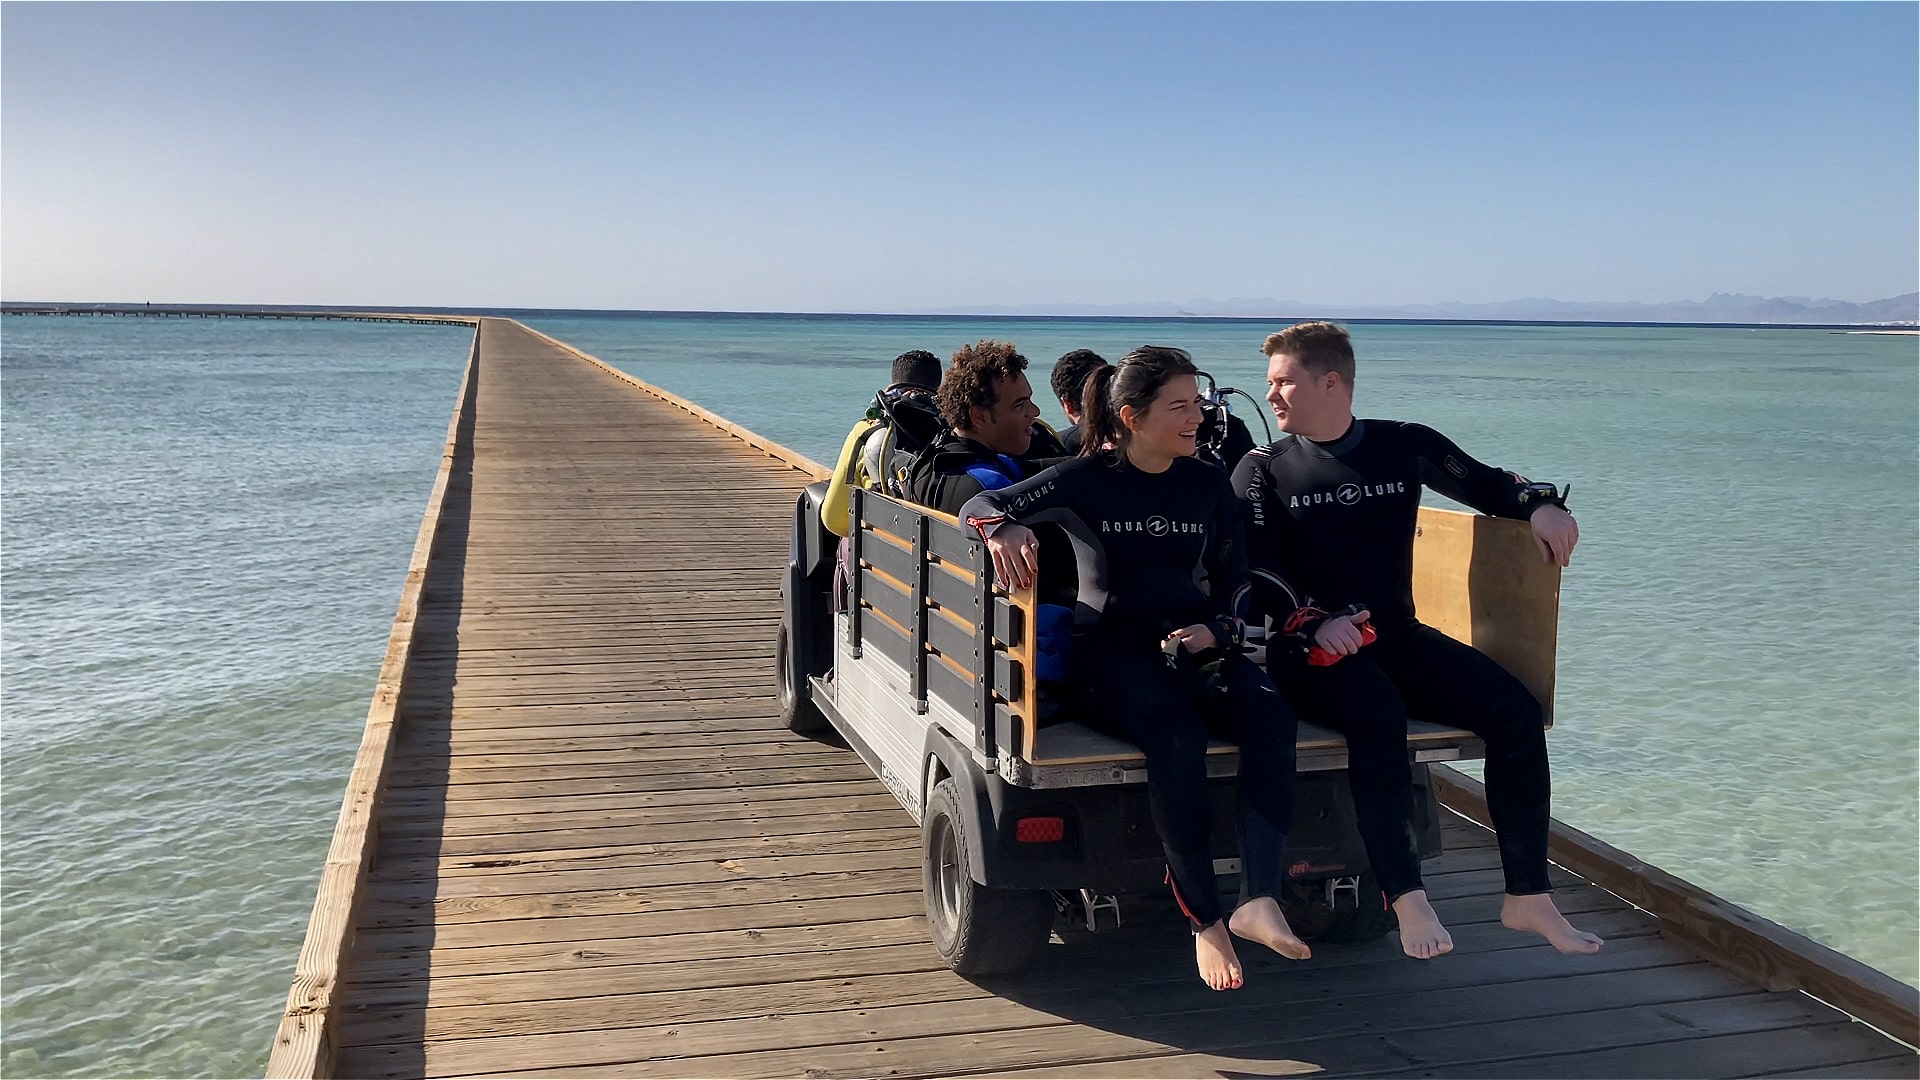
Early the next morning after breakfast I arrived for my rep meeting at the Orca Dive Center for 8.00am. I was immediately made to feel welcome, and after brief introductions I got some dive gear from the store, had a chat with my dive guide Mohamed and got ready to try the house reef situated at the end of a very long wooded pier where all diving gear and divers are taken out by buggies.
Once at the end of the pier, a helping hand from staff makes sure your gear is set and then it’s a short walk to the very end where you can either climb down a ladder of simply jump in the water next to the reef. The house reef extends both north and south giving a very easy and safe dive with plenty to see. At this time of the year the water temperature was a constant 22 degrees Centigrade and there was little or no current, so there were no issues in swimming back to the pier.
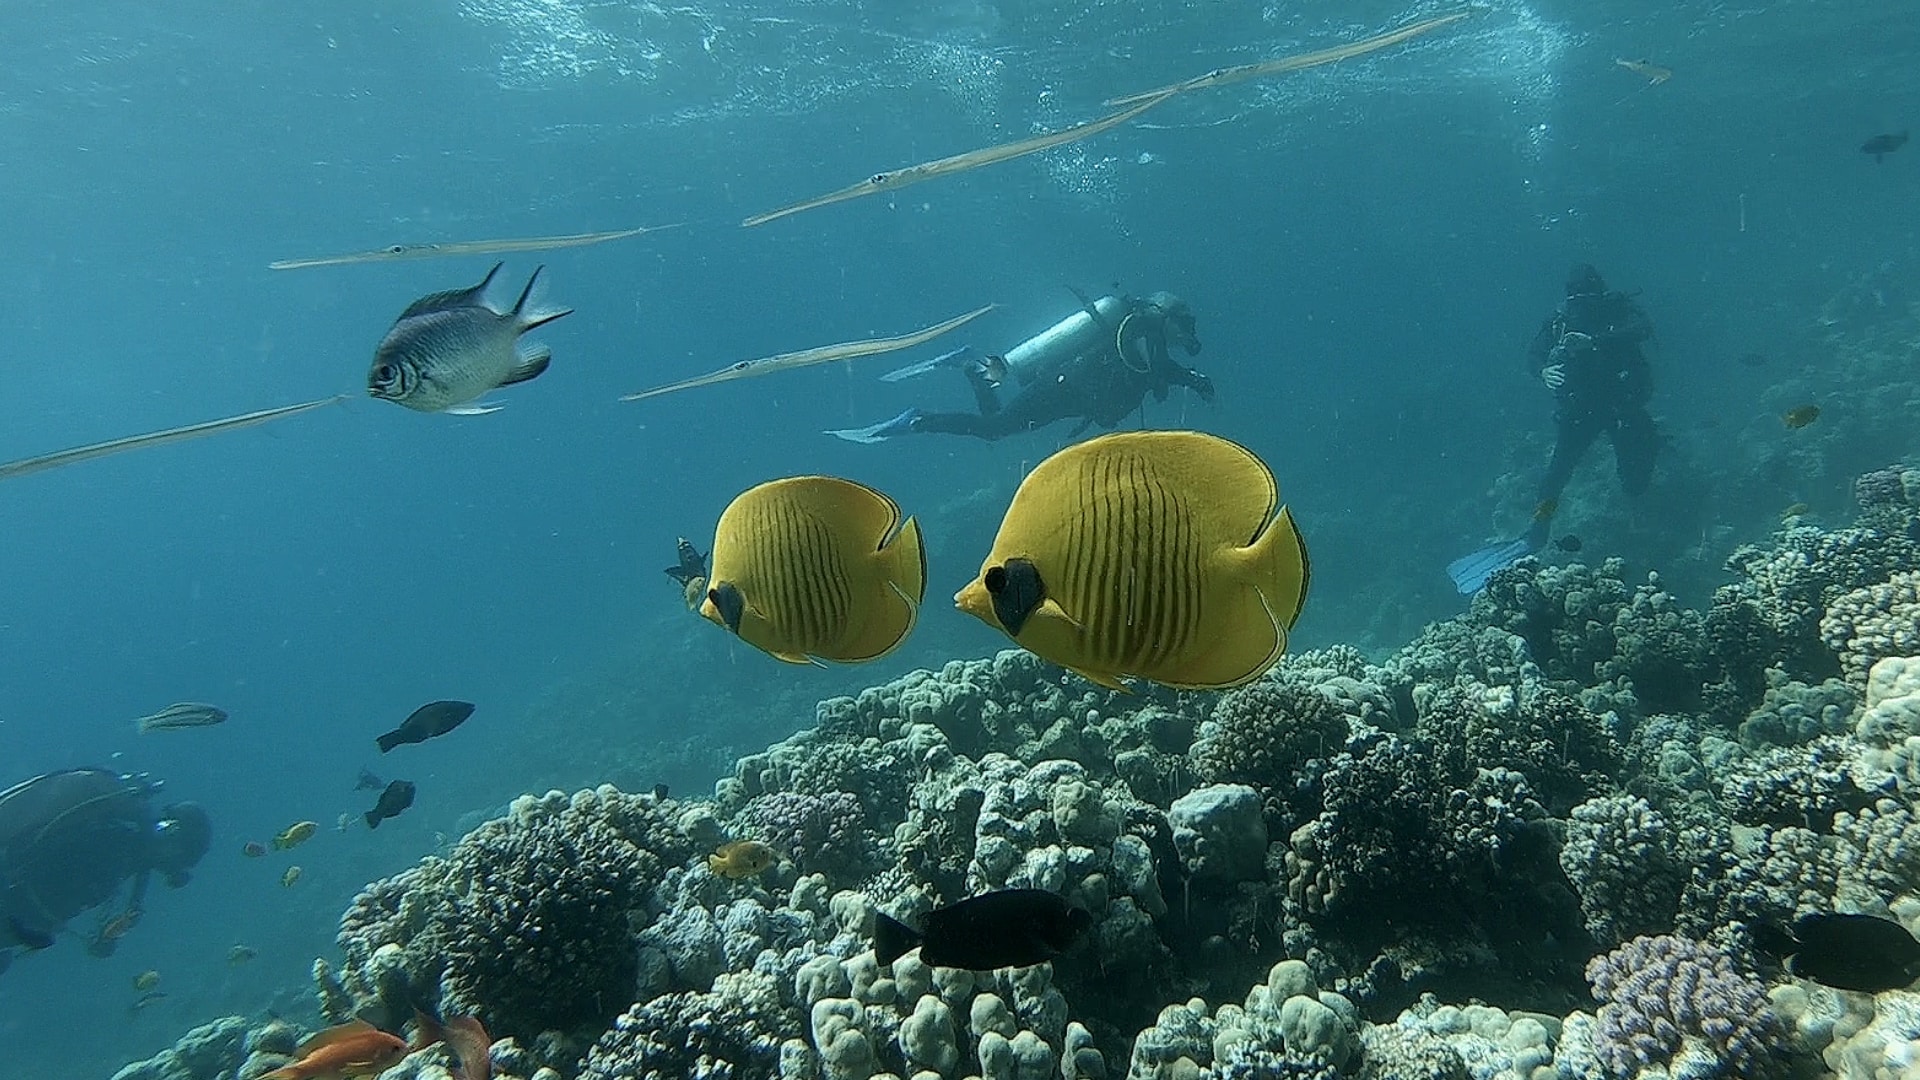
Quite a few divers were in dry or semi-dry suits, but being from the UK and used to the cold I found a 3mm wetsuit with a 3mm neoprene vest quite comfortable. Even after 50 years of diving I still find that first dive of a trip slightly nerving until I am actually underwater and then all becomes relaxed and I ease into auto diving mode. There was plenty to see with many of the Red Sea favourites along the way.
After the dive and a buggy ride back to the hotel for a very good buffet lunch I was back in the water, once again on the house reef for an afternoon dive.
Check in for part 2 tomorrow when Jeff gets on a day boat and dives a few of the off-shore reefs.
Book your next Red Sea dive adventure with SOMABAY! For more information, visit www.somabay.com.
Stay at the Breakers Diving & Surfing Lodge when you visit! For more information, visit www.thebreakers-somabay.com.
Find out more about ORCA Dive Clubs at SOMABAY at www.orca-diveclubs.com/en/soma-bay-en.

-
 News3 months ago
Hone your underwater photography skills with Alphamarine Photography at Red Sea Diving Safari in March
-
 News2 months ago
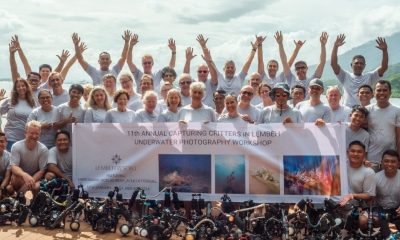
Capturing Critters in Lembeh Underwater Photography Workshop 2024: Event Roundup
-
 Marine Life & Conservation Blogs2 months ago
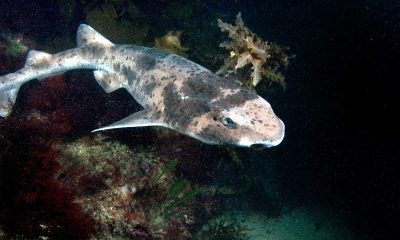
Creature Feature: Swell Sharks
-
 Blogs1 month ago
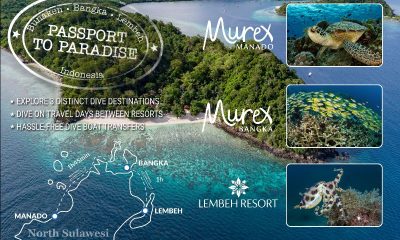
Murex Resorts: Passport to Paradise!
-
 Gear News3 months ago
Bare X-Mission Drysuit: Ideal for Both Technical and Recreational Divers
-

 Blogs2 months ago
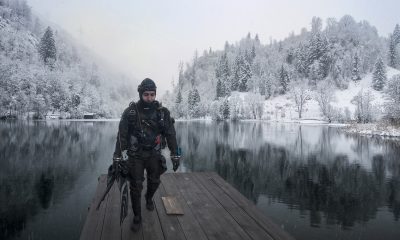
Diver Discovering Whale Skeletons Beneath Ice Judged World’s Best Underwater Photograph
-
 Gear Reviews2 months ago
Gear Review: Oceanic+ Dive Housing for iPhone
-
 Marine Life & Conservation2 months ago
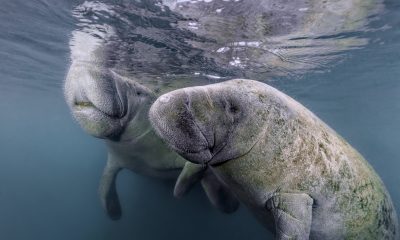
Save the Manatee Club launches brand new webcams at Silver Springs State Park, Florida